suspension Citroen JUMPY MULTISPACE 2011 2.G Owner's Manual
[x] Cancel search | Manufacturer: CITROEN, Model Year: 2011, Model line: JUMPY MULTISPACE, Model: Citroen JUMPY MULTISPACE 2011 2.GPages: 268, PDF Size: 10.1 MB
Page 4 of 268
2
Contents
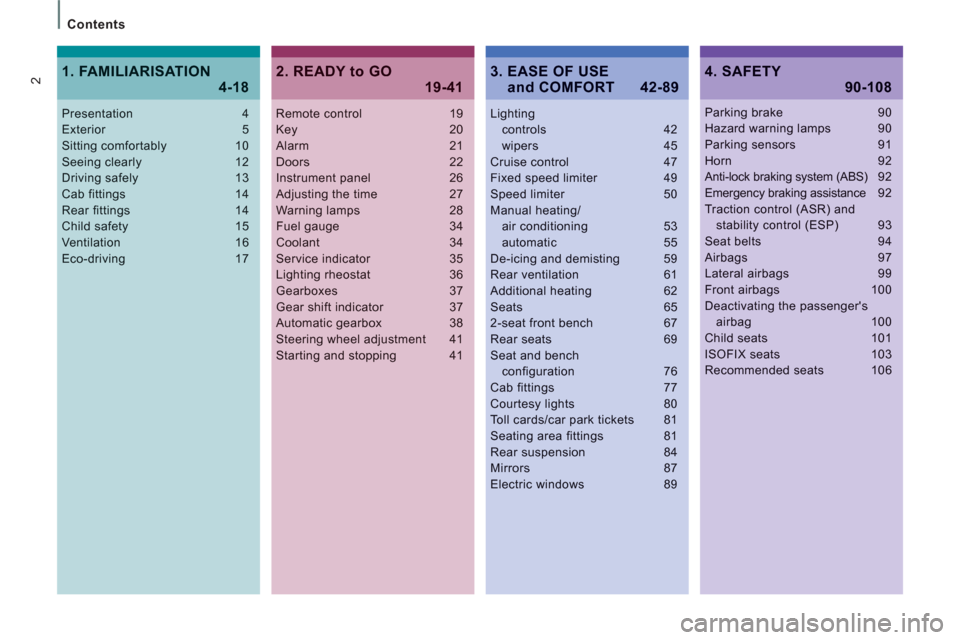
Remote control 19Key 20Alarm 21Doors 22Instrument panel 26Adjusting the time 27Warning lamps 28Fuel gauge 34Coolant 34Service indicator 35Lighting rheostat 36Gearboxes 37Gear shift indicator 37Automatic gearbox 38Steering wheel adjustment 41Starting and stopping 41
Lightingcontrols 42wipers 45Cruise control 47Fixed speed limiter 49Speed limiter 50Manual heating/air conditioning 53automatic 55De-icing and demisting 59Rear ventilation 61Additional heating 62Seats 652-seat front bench 67Rear seats 69Seat and benchconfiguration 76Cab fittings 77Courtesy lights 80Toll cards/car park tickets 81
Seating area fittings 81Rear suspension 84Mirrors 87Electric windows 89
Presentation 4Exterior 5Sitting comfortably 10Seeing clearly 12Driving safely 13Cab fittings 14Rear fittings 14Child safety 15Ventilation 16Eco-driving 17
Parking brake 90Hazard warning lamps 90Parking sensors 91Horn 92Anti-lock braking system (ABS) 92Emergency braking assistance 92Traction control (ASR) andstability control (ESP) 93Seat belts 94Airbags 97Lateral airbags 99Front airbags 100Deactivating the passenger'sairbag 100Child seats 101ISOFIX seats 103Recommended seats 106
2. READY to GO
19-41
4. SAFETY
90-108
1. FAMILIARISATION
4-183. EASE OF USE and COMFORT 42-89
Page 8 of 268
3b3a
2
7
7
2
3a3b
7
Exterior
6
91 84
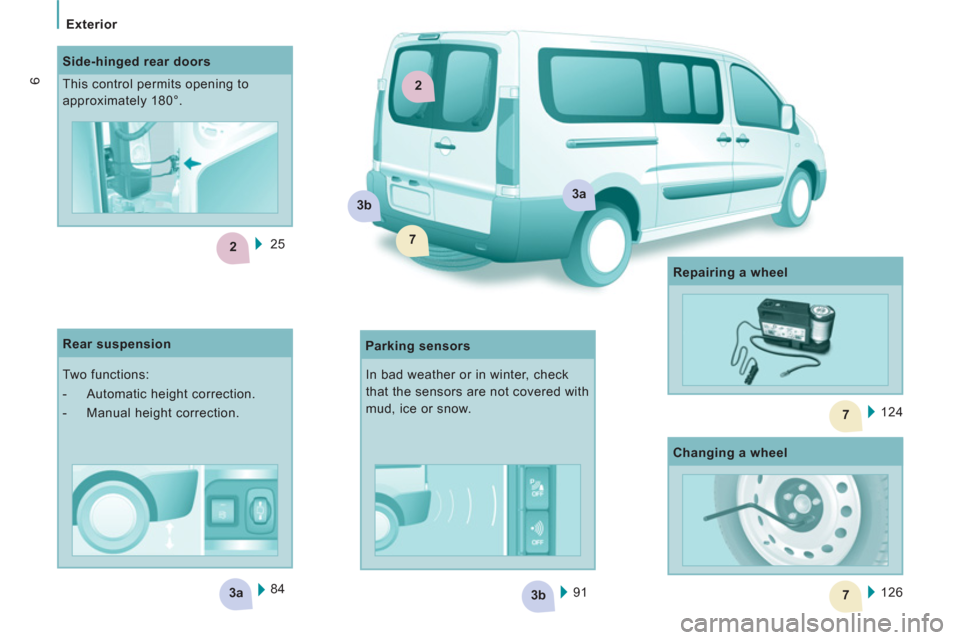
Side-hinged rear doors
This control permits opening to
approximately 180°.
Parking sensors
Rear suspension
Two functions:
- Automatic height correction.
- Manual height correction. 124
Repairing a wheel
In bad weather or in winter, check
that the sensors are not covered with
mud, ice or snow.
126
Changing a wheel 25
Page 33 of 268
ABS
ESP
31
Instruments and controls
READY
to
GO
2
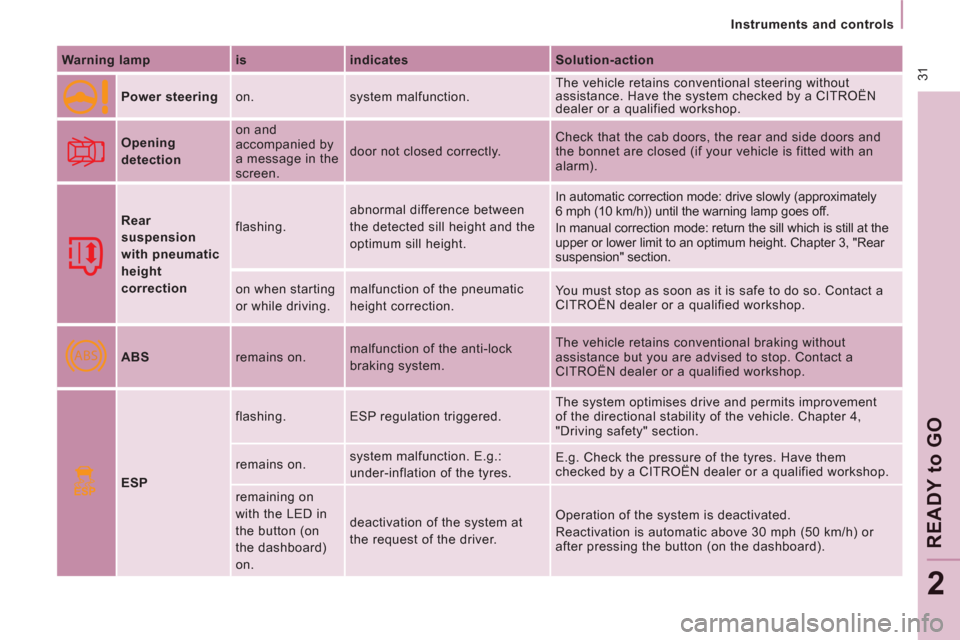
Warning lamp
is
indicates
Solution-action
Power steering on. system malfunction. The vehicle retains conventional steering without
assistance. Have the system checked by a CITROËN
dealer or a qualified workshop.
Opening
detection on and
accompanied by
a message in the
screen. door not closed correctly. Check that the cab doors, the rear and side doors and
the bonnet are closed (if your vehicle is fitted with an
alarm).
Rear
suspension
with pneumatic
height
correction flashing. abnormal difference between
the detected sill height and the
optimum sill height. In automatic correction mode: drive slowly (approximately
6 mph (10 km/h)) until the warning lamp goes off.
In manual correction mode: return the sill which is still at the
upper or lower limit to an optimum height. Chapter 3, "Rear
suspension" section.
on when starting
or while driving. malfunction of the pneumatic
height correction. You must stop as soon as it is safe to do so. Contact a
CITROËN dealer or a qualified workshop.
ABS remains on. malfunction of the anti-lock
braking system. The vehicle retains conventional braking without
assistance but you are advised to stop. Contact a
CITROËN dealer or a qualified workshop.
ESP flashing. ESP regulation triggered. The system optimises drive and permits improvement
of the directional stability of the vehicle. Chapter 4,
"Driving safety" section.
remains on. system malfunction. E.g.:
under-inflation of the tyres. E.g. Check the pressure of the tyres. Have them
checked by a CITROËN dealer or a qualified workshop.
remaining on
with the LED in
the button (on
the dashboard)
on. deactivation of the system at
the request of the driver.
Operation of the system is deactivated.
Reactivation is automatic above 30 mph (50 km/h) or
after pressing the button (on the dashboard).
Page 86 of 268
84
Rear suspension
Metal suspension
This equipment adopts long movement limiters
which make it possible to guarantee stable
behaviour both when loaded and when empty.
No action on your part is required except to
ensure that maintenance is carried out and that
the authorised loads are complied with. the increasing or lightening of the load on
the vehicle's platform is detected by two
height sensors. When all of the doors are
closed, the sensors trigger the automatic
height correction and determine the optimum
height of the sill for the vehicle's driving
conditions.
Deactivation of automatic height correction
The control which permits deactivation of
automatic regulation is located on the right-
hand side, at the rear of the vehicle.
Two types of suspension are available.
You must deactivate automatic height
correction manually in the following
situations:
- when working underneath the vehicle,
- when changing a wheel,
- when the vehicle is being transported by
lorry, train, ferry, boat, ...
Rear suspension with pneumatic
height correction
If fitted on your vehicle, this type of
suspension regulates the variations in the
height of the rear platform of your vehicle
irrespective of the weight of the load, within
the limit of the authorised values. On board,
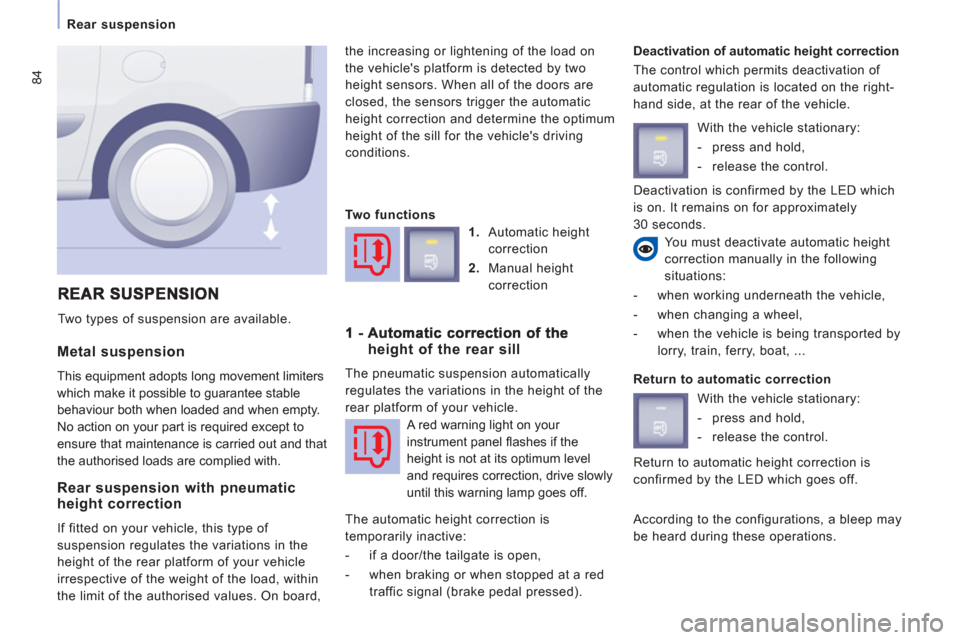
Two functions
1.
Automatic height
correction
2.
Manual height
correction
height of the rear sill
The pneumatic suspension automatically
regulates the variations in the height of the
rear platform of your vehicle.
The automatic height correction is
temporarily inactive:
- if a door/the tailgate is open,
- when braking or when stopped at a red
traffic signal (brake pedal pressed). With the vehicle stationary:
- press and hold,
- release the control.
Return to automatic correction
With the vehicle stationary:
- press and hold,
- release the control.
According to the configurations, a bleep may
be heard during these operations.
A red warning light on your
instrument panel fl ashes if the
height is not at its optimum level
and requires correction, drive slowly
until this warning lamp goes off. Return to automatic height correction is
confirmed by the LED which goes off. Deactivation is confirmed by the LED which
is on. It remains on for approximately
30 seconds.
Page 87 of 268
85
Rear suspension
EASE OF USE and COMFOR
T
3
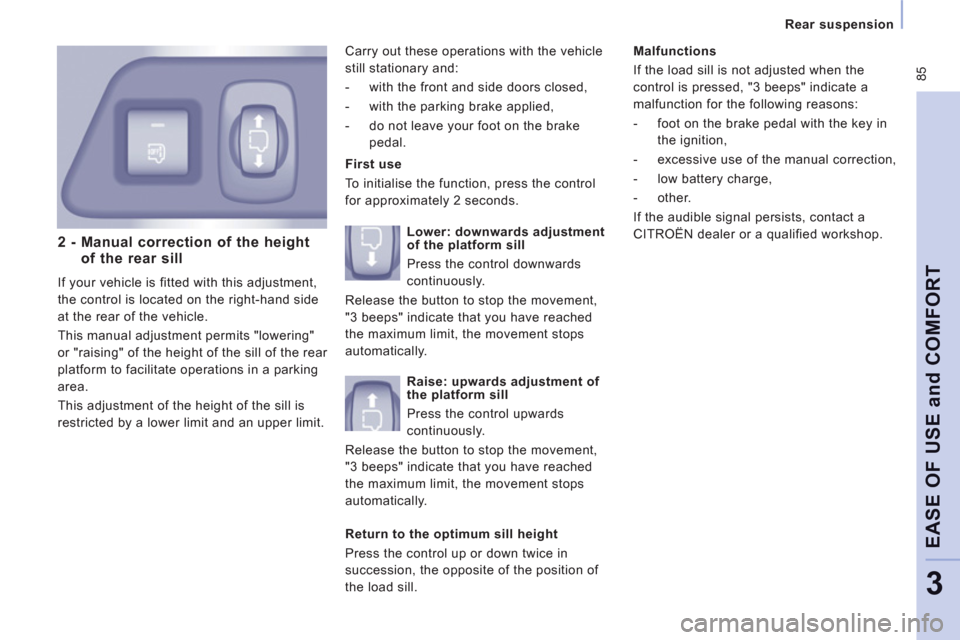
2 - Manual correction of the height of the rear sill
If your vehicle is fitted with this adjustment,
the control is located on the right-hand side
at the rear of the vehicle.
This manual adjustment permits "lowering"
or "raising" of the height of the sill of the rear
platform to facilitate operations in a parking
area.
This adjustment of the height of the sill is
restricted by a lower limit and an upper limit.
First use
To initialise the function, press the control
for approximately 2 seconds.
Malfunctions
If the load sill is not adjusted when the
control is pressed, "3 beeps" indicate a
malfunction for the following reasons:
- foot on the brake pedal with the key in
the ignition,
- excessive use of the manual correction,
- low battery charge,
- other.
If the audible signal persists, contact a
CITROËN dealer or a qualified workshop. Carry out these operations with the vehicle
still stationary and:
- with the front and side doors closed,
- with the parking brake applied,
- do not leave your foot on the brake
pedal.
Lower: downwards adjustment
of the platform sill
Press the control downwards
continuously.
Release the button to stop the movement,
"3 beeps" indicate that you have reached
the maximum limit, the movement stops
automatically.
Raise: upwards adjustment of
the platform sill
Press the control upwards
continuously.
Release the button to stop the movement,
"3 beeps" indicate that you have reached
the maximum limit, the movement stops
automatically.
Return to the optimum sill height
Press the control up or down twice in
succession, the opposite of the position of
the load sill.
Page 88 of 268

86
Rear suspension
Deactivation of manual height correction
Good practice
When stationary and with the ignition key
removed, excessive use of the system
consumes battery power.
Long term parking
Avoid parking for a long duration on ground
which could present a potential obstacle as
your vehicle could lower.
Following a long period out of use, the height of
the platform may change due to the automatic
height correction on unlocking or on opening
one of your vehicle's doors. With the vehicle stationary:
- press and hold,
- release the control.
Deactivation is confirmed by
the LED which is on. It remains on for
approximately 30 seconds.
Return to manual height correction
You must deactivate the manual height
correction in the following situations:
- when working underneath the vehicle,
- when changing a wheel,
- when the vehicle is being transported by
lorry, train, ferry, boat, ...
Driving with the height of the rear platform:
- too low, risks damaging the technical
components underneath the vehicle,
- too high, risks unstable driving.
If you start and the warning lamp flashes,
to switch it off:
- correct the position of the manual
control which is still at the lower or
upper limit,
- or drive slowly at above 6 mph (10 km/h),
until height correction returns to
automatic mode.
Warning lamp
Refer to the "Instruments and controls"
section of chapter 2.
With the vehicle stationary:
- press and hold,
- release the control.
Return to manual correction is
confirmed by the LED which goes off.
According to the configuration, a beep may
be heard during these operations.
Page 128 of 268
126
Changing a wheel
CHANGING A WHEEL
If your vehicle is equipped with a spare
wheel located underneath the vehicle, follow
these instructions.
1. PARKING THE VEHICLE
- You must ensure that the occupants
get out of the vehicle and wait in a safe
location.
- If possible, park the vehicle on level,
stable and non-slippery ground.
- Apply the parking brake, switch off the
ignition and engage first or reverse gear.
- If available, place a chock under the
wheel diagonally opposite the one to be
changed.
On certain types of ground and/or if heavy
loads are being transported, the vehicle
must be raised in order to disengage
the spare wheel from the carrier. Call a
CITROËN dealer or a qualified workshop.
If your vehicle is fitted with suspension
with pneumatic compensation, please
deactivate the system. Refer to the "Rear
suspension" section of chapter 3.
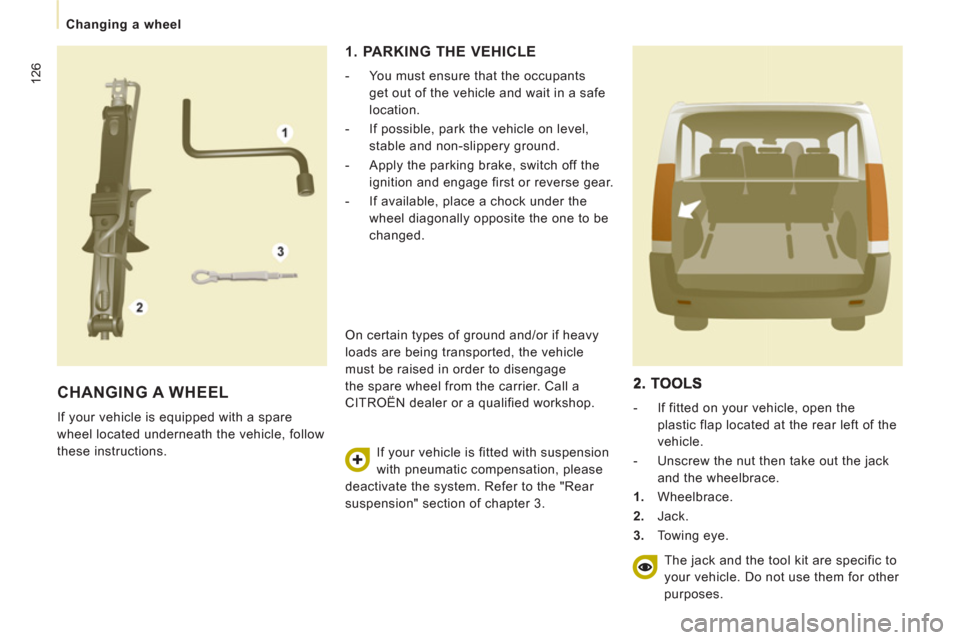
- If fitted on your vehicle, open the
plastic flap located at the rear left of the
vehicle.
- Unscrew the nut then take out the jack
and the wheelbrace.
1.
Wheelbrace.
2.
Jack.
3.
Towing eye.
The jack and the tool kit are specific to
your vehicle. Do not use them for other
purposes.
Page 147 of 268
14
5
Dimensions
TECHNICAL DAT
A
8
H1
L Overall length
4 805
5 135
H Overall height pneumatic/metal suspension
1 895/1 942
A Wheelbase
3 000
3 122
B Front overhang
975
C Rear overhang
830
1 038
Overall width:
on panel
1 870
D with mouldings
1 895
with mirrors folded
1 986
with mirrors unfolded
2 194
E Width of front tracks
1 574
F Width of rear tracks
1 574
Turning circle pitch diameter between kerbs (m)
12,18
12,59
Maximum loads (kg)
Payload
1 000
On roof
170
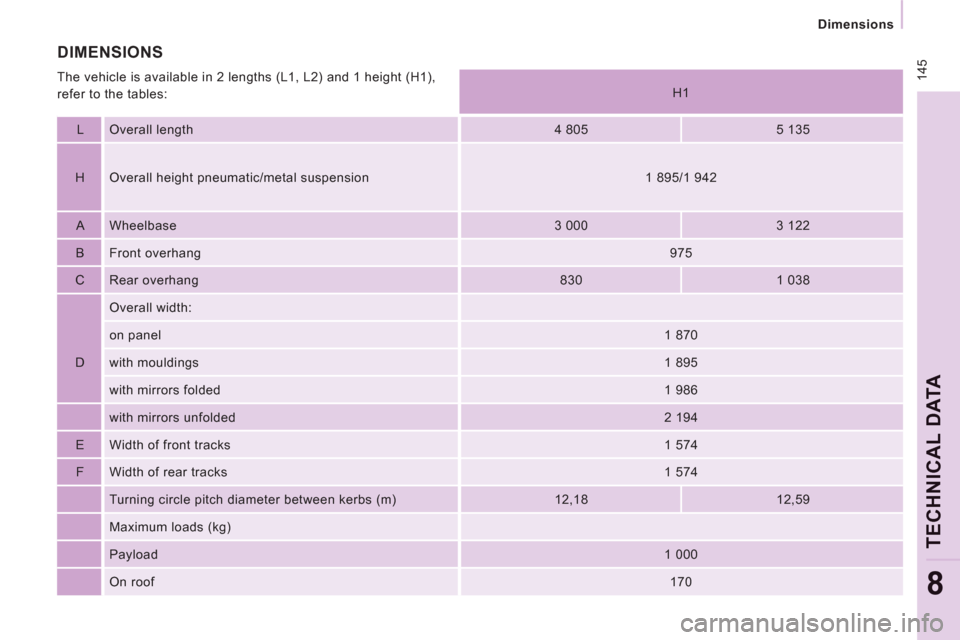
DIMENSIONS
The vehicle is available in 2 lengths (L1, L2) and 1 height (H1),
refer to the tables:
Page 257 of 268
15
1
Exterior
VISUAL SEARC
H
10
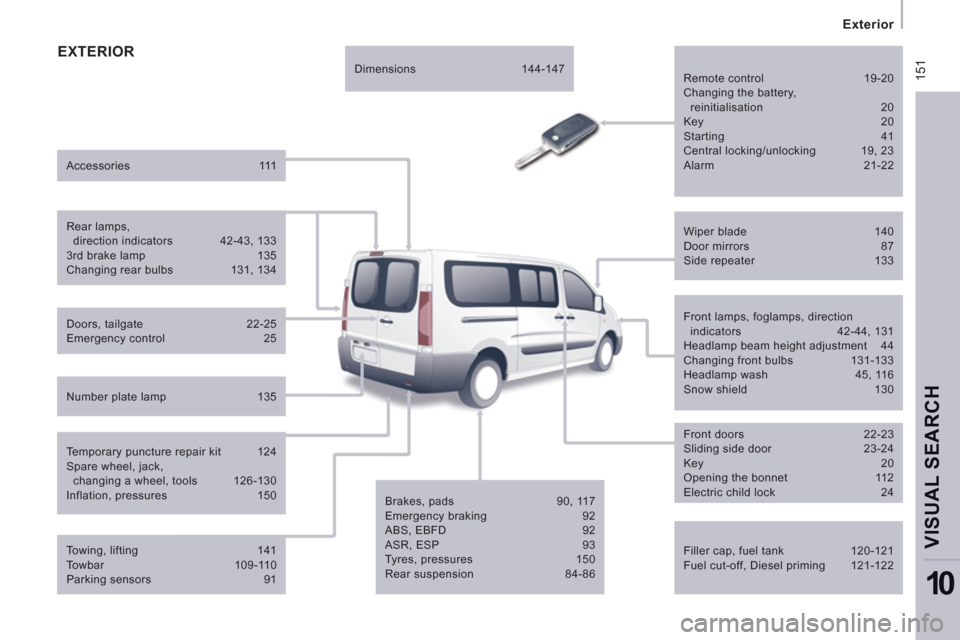
EXTERIOR
Filler cap, fuel tank 120-121
Fuel cut-off, Diesel priming 121-122
Wiper blade 140
Door mirrors 87
Side repeater 133
Front lamps, foglamps, direction
indicators 42-44, 131
Headlamp beam height adjustment 44
Changing front bulbs 131-133
Headlamp wash 45, 116
Snow shield 130
Front doors 22-23
Sliding side door 23-24
Key 20
Opening the bonnet 112
Electric child lock 24
Brakes, pads 90, 117
Emergency braking 92
ABS, EBFD 92
ASR, ESP 93
Tyres, pressures 150
Rear suspension 84-86
Doors, tailgate 22-25
Emergency control 25
Accessories 111
Number plate lamp 135
Dimensions 144-147
Temporary puncture repair kit 124
Spare wheel, jack,
changing a wheel, tools 126-130
Inflation, pressures 150
Remote control 19-20
Changing the battery,
reinitialisation 20
Key 20
Starting 41
Central locking/unlocking 19, 23
Alarm 21-22
Towing, lifting 141
Towbar 109-110
Parking sensors 91
Rear lamps,
direction indicators 42-43, 133
3rd brake lamp 135
Changing rear bulbs 131, 134
Page 260 of 268
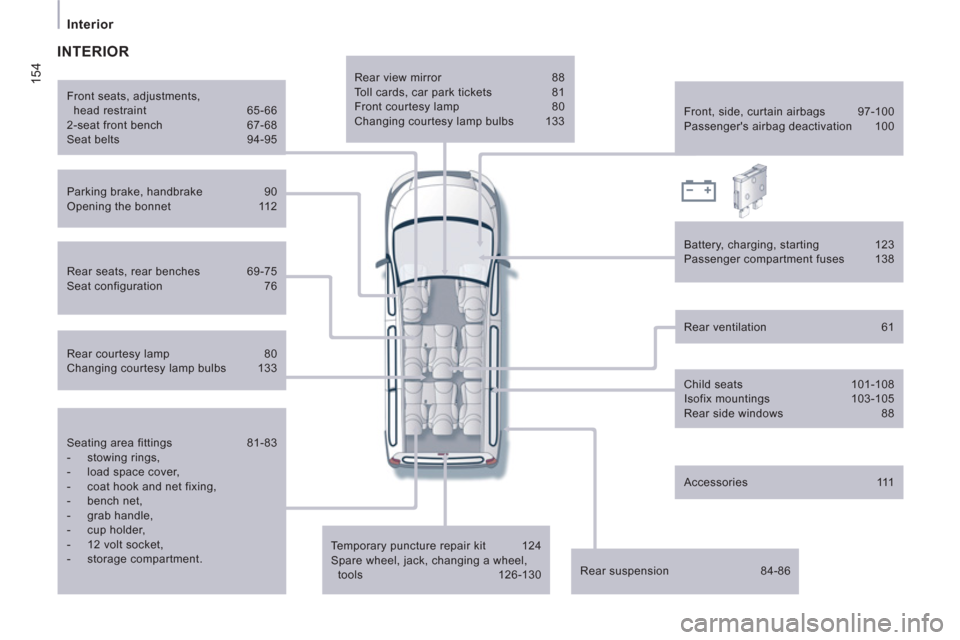
154
Interior
Seating area fittings 81-83
- stowing rings,
- load space cover,
- coat hook and net fixing,
- bench net,
- grab handle,
- cup holder,
- 12 volt socket,
- storage compartment.
Temporary puncture repair kit 124
Spare wheel, jack, changing a wheel,
tools 126-130
Rear suspension 84-86
Front, side, curtain airbags 97-100
Passenger's airbag deactivation 100
Parking brake, handbrake 90
Opening the bonnet 112
Battery, charging, starting 123
Passenger compartment fuses 138
Front seats, adjustments,
head restraint 65-66
2-seat front bench 67-68
Seat belts 94-95
Rear ventilation 61
Child seats 101-108
Isofix mountings 103-105
Rear side windows 88
INTERIOR
Rear seats, rear benches 69-75
Seat configuration 76
Rear courtesy lamp 80
Changing courtesy lamp bulbs 133
Accessories 111
Rear view mirror 88
Toll cards, car park tickets 81
Front courtesy lamp 80
Changing courtesy lamp bulbs 133