brake light Citroen NEMO 2015 1.G User Guide
[x] Cancel search | Manufacturer: CITROEN, Model Year: 2015, Model line: NEMO, Model: Citroen NEMO 2015 1.GPages: 192, PDF Size: 7.84 MB
Page 114 of 192
11 2
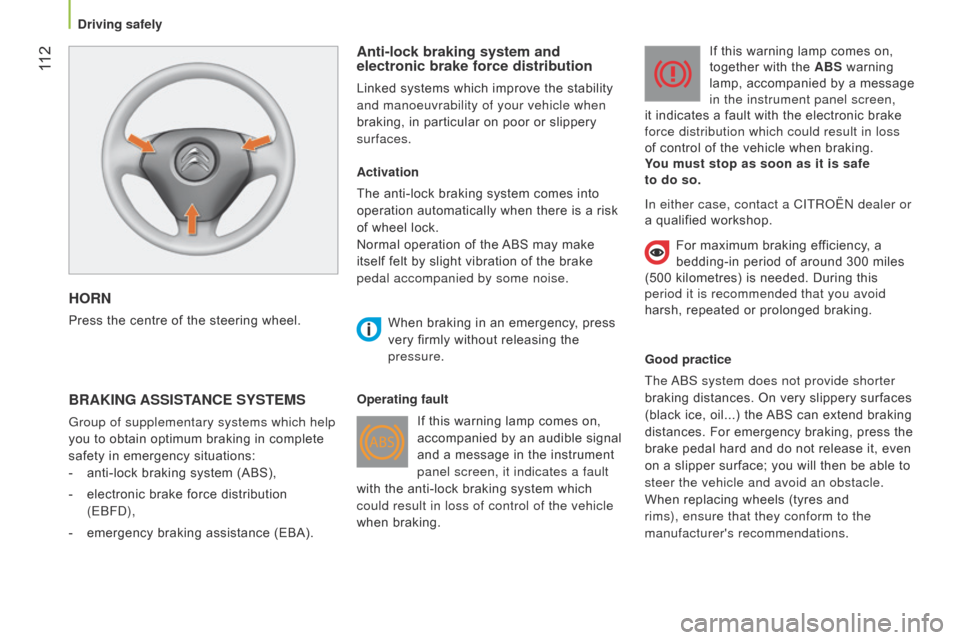
HORN
Press the centre of the steering wheel.
Anti-lock braking system and
electronic brake force distribution
Linked systems which improve the stability
and manoeuvrability of your vehicle when
braking, in particular on poor or slippery
surfaces.
BRAKING ASSISTANCE SYSTEMS
Group of supplementary systems which help
you to obtain optimum braking in complete
safety in emergency situations:
-
anti-lock braking system (ABS),
-
electronic brake force distribution
(E
b F d ),
-
emergency braking assistance (EBA). Activation
The anti-lock braking system comes into
operation automatically when there is a risk
of wheel lock.
Normal operation of the ABS may make
itself felt by slight vibration of the brake
pedal accompanied by some noise.
When braking in an emergency
, press
very firmly without releasing the
pressure.
Operating fault If this warning lamp comes on,
accompanied by an audible signal
and a message in the instrument
panel screen, it indicates a fault
with the anti-lock braking system which
could result in loss of control of the vehicle
when braking. If this warning lamp comes on,
together with the ABS warning
lamp, accompanied by a message
in the instrument panel screen,
it indicates a fault with the electronic brake
force distribution which could result in loss
of control of the vehicle when braking.
You must stop as soon as it is safe
to do so.
Good practice
The
ab
S system does not provide shorter
braking distances. On very slippery surfaces
(black ice, oil...) the ABS can extend braking
distances. For emergency braking, press the
brake pedal hard and do not release it, even
on a slipper surface; you will then be able to
steer the vehicle and avoid an obstacle.
When replacing wheels (tyres and
rims), ensure that they conform to the
manufacturer's recommendations. In either case, contact a CITR o Ë n dealer or
a qualified workshop.
For maximum braking efficiency, a
bedding-in period of around 300 miles
(500 kilometres) is needed. During this
period it is recommended that you avoid
harsh, repeated or prolonged braking.
Driving safely
Page 152 of 192
150
Manual gearbox
The gearbox does not require any
maintenance (no oil change).
Refer to the maintenance and warranty
guide for the checking interval for this
component.
Good practice
To check the main levels and certain
components, in accordance with the
manufacturer's servicing schedule, refer to
the pages of the maintenance and warranty
guide which correspond to your vehicle's
engine.
Electronic gearbox
The gearbox does not require any
maintenance (no oil change).
Refer to the maintenance and warranty
guide for details of the checking interval for
this component.
o
nly use products recommended by
CITR
o Ë n or products of equivalent
quality and specification.
In order to optimise the operation of units as
important as the braking system, CITROËN
selects and offers specific products.
In order to avoid damaging the electrical
units, high pressure washing to clean the
engine compartment is strictly prohibited.
After washing the vehicle dampness, or in
winter, ice may form on the brake discs and
pads: braking efficiency may be reduced.
Make some light brake applications to dry
and de-ice the brakes.
Checks
Page 157 of 192
155
CHANGING A WHEEL
Parking the vehicle
As far as possible, park the vehicle on level,
stable and non-slippery ground.
Apply the parking brake, switch off the
ignition and engage first gear (on a hill).
It is imperative that you ensure that the
occupants get out of the vehicle and wait in
a safe location.
If possible, place a chock under the
wheel diagonally opposite the wheel to be
changed.
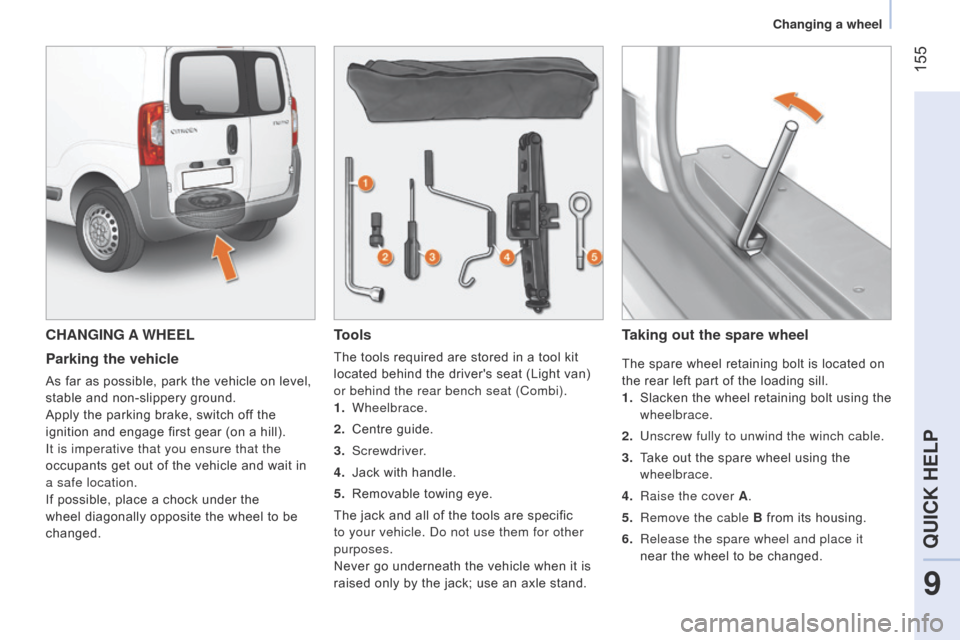
Tools
The tools required are stored in a tool kit
located behind the driver's seat (Light van)
or behind the rear bench seat (Combi).
1. Wheelbrace.
2.
Centre guide.
3.
Screwdriver.
4.
Jack with handle.
5.
Removable towing eye.
The jack and all of the tools are specific
to your vehicle.
d o not use them for other
purposes.
Never go underneath the vehicle when it is
raised only by the jack; use an axle stand.
Taking out the spare wheel
The spare wheel retaining bolt is located on
the rear left part of the loading sill.
1.
Slacken the wheel retaining bolt using the
wheelbrace.
2.
Unscrew fully to unwind the winch cable.
3.
T
ake out the spare wheel using the
wheelbrace.
4.
Raise the cover
A.
5.
Remove the cable
B from its housing.
6.
Release the spare wheel and place it
near the wheel to be changed.
9
QUICK HELP
Changing a wheel
Page 170 of 192
168
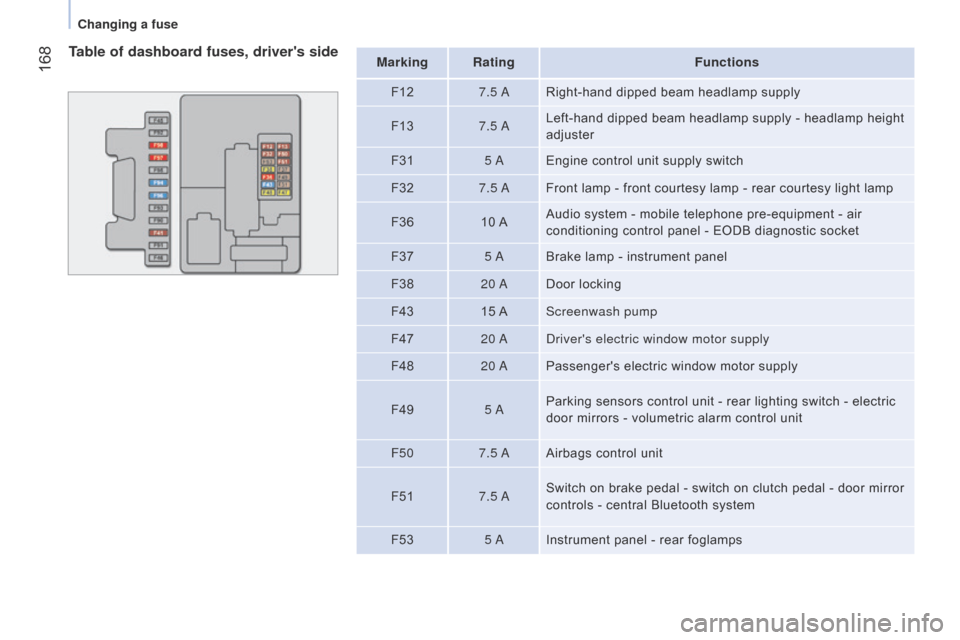
Table of dashboard fuses, driver's sideMarking RatingFunctions
F12 7.5
a
Right-hand dipped beam headlamp supply
F13 7.5
a
Left-hand dipped beam headlamp supply - headlamp height
adjuster
F31 5
a
Engine control unit supply switch
F32 7.5
a
Front lamp - front courtesy lamp - rear courtesy light lamp
F36 10
AAudio system - mobile telephone pre-equipment - air
conditioning control panel - EODB diagnostic socket
F37 5
a
Brake lamp - instrument panel
F38 20
a
Door locking
F43 15
AScreenwash pump
F47 20
ad
river's electric window motor supply
F48 20
a
Passenger's electric window motor supply
F49 5
a
Parking sensors control unit - rear lighting switch - electric
door mirrors - volumetric alarm control unit
F50 7.5
a
Airbags control unit
F51 7.5
a
Switch on brake pedal - switch on clutch pedal - door mirror
controls - central Bluetooth system
F53 5
a
Instrument panel - rear foglamps
Changing a fuse
Page 174 of 192
172 172
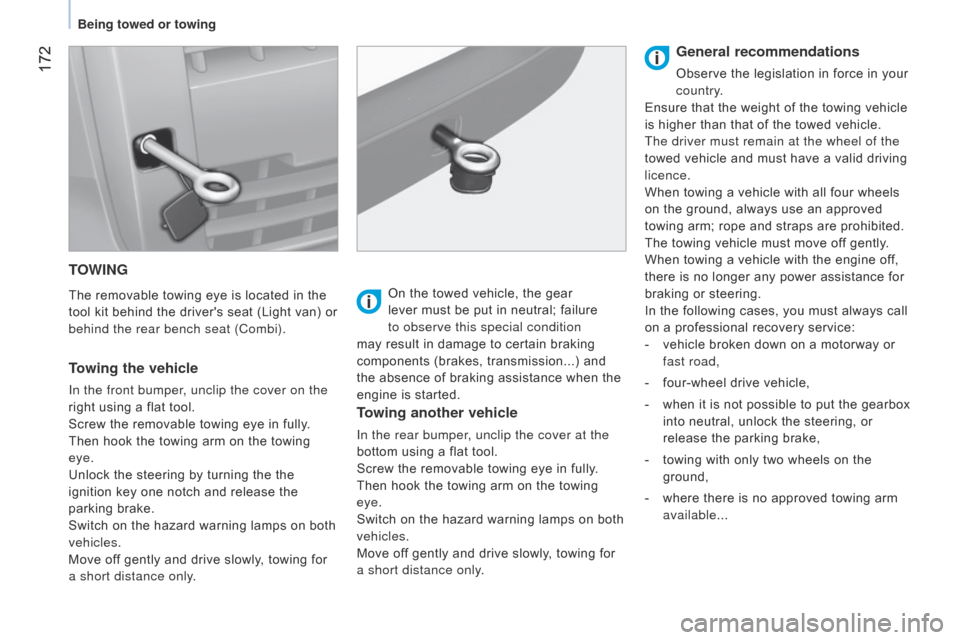
TOWING
The removable towing eye is located in the
tool kit behind the driver's seat (Light van) or
behind the rear bench seat (Combi).
Towing the vehicle
In the front bumper, unclip the cover on the
right using a flat tool.
Screw the removable towing eye in fully.
Then hook the towing arm on the towing
eye.
Unlock the steering by turning the the
ignition key one notch and release the
parking brake.
Switch on the hazard warning lamps on both
vehicles.
Move off gently and drive slowly, towing for
a short distance only.On the towed vehicle, the gear
lever must be put in neutral; failure
to observe this special condition
may result in damage to certain braking
components (brakes, transmission...) and
the absence of braking assistance when the
engine is started.
Towing another vehicle
In the rear bumper, unclip the cover at the
bottom using a flat tool.
Screw the removable towing eye in fully.
Then hook the towing arm on the towing
eye.
Switch on the hazard warning lamps on both
vehicles.
Move off gently and drive slowly, towing for
a short distance only.
General recommendations
Observe the legislation in force in your
country.
Ensure that the weight of the towing vehicle
is higher than that of the towed vehicle.
The driver must remain at the wheel of the
towed vehicle and must have a valid driving
licence.
When towing a vehicle with all four wheels
on the ground, always use an approved
towing arm; rope and straps are prohibited.
The towing vehicle must move off gently.
When towing a vehicle with the engine off,
there is no longer any power assistance for
braking or steering.
In the following cases, you must always call
on a professional recovery service:
-
vehicle broken down on a motorway or
fast road,
-
four-wheel drive vehicle,
-
when it is not possible to put the gearbox
into neutral, unlock the steering, or
release the parking brake,
-
towing with only two wheels on the
ground,
-
where there is no approved towing arm
available...
Being towed or towing
Page 184 of 192

182
WEIGHTS AND TOWED LOADS
The maximum weights and towed loads
for your vehicle are given are given in the
registration document, as well as in sales
brochures.
These values are also present on the
manufacturer's plate or label (see the
"Technical data - Identification markings"
section). The kerb weight is equal to the unladen
weight
+ driver (75 kg).
The gross train weight and towed load values
indicated apply up to a maximum altitude
of 1
000 metres; the towed load mentioned
must be reduced by 10 % for every additional
1
000 metres.High ambient temperatures may result
in a reduction in the performance of
the vehicle to protect the engine; when the
ambient temperature is higher than 37 °C, limit
the towed weight.
Towing with a lightly loaded vehicle can
adversely affect roadholding.
Braking distances are increased when towing
a trailer.
When towing, the maximum speed allowed is
reduced (comply with the legislation in force in
your country).
For information on the maximum trailer weight
for your vehicle, contact a CITR
o Ë n dealer or
a qualified workshop. The weight of the braked trailer can be
increased, within the GTW limit, on condition
that the GVW of the towing vehicle is reduced
by the same amount.
The recommended nose weight is the vertical
load on the towbar ball (removable with or
without tools).
GVW: gross vehicle weight, the maximum
authorised vehicle weight.
GTW: gross train weight, the maximum
authorised weight of vehicle plus trailer.
In all countries, it is essential to comply with
the local legislation on towed loads.
Weights