oil pressure DODGE AVENGER 2008 Owners Manual
[x] Cancel search | Manufacturer: DODGE, Model Year: 2008, Model line: AVENGER, Model: DODGE AVENGER 2008Pages: 467, PDF Size: 7.16 MB
Page 82 of 467
Defroster
Check operation by selecting the defrost mode and place
the blower control on high speed. You should be able to
feel the air directed against the windshield.
NOTE: If the defrost feature is not functioning, the
cause should be located and corrected immediately by an
authorized service center. The windshield could fog up
while driving and obscure your visibility.
Periodic Safety Checks You Should Make Outside
The Vehicle
Tires
Examine tires for excessive tread wear or uneven wear
patterns. Check for stones, nails, glass, or other objects
lodged in the tread. Inspect tread and sidewall for cuts or
cracks. Check wheel nuts for tightness, and tires (includ-
ing spare) for proper pressure. Lights
Have someone observe the operation of exterior lights
while you work the controls. Check turn signal and high
beam indicator lights on the instrument panel.
Fluid Leaks
Check area under vehicle after overnight parking for fuel,
engine coolant, oil, or other fluid leaks. In addition, if
gasoline fumes are detected or fuel, power steering fluid,
transmission fluid, or brake fluid leaks are suspected, the
cause should be located and corrected immediately.80 THINGS TO KNOW BEFORE STARTING YOUR VEHICLE
Page 173 of 467
5. Low Fuel Light
When the fuel level drops to 2 gallons, the fuel
symbol will light and a single chime will sound.
6. Charging System Light
This light shows the status of the electrical charg-
ing system. The light should come on briefly when
the ignition is first turned on and remain on briefly as a
bulb check. If the light stays on or comes on while
driving, turn off some of the vehicle's electrical devices,
such as the Fog Lights or Rear Defroster. If the Charging
System Light remains on, it means that the vehicle is
experiencing a problem with the charging system. Obtain
SERVICE IMMEDIATELY. See your authorized dealer.
7. Airbag Light
The light comes on and remains on for 6 to 8
seconds as a bulb check when the ignition
switch is first turned ON. If the light does not come on during starting, stays on, or comes on while
driving, have the system checked by an authorized
dealer.
8. Theft Alarm Light Ð If Equipped
This light will flash rapidly for several seconds when the
alarm system is arming. The light will begin to flash
slowly indicating that the system is armed.
9. Seat Belt Reminder Light
When the ignition switch is first turned ON, this
light will come on for about six seconds. A chime
will sound if you have not pulled the shoulder belt
out of the retractor. This is a reminder to ªbuckle upº. If
you do not buckle up, the light will remain on.
10. Oil Pressure Light
Shows low engine oil pressure. The light will come
on and remain on when the ignition switch is
turned from the OFF to the ON position, and the light UNDERSTANDING YOUR INSTRUMENT PANEL 171
4
Page 309 of 467
Keep dismounted tires in a cool, dry place with as little
exposure to light as possible. Protect tires from contact
with oil, grease, and gasoline.
Replacement Tires
The tires on your new vehicle provide a balance of many
characteristics. They should be inspected regularly for
wear and correct cold tire inflation pressure. The manu-
facturer strongly recommends that you use tires equiva-
lent to the originals in size, quality and performance
when replacement is needed (refer to the paragraph on
ªTread Wear Indicatorsº). Refer to the ªTire and Loading
Informationº placard for the size designation of your tire.
The service description and load identification will be
found on the original equipment tire. Failure to use
equivalent replacement tires may adversely affect the
safety, handling, and ride of your vehicle. We recommend
that you contact your original equipment or an autho-
rized tire dealer with any questions you may have on tire
specifications or capability. WARNING!Do not use a tire, wheel size or rating other than that
specified for your vehicle. Some combinations of
unapproved tires and wheels may change suspension
dimensions and performance characteristics, result-
ing in changes to steering, handling, and braking of
your vehicle. This can cause unpredictable handling
and stress to steering and suspension components.
You could lose control and have an accident resulting
in serious injury or death. Use only the tire and
wheel sizes with load ratings approved for your
vehicle. STARTING AND OPERATING 307
5
Page 352 of 467
WARNING!A hot engine cooling system is dangerous. You or
others could be badly burned by steam or boiling
coolant. You may want to call a service center if your
vehicle overheats. If you decide to look under the
hood yourself, refer to Section 7, Maintenance, of this
manual. Follow the warnings under the Cooling
System Pressure Cap paragraph.
ENGINE OIL OVERHEATING (2.4L ENGINE ONLY)
Ð IF EQUIPPED
During sustained high-speed driving or trailer tow up
long grades on a hot day, the engine oil temperature may
become too hot. If this happens, the ªHOTOILº message
flashes in the odometer and the vehicle speed will be
reduced to 53 mph (85 km/h) until the engine oil
temperature is reduced. NOTE: The vehicle speed is reduced to a maximum of
53 mph (85 km/h). You may of course, reduce your
vehicle speed further if needed.
JACKING AND TIRE CHANGING
WARNING!² Getting under a jacked-up vehicle is dangerous.
The vehicle could slip off the jack and fall on you.
You could be crushed. Never get any part of your
body under a vehicle that is on a jack. If you need
to get under a raised vehicle, take it to a service
center where it can be raised on a lift.
² The jack is designed to use as a tool for changing
tires only. The jack should not be used to lift the
vehicle for service purposes. The vehicle should
be jacked on a firm level surface only. Avoid ice or
slippery areas.350 WHAT TO DO IN EMERGENCIES
Page 378 of 467
CAUTION!Do not overfill the engine. Overfilling the engine
will cause oil aeration, which can lead to loss of oil
pressure and an increase in oil temperature. This
could damage your engine.
Change Engine Oil
The oil change indicator system will remind you that it is
time to take your vehicle in for scheduled maintenance.
Refer to ªMaintenance Scheduleº in Section 8 of this
manual for information on this system.
NOTE: Under no circumstances should oil change
intervals exceed 6,000 mi (10 000 km) or 6 months,
whichever occurs first. Engine Oil Selection
For best performance and maximum protection under all
types of operating conditions, the manufacturer recom-
mends engine oils that are API Certified and meet the
requirements of DaimlerChrysler Material Standard MS-
6395.
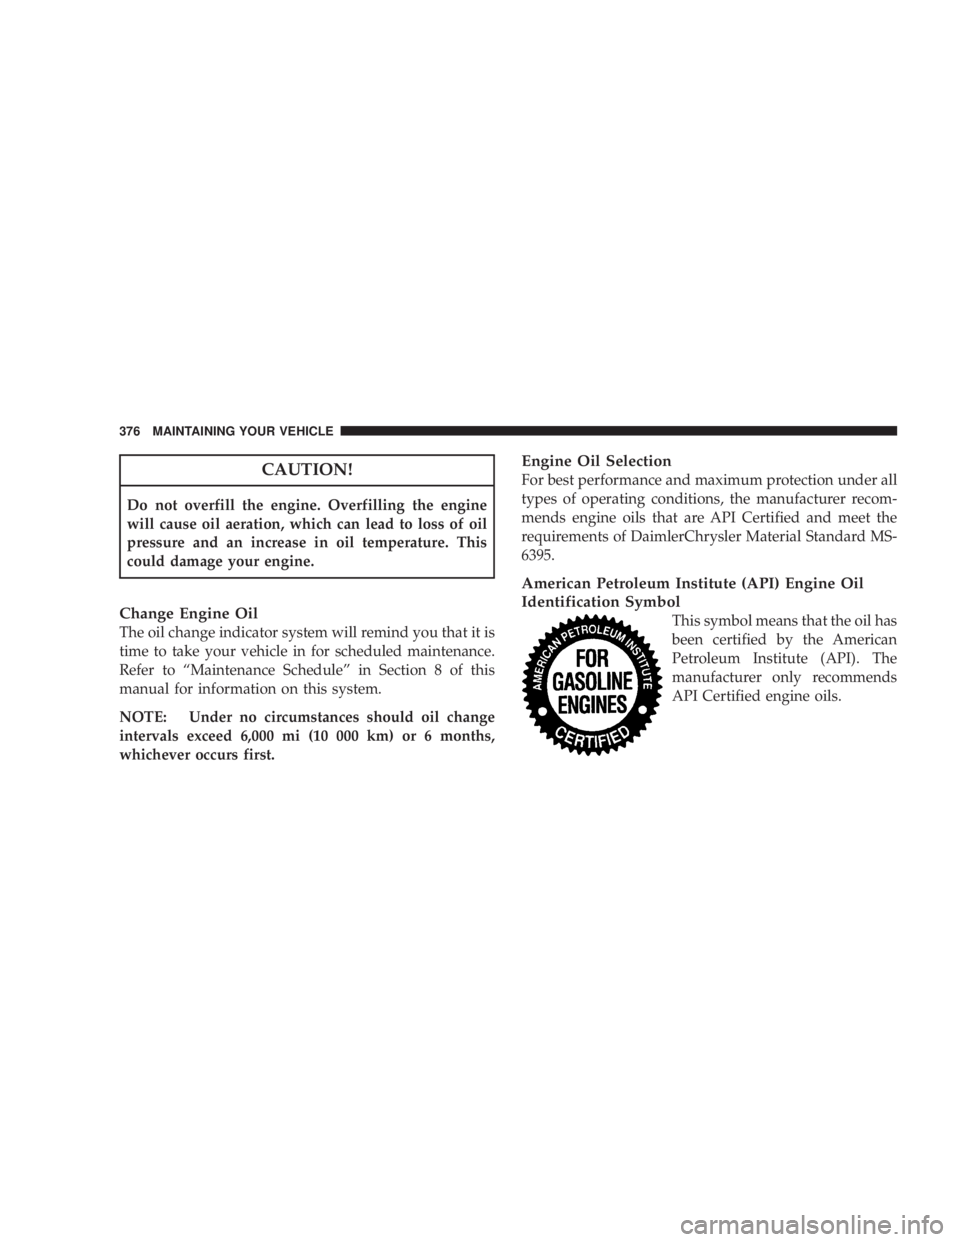
American Petroleum Institute (API) Engine Oil
Identification Symbol
This symbol means that the oil has
been certified by the American
Petroleum Institute (API). The
manufacturer only recommends
API Certified engine oils.376 MAINTAINING YOUR VEHICLE
Page 385 of 467
WARNING!² Use only refrigerants and compressor lubricants
approved by the manufacturer for your air condi-
tioning system. Some unapproved refrigerants are
flammable and can explode, injuring you. Other
unapproved refrigerants or lubricants can cause
the system to fail, requiring costly repairs. Refer to
Section 3 of the Warranty Information book for
further warranty information.
² The air conditioning system contains refrigerant
under high pressure. To avoid risk of personal
injury or damage to the system, adding refrigerant
or any repair requiring lines to be disconnected
should be done by an experienced technician. Refrigerant Recovery and Recycling
R-134a Air Conditioning Refrigerant is a hydrofluoro-
carbon (HFC) that is endorsed by the Environmental
Protection Agency and is an ozone-saving product. How-
ever, the manufacturer recommends that air conditioning
service be performed by authorized dealers or other
service facilities using recovery and recycling equipment.
NOTE: Use only manufacturer approved A/C System
Sealers, Stop Leak Products, Seal Conditioners, Compres-
sor Oil, and Refrigerants.
A/C AIR FILTER Ð IF EQUIPPED
Refer to the ªMaintenance Scheduleº in Section 8 of this
manual for A/C Air Filter service intervals.
WARNING!Do not remove the A/C Air Filter while the blower is
operating or personal injury may result. MAINTAINING YOUR VEHICLE 383
7
Page 390 of 467
into the passenger compartment. In addition, inspect the
exhaust system each time the vehicle is raised for an oil
change or lubrication. Replace as required.
WARNING!Exhaust gases can injure or kill. They contain carbon
monoxide (CO) which is colorless and odorless.
Breathing it can make you unconscious and can
eventually poison you. To avoid breathing CO, refer
to Exhaust Gas in the Safety Tips section of this
manual. COOLING SYSTEM
WARNING!² When working near the radiator cooling fan, dis-
connect the fan motor lead or turn the ignition
switch to the LOCK position. The fan is tempera-
ture controlled and can start at anytime the igni-
tion switch is in the ON position.
² You or others can be badly burned by hot coolant
or steam from your radiator. If you see or hear
steam coming from under the hood, don't open the
hood until the radiator has had time to cool. Never
try to open a cooling system pressure cap when the
radiator is hot.388 MAINTAINING YOUR VEHICLE
Page 397 of 467
WARNING!Riding the brakes can lead to brake failure and
possibly an accident. Driving with your foot resting
or riding on the brake pedal can result in abnormally
high brake temperatures, excessive lining wear, and
possible brake damage. You wouldn't have your full
braking capacity in an emergency.
Brake And Power Steering Hoses
When servicing the vehicle for scheduled maintenance,
inspect the surface of the hoses and nylon tubing for
evidence of heat and mechanical damage. Hard and
brittle rubber, cracking, tears, cuts, abrasions, and exces-
sive swelling suggest deterioration of the rubber. Particu-
lar attention should be made to examining those hose
surfaces nearest to high heat sources, such as the exhaust
manifold. Ensure nylon tubing in these areas has not melted or
collapsed.
Inspect all hose clamps and couplings to make sure they
are secure and no leaks are present.
NOTE:
² Often, fluids such as oil, power steering fluid, and
brake fluid are used during assembly plant operations
to ease the assembly of hoses to couplings. Therefore,
oil wetness at the hose-coupling area is not necessarily
an indication of leakage. Actual dripping of hot fluid
when systems are under pressure (during vehicle
operation) should be noted before a hose is replaced
based on leakage.
² Inspect the brake hoses whenever the brake system is
serviced and at every engine oil change. Inspect hy-
draulic brake hoses for surface cracking, scuffing, or
worn spots. If there is any evidence of cracking,
scuffing, or worn spots, the hose should be replaced MAINTAINING YOUR VEHICLE 395
7
Page 429 of 467
oil if it has been six months since your last oil change
even if the oil change indicator message is NOT
illuminated.
² Change your engine oil more often if you drive your
vehicle off-road for an extended period of time.
² Under no circumstances should oil change intervals
exceed 6,000 mi (10 000 km) or six months, whichever
comes first.
Your authorized dealer will reset the oil change indicator
message after completing the scheduled oil change. If a
scheduled oil change is performed by someone other
than your authorized dealer, the message can be reset by
referring to the steps described under ªOil Change
Requiredº under ªElectronic Vehicle Information Center
(EVIC)º in Section 4 or under ªOdometer/Trip Odom-
eterº under ªInstrument Cluster Descriptionsº in Section
4. At Each Stop for Fuel
² Check the engine oil level about five minutes after a
fully warmed engine is shut off. Checking the oil level
while the vehicle is on level ground will improve the
accuracy of the oil level reading. Add oil only when
the level is at or below the SAFE or MIN mark.
² Check the windshield washer solvent and add if
required.
Once a Month
² Check tire pressure and look for unusual wear or
damage.
² Inspect the battery and clean and tighten the terminals
as required.
² Check the fluid levels of coolant reservoir, brake
master cylinder, power steering, and automatic trans-
axle, and add fluid as needed. MAINTENANCE SCHEDULES 427
8 M
A
I
N
T
E
N
A
N
C
E
S
C
H
E
D
U
L
E
S
Page 448 of 467
Bulbs, Light ............................ 411
Calibration, Compass ..................... 186
Capacities, Antifreeze (Engine Coolant) ......... 20
Capacities, Fluid ........................ 420
Caps, Filler
Fuel ................................ 328
Oil (Engine) .................. 368,369,370,377
Radiator (Coolant Pressure) ............... 391
Car Washes ............................ 401
Carbon Monoxide Warning ................. 323
Cargo Area Features ...................... 160
Cargo Compartment ...................... 160
Cargo Load Floor ........................ 160
Cargo (Vehicle Loading) ................... 160
Catalytic Converter ...................... 379
Caution, Exhaust Gas ...................... 78
CD (Compact Disc) Player ............... 220,223
CD (Compact Disc) Player Maintenance ........ 241 Cellular Phone .................. 89,223,224,241
Center High Mounted Stop Light ............ 418
Chains, Tire ............................ 309
Changing A Flat Tire ..................... 350
Chart, Tire Sizing ........................ 292
Check Engine Light
(Malfunction Indicator Light) ............... 372
Child Restraint .................... 67,69,73,76
Child Restraint Tether Anchors ............. 71,73
Child Safety Locks ........................ 34
Cigar Lighter ........................... 155
Clean Air Gasoline ....................... 320
Cleaning
Wheels ............................. 402
Windshield Wiper Blades ................. 386
Climate Control ......................... 242
Clock ........................ 194,206,221,225
Coin Holder ........................... 156
Compact Disc (CD) Maintenance ............. 241446 INDEX