key DODGE AVENGER 2012 2.G Owner's Manual
[x] Cancel search | Manufacturer: DODGE, Model Year: 2012, Model line: AVENGER, Model: DODGE AVENGER 2012 2.GPages: 108, PDF Size: 2.81 MB
Page 47 of 108
Playing Music From The HDD• Press the “RADIO/MEDIA” hard key until the media source tabs are
displayed at the top of the screen.
Touch the “HDD” soft-key tab. Touch
the desired track soft-key to play or
touch the “SEARCH/BROWSE”
soft-key to search by artist, by album,
by song, by genre, from a folder, or
from Favorites.
Cleaning Your Touch-Screen Radio
• Do not spray any liquid or caustic chemicals directly on the screen. Use a cleanand dry micro fiber lens cleaning cloth in order to clean the touch-screen.
• If necessary, use a lint-free cloth dampened with a cleaning solution such as isopropyl alcohol or an isopropyl alcohol and water solution ratio of 50:50. Be sure
to follow the solvent manufacturer's precautions and directions.
NAVIGATION
• Your navigation system receives GPS signals from up to 16 satellites to display theposition of your vehicle. Map and database information is supplied through a hard
disk drive.
• Touch the “NAV” hard-key on the radio face plate to access the Navigation system and the NAV – Main Menu.
NOTE: For your own safety and the safety of others, it is not possible to use certain
features while the vehicle is in motion.
ELECTRONICS
45
Page 48 of 108
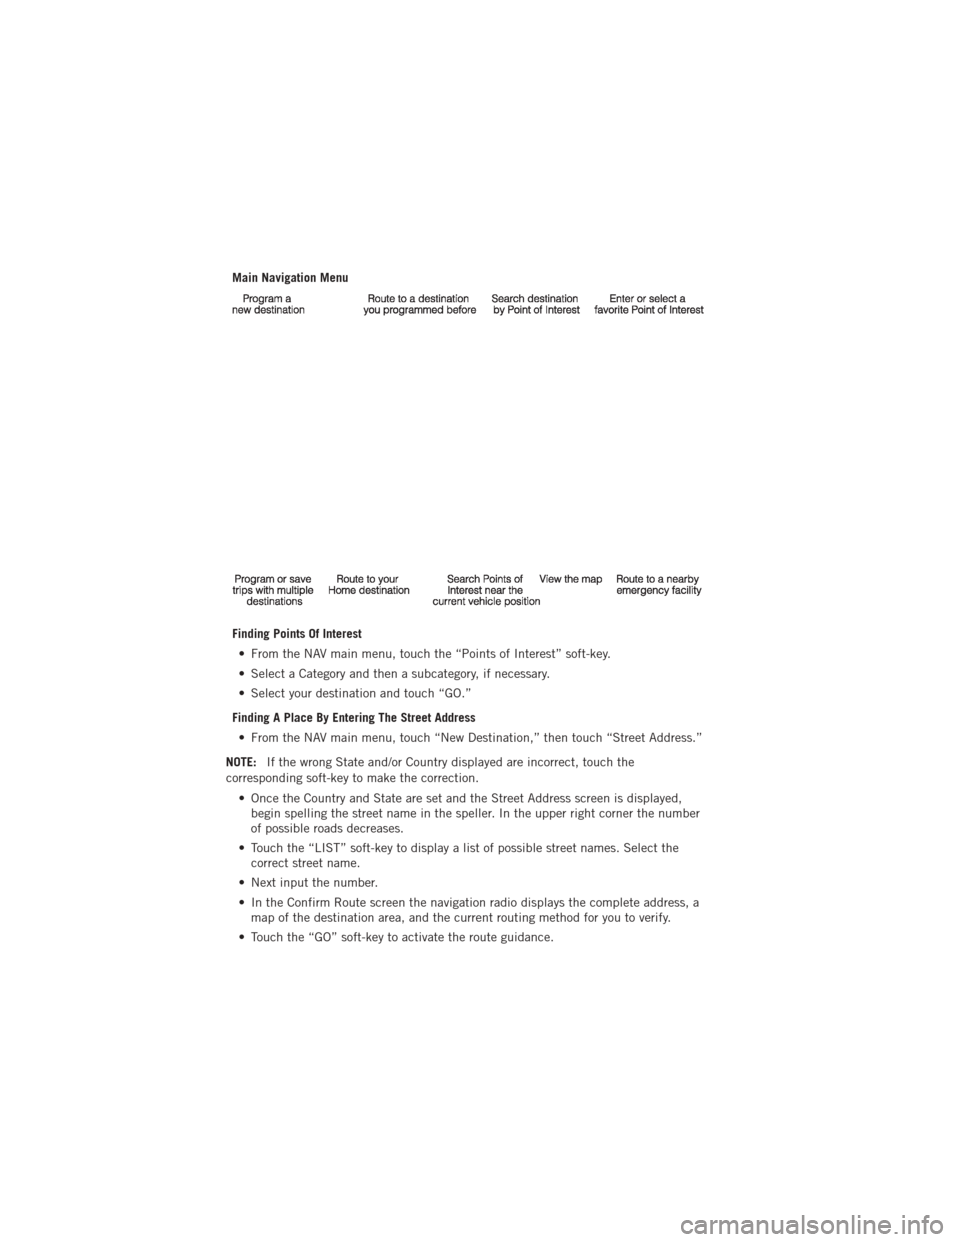
Main Navigation Menu
Finding Points Of Interest• From the NAV main menu, touch the “Points of Interest” soft-key.
• Select a Category and then a subcategory, if necessary.
• Select your destination and touch “GO.”
Finding A Place By Entering The Street Address • From the NAV main menu, touch “New Destination,” then touch “Street Address.”
NOTE: If the wrong State and/or Country displayed are incorrect, touch the
corresponding soft-key to make the correction.
• Once the Country and State are set and the Street Address screen is displayed,begin spelling the street name in the speller. In the upper right corner the number
of possible roads decreases.
• Touch the “LIST” soft-key to display a list of possible street names. Select the correct street name.
• Next input the number.
• In the Confirm Route screen the navigation radio displays the complete address, a map of the destination area, and the current routing method for you to verify.
• Touch the “GO” soft-key to activate the route guidance.
ELECTRONICS
46
Page 49 of 108
Entering Your Home Location• Press the “NAV” hard-key on the right side of the radio.
• From the Nav – Main Menu, touch “Guide Me Home” to enter your home address. If no home address has been set, touch “YES” to access the Enter Home Address
menu.
• Touch “Street Address” to enter your address. Touch the soft-key with your state’s name and enter your street name into the speller.
• Once the street name has been input, touch “CONTINUE” to confirm. Enter the house number into the next screen. If more than one city has this address, you will
then need to select your city from a list.
• Once the address is entered completely, the system shows a map of your home address area. Touch “SAVE” to confirm the address. The system will then ask if
you want to go there, yes or no.
Change Home Address • This procedure will allow you to change your Home Address if one has already been entered.
• Press the “MENU” hard-key, touch “My Files” and then touch “My Address Book.”
• Touch “Home,” then touch “Edit Contacts” and then “Change Address.”
• Touch the soft-key with your state’s name and enter your street name into the speller.
• Once the street name has been input, touch “CONTINUE” to confirm.
• Enter the house number into the next screen. If more than one city has this address, you will then need to select your city from a list.
• Touch the “SAVE” soft-key to confirm the address.
Go Home • From the NAV main menu, touch “Guide Me Home” when you want to route to your home destination.
Where Am I Now? • From the NAV main menu, touch “Where Am I Now?.” The Where Am I Now? menu displays location information for the current vehicle position.
• Touch the “NEARBY POI”soft-key to search for a local Point of Interest.
• Touch the “SAVE LOCATION” soft-key to save the current location in the Saved Locations memory.
ELECTRONICS
47
Page 50 of 108
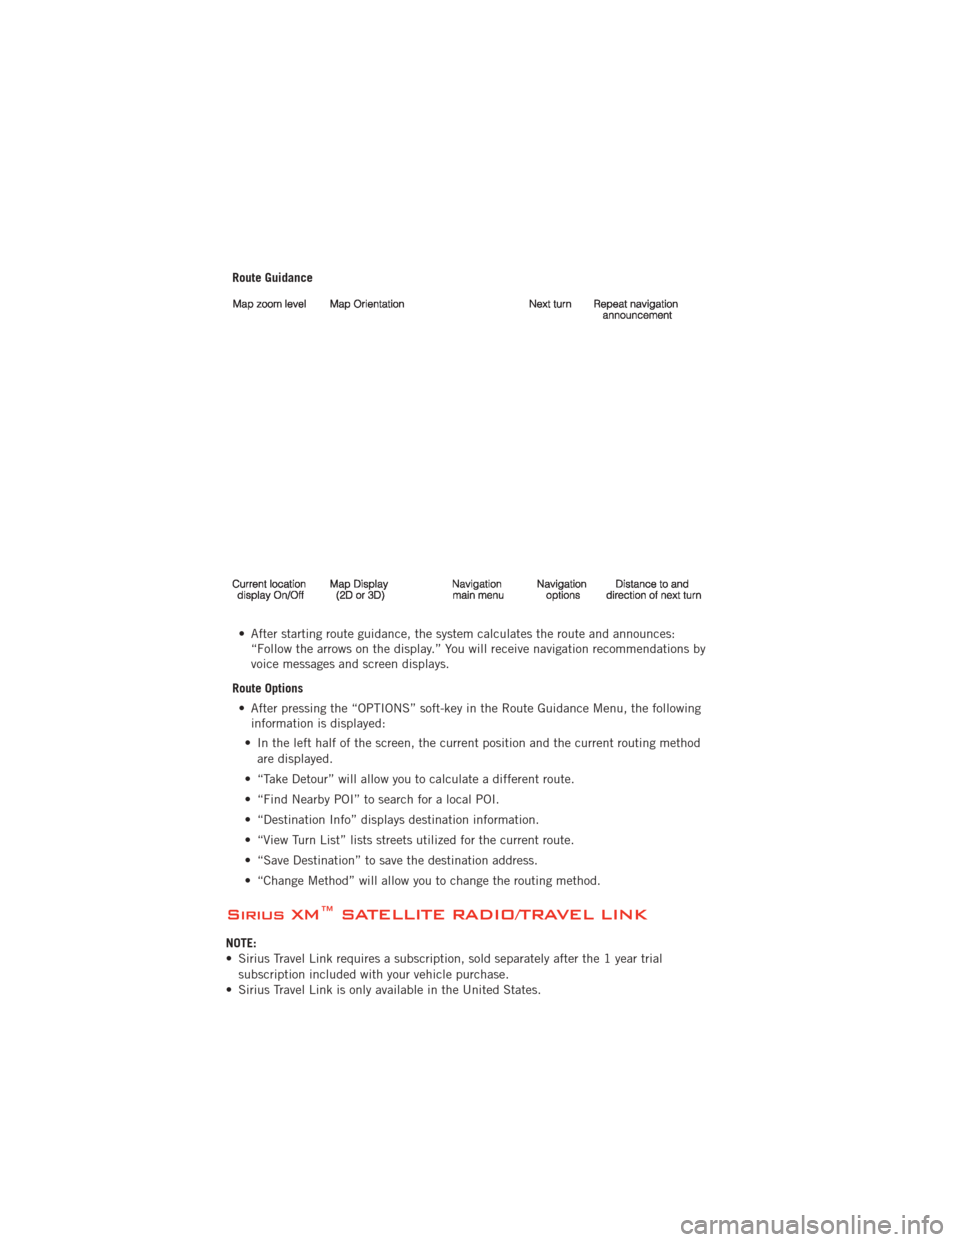
Route Guidance• After starting route guidance, the system calculates the route and announces: “Follow the arrows on the display.” You will receive navigation recommendations by
voice messages and screen displays.
Route Options • After pressing the “OPTIONS” soft-key in the Route Guidance Menu, the following information is displayed:
• In the left half of the screen, the current position and the current routing method are displayed.
• “Take Detour” will allow you to calculate a different route.
• “Find Nearby POI” to search for a local POI.
• “Destination Info” displays destination information.
• “View Turn List” lists streets utilized for the current route.
• “Save Destination” to save the destination address.
• “Change Method” will allow you to change the routing method.
Sirius XM™ SATELLITE RADIO/TRAVEL LINK
NOTE:
• Sirius Travel Link requires a subscription, sold separately after the 1 year trial subscription included with your vehicle purchase.
• Sirius Travel Link is only available in the United States.
ELECTRONICS
48
Page 51 of 108
• The following describes features that are available when in Sirius XM™ SatelliteRadio mode.
• To access Sirius XM™ Satellite Radio, press the “RADIO/MEDIA” or “RADIO” and then touch the “SAT” soft-key tab.
Info
• Touch the “i” soft-key to view detailed information about the current Sirius XM™Satellite channel.
Sirius XM™ Parental Controls
• Sirius XM™ offers the option to permanently block selected channels. Call1-888-539-7474 and request the Family Package.
• Media Center 430/430N and 730N: Press the “MENU” hard-key while in Sirius XM™ Satellite Radio Mode, then touch the “Channel Lock” to enable and/or
disable desired channels. The SEEK and SCAN function will then only display
channels without Channel lock.
Search/Browse
• Touch the “magnifying glass” soft-keyto search/browse the Sirius XM™
channel listing by Favorites and
Categories such as Song, Artist and
Channel Name. The Search/Browse
also allows you manage your Favorites.
Sirius XM™ Satellite Radio Favorites (SAT
Favorites) • You can save 50 favorite songs and 50 favorite artists.
• Touch the “add favorite” soft-key to add either the song or the artist of the
currently playing program to the SAT
Favorites list.
• You will see a favorite star indicator in the lower left side of the screen and a pop up will alert you that a favorite song or artist is currently playing on one of the
Sirius XM™ satellite radio channels.
NOTE: Refer to your Media Center 730N or
Media Center 430/430N User's Manual for
more information.
ELECTRONICS
49
Page 52 of 108
Display SAT Favorites List• Touch the “Search/Browse” soft-key and select “Favorites” from the SAT Browse screen.
• Touch the desired favorites soft-key to switch the SAT tuner to the
corresponding channel.
• You may use the “LIST” soft-key to toggle between:
• Favorite Songs.
• Favorite Artists.
• Currently playing favorites.
Replay
• While you are in SAT mode, you can replay 44 minutes of the current Sirius
XM™ channel (when the channel is
changed, this audio buffer is erased).
Press the REPLAY button to listen to
the stored audio.
• You can touch the on-screen controls to pause and rewind audio playback, touch the SCAN button to preview each of the tracks stored in the buffer, or select a
track from the list.
• The time displayed below the bar indicates how much time is present between the current buffer play position and the live broadcast.
Replay Option Option Description
Play/Pause Touch to Pause content playback. Touch Pause/Play again to resume playback.
Rewind/RW Rewinds the channel content in steps of 5 seconds. Touch and hold to rewind continuously, then release to begin playing content
at that point.
Fast Forward/FW Forwards the content, and works similarly to Rewind/RW. However, Fast Forward/FW can only be used when content has been
previously rewound.
ELECTRONICS
50
Page 53 of 108
Replay Time Displays the amount of time in the upper center of the screen bywhich your content lags the Live channel.
Live Resumes playback of Live content at any time while replaying rewound content.
Sirius Travel Link (Media Center 730N (RHR) & Media Center 430N (RHB) Only)
NOTE:
• Sirius Travel Link requires a subscription, sold separately after the 1 year trial
subscription included with your vehicle purchase.
• Sirius Travel Link is only available in the United States.
• Sirius Travel Link brings a wealth of useful information into your vehicle and rightto your fingertips.
• To access Travel Link, press the MENU hard-key, then the Travel Link soft-key.
1 – Favorites View and store your favorite location, theater and sport teams
for quick access.
2 – Forecast View detailed weather conditions, forecasts and
ski/snowboarding conditions at local resorts.
3 – Ski Info View ski and snowboarding conditions at local ski resorts.
4 – Fuel Prices View detailed price information for fuel stations near your
current location.
5 – Movies View information on movies that are playing at theaters near
your current location.
6 – Sports View sports scores and upcoming events for all major sports.
ELECTRONICS
51
Page 54 of 108
STEERING WHEEL AUDIO CONTROLS
• The steering wheel audio controls arelocated on the rear surface of the
steering wheel.
Right Switch
• Press the switch up or down toincrease or decrease the volume.
• Press the button in the center to change modes AM/FM/CD/SAT.
Left Switch
• Press the switch up or down to search for the next listenable station or select thenext or previous CD track.
• Press the button in the center to select the next preset station (radio) or to change CDs if equipped with a CD Changer.
iPod®/USB/MP3 CONTROL
• There are many ways to play music from iPod®/MP3 players or USB devices
through your vehicle's sound system.
• The remote USB port, located within the front storage area, allows you to plug an iPod
®into the vehicle's sound system.
NOTE: If equipped with the Media Center
730N (RHR), the USB port on the
faceplate allows the same functions as the
remote USB port.
• Non-Touch-Screen Radios: To hearaudio from devices connected to the
USB port, press the “AUX” button on
the radio faceplate
• Touch-Screen Radios: To hear audio from devices connected to the USB
port, press the “MEDIA” hard-key, then
touch the “AUX” or “iPod
®” soft-key.
• When connected to this feature: • The iPod
®can be controlled using the
radio buttons to Play, Browse, and
List the iPod
®or external devices
contents.
• The iPod
®battery charges when
plugged into the USB port (if
supported by the specific audio
device).
ELECTRONICS
52
Page 55 of 108
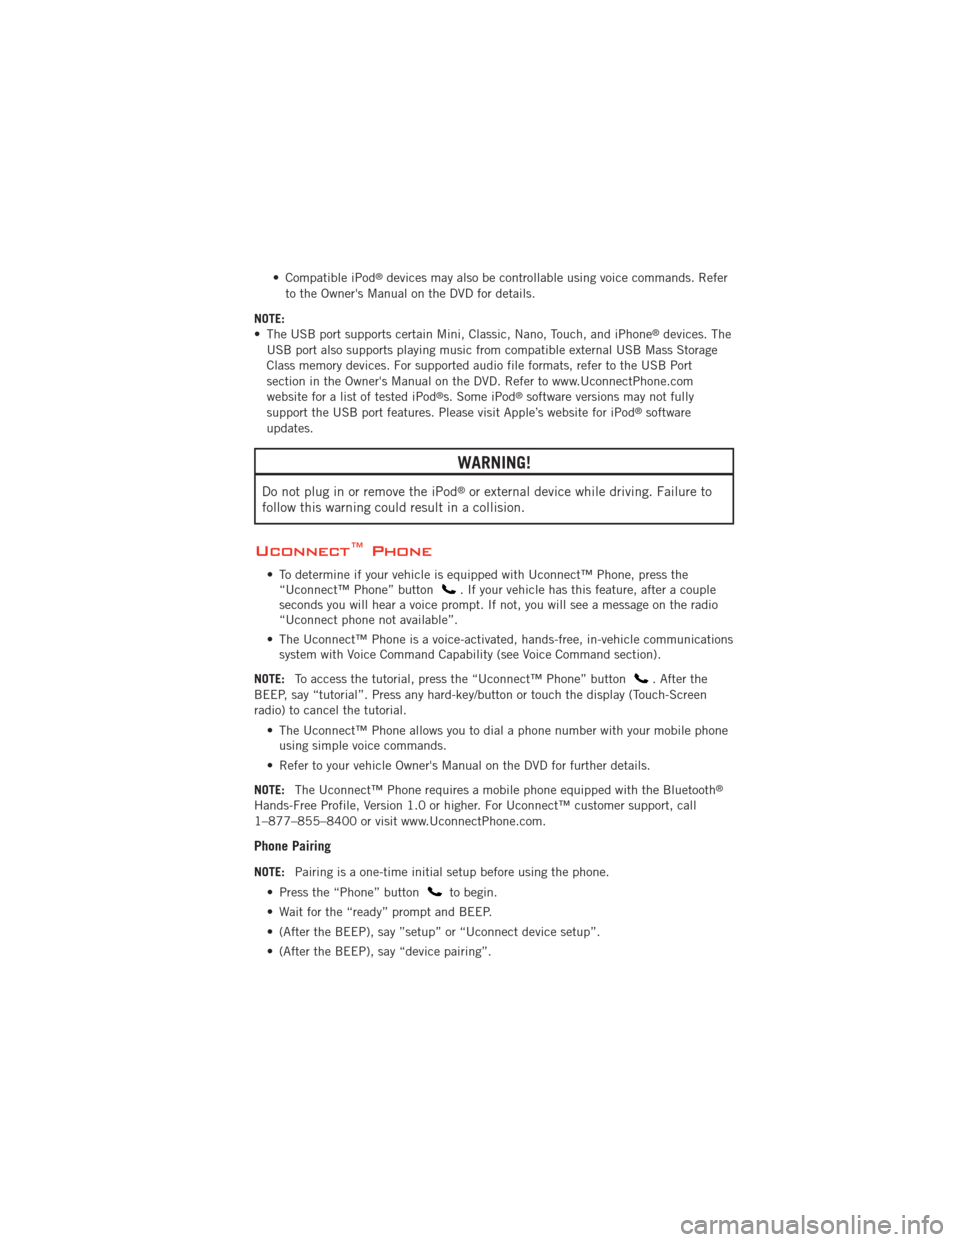
• Compatible iPod®devices may also be controllable using voice commands. Refer
to the Owner's Manual on the DVD for details.
NOTE:
• The USB port supports certain Mini, Classic, Nano, Touch, and iPhone
®devices. The
USB port also supports playing music from compatible external USB Mass Storage
Class memory devices. For supported audio file formats, refer to the USB Port
section in the Owner's Manual on the DVD. Refer to www.UconnectPhone.com
website for a list of tested iPod
®s. Some iPod®software versions may not fully
support the USB port features. Please visit Apple’s website for iPod®software
updates.
WARNING!
Do not plug in or remove the iPod®or external device while driving. Failure to
follow this warning could result in a collision.
Uconnect™ Phone
• To determine if your vehicle is equipped with Uconnect™ Phone, press the “Uconnect™ Phone” button. If your vehicle has this feature, after a couple
seconds you will hear a voice prompt. If not, you will see a message on the radio
“Uconnect phone not available”.
• The Uconnect™ Phone is a voice-activated, hands-free, in-vehicle communications system with Voice Command Capability (see Voice Command section).
NOTE: To access the tutorial, press the “Uconnect™ Phone” button
. After the
BEEP, say “tutorial”. Press any hard-key/button or touch the display (Touch-Screen
radio) to cancel the tutorial.
• The Uconnect™ Phone allows you to dial a phone number with your mobile phoneusing simple voice commands.
• Refer to your vehicle Owner's Manual on the DVD for further details.
NOTE: The Uconnect™ Phone requires a mobile phone equipped with the Bluetooth
®
Hands-Free Profile, Version 1.0 or higher. For Uconnect™ customer support, call
1–877–855–8400 or visit www.UconnectPhone.com.
Phone Pairing
NOTE:Pairing is a one-time initial setup before using the phone.
• Press the “Phone” button
to begin.
• Wait for the “ready” prompt and BEEP.
• (After the BEEP), say ”setup” or “Uconnect device setup”.
• (After the BEEP), say “device pairing”.
ELECTRONICS
53
Page 59 of 108
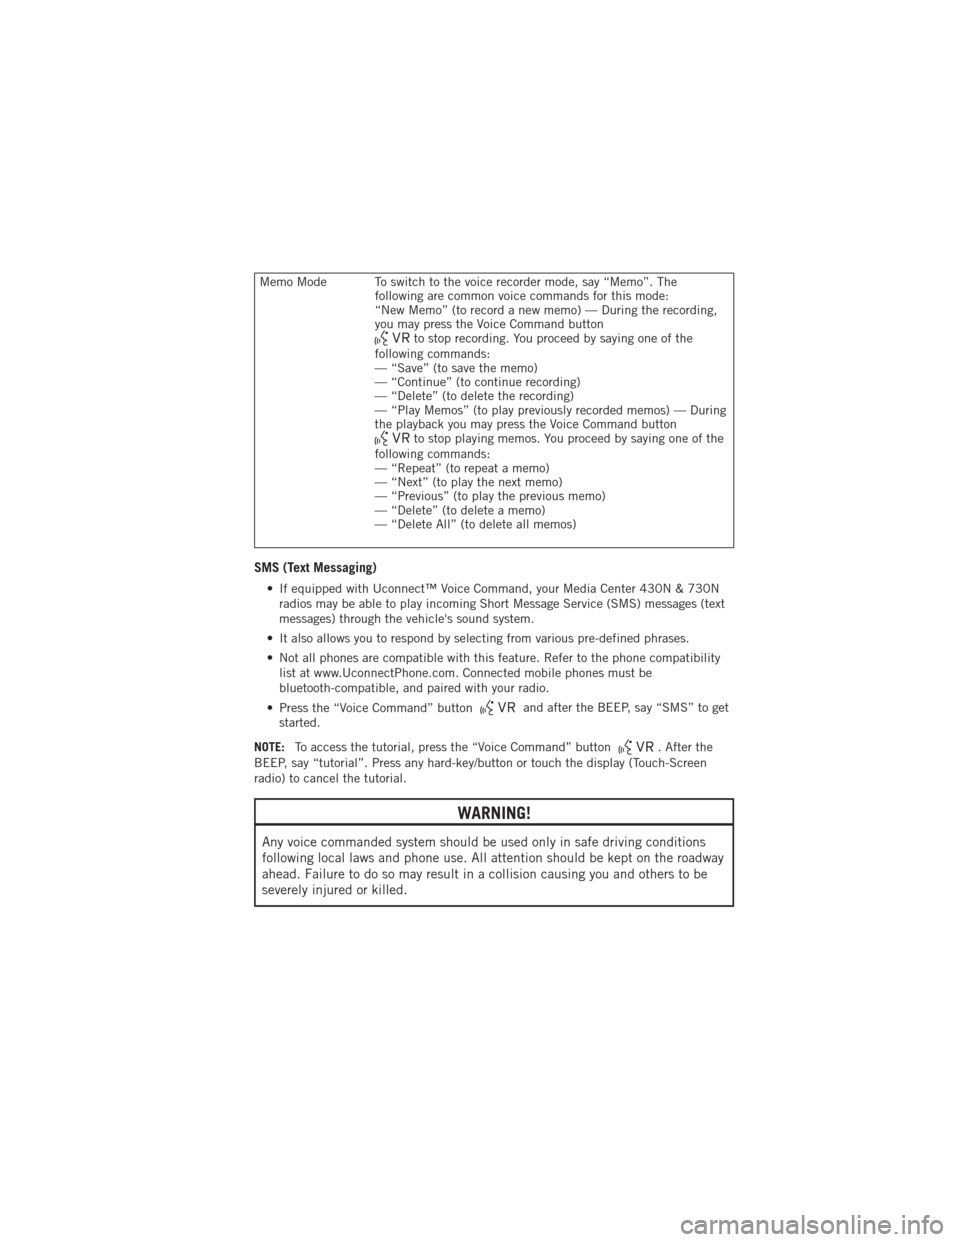
Memo Mode To switch to the voice recorder mode, say “Memo”. Thefollowing are common voice commands for this mode:
“New Memo” (to record a new memo) — During the recording,
you may press the Voice Command button
to stop recording. You proceed by saying one of the
following commands:
— “Save” (to save the memo)
— “Continue” (to continue recording)
— “Delete” (to delete the recording)
— “Play Memos” (to play previously recorded memos) — During
the playback you may press the Voice Command button
to stop playing memos. You proceed by saying one of the
following commands:
— “Repeat” (to repeat a memo)
— “Next” (to play the next memo)
— “Previous” (to play the previous memo)
— “Delete” (to delete a memo)
— “Delete All” (to delete all memos)
SMS (Text Messaging)
• If equipped with Uconnect™ Voice Command, your Media Center 430N & 730N radios may be able to play incoming Short Message Service (SMS) messages (text
messages) through the vehicle's sound system.
• It also allows you to respond by selecting from various pre-defined phrases.
• Not all phones are compatible with this feature. Refer to the phone compatibility list at www.UconnectPhone.com. Connected mobile phones must be
bluetooth-compatible, and paired with your radio.
• Press the “Voice Command” button
and after the BEEP, say “SMS” to get
started.
NOTE: To access the tutorial, press the “Voice Command” button
. After the
BEEP, say “tutorial”. Press any hard-key/button or touch the display (Touch-Screen
radio) to cancel the tutorial.
WARNING!
Any voice commanded system should be used only in safe driving conditions
following local laws and phone use. All attention should be kept on the roadway
ahead. Failure to do so may result in a collision causing you and others to be
severely injured or killed.
ELECTRONICS
57