light DODGE CALIBER 2011 1.G Owner's Manual
[x] Cancel search | Manufacturer: DODGE, Model Year: 2011, Model line: CALIBER, Model: DODGE CALIBER 2011 1.GPages: 80, PDF Size: 3.66 MB
Page 47 of 80
24-HOUR TOWING ASSISTANCE
• Dial toll-free 1-800-521-2779 or 1-800-363-4869 for Canadian residents.
• Provide your name, vehicle identification number and license plate number.
• Provide your location, including telephone number, from which you are calling.
• Briefly describe the nature of the problem and answer a few simple questions.
• You will be given the name of the service provider and an estimated time of arrival.If you feel you are in an “unsafe situation”, please let us know. With your consent,
we will contact local police or safety authorities.
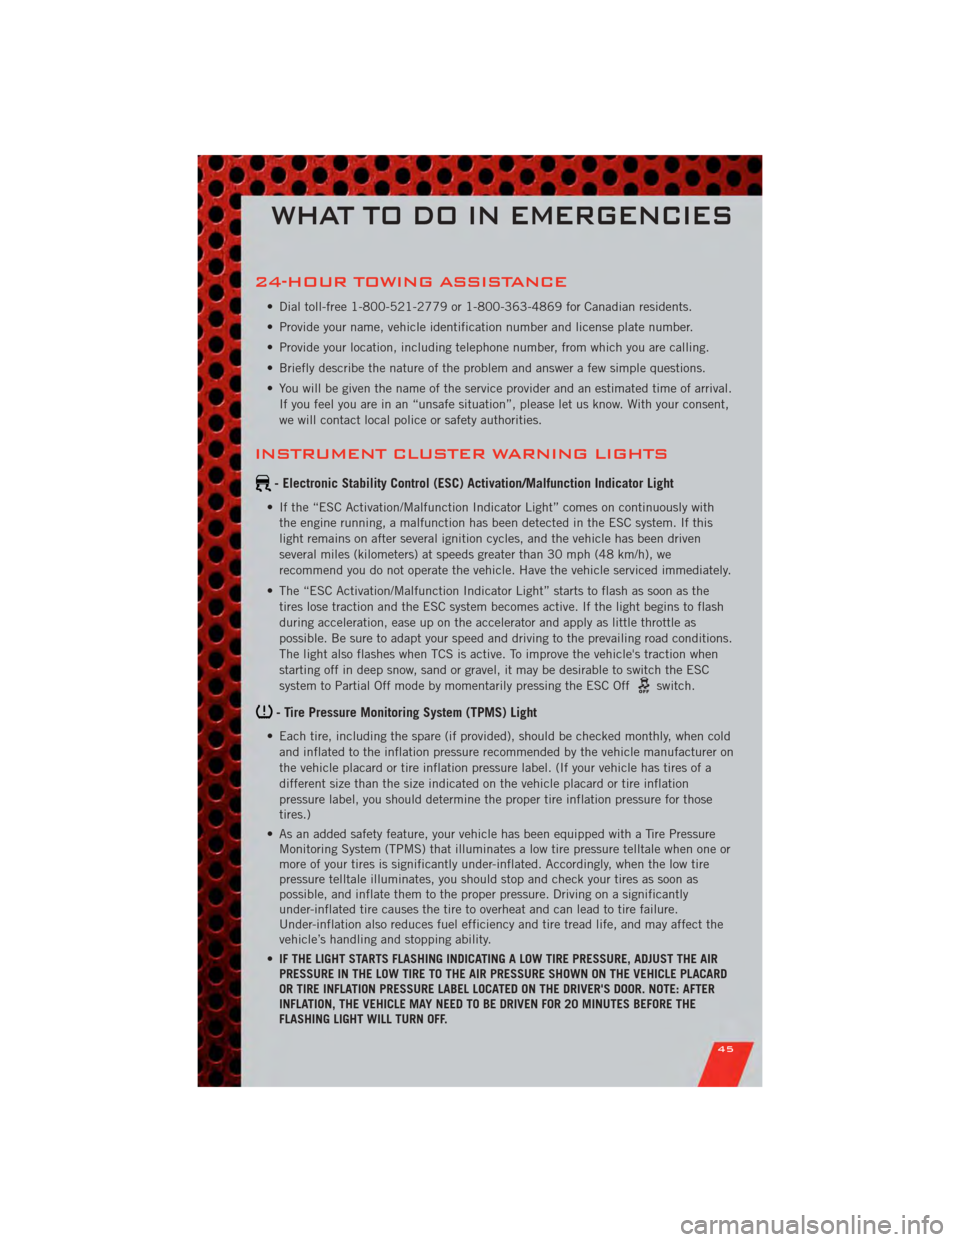
INSTRUMENT CLUSTER WARNING LIGHTS
- Electronic Stability Control (ESC) Activation/Malfunction Indicator Light
• If the “ESC Activation/Malfunction Indicator Light” comes on continuously withthe engine running, a malfunction has been detected in the ESC system. If this
light remains on after several ignition cycles, and the vehicle has been driven
several miles (kilometers) at speeds greater than 30 mph (48 km/h), we
recommend you do not operate the vehicle. Have the vehicle serviced immediately.
• The “ESC Activation/Malfunction Indicator Light” starts to flash as soon as the tires lose traction and the ESC system becomes active. If the light begins to flash
during acceleration, ease up on the accelerator and apply as little throttle as
possible. Be sure to adapt your speed and driving to the prevailing road conditions.
The light also flashes when TCS is active. To improve the vehicle's traction when
starting off in deep snow, sand or gravel, it may be desirable to switch the ESC
system to Partial Off mode by momentarily pressing the ESC Off
switch.
- Tire Pressure Monitoring System (TPMS) Light
• Each tire, including the spare (if provided), should be checked monthly, when coldand inflated to the inflation pressure recommended by the vehicle manufacturer on
the vehicle placard or tire inflation pressure label. (If your vehicle has tires of a
different size than the size indicated on the vehicle placard or tire inflation
pressure label, you should determine the proper tire inflation pressure for those
tires.)
• As an added safety feature, your vehicle has been equipped with a Tire Pressure Monitoring System (TPMS) that illuminates a low tire pressure telltale when one or
more of your tires is significantly under-inflated. Accordingly, when the low tire
pressure telltale illuminates, you should stop and check your tires as soon as
possible, and inflate them to the proper pressure. Driving on a significantly
under-inflated tire causes the tire to overheat and can lead to tire failure.
Under-inflation also reduces fuel efficiency and tire tread life, and may affect the
vehicle’s handling and stopping ability.
• IF THE LIGHT STARTS FLASHING INDICATING A LOW TIRE PRESSURE, ADJUST THE AIR
PRESSURE IN THE LOW TIRE TO THE AIR PRESSURE SHOWN ON THE VEHICLE PLACARD
OR TIRE INFLATION PRESSURE LABEL LOCATED ON THE DRIVER'S DOOR. NOTE: AFTER
INFLATION, THE VEHICLE MAY NEED TO BE DRIVEN FOR 20 MINUTES BEFORE THE
FLASHING LIGHT WILL TURN OFF.
WHAT TO DO IN EMERGENCIES
45
Page 48 of 80
• Please note that the TPMS is not a substitute for proper tire maintenance, and it isthe driver’s responsibility to maintain correct tire pressure, even if under-inflation
has not reached the level to trigger illumination of the TPMS low tire pressure
telltale.
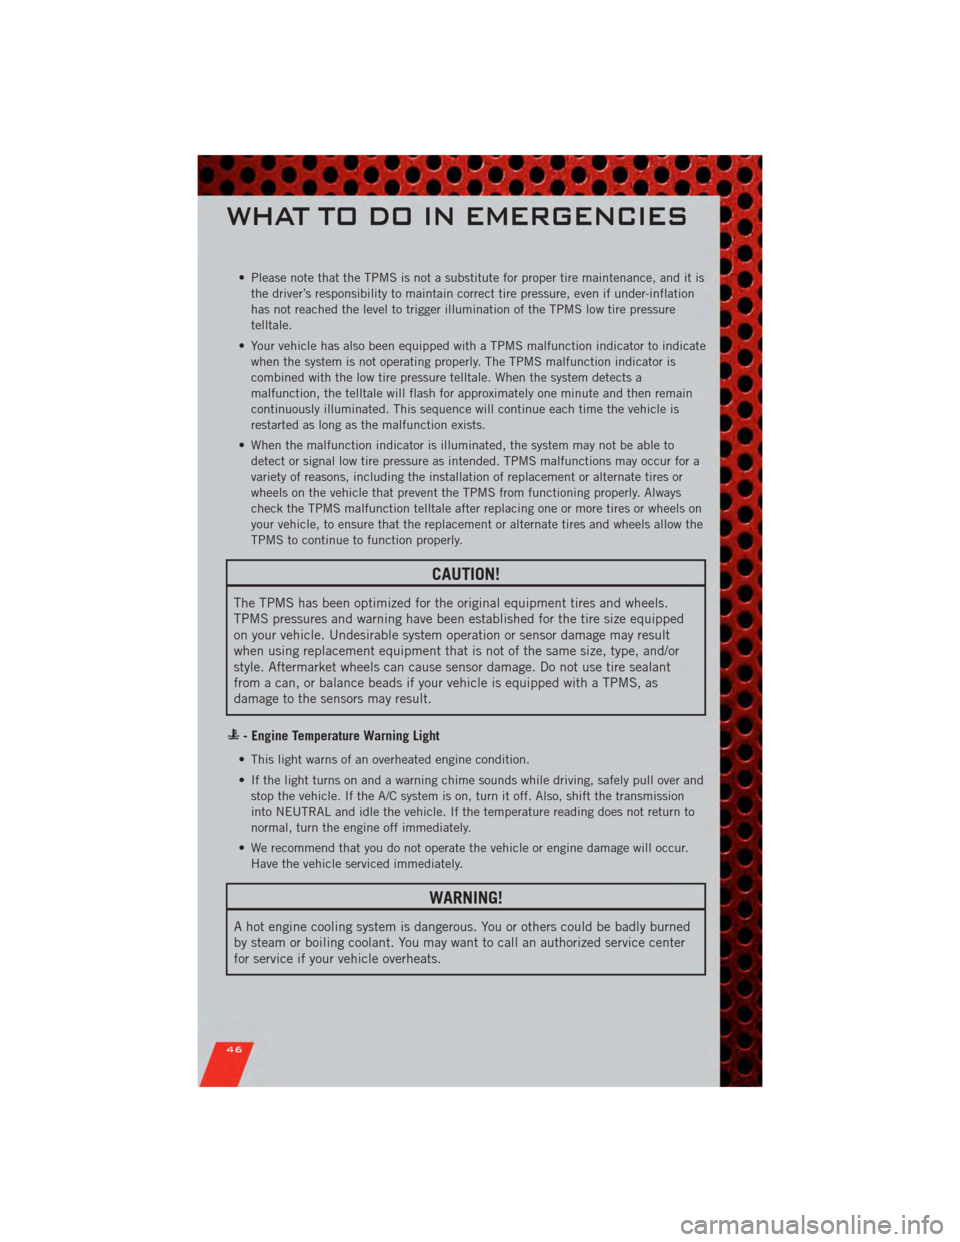
• Your vehicle has also been equipped with a TPMS malfunction indicator to indicate when the system is not operating properly. The TPMS malfunction indicator is
combined with the low tire pressure telltale. When the system detects a
malfunction, the telltale will flash for approximately one minute and then remain
continuously illuminated. This sequence will continue each time the vehicle is
restarted as long as the malfunction exists.
• When the malfunction indicator is illuminated, the system may not be able to detect or signal low tire pressure as intended. TPMS malfunctions may occur for a
variety of reasons, including the installation of replacement or alternate tires or
wheels on the vehicle that prevent the TPMS from functioning properly. Always
check the TPMS malfunction telltale after replacing one or more tires or wheels on
your vehicle, to ensure that the replacement or alternate tires and wheels allow the
TPMS to continue to function properly.
CAUTION!
The TPMS has been optimized for the original equipment tires and wheels.
TPMS pressures and warning have been established for the tire size equipped
on your vehicle. Undesirable system operation or sensor damage may result
when using replacement equipment that is not of the same size, type, and/or
style. Aftermarket wheels can cause sensor damage. Do not use tire sealant
from a can, or balance beads if your vehicle is equipped with a TPMS, as
damage to the sensors may result.
- Engine Temperature Warning Light
• This light warns of an overheated engine condition.
• If the light turns on and a warning chime sounds while driving, safely pull over andstop the vehicle. If the A/C system is on, turn it off. Also, shift the transmission
into NEUTRAL and idle the vehicle. If the temperature reading does not return to
normal, turn the engine off immediately.
• We recommend that you do not operate the vehicle or engine damage will occur. Have the vehicle serviced immediately.
WARNING!
A hot engine cooling system is dangerous. You or others could be badly burned
by steam or boiling coolant. You may want to call an authorized service center
for service if your vehicle overheats.
WHAT TO DO IN EMERGENCIES
46
Page 49 of 80
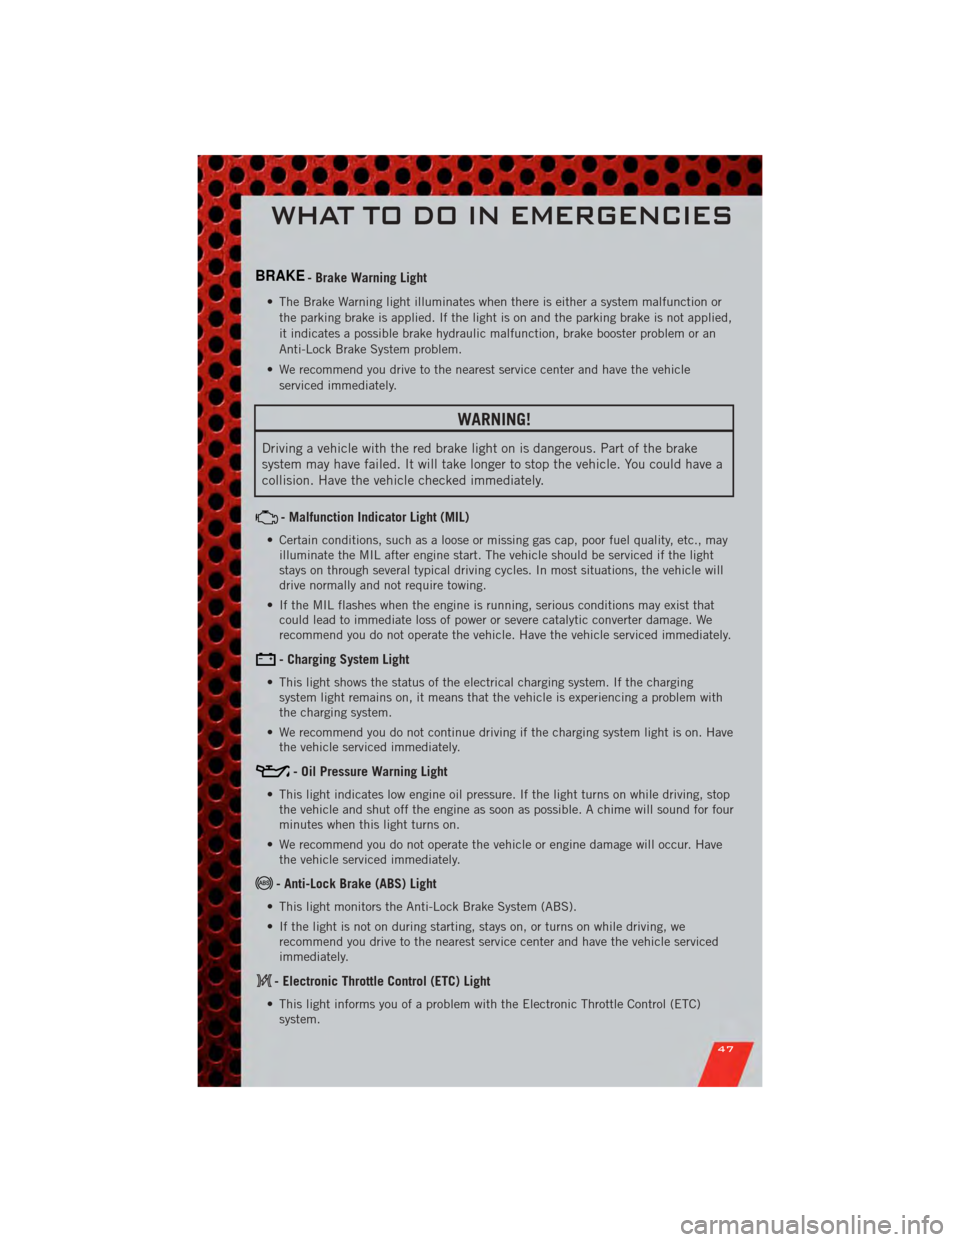
BRAKE- Brake Warning Light
• The Brake Warning light illuminates when there is either a system malfunction orthe parking brake is applied. If the light is on and the parking brake is not applied,
it indicates a possible brake hydraulic malfunction, brake booster problem or an
Anti-Lock Brake System problem.
• We recommend you drive to the nearest service center and have the vehicle serviced immediately.
WARNING!
Driving a vehicle with the red brake light on is dangerous. Part of the brake
system may have failed. It will take longer to stop the vehicle. You could have a
collision. Have the vehicle checked immediately.
- Malfunction Indicator Light (MIL)
• Certain conditions, such as a loose or missing gas cap, poor fuel quality, etc., mayilluminate the MIL after engine start. The vehicle should be serviced if the light
stays on through several typical driving cycles. In most situations, the vehicle will
drive normally and not require towing.
• If the MIL flashes when the engine is running, serious conditions may exist that could lead to immediate loss of power or severe catalytic converter damage. We
recommend you do not operate the vehicle. Have the vehicle serviced immediately.
- Charging System Light
• This light shows the status of the electrical charging system. If the chargingsystem light remains on, it means that the vehicle is experiencing a problem with
the charging system.
• We recommend you do not continue driving if the charging system light is on. Have the vehicle serviced immediately.
- Oil Pressure Warning Light
• This light indicates low engine oil pressure. If the light turns on while driving, stopthe vehicle and shut off the engine as soon as possible. A chime will sound for four
minutes when this light turns on.
• We recommend you do not operate the vehicle or engine damage will occur. Have the vehicle serviced immediately.
- Anti-Lock Brake (ABS) Light
• This light monitors the Anti-Lock Brake System (ABS).
• If the light is not on during starting, stays on, or turns on while driving, werecommend you drive to the nearest service center and have the vehicle serviced
immediately.
- Electronic Throttle Control (ETC) Light
• This light informs you of a problem with the Electronic Throttle Control (ETC)system.
WHAT TO DO IN EMERGENCIES
47
Page 50 of 80
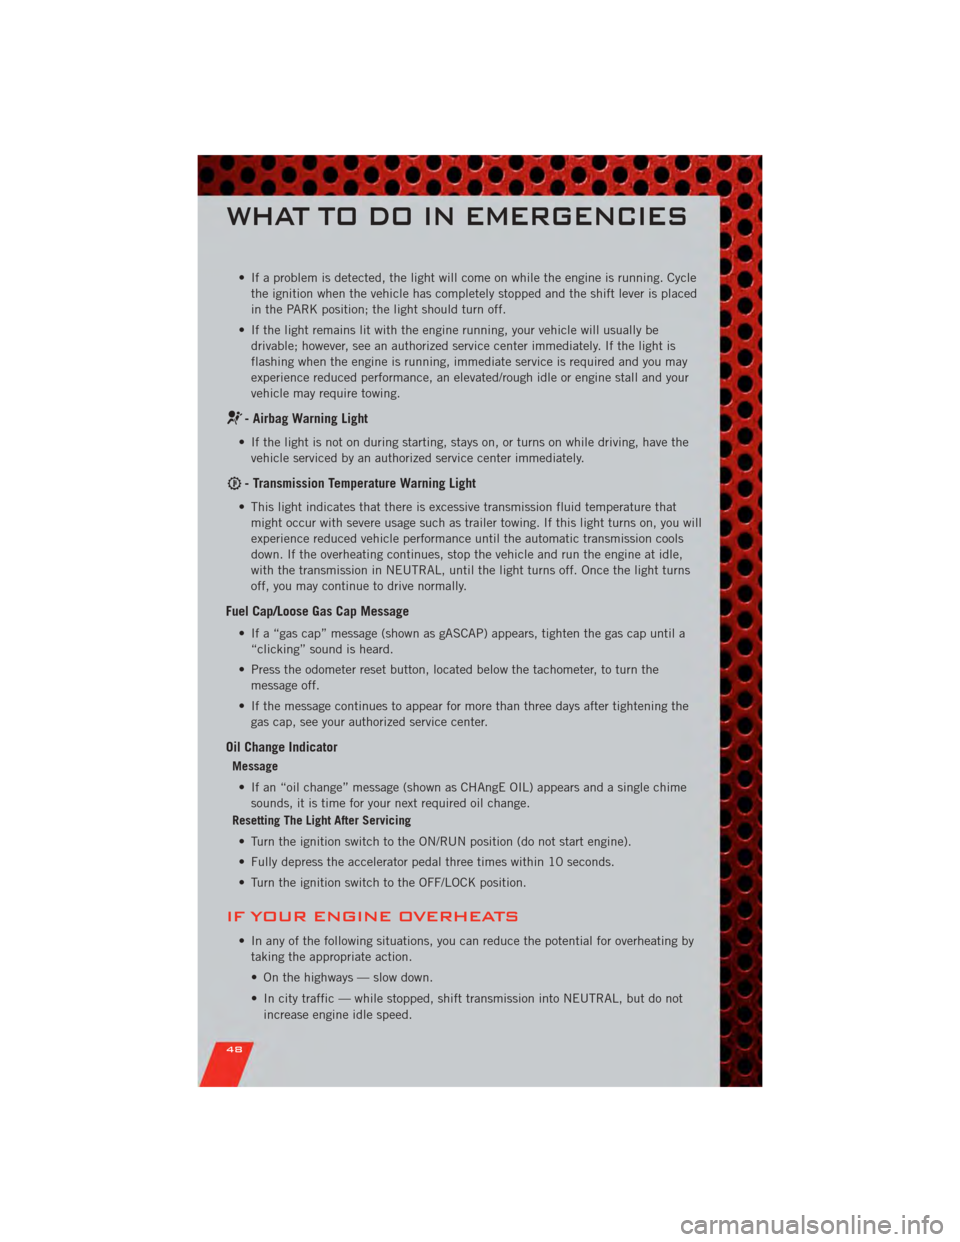
• If a problem is detected, the light will come on while the engine is running. Cyclethe ignition when the vehicle has completely stopped and the shift lever is placed
in the PARK position; the light should turn off.
• If the light remains lit with the engine running, your vehicle will usually be drivable; however, see an authorized service center immediately. If the light is
flashing when the engine is running, immediate service is required and you may
experience reduced performance, an elevated/rough idle or engine stall and your
vehicle may require towing.
- Airbag Warning Light
• If the light is not on during starting, stays on, or turns on while driving, have thevehicle serviced by an authorized service center immediately.
- Transmission Temperature Warning Light
• This light indicates that there is excessive transmission fluid temperature thatmight occur with severe usage such as trailer towing. If this light turns on, you will
experience reduced vehicle performance until the automatic transmission cools
down. If the overheating continues, stop the vehicle and run the engine at idle,
with the transmission in NEUTRAL, until the light turns off. Once the light turns
off, you may continue to drive normally.
Fuel Cap/Loose Gas Cap Message
• If a “gas cap” message (shown as gASCAP) appears, tighten the gas cap until a“clicking” sound is heard.
• Press the odometer reset button, located below the tachometer, to turn the message off.
• If the message continues to appear for more than three days after tightening the gas cap, see your authorized service center.
Oil Change Indicator
Message
• If an “oil change” message (shown as CHAngE OIL) appears and a single chime sounds, it is time for your next required oil change.
Resetting The Light After Servicing
• Turn the ignition switch to the ON/RUN position (do not start engine).
• Fully depress the accelerator pedal three times within 10 seconds.
• Turn the ignition switch to the OFF/LOCK position.
IF YOUR ENGINE OVERHEATS
• In any of the following situations, you can reduce the potential for overheating by taking the appropriate action.
• On the highways — slow down.
• In city traffic — while stopped, shift transmission into NEUTRAL, but do not
increase engine idle speed.
WHAT TO DO IN EMERGENCIES
48
Page 51 of 80
NOTE:There are steps that you can take to slow down an impending overheat
condition:
• If your air conditioner (A/C) is on, turn it off. The A/C system adds heat to the engine cooling system and turning the A/C off can help remove this heat.
• You can also turn the Temperature Control to maximum heat, the Mode Control to floor and the Fan Control to high. This allows the heater core to act as a supplement
to the radiator and aids in removing heat from the engine cooling system.
• If the temperature reading does not return to normal, turn the engine off immediately.
• We recommend that you do not operate the vehicle or engine damage will occur. Have the vehicle serviced immediately.
CAUTION!
Driving with a hot cooling system could damage your vehicle. If the temperature
gauge reads HOT (H), pull over and stop the vehicle. Idle the vehicle with the
air conditioner turned off until the pointer drops back into the normal range. If
the pointer remains on HOT (H), and you hear continuous chimes, turn the
engine off immediately and call for service.
WARNING!
You or others can be badly burned by hot engine coolant (antifreeze) or steam
from your radiator. If you see or hear steam coming from under the hood, do not
open the hood until the radiator has had time to cool. Never try to open a
cooling system pressure cap when the radiator or coolant bottle is hot.
AUTOMATIC TRANSMISSION OVERHEATING
• During sustained high speed driving or trailer towing up long grades on hot days,the automatic transmission oil may become too hot.
• When the transmission overheat warning light
turns on, you will experience
reduced performance until the automatic transmission cools down. Once the
transmission has cooled down and the light turns off, you may continue to drive
normally. If the high speed is maintained, the overheating will continue to occur.
• If the overheating continues, it may become necessary to stop the vehicle and run the engine at idle with the transmission in NEUTRAL until the light turns off.
WHAT TO DO IN EMERGENCIES
49
Page 53 of 80
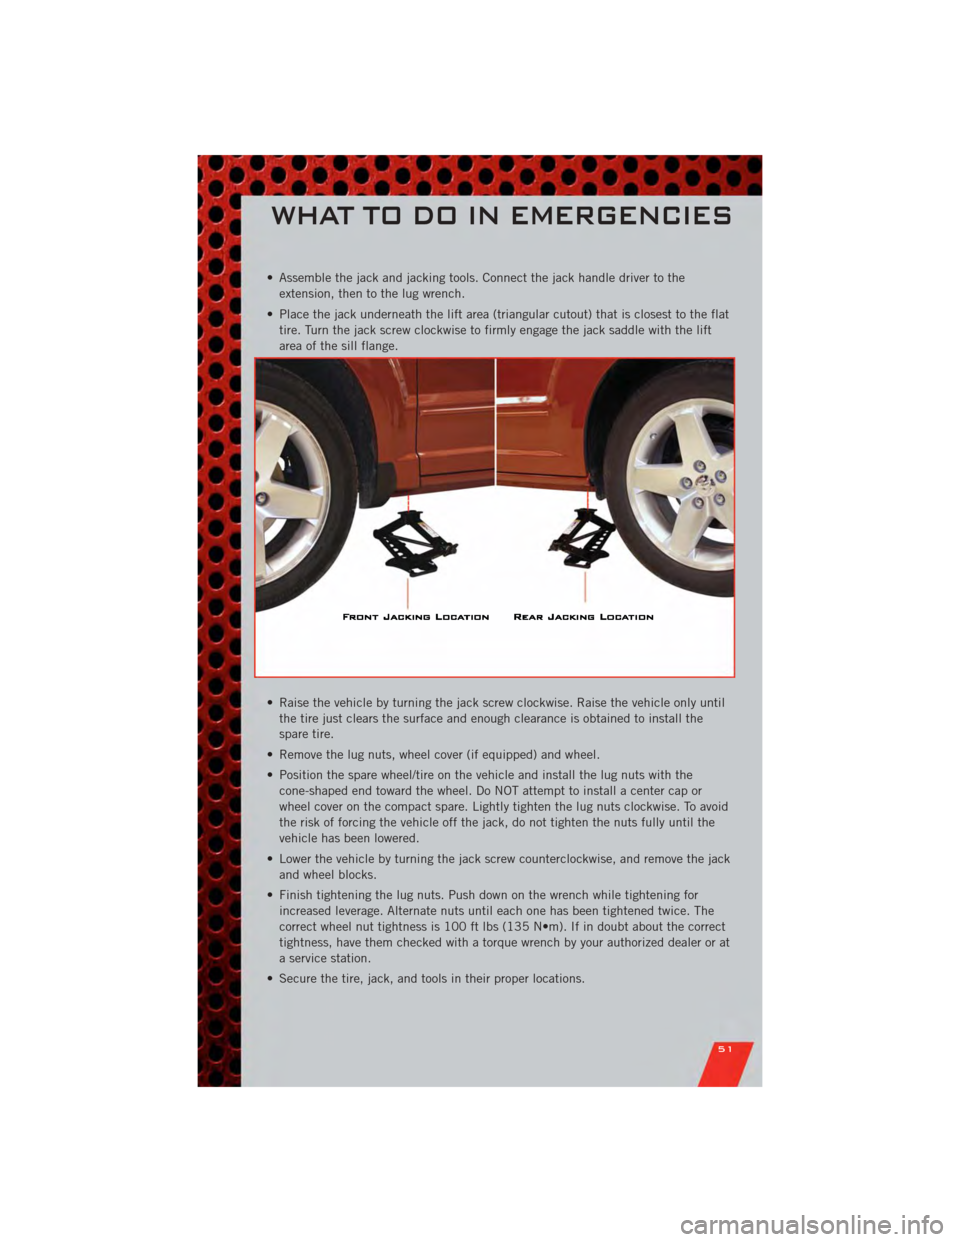
• Assemble the jack and jacking tools. Connect the jack handle driver to theextension, then to the lug wrench.
• Place the jack underneath the lift area (triangular cutout) that is closest to the flat tire. Turn the jack screw clockwise to firmly engage the jack saddle with the lift
area of the sill flange.
• Raise the vehicle by turning the jack screw clockwise. Raise the vehicle only until the tire just clears the surface and enough clearance is obtained to install the
spare tire.
• Remove the lug nuts, wheel cover (if equipped) and wheel.
• Position the spare wheel/tire on the vehicle and install the lug nuts with the cone-shaped end toward the wheel. Do NOT attempt to install a center cap or
wheel cover on the compact spare. Lightly tighten the lug nuts clockwise. To avoid
the risk of forcing the vehicle off the jack, do not tighten the nuts fully until the
vehicle has been lowered.
• Lower the vehicle by turning the jack screw counterclockwise, and remove the jack and wheel blocks.
• Finish tightening the lug nuts. Push down on the wrench while tightening for increased leverage. Alternate nuts until each one has been tightened twice. The
correct wheel nut tightness is 100 ft lbs (135 N•m). If in doubt about the correct
tightness, have them checked with a torque wrench by your authorized dealer or at
a service station.
• Secure the tire, jack, and tools in their proper locations.
WHAT TO DO IN EMERGENCIES
51
Page 68 of 80
FUSES
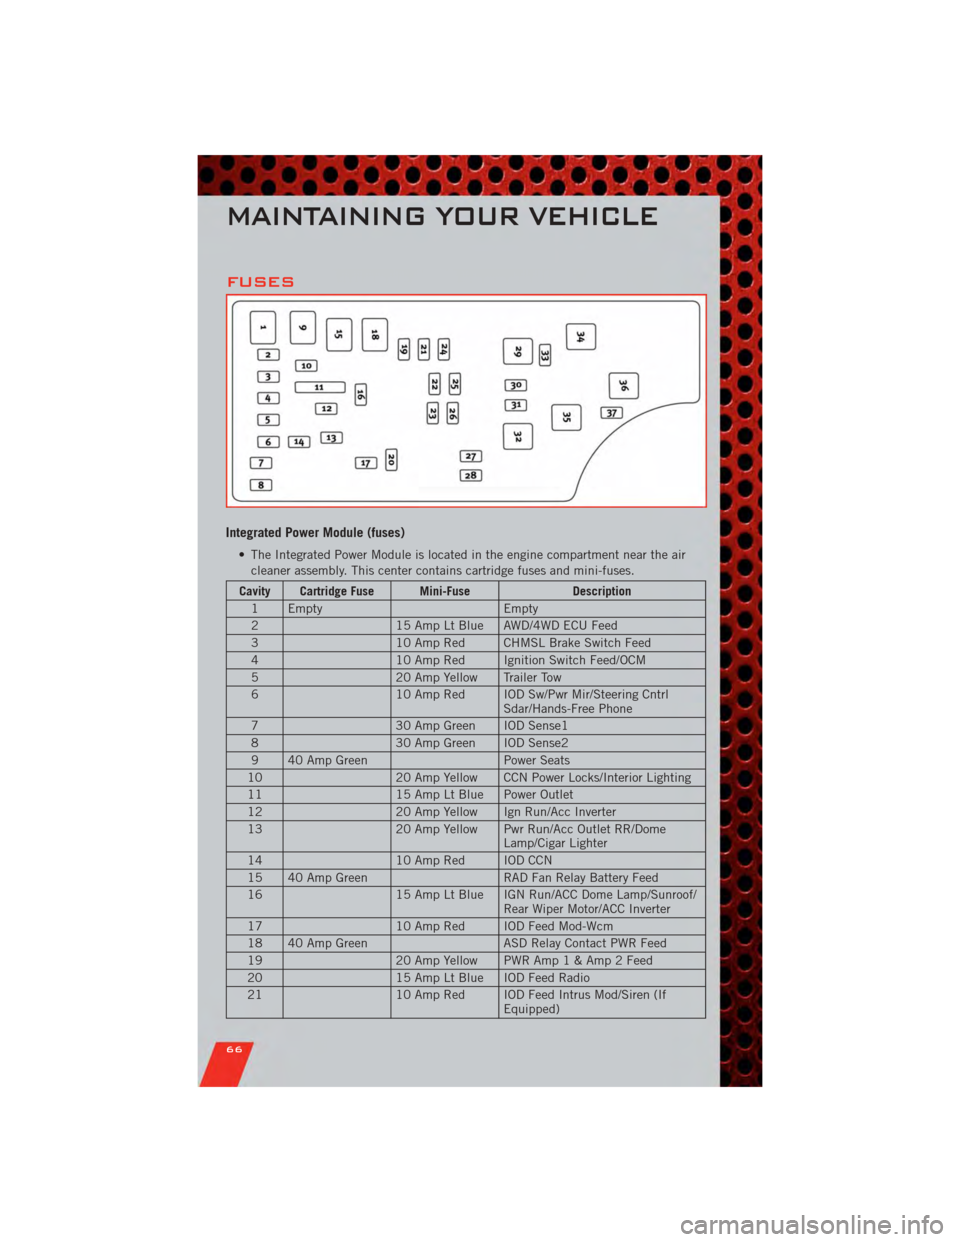
Integrated Power Module (fuses)
• The Integrated Power Module is located in the engine compartment near the aircleaner assembly. This center contains cartridge fuses and mini-fuses.
Cavity Cartridge Fuse Mini-Fuse Description
1 Empty Empty
2 15 Amp Lt Blue AWD/4WD ECU Feed
3 10 Amp Red CHMSL Brake Switch Feed
4 10 Amp Red Ignition Switch Feed/OCM
5 20 Amp Yellow Trailer Tow
6 10 Amp Red IOD Sw/Pwr Mir/Steering Cntrl
Sdar/Hands-Free Phone
7 30 Amp Green IOD Sense1
8 30 Amp Green IOD Sense2
9 40 Amp Green Power Seats
10 20 Amp Yellow CCN Power Locks/Interior Lighting
11 15 Amp Lt Blue Power Outlet
12 20 Amp Yellow Ign Run/Acc Inverter
13 20 Amp Yellow Pwr Run/Acc Outlet RR/Dome
Lamp/Cigar Lighter
14 10 Amp Red IOD CCN
15 40 Amp Green RAD Fan Relay Battery Feed
16 15 Amp Lt Blue IGN Run/ACC Dome Lamp/Sunroof/
Rear Wiper Motor/ACC Inverter
17 10 Amp Red IOD Feed Mod-Wcm
18 40 Amp Green ASD Relay Contact PWR Feed
19 20 Amp Yellow PWR Am p1&Amp2Feed
20 15 Amp Lt Blue IOD Feed Radio
21 10 Amp Red IOD Feed Intrus Mod/Siren (If
Equipped)
MAINTAINING YOUR VEHICLE
66
Page 70 of 80
WHEEL AND WHEEL TRIM CARE
• All wheels and wheel trim, especially aluminum and chrome plated wheels, shouldbe cleaned regularly with a mild soap and water to prevent corrosion.
• To remove heavy soil and/or excessive brake dust, use MOPAR
®Wheel Cleaner or
equivalent or select a non-abrasive, non-acidic cleaner.
CAUTION!
Do not use scouring pads, steel wool, a bristle brush, or metal polishes. Do not
use oven cleaner. These products may damage the wheel's protective finish.
Avoid automatic car washes that use acidic solutions or harsh brushes that may
damage the wheel's protective finish. Only MOPAR
®Wheel Cleaner or
equivalent is recommended.
EXTERIOR BULBS
LIGHT BULBS – Exterior Bulb Number
Low Beam/High Beam Headlamp H13
Front Park/Turn Signal/Side Marker Lamp 3157AK
Front Fog Lamp PSX24W
Center High-Mounted Stop Lamp
(CHMSL) LED Assembly
Rear Tail/Stop Lamp 3157
Rear Turn Signal Lamp 3757AK
Backup Lamp 921 W16W
License Lamp W5W
* CHMSL is not serviceable. It is a LED lamp. To replace the LED, the entire CHMSL
assembly must be replaced.
MAINTAINING YOUR VEHICLE
68
Page 73 of 80
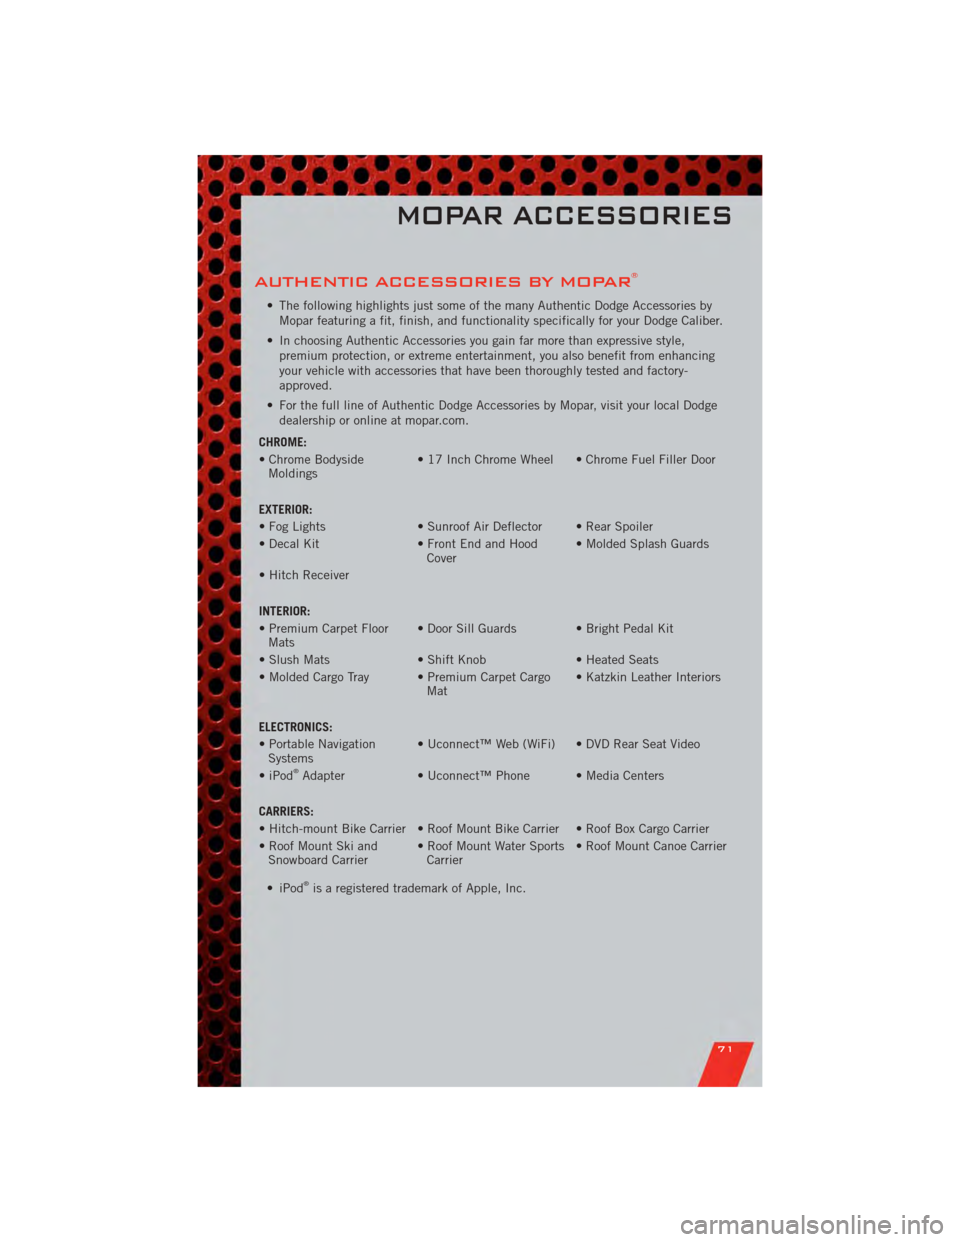
AUTHENTIC ACCESSORIES BY MOPAR®
• The following highlights just some of the many Authentic Dodge Accessories byMopar featuring a fit, finish, and functionality specifically for your Dodge Caliber.
• In choosing Authentic Accessories you gain far more than expressive style, premium protection, or extreme entertainment, you also benefit from enhancing
your vehicle with accessories that have been thoroughly tested and factory-
approved.
• For the full line of Authentic Dodge Accessories by Mopar, visit your local Dodge dealership or online at mopar.com.
CHROME:
• Chrome Bodyside Moldings • 17 Inch Chrome Wheel • Chrome Fuel Filler Door
EXTERIOR:
• Fog Lights • Sunroof Air Deflector • Rear Spoiler
• Decal Kit • Front End and Hood Cover• Molded Splash Guards
• Hitch Receiver
INTERIOR:
• Premium Carpet Floor Mats • Door Sill Guards • Bright Pedal Kit
• Slush Mats • Shift Knob• Heated Seats
• Molded Cargo Tray • Premium Carpet Cargo Mat• Katzkin Leather Interiors
ELECTRONICS:
• Portable Navigation Systems • Uconnect™ Web (WiFi) • DVD Rear Seat Video
•iPod
®Adapter • Uconnect™ Phone • Media Centers
CARRIERS:
• Hitch-mount Bike Carrier • Roof Mount Bike Carrier • Roof Box Cargo Carrier
• Roof Mount Ski and Snowboard Carrier • Roof Mount Water Sports
Carrier • Roof Mount Canoe Carrier
• iPod
®is a registered trademark of Apple, Inc.
MOPAR ACCESSORIES
71
Page 74 of 80
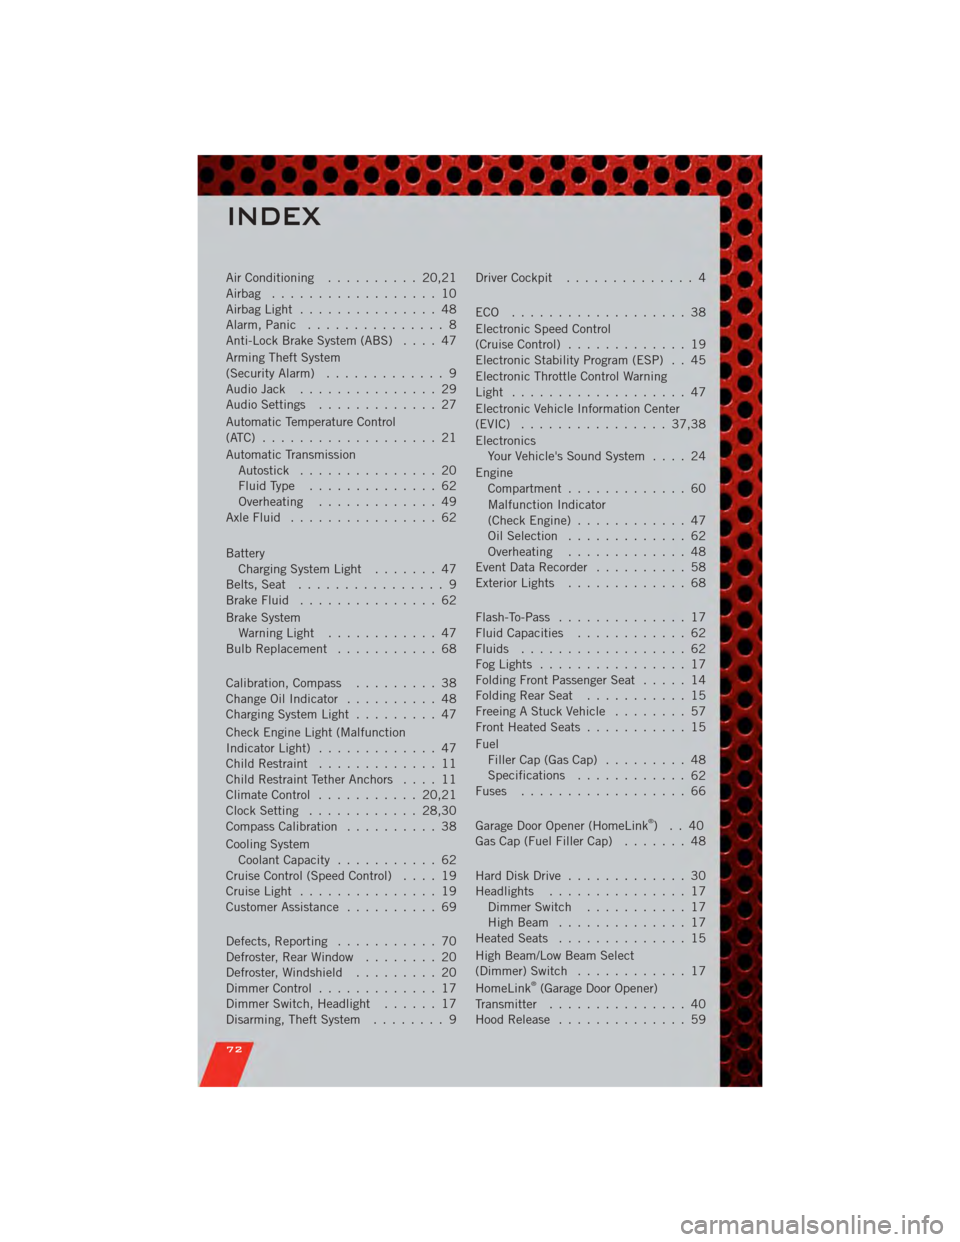
Air Conditioning.......... 20,21
Airbag .................. 10
AirbagLight ............... 48
Alarm, Panic ............... 8
Anti-Lock Brake System (ABS) .... 47
Arming Theft System
(Security Alarm) ............. 9
Audio Jack ............... 29
Audio Settings ............. 27
Automatic Temperature Control
(ATC) ................... 21
Automatic Transmission Autostick ............... 20
FluidType .............. 62
Overheating ............. 49
AxleFluid ................ 62
Battery Charging System Light ....... 47
Belts, Seat ................ 9
BrakeFluid ............... 62
Brake System WarningLight ............ 47
Bulb Replacement ........... 68
Calibration, Compass ......... 38
Change Oil Indicator .......... 48
Charging System Light ......... 47
Check Engine Light (Malfunction
Indicator Light) ............. 47
Child Restraint ............. 11
Child Restraint Tether Anchors .... 11
ClimateControl ........... 20,21
Clock Setting ............ 28,30
Compass Calibration .......... 38
Cooling System Coolant Capacity ........... 62
Cruise Control (Speed Control) .... 19
CruiseLight ............... 19
Customer Assistance .......... 69
Defects, Reporting ........... 70
Defroster, Rear Window ........ 20
Defroster, Windshield ......... 20
Dimmer Control ............. 17
Dimmer Switch, Headlight ...... 17
Disarming, Theft System ........ 9Driver Cockpit
.............. 4
ECO ................... 38
Electronic Speed Control
(CruiseControl) ............. 19
Electronic Stability Program (ESP) . . 45
Electronic Throttle Control Warning
Light ................... 47
Electronic Vehicle Information Center
(EVIC) ................ 37,38
Electronics Your Vehicle's Sound System .... 24
Engine Compartment ............. 60
Malfunction Indicator
(CheckEngine) ............ 47
Oil Selection ............. 62
Overheating ............. 48
EventDataRecorder .......... 58
Exterior Lights ............. 68
Flash-To-Pass .............. 17
Fluid Capacities ............ 62
Fluids .................. 62
FogLights ................ 17
Folding Front Passenger Seat ..... 14
FoldingRearSeat ........... 15
Freeing A Stuck Vehicle ........ 57
Front Heated Seats ........... 15
Fuel Filler Cap (Gas Cap) ......... 48
Specifications ............
6
2
Fuses .................. 66
Garage Door Opener (HomeLink
®)..40
Gas Cap (Fuel Filler Cap) ....... 48
Hard Disk Drive ............. 30
Headlights ............... 17 Dimmer Switch ........... 17
HighBeam .............. 17
Heated Seats .............. 15
High Beam/Low Beam Select
(Dimmer) Switch ............ 17
HomeLink
®(Garage Door Opener)
Transmitter ............... 40
Hood Release .............. 59
INDEX
72