DODGE CALIBER 2012 1.G Owners Manual
CALIBER 2012 1.G
DODGE
DODGE
https://www.carmanualsonline.info/img/12/5527/w960_5527-0.png
DODGE CALIBER 2012 1.G Owners Manual
Trending: high beam, dead battery, wiper blades, water pump, fuel filter, key fob, TPMS reset
Page 181 of 506
CAUTION!
•Do not exceed the maximum power of 160 Watts
(13 Amps) at 12 Volts. If the 160 Watt (13 Amp)
power rating is exceeded the fuse protecting the
system will need to be replaced.
•Power outlets are designed for accessory plugs
only. Do not insert any other object in the power
outlets as this will damage the outlet and blow the
fuse. Improper use of the power outlet can cause
damage not covered by your New Vehicle Limited
Warranty.
WARNING!
To avoid serious injury or death:
•Only devices designed for use in this type of
outlet should be inserted into any 12 Volt outlet.(Continued)
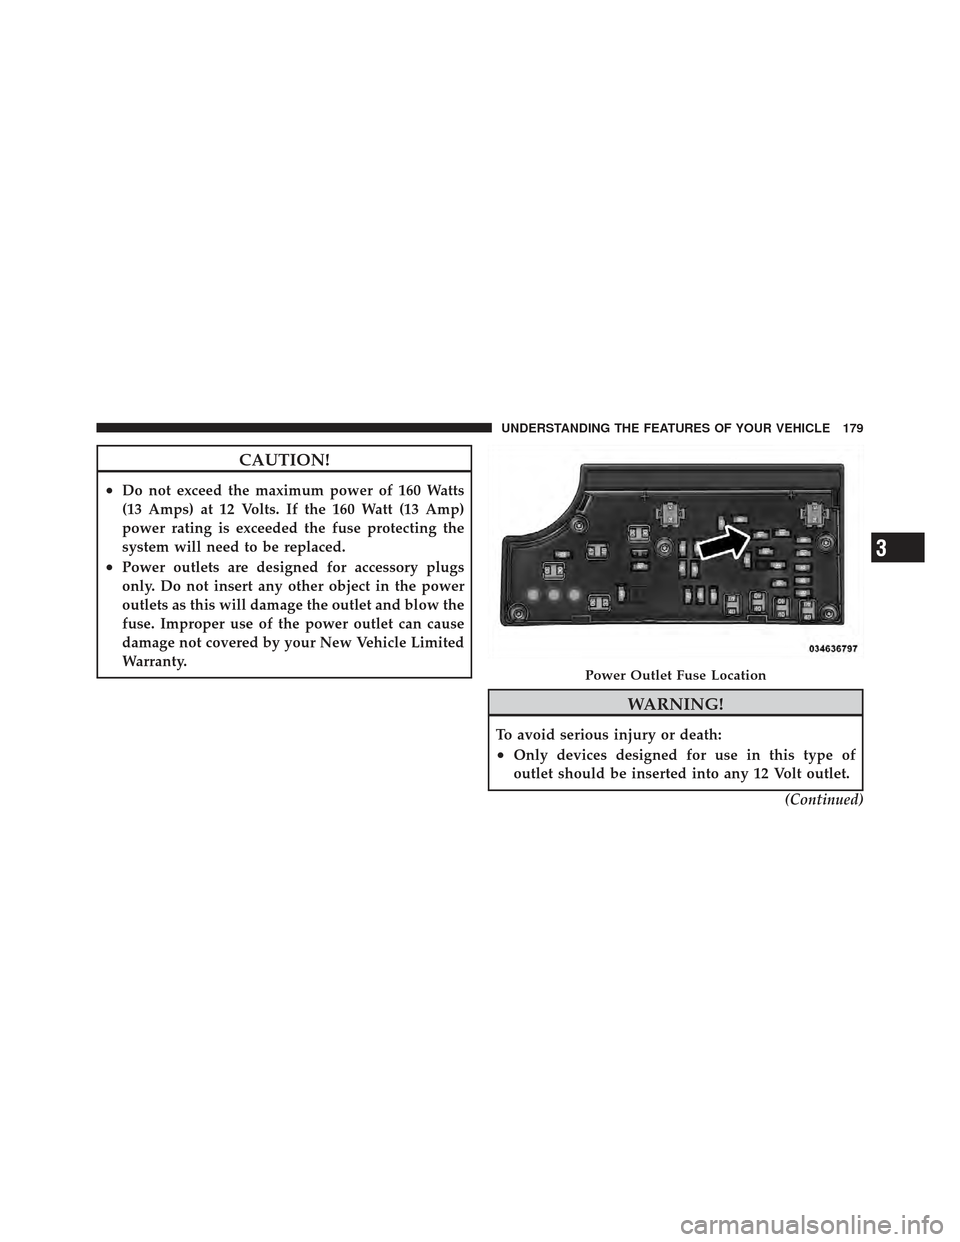
Power Outlet Fuse Location
3
UNDERSTANDING THE FEATURES OF YOUR VEHICLE 179
Page 182 of 506
WARNING! (Continued)
•Do not touch with wet hands.
•Close the lid when not in use and while driving
the vehicle.
•If this outlet is mishandled, it may cause an
electric shock and failure.
CAUTION!
•Many accessories that can be plugged in draw
power from the vehicle’s battery, even when not in
use (i.e., cellular phones, etc.). Eventually, if
plugged in long enough, the vehicle’s battery will
discharge sufficiently to degrade battery life
and/or prevent the engine from starting.(Continued)
CAUTION! (Continued)
•Accessories that draw higher power (i.e., coolers,
vacuum cleaners, lights, etc.) will degrade the
battery even more quickly. Only use these inter-
mittently and with great caution.
•After the use of high power draw accessories, or
long periods of the vehicle not being started (with
accessories still plugged in), the vehicle must be
driven a sufficient length of time to allow the
generator to recharge the vehicle’s battery.
POWER INVERTER — IF EQUIPPED
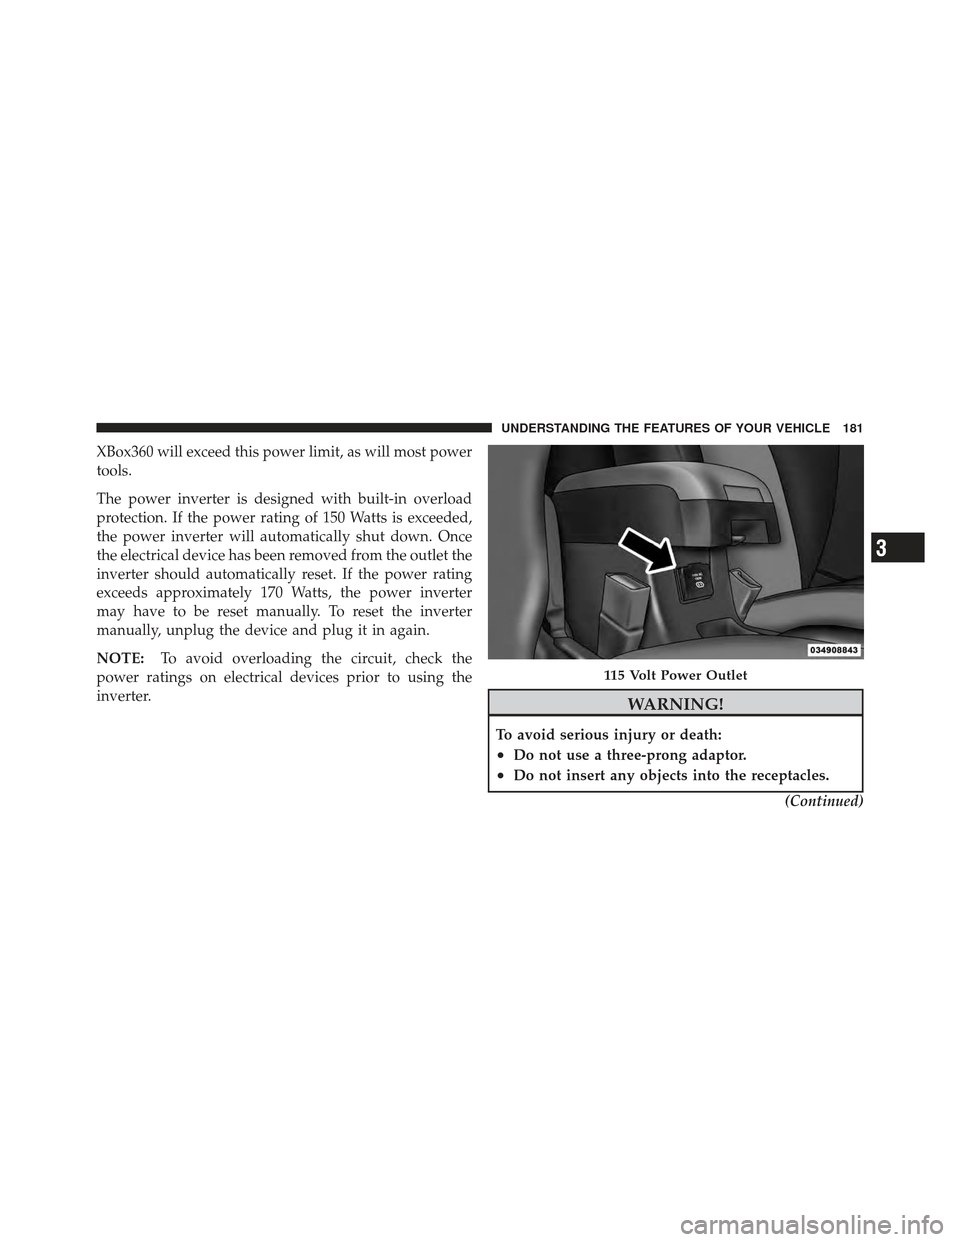
A 115 Volt (150 Watt) AC power inverter is located on the
rear of the center console for added convenience. This
outlet can power cellular phones, electronics and other
low power devices requiring power up to 150 Watts.
Certain high-end video games, such as Playstation3 and
180 UNDERSTANDING THE FEATURES OF YOUR VEHICLE
Page 183 of 506
XBox360 will exceed this power limit, as will most power
tools.
The power inverter is designed with built-in overload
protection. If the power rating of 150 Watts is exceeded,
the power inverter will automatically shut down. Once
the electrical device has been removed from the outlet the
inverter should automatically reset. If the power rating
exceeds approximately 170 Watts, the power inverter
may have to be reset manually. To reset the inverter
manually, unplug the device and plug it in again.
NOTE:To avoid overloading the circuit, check the
power ratings on electrical devices prior to using the
inverter.
WARNING!
To avoid serious injury or death:
•Do not use a three-prong adaptor.
•Do not insert any objects into the receptacles.
(Continued)
115 Volt Power Outlet
3
UNDERSTANDING THE FEATURES OF YOUR VEHICLE 181
Page 184 of 506
WARNING! (Continued)
•Do not touch with wet hands.
•Close the lid when not in use.
•If this outlet is mishandled, it may cause an
electric shock and failure.
CAUTION!
•Many accessories that can be plugged in draw
power from the vehicle’s battery, even when not in
use (i.e., cellular phones, etc.). Eventually, if
plugged in long enough, the vehicle’s battery will
discharge sufficiently to degrade battery life
and/or prevent engine starting.(Continued)
CAUTION! (Continued)
•Accessories that draw higher power (i.e., coolers,
vacuum cleaners, lights, etc.) will degrade the
battery even more quickly. Only use these inter-
mittently and with great caution.
•After the use of high power draw accessories, or
long periods of the vehicle not being started (with
accessories still plugged in), the vehicle must be
driven a sufficient length of time to allow the
generator to recharge the vehicle’s battery.
182 UNDERSTANDING THE FEATURES OF YOUR VEHICLE
Page 185 of 506
CUPHOLDERS
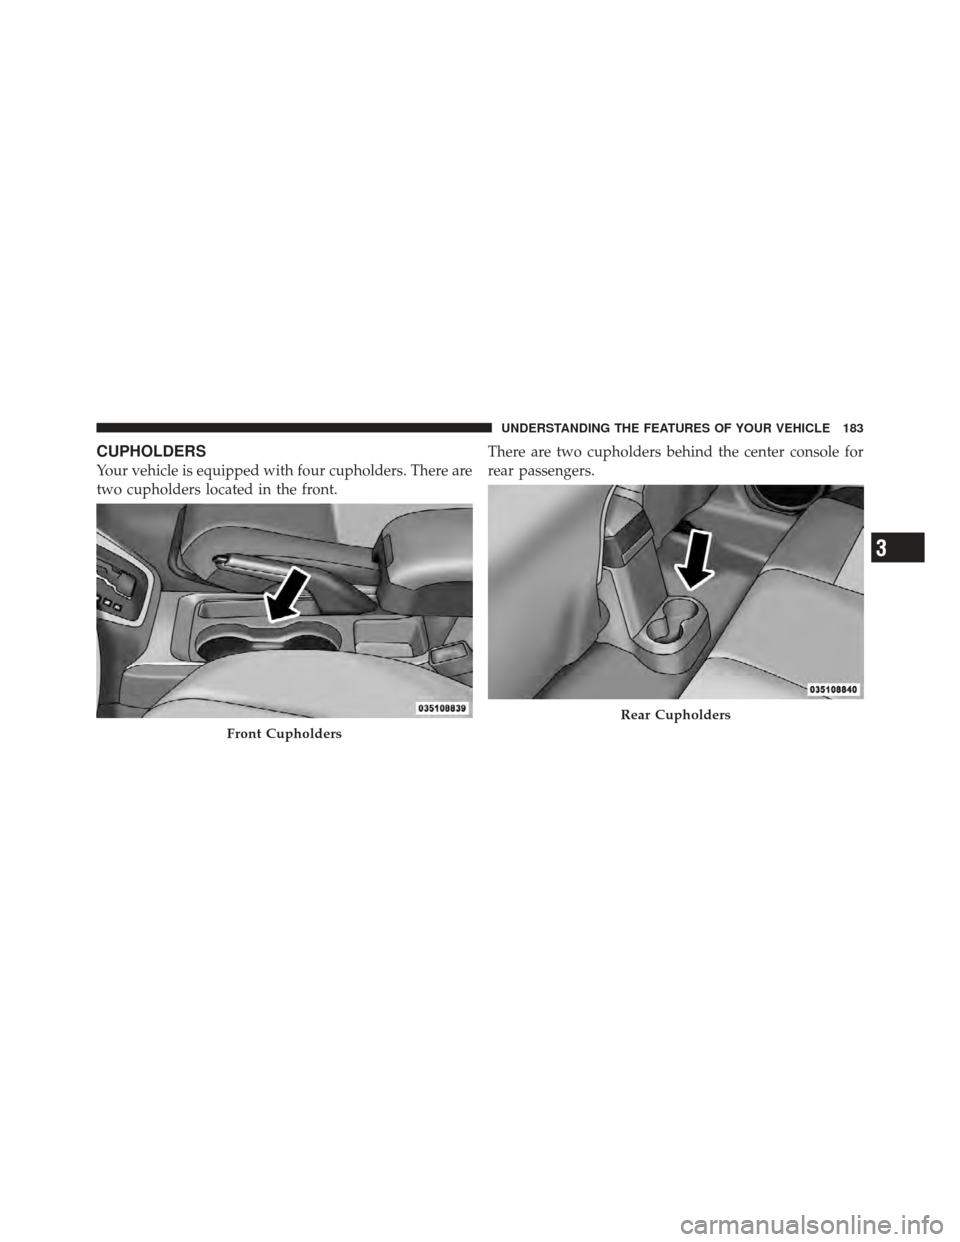
Your vehicle is equipped with four cupholders. There are
two cupholders located in the front.There are two cupholders behind the center console for
rear passengers.
Front Cupholders
Rear Cupholders
3
UNDERSTANDING THE FEATURES OF YOUR VEHICLE 183
Page 186 of 506
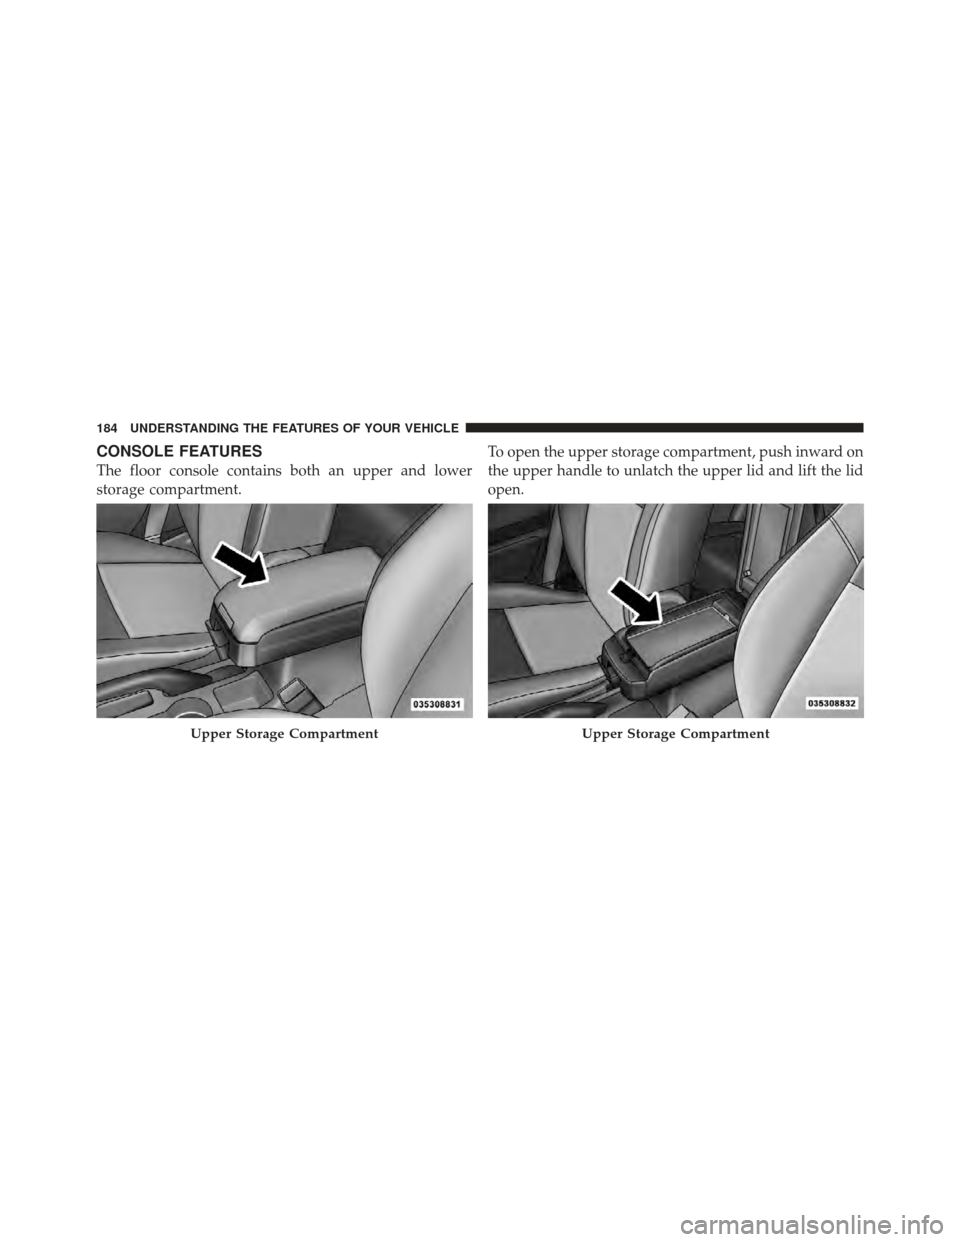
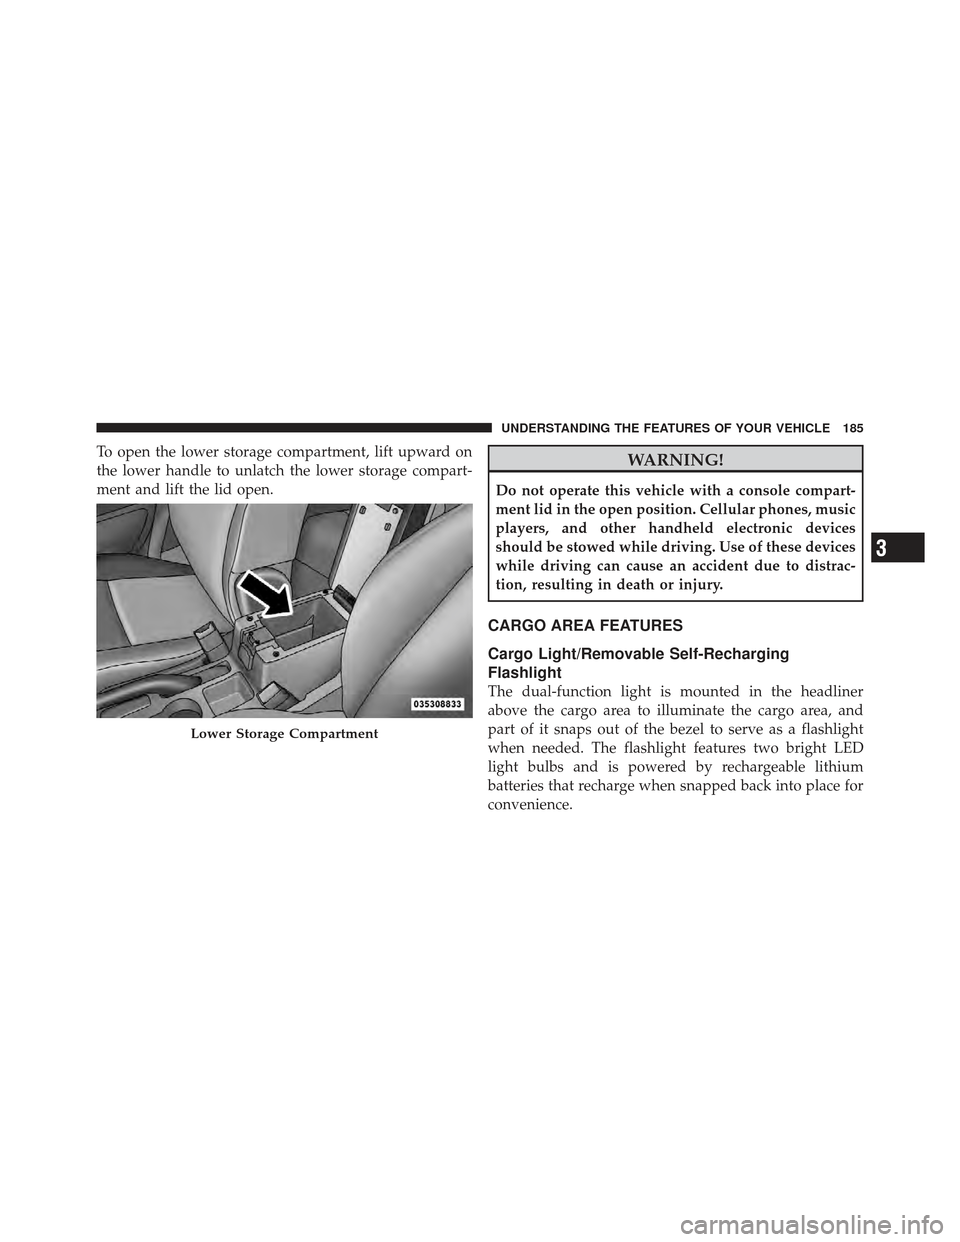
CONSOLE FEATURES
The floor console contains both an upper and lower
storage compartment.To open the upper storage compartment, push inward on
the upper handle to unlatch the upper lid and lift the lid
open.
Upper Storage CompartmentUpper Storage Compartment
184 UNDERSTANDING THE FEATURES OF YOUR VEHICLE
Page 187 of 506
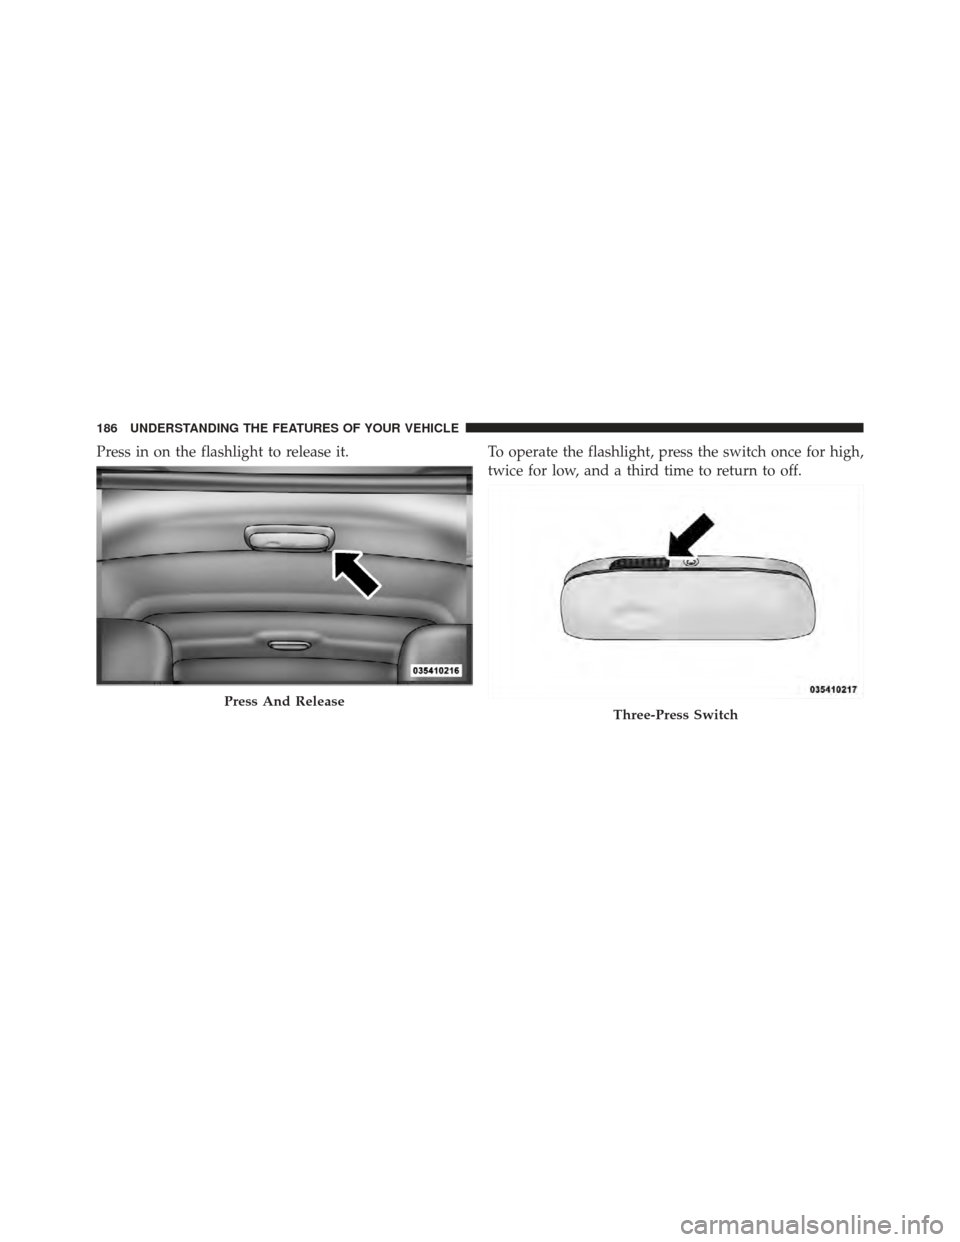
To open the lower storage compartment, lift upward on
the lower handle to unlatch the lower storage compart-
ment and lift the lid open.WARNING!
Do not operate this vehicle with a console compart-
ment lid in the open position. Cellular phones, music
players, and other handheld electronic devices
should be stowed while driving. Use of these devices
while driving can cause an accident due to distrac-
tion, resulting in death or injury.
CARGO AREA FEATURES
Cargo Light/Removable Self-Recharging
Flashlight
The dual-function light is mounted in the headliner
above the cargo area to illuminate the cargo area, and
part of it snaps out of the bezel to serve as a flashlight
when needed. The flashlight features two bright LED
light bulbs and is powered by rechargeable lithium
batteries that recharge when snapped back into place for
convenience.
Lower Storage Compartment
3
UNDERSTANDING THE FEATURES OF YOUR VEHICLE 185
Page 188 of 506
Press in on the flashlight to release it.To operate the flashlight, press the switch once for high,
twice for low, and a third time to return to off.
Press And ReleaseThree-Press Switch
186 UNDERSTANDING THE FEATURES OF YOUR VEHICLE
Page 189 of 506
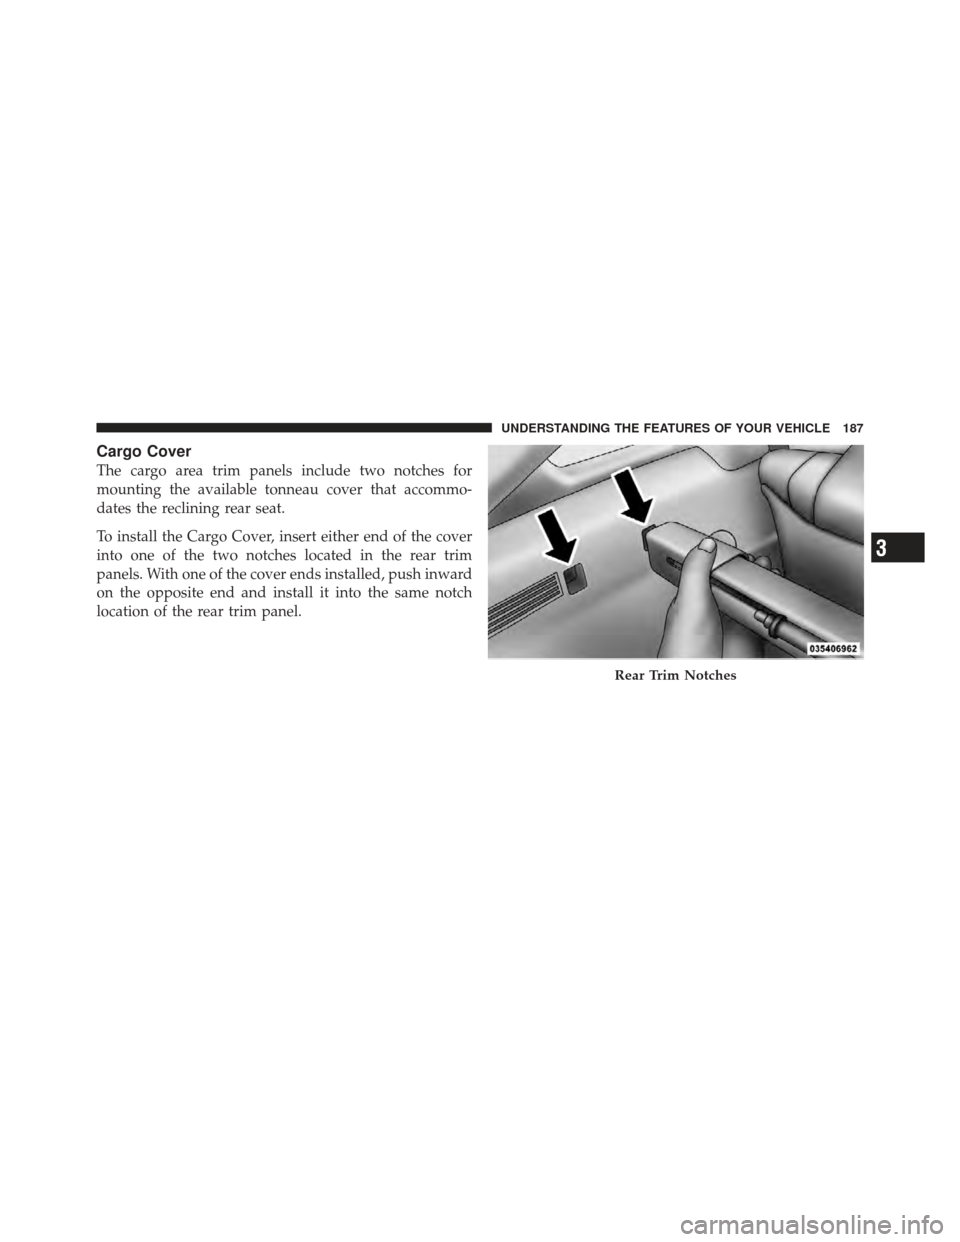
Cargo Cover
The cargo area trim panels include two notches for
mounting the available tonneau cover that accommo-
dates the reclining rear seat.
To install the Cargo Cover, insert either end of the cover
into one of the two notches located in the rear trim
panels. With one of the cover ends installed, push inward
on the opposite end and install it into the same notch
location of the rear trim panel.
Rear Trim Notches
3
UNDERSTANDING THE FEATURES OF YOUR VEHICLE 187
Page 190 of 506
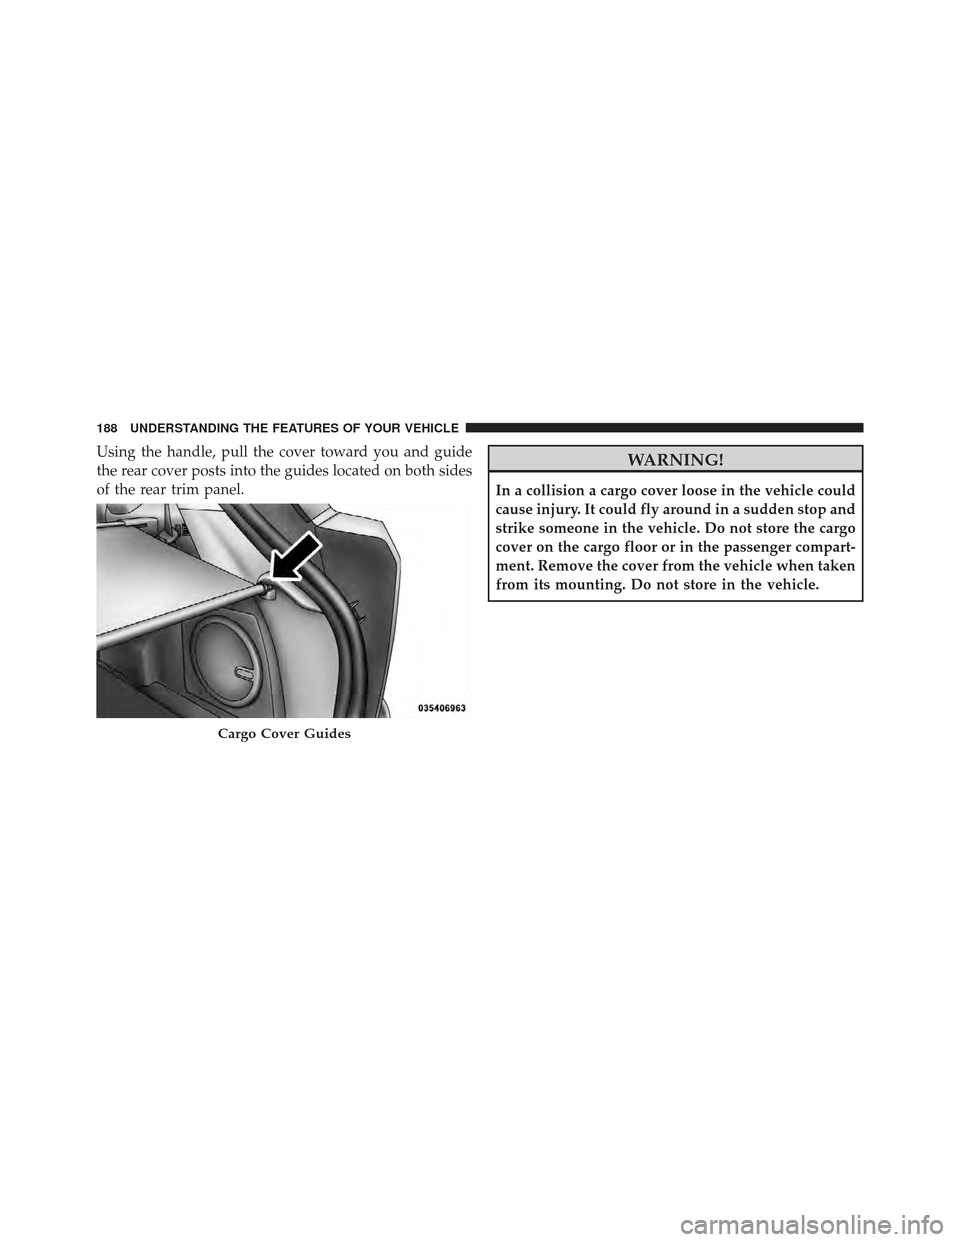
Using the handle, pull the cover toward you and guide
the rear cover posts into the guides located on both sides
of the rear trim panel.WARNING!
In a collision a cargo cover loose in the vehicle could
cause injury. It could fly around in a sudden stop and
strike someone in the vehicle. Do not store the cargo
cover on the cargo floor or in the passenger compart-
ment. Remove the cover from the vehicle when taken
from its mounting. Do not store in the vehicle.
Cargo Cover Guides
188 UNDERSTANDING THE FEATURES OF YOUR VEHICLE
Trending: wheel torque, dead battery, ground clearance, lock, wiring, door lock, tow
