ESP DODGE CARAVAN 2004 4.G Owners Manual
[x] Cancel search | Manufacturer: DODGE, Model Year: 2004, Model line: CARAVAN, Model: DODGE CARAVAN 2004 4.GPages: 397, PDF Size: 6.83 MB
Page 55 of 397

The front airbag control module also monitors the readi-
ness of the electronic parts of the system whenever the
ignition switch is in the START or ON positions. These
include all of the items listed above except the knee
bolster, instrument panel and the steering wheel and
column. If the key is in the OFF position, in the ACC
position, or not in the ignition switch, the side airbags are
not on and will not inflate.
In moderate to severe side collisions, the side airbag
inflator on the crash side of the vehicle is triggered,
releasing a quantity of nontoxic gas. The inflating side
airbag exits through the seat seam into the space between
the occupant and the door. The side airbag moves at a
very high speed and with such a high force that it could
injure you if you are not seated properly, or if items are
positioned in the area where the side airbag inflates. This
especially applies to children.If An Airbag Deployment Occurs
The airbag systems are designed to deploy when the
airbag control modules detect a moderate-to-severe col-
lision, to help restrain the driver and front passenger, and
then immediately deflate.
NOTE:A collision that is not severe enough to need
airbag protection will not activate the system. This does
not mean something is wrong with the airbag system.
If you do have a collision which deploys the airbag, any
or all of the following may occur:
²The airbag material may sometimes cause abrasions
and/or skin reddening to the driver and front passen-
ger as the airbags deploy and unfold. The abrasions
are similar to friction rope burns or those you might
get sliding along a carpet or gymnasium floor. They
are not caused by contact with chemicals. They are not
permanent and normally heal quickly. However, if you
THINGS TO KNOW BEFORE STARTING YOUR VEHICLE 55
2
Page 56 of 397

haven't healed significantly within a few days, or if
you have any blistering, see your doctor immediately.
²As the airbags deflate you may see some smoke-like
particles. The particles are a normal by-product of the
process that generates the nontoxic gas used for airbag
inflation. These airborne particles may irritate the skin,
eyes, nose, or throat. If you have skin or eye irritation,
rinse the area with cool water. For nose or throat
irritation, move to fresh air. If the irritation continues,
see your doctor. If these particles settle on your
clothing, follow the garment manufacturer's instruc-
tions for cleaning.
²It is not advisable to drive your vehicle after the
airbags have deployed. If you are involved in another
collision, the airbags and seat belt pretensioners will
not be in place to protect you.
WARNING!
Deployed airbags and seat belt pretensioners cannot
protect you in another collision. Have the airbags
and seat belt pretensioners replaced by an autho-
rized dealer as soon as possible.
Enhanced Accident Response
If the airbags and seat belt pertensioners deploy after an
impact and the electrical system remains functional,
vehicles equipped with power door locks will unlock
automatically. In addition, approximately 10 seconds
after the vehicle has stopped moving, the interior lights
will illuminate until the ignition switch is turned off.
56 THINGS TO KNOW BEFORE STARTING YOUR VEHICLE
Page 78 of 397

CAUTION!
To avoid damage to the mirror during cleaning,
never spray any cleaning solution directly onto the
mirror. Apply the solution onto a clean cloth and
wipe the mirror clean.
Driver's Side Outside Mirror Auto Dimmer Ð If
Equipped
This mirror automatically adjusts for annoying headlight
glare from vehicles behind you. You can turn this feature
on or off by pressing the button at the base of the
Rearview Mirror.
Exterior Mirrors Folding Feature
All exterior mirrors are hinged and may be moved either
forward or rearward to resist damage. The hinges have
three detent positions; full forward, full rearward, and
normal.
Outside Mirror Ð Driver's Side
Adjust the outside mirror to center on the adjacent lane of
traffic, with a slight overlap of the view obtained on the
inside mirror.
Outside Mirror Ð Passenger's Side
Adjust the convex outside mirror so you can just see the
side of your vehicle in the portion of the mirror closest to
the vehicle. This type of mirror will give a much wider
view to the rear, and especially of the lane next to your
vehicle.
78 UNDERSTANDING THE FEATURES OF YOUR VEHICLE
Page 116 of 397

NOTE:Tire pressure menu items are available only on
vehicles equipped with the Tire Pressure Monitor Sys-
tem.
Customer Programmable Features Ð If Equipped
Press the ªMENUº button until one of the display choices
following appears:
Language
When in this display you may select one of five lan-
guages for all display nomenclature, including the trip
computer functions. Press the ªSTEPº button while in
this display selects English, Francaise, Deutsch, Italiano,
or Espanol. As you continue the displayed information
will be shown in the selected language.
US or Metric
Pressing the ªSTEPº button when in this display selects
US or Metric. The overhead console and climate control
displays will be in the selected units.
Service Interval
When this feature is selected a service interval between
2,000 miles (3 200 km) and 6,000 miles (9 600 km) in 500
mile (800 km) increments may be selected. Pressing the
ªSTEPº button when in this display will select distances
between 2,000 miles (3 200 km) and 6,000 miles (9 600
km) in 500 mile (800 km) increments.
Reset Service Distance (Displays Only if Service
Interval was Changed)
When this feature is selected the current accumulated
service distance can be reset to the newly selected service
interval. Pressing the ªSTEPº button when in this display
will select ªYesº or ªNo.º
Retrain Tire Sensors (Available with Tire Pressure
Monitor System Only)
The Tire Pressure Monitor system must be retrained
following a tire rotation or wheel rim mounted sensor
replacement. If you unintentionally choose ªYesº to train
116 UNDERSTANDING THE FEATURES OF YOUR VEHICLE
Page 125 of 397

This device complies with part 15 of FCC rules and with
RSS-210 of Industry Canada. Operation is subject to the
following conditions:
²This device may not cause harmful interference.
²This device must accept any interference that may be
received including interference that may cause undes-
ired operation.
NOTE:Changes or modifications not expressly ap-
proved by the party responsible for compliance could
void the user's authority to operate the equipment.
HomeLinktis a trademark owned by Johnson Controls,
Inc.
POWER SUNROOF Ð IF EQUIPPED
The power sunroof control is located between the sun
visors on the overhead console.
Press and hold the switch rearward to fully open the
sunroof. The sunroof can be stopped at any position
between closed and full open. Momentarily pressing the
UNDERSTANDING THE FEATURES OF YOUR VEHICLE 125
3
Page 141 of 397

CAUTION!
²To avoid damage to the roof rack and vehicle, do
not exceed the maximum roof rack load capacity
of 150 lbs (68 kg). Always distribute heavy loads
as evenly as possible and secure the load appro-
priately.
²Long loads which extend over the windshield,
such as wood panels or surfboards, or loads with
large frontal area should be secured to both the
front and rear of the vehicle.
²Travel at reduced speeds and turn corners care-
fully when carrying large or heavy loads on the
roof rack. Wind forces, due to natural causes or
nearby truck traffic, can add sudden upward
loads. This is especially true on large flat loads
and may result in damage to the cargo or your
vehicle.
WARNING!
Cargo must be securely tied before driving your
vehicle. Improperly secured loads can fly off the
vehicle, particularly at high speeds, resulting in
personal injury or property damage. Follow the Roof
Rack Cautions when carrying cargo on your roof
rack.
LOAD LEVELING SYSTEM
The automatic load leveling system will provide a level
riding vehicle under most passenger and cargo loading
conditions.
A hydraulic pump contained within the shock absorbers
raises the rear of the vehicle to the correct height. It takes
approximately 1 mile (1.6 km) of driving for the leveling
to complete depending on road surface conditions.
UNDERSTANDING THE FEATURES OF YOUR VEHICLE 141
3
Page 173 of 397

Fade
The Fade control provides for balance between the front
and rear speakers. Press the FADE button in and it will
pop out. Adjust the balance and push the button back in.
Tone Control
The tone controls affect the Bass and Treble frequency
bands. Each is controlled by a slider control with a detent
at the mid position. Moving a control up or down
increases or decreases amplification of the band. The mid
position provides a balanced output.
To Set The Radio Push-Button Memory
When you are receiving a station that you wish to
commit to push-button memory, press the SET RND
button. SET 1 will show in the display window. Select the
ª1±6º button you wish to lock onto this station and press
and release that button. If a button is not selected within5 seconds after pressing the SET RND button, the station
will continue to play but will not be locked into push-
button memory.
You may add a second station to each push-button by
repeating the above procedure with this exception: Press
the SET button twice and SET 2 will show in the display
window. Each button can be set for SET 1 and SET 2 in
both AM and FM. This allows a total of 12 AM and 12 FM
stations to be locked into push-button memory. The
stations stored in SET 2 memory can be selected by
pressing the corresponding push-button twice. Every
time a preset button is used, a corresponding button
number will be displayed.
Time Button
Press the TIME button to change the display between
radio frequency and time.
UNDERSTANDING YOUR INSTRUMENT PANEL 173
4
Page 174 of 397

General Information
This radio complies with Part 15 of FCC rules and with
RSS-210 of Industry Canada. Operation is subject to the
following conditions:
1. This device may not cause harmful interference,
2. This device must accept any interference received,
including interference that may cause undesired opera-
tion.
NOTE:Changes or modifications not expressively ap-
proved by the party responsible for compliance could
void the user's authority to operate the equipment.
CD Player Operation
NOTE:The ignition switch must be in the ON or ACC
position and the Power / Volume control pushed ON
before the CD player will operate.
Inserting The Compact Disc
CAUTION!
This CD player will accept 43¤4inch (12 cm) discs
only. The use of other sized discs may damage the
CD player mechanism.
You may either insert or eject a disc with the radio OFF.
If you insert a disc with the ignition ON and the radio
OFF, the display will show the time of day. If you insert
a disc with the ignition OFF, the display will show the
time of day for about 5 seconds, then go out.
If you insert a disc with the ignition ON and the radio
ON, the unit will switch from radio to CD mode and
begin to play when you insert the disc. The display will
174 UNDERSTANDING YOUR INSTRUMENT PANEL
Page 175 of 397

show the disc number, the track number, and index time
in minutes and seconds. Play will begin at the start of
track 1.
LOAD/ EJT Ð Load
Press the LOAD/ EJT button and the button with the
corresponding number where the CD is being loaded.
After the radio displays ªloadº insert the CD into the
player.
Radio display will show ªloadingº when it is being
loaded.
LOAD / EJT Ð Eject
Press the LOAD/ EJT button and the button with the
corresponding number where the CD was loaded and the
disc will unload and move to the entrance for easy
removal.
Radio display will show ªejectingº when it is being
ejected.If you have ejected a disc and have not removed it within
15 seconds, it will be reloaded. If the CD is not removed,
the radio will continue to play the non-removed CD. If
the CD is removed and there are other CD's in the radio,
the radio will play the next CD. If the CD is removed and
there are no other CD's in the radio, the radio will return
to the last selected AM or FM mode.
The disc can be ejected with the radio and ignition OFF.
Seek
Press the top of the SEEK button for the next selection on
the CD. Press the bottom of the button to return to the
beginning of the current selection, or return to the
beginning of the previous selection if the CD is within the
first second of the current selection.
Scan
Press the Scan button to scan through each track on the
CD currently playing.
UNDERSTANDING YOUR INSTRUMENT PANEL 175
4
Page 177 of 397

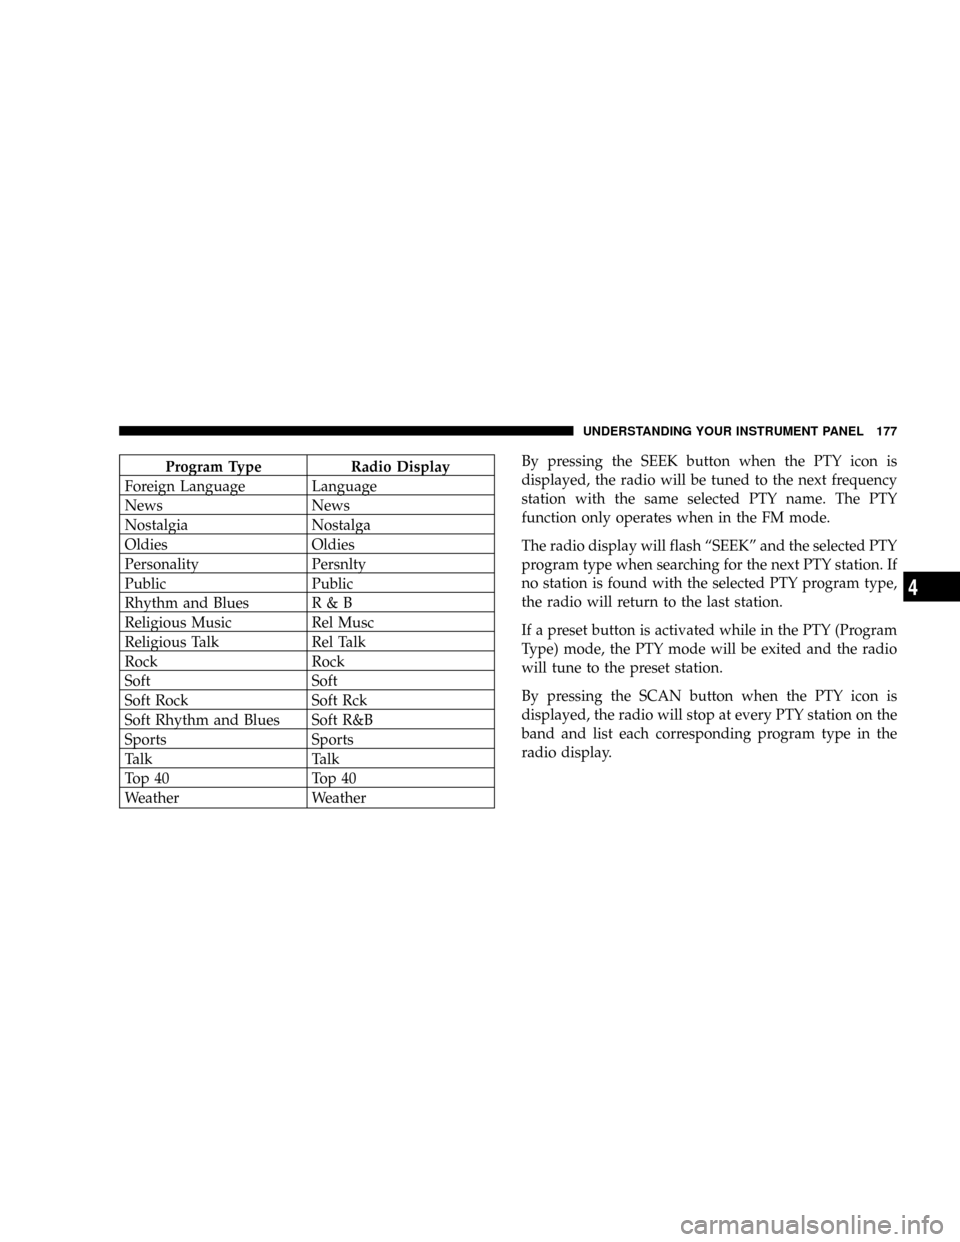
Program Type Radio Display
Foreign Language Language
News News
Nostalgia Nostalga
Oldies Oldies
Personality Persnlty
Public Public
Rhythm and Blues R & B
Religious Music Rel Musc
Religious Talk Rel Talk
Rock Rock
Soft Soft
Soft Rock Soft Rck
Soft Rhythm and Blues Soft R&B
Sports Sports
Talk Talk
Top 40 Top 40
Weather WeatherBy pressing the SEEK button when the PTY icon is
displayed, the radio will be tuned to the next frequency
station with the same selected PTY name. The PTY
function only operates when in the FM mode.
The radio display will flash ªSEEKº and the selected PTY
program type when searching for the next PTY station. If
no station is found with the selected PTY program type,
the radio will return to the last station.
If a preset button is activated while in the PTY (Program
Type) mode, the PTY mode will be exited and the radio
will tune to the preset station.
By pressing the SCAN button when the PTY icon is
displayed, the radio will stop at every PTY station on the
band and list each corresponding program type in the
radio display.
UNDERSTANDING YOUR INSTRUMENT PANEL 177
4