ECO mode DODGE CHALLENGER 2014 3.G User Guide
[x] Cancel search | Manufacturer: DODGE, Model Year: 2014, Model line: CHALLENGER, Model: DODGE CHALLENGER 2014 3.GPages: 148, PDF Size: 3.71 MB
Page 3 of 148
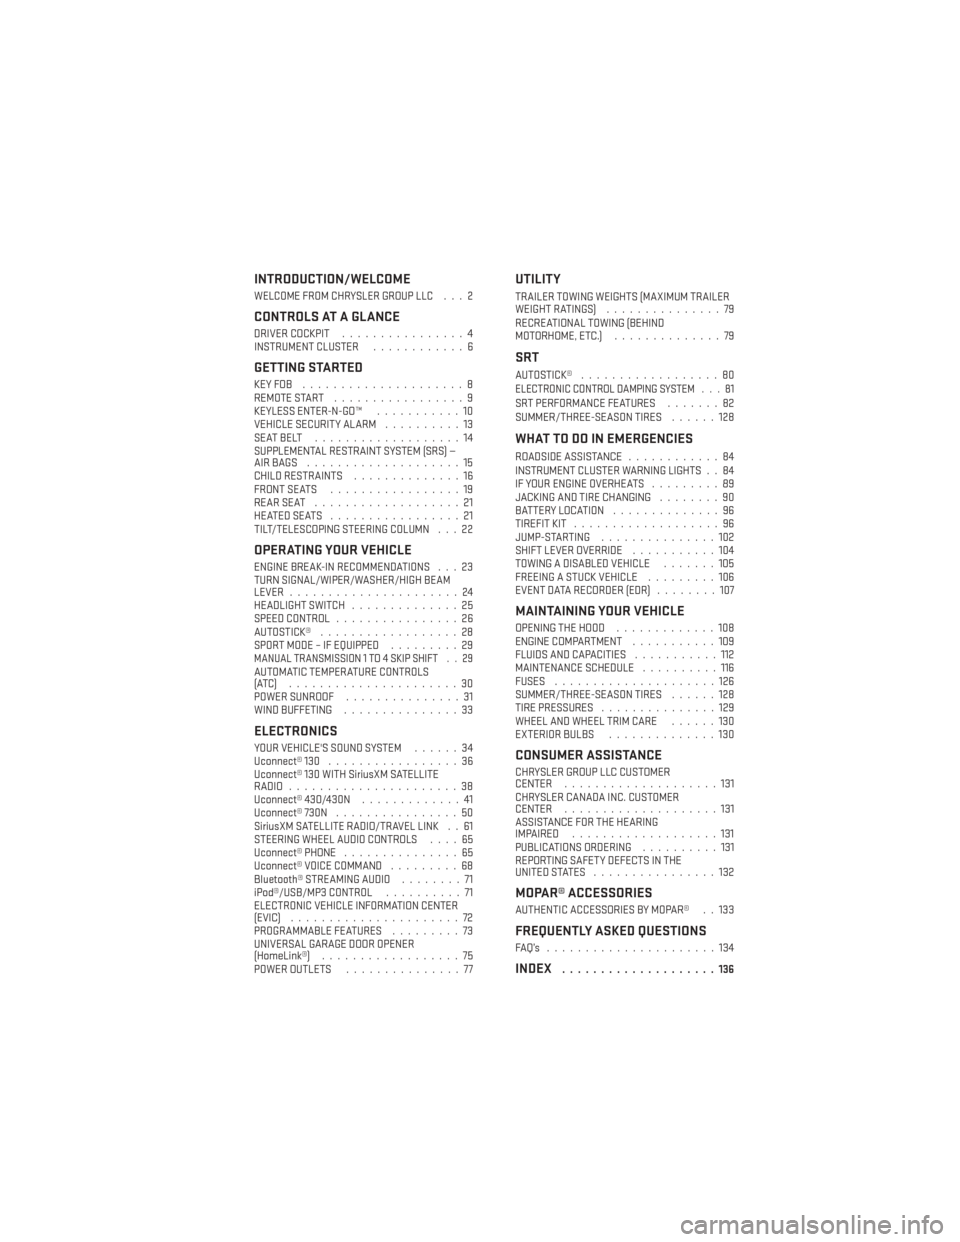
INTRODUCTION/WELCOME
WELCOME FROM CHRYSLER GROUP LLC . . . 2
CONTROLS AT A GLANCE
DRIVER COCKPIT................4
INSTRUMENT CLUSTER ............6
GETTING STARTED
KEYFOB .....................8
REMOTE START.................9
KEYLESS ENTER-N-GO™ ...........10
VEHICLE SECURITY ALARM ..........13
SEATBELT ...................14
SUPPLEMENTAL RESTRAINT SYSTEM (SRS) —
AIRBAGS ....................15
CHILD RESTRAINTS ..............16
FRONT SEATS .................19
REARSEAT ...................21
HEATEDSEATS .................21
TILT/TELESCOPING STEERING COLUMN . . . 22
OPERATING YOUR VEHICLE
ENGINE BREAK-IN RECOMMENDATIONS . . . 23
TURN SIGNAL/WIPER/WASHER/HIGH BEAM
LEVER ......................24
HEADLIGHT SWITCH ..............25
SPEED CONTROL ................26
AUTOSTICK® ..................28
SPORT MODE – IF EQUIPPED .........29
MANUAL TRANSMISSION 1 TO 4 SKIP SHIFT . . 29AUTOMATIC TEMPERATURE CONTROLS
(ATC) ......................30
POWER SUNROOF...............31
WIND BUFFETING ...............33
ELECTRONICS
YOUR VEHICLE'S SOUND SYSTEM ......34
Uconnect® 130 .................36
Uconnect® 130 WITH SiriusXM SATELLITE
RADIO ......................38
Uconnect® 430/430N .............41
Uconnect® 730N ................50
SiriusXM SATELLITE RADIO/TRAVEL LINK . . 61
STEERING WHEEL AUDIO CONTROLS ....65
Uconnect® PHONE ...............65
Uconnect® VOICE COMMAND .........68
Bluetooth® STREAMING AUDIO ........71
iPod®/USB/MP3 CONTROL ..........71
ELECTRONIC VEHICLE INFORMATION CENTER
(EVIC) ......................72
PROGRAMMABLE FEATURES .........73
UNIVERSAL GARAGE DOOR OPENER
(HomeLink®) ..................75
POWER OUTLETS ...............77
UTILITY
TRAILER TOWING WEIGHTS (MAXIMUM TRAILER
WEIGHTRATINGS) ...............79
RECREATIONAL TOWING (BEHIND
MOTORHOME, ETC.) ..............79
SRT
AUTOSTICK®..................80ELECTRONIC CONTROL DAMPING SYSTEM . . . 81SRT PERFORMANCE FEATURES .......82
SUMMER/THREE-SEASON TIRES ......128
WHAT TO DO IN EMERGENCIES
ROADSIDE ASSISTANCE............84
INSTRUMENT CLUSTER WARNING LIGHTS . . 84
IF YOUR ENGINE OVERHEATS .........89
JACKING AND TIRE CHANGING ........90
BATTERY LOCATION ..............96
TIREFIT KIT ...................96
JUMP-STARTING ...............102
SHIFT LEVER OVERRIDE ...........104
TOWING A DISABLED VEHICLE .......105
FREEING A STUCK VEHICLE .........106
EVENT DATA RECORDER (EDR) ........107
MAINTAINING YOUR VEHICLE
OPENING THE HOOD.............108
ENGINE COMPARTMENT ...........109
FLUIDS AND CAPACITIES ...........112
MAINTENANCE SCHEDULE ..........116
FUSES .....................126
SUMMER/THREE-SEASON TIRES ......128
TIRE PRESSURES ...............129
WHEEL AND WHEEL TRIM CARE ......130
EXTERIOR BULBS ..............130
CONSUMER ASSISTANCE
CHRYSLER GROUP LLC CUSTOMER
CENTER....................131
CHRYSLER CANADA INC. CUSTOMER
CENTER ....................131
ASSISTANCE FOR THE HEARING
IMPAIRED ...................131
PUBLICATIONS ORDERING ..........131
REPORTING SAFETY DEFECTS IN THE
UNITEDSTATES ................132
MOPAR® ACCESSORIES
AUTHENTIC ACCESSORIES BY MOPAR® . . 133
FREQUENTLY ASKED QUESTIONS
FAQ’s ......................134
INDEX....................136
TABLE OF CONTENTS
Page 19 of 148
Installing The Child Restraint Using The LATCH Lower Anchors
NOTE:
Never“share” a LATCH anchorage with two or more child restraints.
1. Loosen the adjusters on the lower straps and on the tether strap of the child seat so that you can more easily attach the hooks or connectors to the vehicle anchorages.
2. Attach the lower hooks or connectors of the child restraint to the lower anchorages in the selected seating position.
3. If the child restraint has a tether strap, connect it to the top tether anchorage. See below for directions to attach a tether anchor.
4.
Tighten all of the straps as you push the child restraint rearward and downward into the seat.
Remove slack in the straps according to the child restraint manufacturer’s instructions.
5. Test that the child restraint is installed tightly by pulling back and forth on the child seat at the belt path. It should not move more than 1 inch (25.4 mm) in any direction.
Installing The Child Restraint Using The Vehicle Seat Belts
The seat belts in the passenger seating positions are equipped with a Switchable Auto-
matic Locking Retractor (ALR) that is designed to keep the lap portion of the seat belt tight
around the child restraint. Any seat belt system will loosen with time, so check the belt
occasionally, and pull it tight if necessary.
Always use the tether anchor when using the seat belt to install a forward facing child
restraint, up to the recommended weight limit of the child restraint.
To Install A Child Seat Using An ALR:
1. Pull enough of the seat belt webbing from the retractor to pass it through the belt path ofthe child restraint. Do not twist the belt webbing in the belt path.
2. Slide the latch plate into the buckle until you hear a “click.”
3. Pull on the webbing to make the lap portion tight against the child seat.
4. To lock the seat belt, pull down on the shoulder part of the belt until you have pulled all the seat belt webbing out of the retractor. Then, allow the webbing to retract back into the
retractor. As the webbing retracts, you will hear a clicking sound. This means the seat
belt is now in the Automatic Locking mode.
5. Try to pull the webbing out of the retractor. If it is locked, you should not be able to pull out any webbing. If the retractor is not locked, repeat the last step.
6. Finally, pull up on any extra webbing to tighten the lap portion around the child restraint while you push the child restraint rearward and downward into the vehicle seat.
GETTING STARTED
17
Page 25 of 148
ENGINE BREAK-IN RECOMMENDATIONS
• A long break-in period is not required for the engine and drivetrain (transmission andaxle) in your vehicle.
• Drive moderately during the first 300 miles (500 km). After the initial 60 miles (100 km), speeds up to 50 or 55 mph (80 or 90 km/h) are desirable.
• While cruising, brief full-throttle acceleration within the limits of local traffic laws contributes to a good break-in. Wide-open throttle acceleration in low gear can be
detrimental and should be avoided.
• The engine oil installed in the engine at the factory is a high-quality energy conserving type lubricant. Oil changes should be consistent with anticipated climate conditions
under which vehicle operations will occur. For the recommended viscosity and quality
grades, refer to “Maintaining Your Vehicle.”
NOTE:
A new engine may consume some oil during its first few thousand miles (kilometers) of
operation. This should be considered a normal part of the break-in and not interpreted as an
indication of an engine problem or malfunction.
CAUTION!
Never use Non-Detergent Oil or Straight Mineral Oil in the engine or damage may result.
Engine Break-In Recommendation — SRT Version
A long break-in period is not required for the drivetrain (engine, transmission, and rear axle)
in your new vehicle.
Drive moderately during the first 500 miles (800 km). After the initial 60 miles (100 km),
speeds up to 50 or 55 mph (80 or 90 km/h) are desirable.
While cruising, brief full-throttle acceleration within the limits of local traffic laws contrib-
utes to a good break-in. However, wide-open throttle acceleration in low gear can be
detrimental and should be avoided.
The engine oil is a high performance synthetic lubricant, the transmission fluid, and axle
lubricant installed at the factory is high-quality and energy-conserving. Oil, fluid, and
lubricant changes should be consistent with anticipated climate and conditions under
which vehicle operations will occur. For the recommended viscosity and quality grades,
refer to “Maintaining Your Vehicle”.
NOTE:
A new engine may consume some oil during its first few thousand miles (kilometers) of
operation. This should be considered a normal part of the break-in and not interpreted as an
indication of difficulty.
CAUTION!
Never use Non-Detergent Oil or Straight Mineral Oil in the engine or damage may result.
OPERATING YOUR VEHICLE
23
Page 30 of 148
AUTOSTICK®
Steering Wheel Mounted Paddle Shifters Or Console Mounted Shifter
• AutoStick® is a driver-interactive trans-
mission feature that offers manual gear
shifting to provide you with more control
of the vehicle. AutoStick® allows you to
maximize engine braking, and improve
overall vehicle performance.
• This system can also provide you with more control during passing, city driving,
cold slippery conditions, mountain driv-
ing, trailer towing, and many other
situations.
Operation
• When the shift lever is in the DRIVE posi-tion, the transmission will operate auto-
matically, shifting between the five available gears. To engage AutoStick®, simply move
the shift lever to the right or left (+/-) while in the DRIVE position, or press one of the
steering wheel mounted shift paddles (+/-). When AutoStick® is active, the current
transmission gear is displayed in the Electronic Vehicle Information Center (EVIC) por-
tion of the instrument cluster. In AutoStick® mode, the transmission will shift when
manually selected by the driver (using the shift lever, or the shift paddles), unless an
engine lugging or overspeed condition would result. It will remain in the selected gear
until another upshift or downshift is chosen, except as described below:• The transmission will automatically downshift as the vehicle slows (to prevent engine
lugging) and will display the current gear.
• The transmission will automatically downshift to first gear when coming to a stop.
• You can start out in first or second gear. Tapping (+) (at a stop) will allow starting in second gear. Starting out in second gear is helpful in snowy or icy conditions.
• The system will ignore attempts to upshift at too low of a vehicle speed.
• Transmission shifting will be more noticeable when AutoStick® is engaged. To disen- gage AutoStick® mode, hold the shift lever to the right or press and hold the (+) shift
paddle until “D” is once again displayed in the instrument cluster. You can shift in or
out of the AutoStick® mode at any time without taking your foot off the accelerator
pedal.
OPERATING YOUR VEHICLE
28
Page 31 of 148
SPORT MODE – IF EQUIPPED
• This mode alters the transmission's automatic shift schedule for sportier driving. Upshiftspeeds are increased to make full use of available engine power. Sport Mode is enabled/
disable by pressing the sport mode button on the center instrument panel below the
climate controls. When SPORT mode is enabled, a “SPORT” message will display in the
instrument cluster.
MANUAL TRANSMISSION 1 TO 4 SKIP SHIFT
• Skip Shift is enabled when vehicle speed is between 19 MPH (30 km/h) and 21 MPH(34 km/h) and the accelerator pedal is at 1/4 throttle or less.
• For optimal fuel economy, under low acceleration conditions, your vehicle will only allow you to shift from first gear to fourth gear. Additionally, the skip shift message will appear
on the Electronic Vehicle Information Center.
• Refer to your Owner's Manual on the DVD for further information.
OPERATING YOUR VEHICLE
29
Page 34 of 148
WARNING!
• Never leave children unattended in a vehicle, and do not leave the Key Fob in or nearthe vehicle, and do not leave a vehicle equipped with Keyless Enter-N-Go™ in the ACC
or ON/RUN mode. Occupants, particularly unattended children, can become en-
trapped by the power sunroof while operating the power sunroof switch. Such
entrapment may result in serious injury or death.
• In a collision, there is a greater risk of being thrown from a vehicle with an open
sunroof. You could also be severely injured or killed. Always fasten your seat belt
properly and make sure all passengers are properly secured.
• Do not allow small children to operate the sunroof. Never allow your fingers, other
body parts, or any object to project through the sunroof opening. Injury may result.
OPERATING YOUR VEHICLE
32
Page 39 of 148
Radio Operation
Seek Up/Down Buttons
• Press to seek through radio stations in AM or FM bands.
• Hold either button to bypass stations without stopping.
Store Radio Presets
• Press the SET/RND or SET (depending on the radio) button once and SET 1 will show in thedisplay. Then select a preset button (1–6).
• A second station may be added to each push button. Press the SET/RND or SET (depending on the radio) button twice and SET 2 will show in the display. Then select a
preset button (1–6).
CD/DISC Operation
Seek Up/Down Buttons
• Press to seek through CD tracks.
• Hold either button to bypass tracks without stopping.
SET/RND Or RND (Depending On Radio) Button (Random Play)
• Press this button while the CD is playing to activate Random Play.
• This feature plays the selections on the CD in random order to provide an interestingchange of pace.
Audio Jack Operation
The AUX/Audio Jack provides a means to connect a portable audio device, such as an MP3
player or an iPod®, to the vehicle’s sound system. This requires the use of a 3.5 mm stereo
audio patch cable.
• Pressing the AUX button will change the mode to auxiliary device if the Audio Jack isconnected, allowing the music from your portable device to play through the vehicle's
speakers.
The functions of the portable device are controlled using the device buttons, not the
buttons on the radio. However, the volume may be controlled using the radio or portable
device.
ELECTRONICS
37
Page 41 of 148
Equalizer, Balance And Fade
1. Press the TUNE/SCROLL control knob and “BASS” will display.
2. Rotate the TUNE/SCROLL control knob to select the desired setting.
3. Continue pressing the TUNE/SCROLL control knob to display and set “MID RANGE,”“TREBLE,” “BALANCE” and “FADE.”
Radio Operation
Seek Up/Down Buttons
• Press to seek through radio stations in AM, FM, or SAT bands.
• Hold either button to bypass stations without stopping.
Store Radio Presets
• Press the SET/RND or SET (depending on the radio) button once and SET 1 will show in thedisplay. Then select a preset button (1–6).
• A second station may be added to each push button. Press the SET/RND or SET (depending on the radio) button twice and SET 2 will show in the display. Then select a
preset button (1–6).
Music Type
NOTE:
The Music Type function only operates when in FM mode.
• Press the MUSIC TYPE button to activate this mode. Press the MUSIC TYPE button again or turn the TUNE/SCROLL control knob to select the desired music type (Adult Hits,
Country, Jazz, Oldies, Rock, etc.).
• When a music type is chosen and the Music type is displayed, press either SEEK button and the radio will only search for stations with the selected music type.
SETUP Button
• Pressing the SETUP button allows you to select between items that are available in that particular mode.
• Turn the TUNE/SCROLL control knob to scroll through the entries. Push the AUDIO/ SELECT button to select an entry and make changes.
ELECTRONICS
39
Page 46 of 148
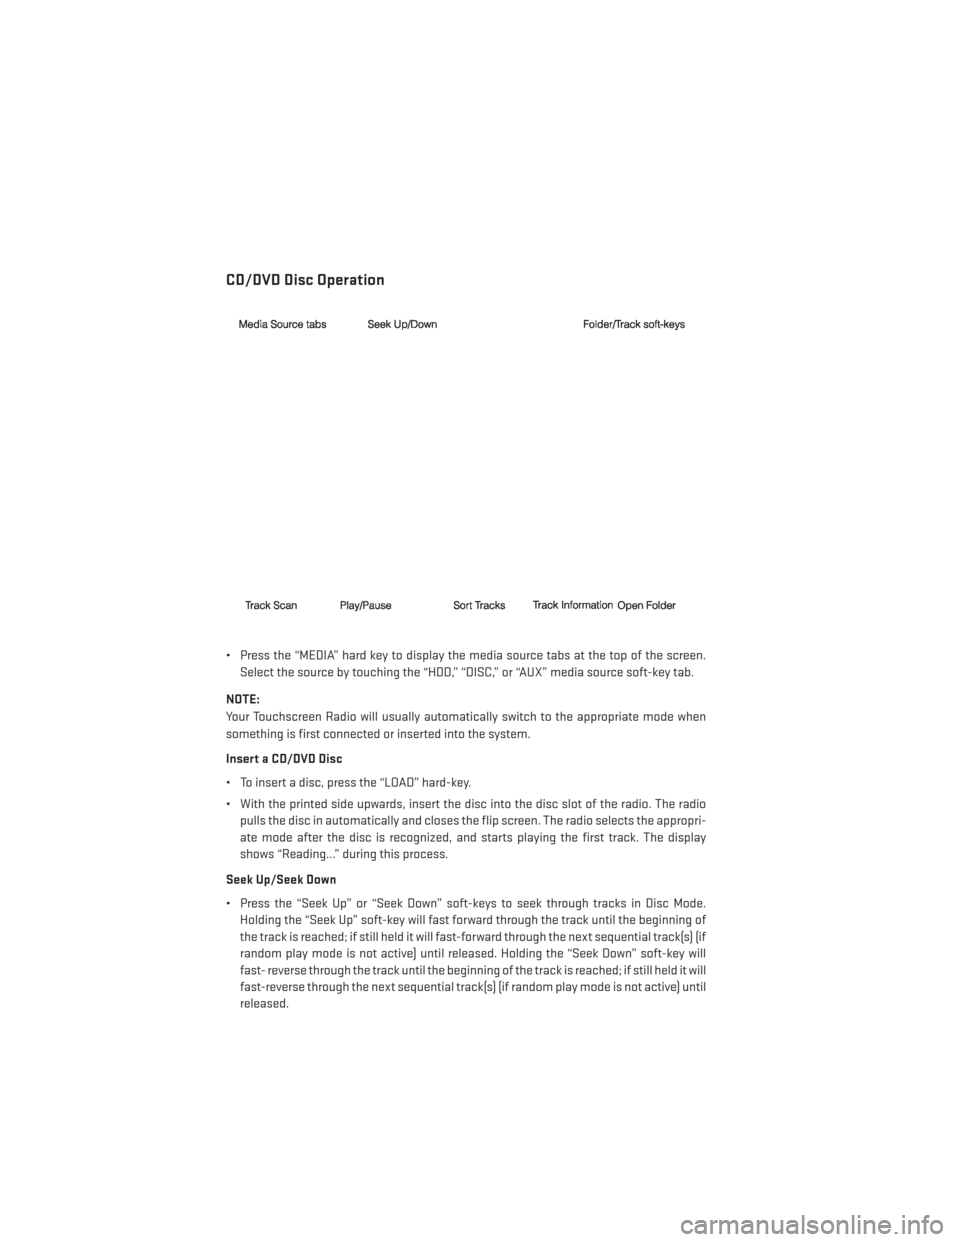
CD/DVD Disc Operation
• Press the “MEDIA” hard key to display the media source tabs at the top of the screen.Select the source by touching the “HDD,” “DISC,” or “AUX” media source soft-key tab.
NOTE:
Your Touchscreen Radio will usually automatically switch to the appropriate mode when
something is first connected or inserted into the system.
Insert a CD/DVD Disc
• To insert a disc, press the “LOAD” hard-key.
• With the printed side upwards, insert the disc into the disc slot of the radio. The radio pulls the disc in automatically and closes the flip screen. The radio selects the appropri-
ate mode after the disc is recognized, and starts playing the first track. The display
shows “Reading...” during this process.
Seek Up/Seek Down
• Press the “Seek Up” or “Seek Down” soft-keys to seek through tracks in Disc Mode. Holding the “Seek Up” soft-key will fast forward through the track until the beginning of
the track is reached; if still held it will fast-forward through the next sequential track(s) (if
random play mode is not active) until released. Holding the “Seek Down” soft-key will
fast- reverse through the track until the beginning of the track is reached; if still held it will
fast-reverse through the next sequential track(s) (if random play mode is not active) until
released.
ELECTRONICS
44
Page 55 of 148
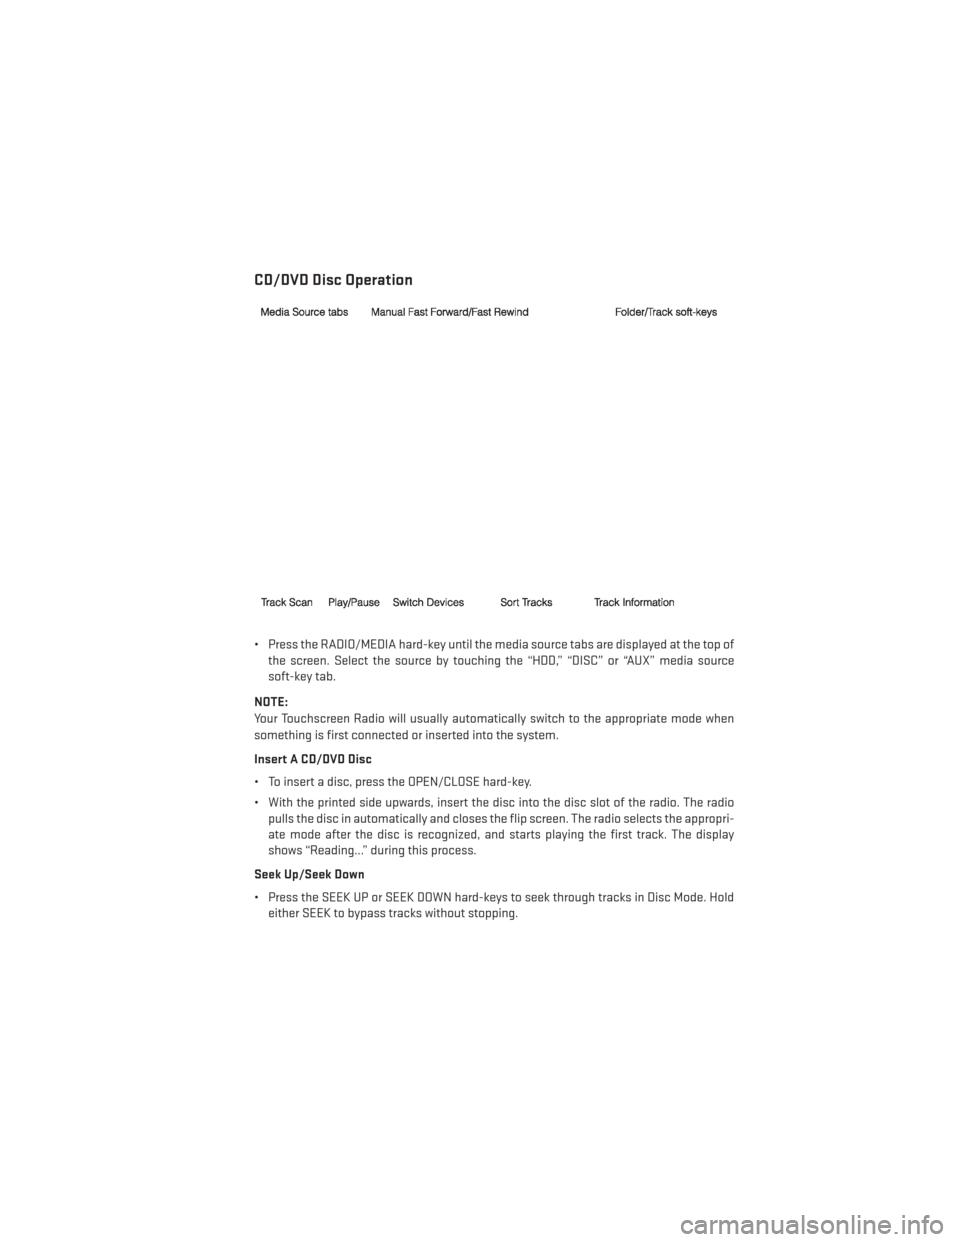
CD/DVD Disc Operation
• Press the RADIO/MEDIA hard-key until the media source tabs are displayed at the top ofthe screen. Select the source by touching the “HDD,” “DISC” or “AUX” media source
soft-key tab.
NOTE:
Your Touchscreen Radio will usually automatically switch to the appropriate mode when
something is first connected or inserted into the system.
Insert A CD/DVD Disc
• To insert a disc, press the OPEN/CLOSE hard-key.
• With the printed side upwards, insert the disc into the disc slot of the radio. The radio pulls the disc in automatically and closes the flip screen. The radio selects the appropri-
ate mode after the disc is recognized, and starts playing the first track. The display
shows “Reading...” during this process.
Seek Up/Seek Down
• Press the SEEK UP or SEEK DOWN hard-keys to seek through tracks in Disc Mode. Hold either SEEK to bypass tracks without stopping.
ELECTRONICS
53