ignition DODGE CHALLENGER 2015 3.G Owner's Guide
[x] Cancel search | Manufacturer: DODGE, Model Year: 2015, Model line: CHALLENGER, Model: DODGE CHALLENGER 2015 3.GPages: 603, PDF Size: 14.97 MB
Page 141 of 603
Rotate the headlight switch to the second detent for
headlight, parking light and instrument panel light op-
eration.
Automatic Headlights — If Equipped
This system automatically turns the headlights on or off
according to ambient light levels. To turn the system on,
rotate the headlight switch counterclockwise to the
AUTO position. When the system is on, the headlight
time delay feature is also on. This means the headlights
will stay on for up to 90 seconds after you place the
ignition into the OFF position. To turn the automatic
system off, move the headlight switch out of the AUTO
position.
NOTE:The engine must be running before the headlights
will come on in the automatic mode.
Headlights On With Wipers (Available With
Automatic Headlights Only)
When this feature is active, the headlights will turn on
after the wipers are turned on if the headlight switch is
placed in the AUTO position and programmable feature
is set to ON. In addition, the headlights will turn off
when the wipers are turned off if they were turned on by
this feature.
NOTE:The Headlights On with Wipers feature can be
turned on or off using the Uconnect® System. Refer to
“Uconnect® Settings/Customer Programmable Fea-
tures” in “Understanding Your Instrument Panel” for
further information.
Automatic High Beam Headlamp Control — If
Equipped
The Automatic High Beam Headlamp Control system
provides increased forward lighting at night by automat-
ing high beam control through the use of a digital camera
3
UNDERSTANDING THE FEATURES OF YOUR VEHICLE 139
Page 143 of 603
2. Push back on the multifunction lever once again to
reactivate the system.
Headlight Time Delay
This feature provides the safety of headlight illumination
for up to 90 seconds when leaving your vehicle in an
unlit area.
To activate the delay feature, turn OFF the ignition switch
while the headlights are still on. Then, turn off the
headlights within 45 seconds. The delay interval begins
when the headlight switch is turned off.
NOTE:The lights must be turned off within 45 seconds
of turning the ignition OFF to activate this feature.
If you turn the headlights, park lights or ignition switch
ON again, the system will cancel the delay.
If you turn the headlights off before the ignition, they will
turn off in the normal manner.
NOTE:The Headlight Time Delay is programmable us-
ing the Uconnect® System, refer to “Uconnect® Settings”
in “Understanding Your Instrument Panel” for further
information.
Daytime Running Lights (DRL) — If Equipped
The Daytime Running Lights will turn On when the
engine is started and remain On unless the headlamps
are turned ON, the parking brake is applied, or the
engine is shut Off.
NOTE:If allowed by law in the country in which the
vehicle was purchased the Daytime Running Lights can
be turned on and off using the Uconnect® System, refer
to “Uconnect® Settings” in “Understanding Your Instru-
ment Panel” for further information.
3
UNDERSTANDING THE FEATURES OF YOUR VEHICLE 141
Page 144 of 603
Lights-On Reminder
If the headlights or parking lights are on after the ignition
is placed in the OFF position, a chime will sound to alert
the driver when the driver’s door is opened.
Fog Lights — If Equipped
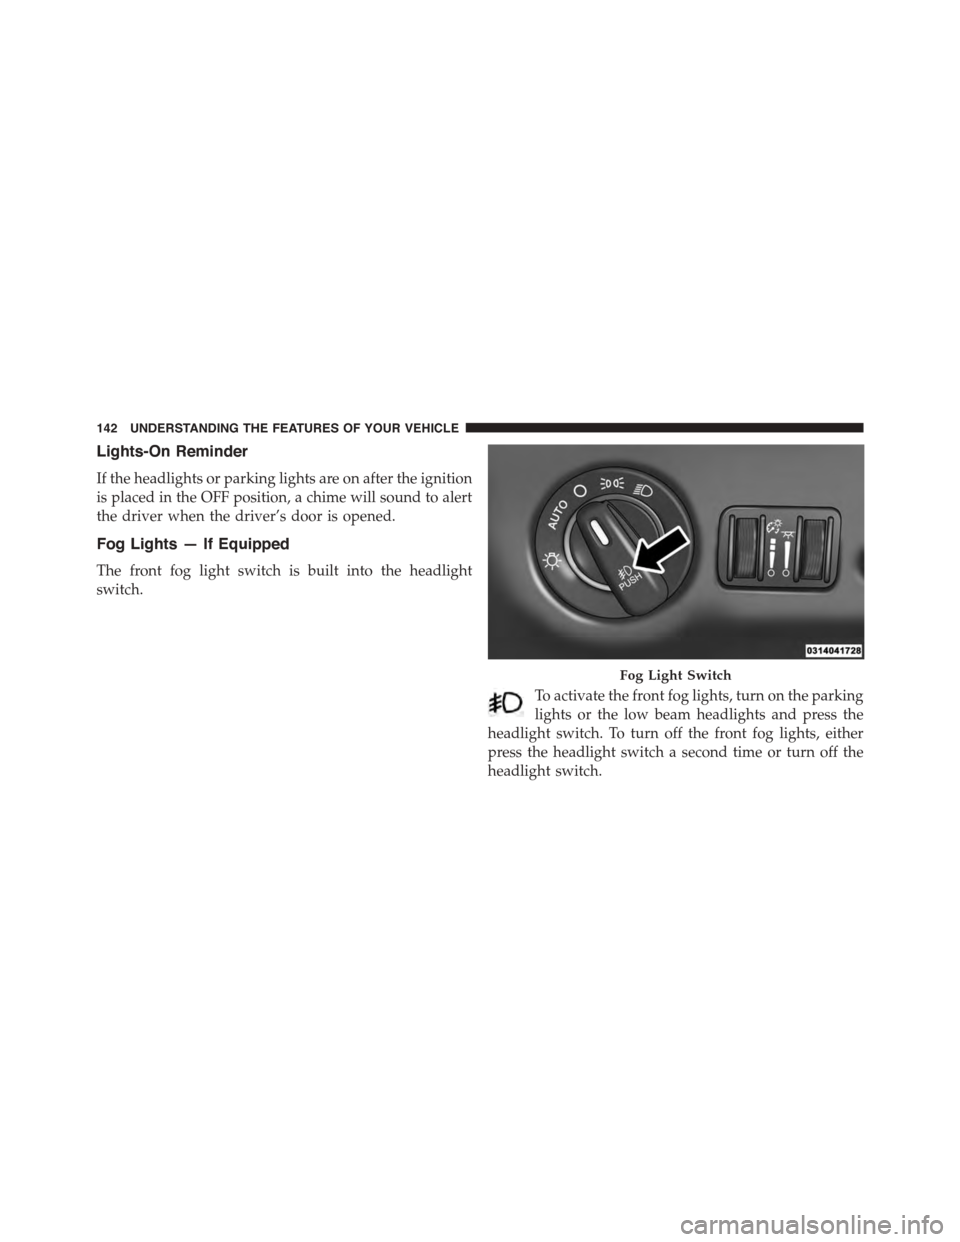
The front fog light switch is built into the headlight
switch.
To activate the front fog lights, turn on the parking
lights or the low beam headlights and press the
headlight switch. To turn off the front fog lights, either
press the headlight switch a second time or turn off the
headlight switch.
Fog Light Switch
142 UNDERSTANDING THE FEATURES OF YOUR VEHICLE
Page 147 of 603
the UNLOCK button on the Remote Keyless Entry (RKE)
transmitter is pressed, or when the dimmer control is
turned fully upward, past the second detent.
Interior Lights
The interior lights come on when a door is opened.
To protect the battery, the interior lights will turn off
automatically 10 minutes after the ignition is moved to
the LOCK position. This will occur if the interior lights
were switched on manually or are on because a door is
open. This includes the glove box light, but not the trunk
light. To restore interior light operation, either place the
ignition in the ON/RUN position or cycle the light
switch.
Dimmer Controls
The dimmer control is part of the headlight switch and is
located on the left side of the instrument panel.
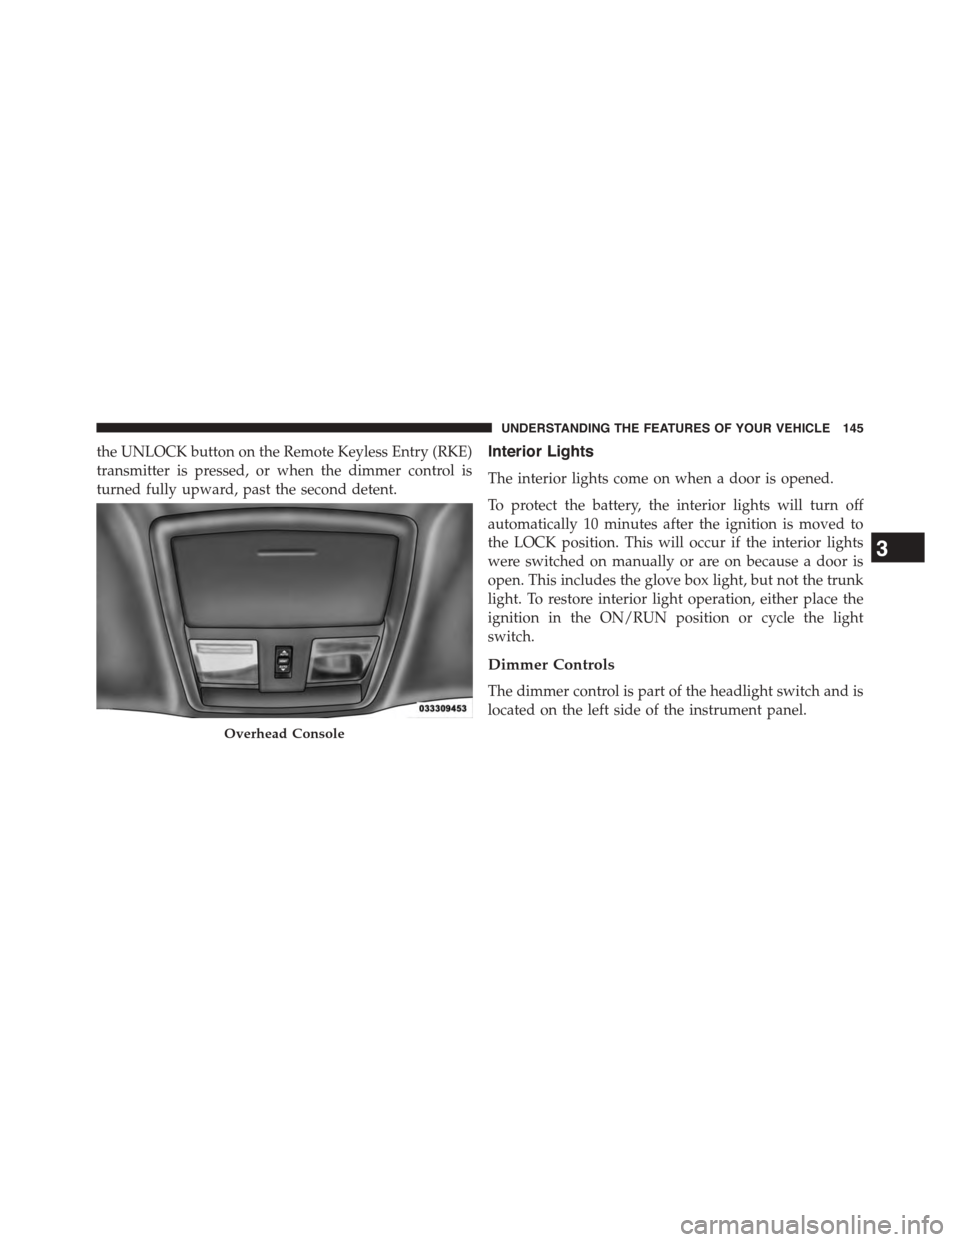
Overhead Console
3
UNDERSTANDING THE FEATURES OF YOUR VEHICLE 145
Page 149 of 603
Interior Light Defeat (OFF)
Rotate the left dimmer control to the extreme bottom
“OFF” position. The interior lights will remain off when
the doors are open.
Parade Mode (Daytime Brightness Feature)
Rotate the instrument panel dimmer control upward to
the first detent. This feature brightens all text displays
such as the odometer, Driver Information Display (DID),
and radio when the position lights or headlights are on.
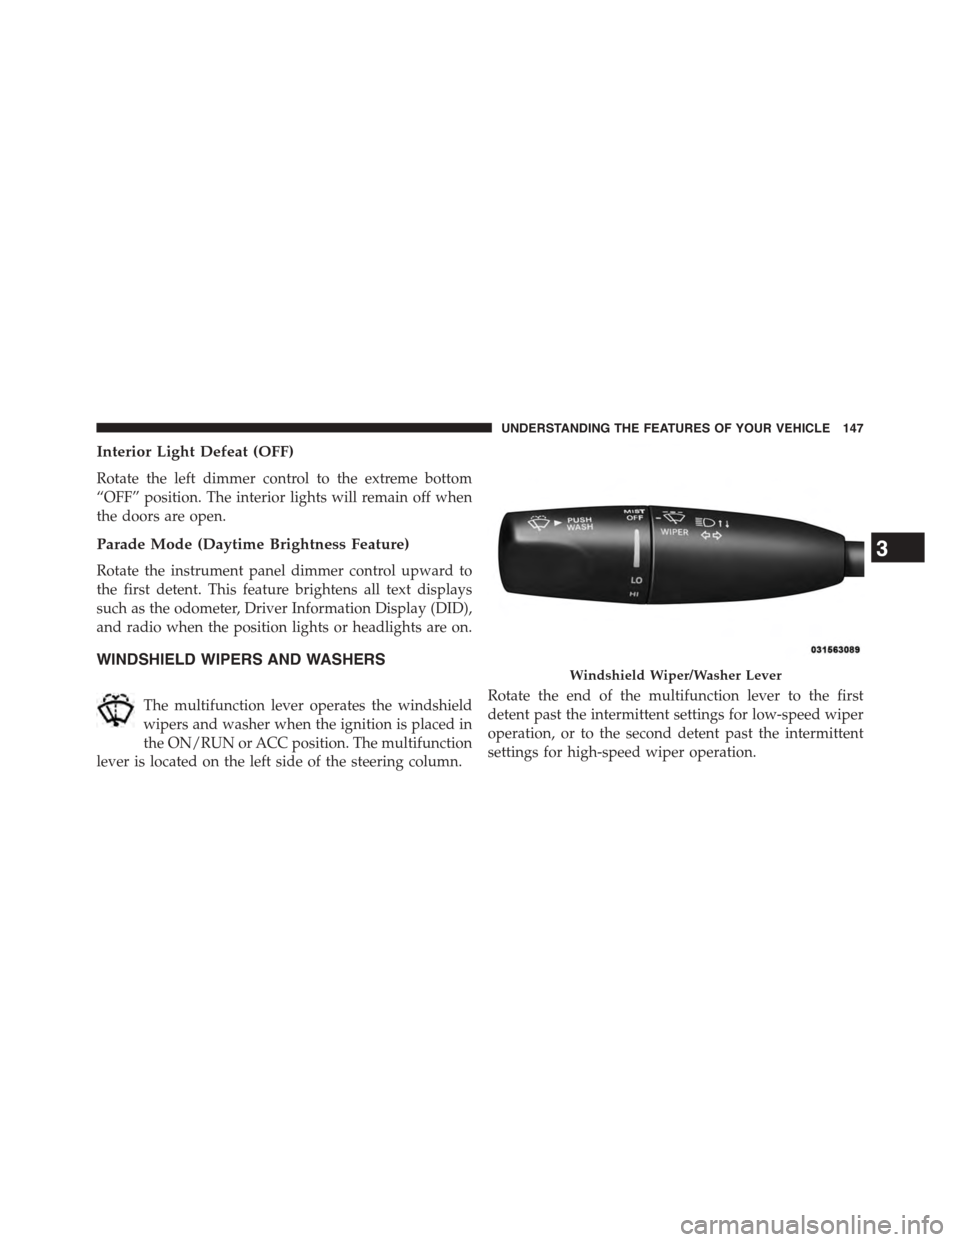
WINDSHIELD WIPERS AND WASHERS
The multifunction lever operates the windshield
wipers and washer when the ignition is placed in
the ON/RUN or ACC position. The multifunction
lever is located on the left side of the steering column.
Rotate the end of the multifunction lever to the first
detent past the intermittent settings for low-speed wiper
operation, or to the second detent past the intermittent
settings for high-speed wiper operation.
Windshield Wiper/Washer Lever
3
UNDERSTANDING THE FEATURES OF YOUR VEHICLE 147
Page 153 of 603
The Rain Sensing system has protection features for the
wiper blades and arms, and will not operate under the
following conditions:
•Low Ambient Temperature— When the ignition is
first turned ON, the Rain Sensing system will not
operate until the wiper switch is moved, vehicle speed
is greater than 0 mph (0 km/h), or the outside tem-
perature is greater than 32°F (0°C).
•Transmission In NEUTRAL Position— When the
ignition is ON, and the transmission is in the NEU-
TRAL position, the Rain Sensing system will not
operate until the wiper switch is moved, vehicle speed
is greater than 5 mph (8 km/h), or the shift lever is
moved out of the NEUTRAL position.
NOTE:Rain Sensing can be turned on and off using the
Uconnect® System, refer to “Uconnect® Settings” in
“Understanding Your Instrument Panel” for further in-
formation.
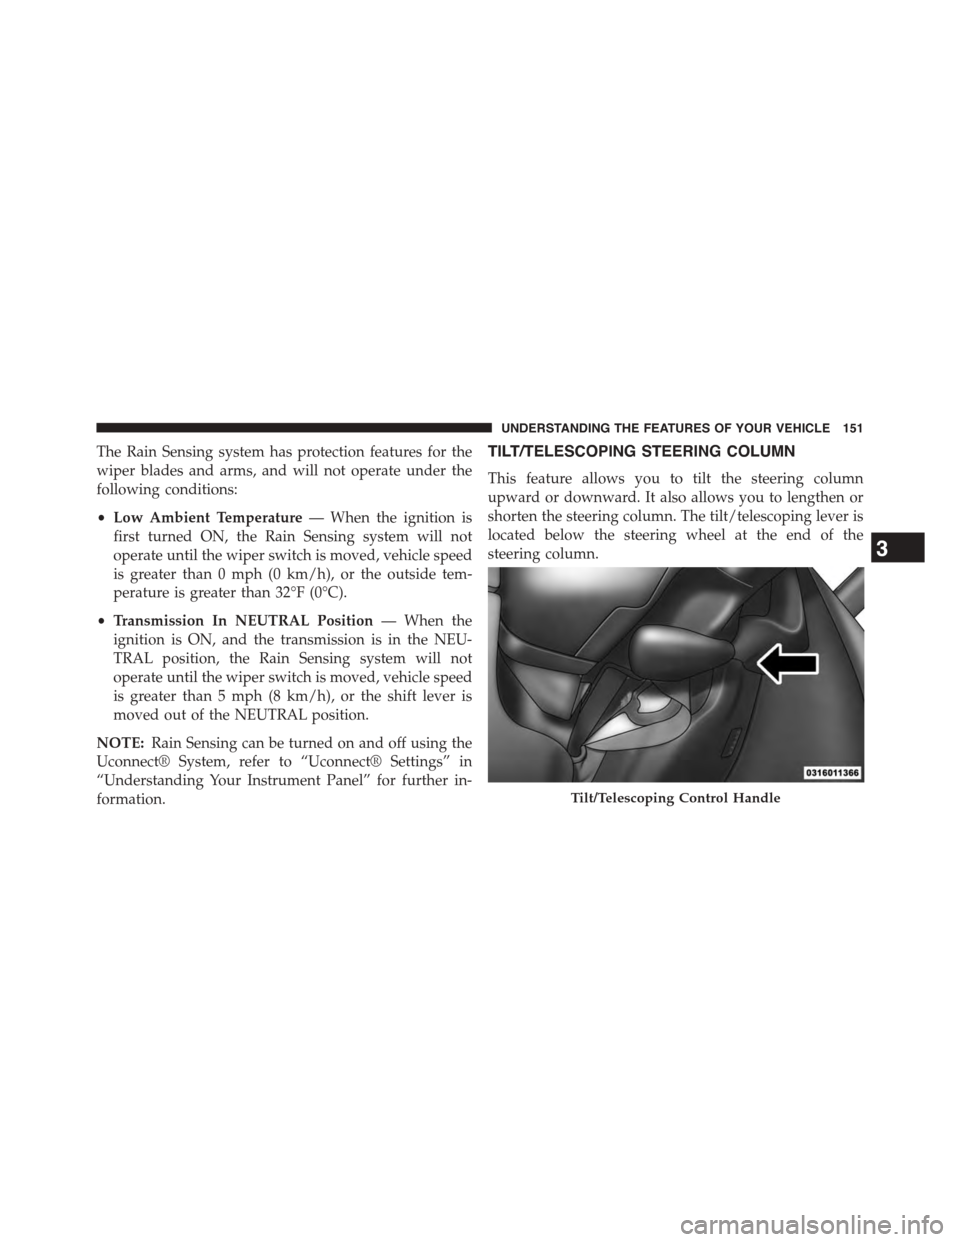
TILT/TELESCOPING STEERING COLUMN
This feature allows you to tilt the steering column
upward or downward. It also allows you to lengthen or
shorten the steering column. The tilt/telescoping lever is
located below the steering wheel at the end of the
steering column.
Tilt/Telescoping Control Handle
3
UNDERSTANDING THE FEATURES OF YOUR VEHICLE 151
Page 158 of 603
WARNING!
Leaving the Electronic Speed Control system on
when not in use is dangerous. You could accidentally
set the system or cause it to go faster than you want.
You could lose control and have an accident. Always
leave the system OFF when you are not using it.
To Set A Desired Speed
Turn the Electronic Speed Control ON. When the vehicle
has reached the desired speed, press the SET (+) or SET
(-) button and release. Release the accelerator and the
vehicle will operate at the selected speed. Once a speed
has been set a message CRUISE CONTROL SET TO MPH
(km/h) will appear indicating what speed was set. A
CRUISE indicator lamp will also appear and stay on in
the instrument cluster when the speed is set.
To Deactivate
A soft tap on the brake pedal, pushing the CANCEL
button, or normal brake pressure while slowing the
vehicle will deactivate the Electronic Speed Control with-
out erasing the set speed from memory.
Pressing the ON/OFF button or turning the ignition
switch OFF erases the set speed from memory.
To Resume Speed
To resume a previously set speed, push the RES button
and release. Resume can be used at any speed above
20 mph (32 km/h).
To Vary The Speed Setting
To Increase Speed
When the Electronic Speed Control is set, you can in-
crease speed by pushing the SET+button.
156 UNDERSTANDING THE FEATURES OF YOUR VEHICLE
Page 167 of 603
•A Trailer Sway Control (TSC) event occurs.
•The driver switches ESC to full-off mode.
To Turn Off
The system will turn off and erase the set speed in
memory if:
•The Normal (Fixed Speed) Electronic Speed Control
ON/OFF button is pressed.
•The ignition is turned off.
•The Adaptive Cruise Control (ACC) On/Off button is
pressed.
To Resume
If there is a set speed in memory press the RES (resume)
button and then remove your foot from the accelerator
pedal. The DID will display the last set speed.
WARNING!
The Resume function should only be used if traffic
and road conditions permit. Resuming a set speed
that is too high or too low for prevailing traffic and
road conditions could cause the vehicle to accelerate
or decelerate too sharply for safe operation. Failure to
follow these warnings can result in a collision and
death or serious personal injury.
To Vary The Speed Setting
To Increase Speed
While ACC is set, you can increase the set speed by
pressing the SET+button.
3
UNDERSTANDING THE FEATURES OF YOUR VEHICLE 165
Page 184 of 603
To Cancel
The following conditions will cancel the Normal (Fixed
Speed) Electronic Speed Control without clearing the
memory:
•The brake pedal is applied.
•The CANCEL button is pressed.
•The Electronic Stability Control/Traction Control Sys-
tem (ESC/TCS) activates.
•The vehicle parking brake is applied.
•The braking temperature exceeds normal range (over-
heated).
•The shift lever/gear selector is removed from the
Drive position.
To Resume Speed
To resume a previously set speed, push the RES button
and release. Resume can be used at any speed above
20 mph (32 km/h).
To Turn Off
The system will turn off and erase the set speed in
memory if:
•The Normal (Fixed Speed) Electronic Speed Control
ON/OFF button is pressed.
•The ignition is turned off.
•The Adaptive Cruise Control (ACC) On/Off button is
pressed.
182 UNDERSTANDING THE FEATURES OF YOUR VEHICLE
Page 187 of 603
Changing the FCW status to “Off” prevents the system
from warning you of a possible collision with the vehicle
in front of you.
NOTE:The FCW system state is kept in memory from
one key cycle to the next. If the system is turned OFF, it
will remain off when the vehicle is restarted.
Changing FCW Status
The FCW Sensitivity Settings are programmable through
the Uconnect® System. Refer to “Uconnect® Settings” in
“Understanding Your Instrument Panel” for further in-
formation.
The default status of FCW is the “Far” setting is the “On”
setting, this allows the system to warn you of a possible
collision with the vehicle in front of you when you are
farther away. This gives you the most reaction time to
avoid a possible collision.
Changing the FCW status to the “Near” setting, allows
the system to warn you of a possible collision with the
vehicle in front of you when you are much closer. This
setting provides less reaction time than the “Far” setting,
which allows for a more dynamic driving experience.
NOTE:
•The system will retain the last setting selected by the
driver after ignition shut down.
•FCW may not react to irrelevant objects such as
overhead objects, ground reflections, objects not in the
path of the car, stationary objects that are far away,
oncoming traffic, or leading vehicles with the same or
higher rate of speed.
•FCW will be disabled like ACC, with the unavailable
screens.
3
UNDERSTANDING THE FEATURES OF YOUR VEHICLE 185