heater DODGE CHALLENGER 2015 3.G Owners Manual
[x] Cancel search | Manufacturer: DODGE, Model Year: 2015, Model line: CHALLENGER, Model: DODGE CHALLENGER 2015 3.GPages: 603, PDF Size: 14.97 MB
Page 131 of 603
When the HI-level setting is selected, the heater will
provide a boosted heat level during the first four minutes
of operation. Then, the heat output will drop to the
normal HI-level. If the HI-level setting is selected, the
system will automatically switch to LO-level after ap-
proximately 60 minutes of continuous operation. At that
time, the display will change from HI to LO, indicating
the change. The LO-level setting will turn OFF automati-
cally after approximately 45 minutes.
NOTE:The engine must be running for the heated seats
to operate.
Vehicles Equipped With Remote Start
On models that are equipped with remote start, the
heated seats can be programed to come on during a
remote start.
This feature can be programmed through the Uconnect®
system. Refer to “Uconnect® Settings” in “Understand-
ing Your Instrument Panel” for further information.
WARNING!
•Persons who are unable to feel pain to the skin
because of advanced age, chronic illness, diabetes,
spinal cord injury, medication, alcohol use, exhaus-
tion or other physical condition must exercise care
when using the seat heater. It may cause burns
even at low temperatures, especially if used for
long periods of time.
•Do not place anything on the seat or seatback that
insulates against heat, such as a blanket or cushion.
This may cause the seat heater to overheat. Sitting
in a seat that has been overheated could cause
serious burns due to the increased surface tempera-
ture of the seat.
3
UNDERSTANDING THE FEATURES OF YOUR VEHICLE 129
Page 156 of 603

The heated steering wheel control button is located
within the Uconnect® system. You can gain access to the
control button through the climate screen or the controls
screen.
•Press the heated steering wheel buttononce to
turn the heating element ON.
•Press the heated steering wheel buttona second
time to turn the heating element OFF.
NOTE:The engine must be running for the heated
steering wheel to operate.
Vehicles Equipped With Remote Start
On models that are equipped with remote start, the
heated steering wheel can be programmed to come on
during a remote start through the Uconnect® system.
Refer to “Uconnect® Settings” in “Understanding Your
Instrument Panel” for further information.
WARNING!
•Persons who are unable to feel pain to the skin
because of advanced age, chronic illness, diabetes,
spinal cord injury, medication, alcohol use, exhaus-
tion, or other physical conditions must exercise
care when using the steering wheel heater. It may
cause burns even at low temperatures, especially if
used for long periods.
•Do not place anything on the steering wheel that
insulates against heat, such as a blanket or steering
wheel covers of any type and material. This may
cause the steering wheel heater to overheat.
ELECTRONIC SPEED CONTROL — IF EQUIPPED
When engaged, the Electronic Speed Control takes over
accelerator operations at speeds greater than 25 mph
(40 km/h).
154 UNDERSTANDING THE FEATURES OF YOUR VEHICLE
Page 345 of 603
STARTING AND OPERATING
CONTENTS
!STARTING PROCEDURES................347
▫Manual Transmission — If Equipped........347
▫Automatic Transmission — If Equipped.....348
▫Keyless Enter-N-Go™..................349
▫Normal Starting.......................349
▫Extreme Cold Weather
(Below –20°F Or−29°C)................352
▫If Engine Fails To Start.................352
▫After Starting........................354
!ENGINE BLOCK HEATER — IF EQUIPPED . . .354
!MANUAL TRANSMISSION — IF EQUIPPED . .355
▫Six-Speed Manual Transmission...........355
▫Shifting.............................356
▫Recommended Shift Speeds..............357
▫1–4 Skip Shift........................358
▫Downshifting........................359
!AUTOMATIC TRANSMISSION............359
▫Key Ignition Park Interlock...............361
▫Brake/Transmission Shift Interlock System . . .361
5
Page 354 of 603
switch position will remain in the ACC position until
the vehicle is stopped and the button is pressed twice
to the OFF position.
Keyless Enter-N-Go™ Functions — With Driver ’s
Foot OFF The Brake Pedal/Clutch Pedal (In PARK
Or NEUTRAL Position)
The Keyless Enter-N-Go™ feature operates similar to an
ignition switch. It has three positions, OFF, ACC and
RUN. To change the ignition switch positions without
starting the vehicle and use the accessories follow these
steps starting with the ignition switch in the OFF posi-
tion:
1. Press the ENGINE START/STOP button once to
change the ignition switch to the ACC position,
2. Press the ENGINE START/STOP button a second time
to change the ignition switch to the RUN position,
3. Press the ENGINE START/STOP button a third time
to return the ignition switch to the OFF position.
Extreme Cold Weather (Below –20°F Or−29°C)
To ensure reliable starting at these temperatures, use of
an externally powered electric engine block heater (avail-
able from your authorized dealer) is recommended.
If Engine Fails To Start
WARNING!
•Never pour fuel or other flammable liquids into
the throttle body air inlet opening in an attempt to
start the vehicle. This could result in a flash fire
causing serious personal injury.
(Continued)
352 STARTING AND OPERATING
Page 356 of 603
Clearing A Flooded Engine (Using ENGINE
START/STOP Button) — Manual Transmission
Only
If the engine fails to start after you have followed the
“Normal Starting” or “Extreme Cold Weather#proce-
dures, it may be flooded. To clear any excess fuel, press
and hold the clutch pedal, push the accelerator pedal all
the way to the floor and hold it, then press and hold the
ENGINE START/STOP button for no more than 15
seconds. Release the accelerator pedal and the clutch
pedal, wait 10 to 15 seconds, then repeat the “Normal
Starting” procedure.
After Starting
The idle speed is controlled automatically and it will
decrease as the engine warms up.
ENGINE BLOCK HEATER — IF EQUIPPED
The engine block heater warms the engine, and permits
quicker starts in cold weather. Connect the cord to a
standard 110-115 Volt AC electrical outlet with a
grounded, three-wire extension cord.
The engine block heater must be plugged in at least one
hour to have an adequate warming effect on the engine.
The engine block heater cord is routed under the hood on
the driver side of the vehicle. It has a removable cap that
is located near the air box.
WARNING!
Remember to disconnect the engine block heater
cord before driving. Damage to the 110-115 Volt
electrical cord could cause electrocution.
354 STARTING AND OPERATING
Page 455 of 603
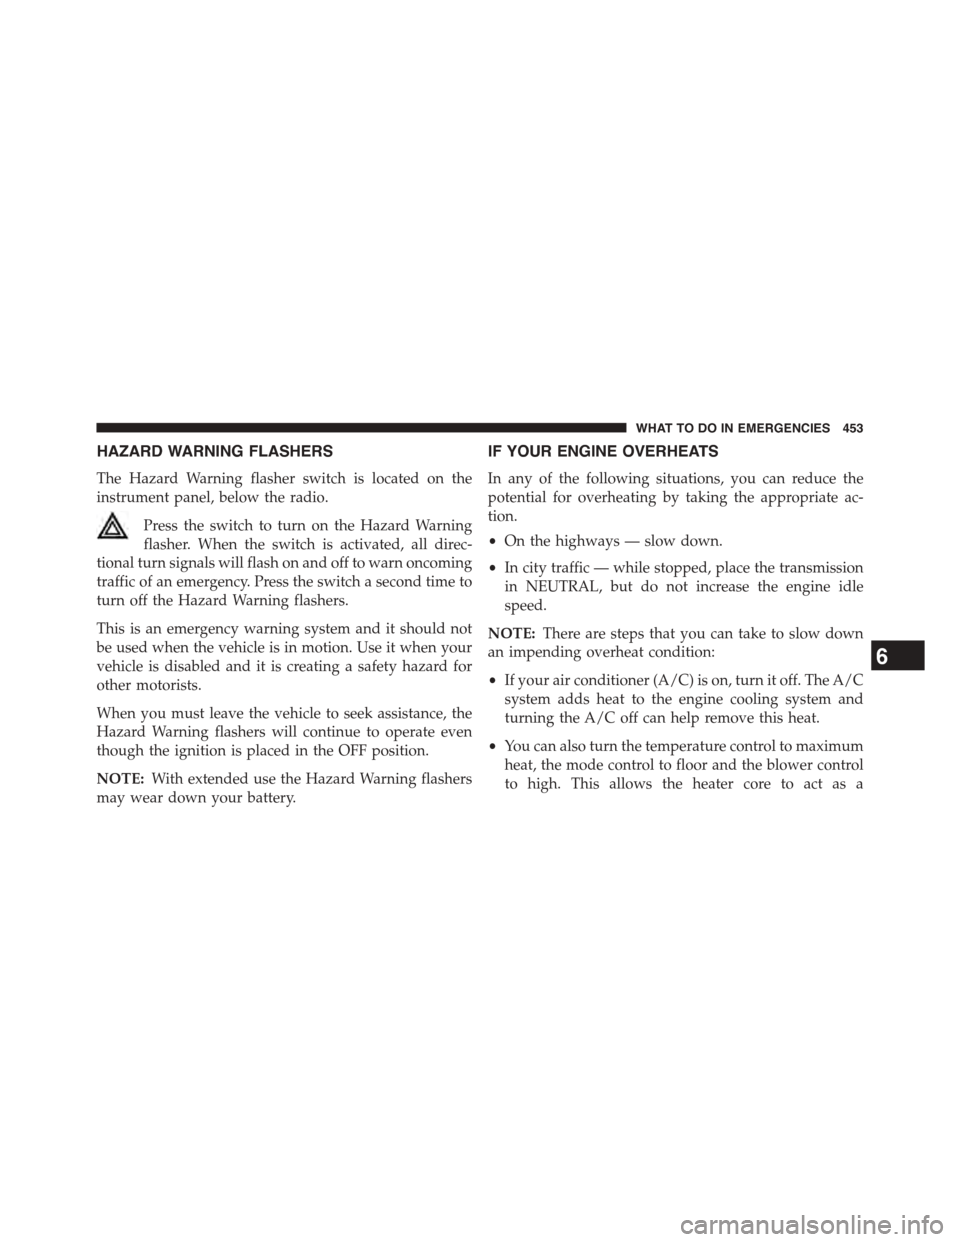
HAZARD WARNING FLASHERS
The Hazard Warning flasher switch is located on the
instrument panel, below the radio.
Press the switch to turn on the Hazard Warning
flasher. When the switch is activated, all direc-
tional turn signals will flash on and off to warn oncoming
traffic of an emergency. Press the switch a second time to
turn off the Hazard Warning flashers.
This is an emergency warning system and it should not
be used when the vehicle is in motion. Use it when your
vehicle is disabled and it is creating a safety hazard for
other motorists.
When you must leave the vehicle to seek assistance, the
Hazard Warning flashers will continue to operate even
though the ignition is placed in the OFF position.
NOTE:With extended use the Hazard Warning flashers
may wear down your battery.
IF YOUR ENGINE OVERHEATS
In any of the following situations, you can reduce the
potential for overheating by taking the appropriate ac-
tion.
•On the highways — slow down.
•In city traffic — while stopped, place the transmission
in NEUTRAL, but do not increase the engine idle
speed.
NOTE:There are steps that you can take to slow down
an impending overheat condition:
•If your air conditioner (A/C) is on, turn it off. The A/C
system adds heat to the engine cooling system and
turning the A/C off can help remove this heat.
•You can also turn the temperature control to maximum
heat, the mode control to floor and the blower control
to high. This allows the heater core to act as a
6
WHAT TO DO IN EMERGENCIES 453
Page 479 of 603
WARNING!
•Take care to avoid the radiator cooling fan when-
ever the hood is raised. It can start anytime the
ignition switch is ON. You can be injured by
moving fan blades.
•Remove any metal jewelry such as rings, watch
bands and bracelets that could make an inadvertent
electrical contact. You could be seriously injured.
•Batteries contain sulfuric acid that can burn your
skin or eyes and generate hydrogen gas which is
flammable and explosive. Keep open flames or
sparks away from the battery.
1. Set the parking brake, shift into PARK (automatic
transmission) or 1st gear (manual transmission) and
place the ignition to LOCK.
2. Turn off the heater, radio, and all unnecessary electri-
cal accessories.
3. If using another vehicle to jump-start the battery, park
the vehicle within the jumper cables reach, set the
parking brake and make sure the ignition is OFF.
WARNING!
Do not allow vehicles to touch each other as this
could establish a ground connection and personal
injury could result.
Jump-Starting Procedure
WARNING!
Failure to follow this jump-starting procedure could
result in personal injury or property damage due to
battery explosion.
6
WHAT TO DO IN EMERGENCIES 477
Page 550 of 603
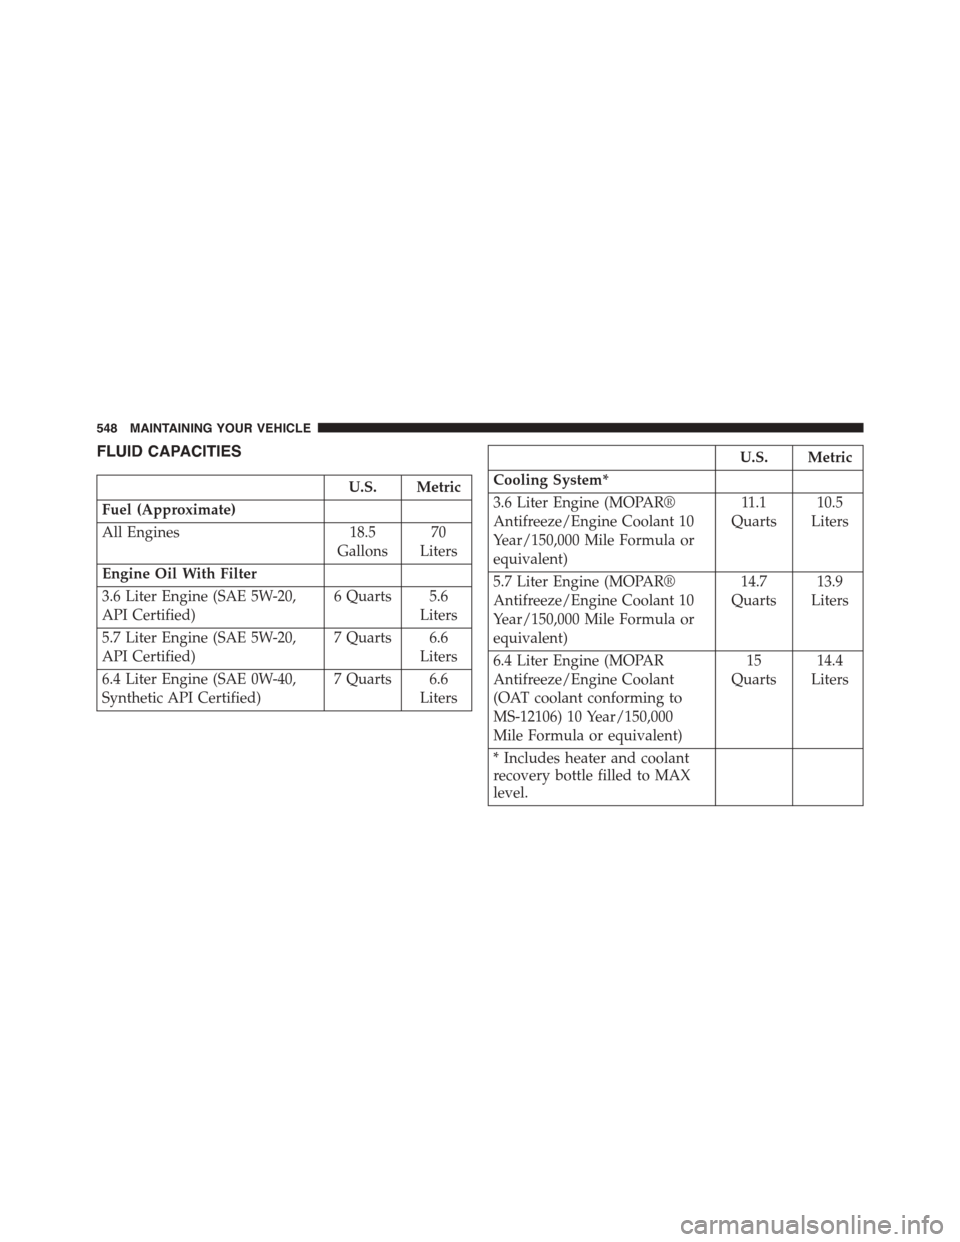
FLUID CAPACITIES
U.S. Metric
Fuel (Approximate)
All Engines18.5
Gallons
70
Liters
Engine Oil With Filter
3.6 Liter Engine (SAE 5W-20,
API Certified)
6 Quarts 5.6
Liters
5.7 Liter Engine (SAE 5W-20,
API Certified)
7 Quarts 6.6
Liters
6.4 Liter Engine (SAE 0W-40,
Synthetic API Certified)
7 Quarts 6.6
Liters
U.S. Metric
Cooling System*
3.6 Liter Engine (MOPAR®
Antifreeze/Engine Coolant 10
Year/150,000 Mile Formula or
equivalent)
11.1
Quarts
10.5
Liters
5.7 Liter Engine (MOPAR®
Antifreeze/Engine Coolant 10
Year/150,000 Mile Formula or
equivalent)
14.7
Quarts
13.9
Liters
6.4 Liter Engine (MOPAR
Antifreeze/Engine Coolant
(OAT coolant conforming to
MS-12106) 10 Year/150,000
Mile Formula or equivalent)
15
Quarts
14.4
Liters
* Includes heater and coolant
recovery bottle filled to MAX
level.
548 MAINTAINING YOUR VEHICLE
Page 587 of 603
Towing..............................484
Emergency Trunk Release....................41
Emission Control System Maintenance..........493
Engine.................................490
Air Cleaner...........................501
Block Heater..........................354
Break-In Recommendations.................90
Checking Oil Level......................496
Compartment..........................489
Compartment Identification................489
Coolant (Antifreeze).....................512
Cooling..............................511
Exhaust Gas Caution.....................94
Fails to Start...........................352
Flooded, Starting.......................352
Fuel Requirements......................425
Jump Starting..........................475
Oil . . . . . . . . . . . . . . . . . . . . . . . . . . . . . . . . ..496
Oil Change Interval......................497
Oil Filler Cap..........................499
Oil Selection...........................498
Oil Synthetic..........................500
Overheating...........................453
Starting..............................347
Temperature Gauge......................229
Engine Oil Viscosity.......................499
Engine Oil Viscosity Chart...................499
Enhanced Accident Response Feature............64
Entry System, Illuminated....................20
Ethanol................................427
Event Data Recorder........................68
Exhaust Gas Caution........................94
Exhaust System...........................94
Exterior Folding Mirrors....................113
Exterior Lighting..........................138
Exterior Lights............................97
Filler Location Fuel........................43110
INDEX 585
Page 590 of 603
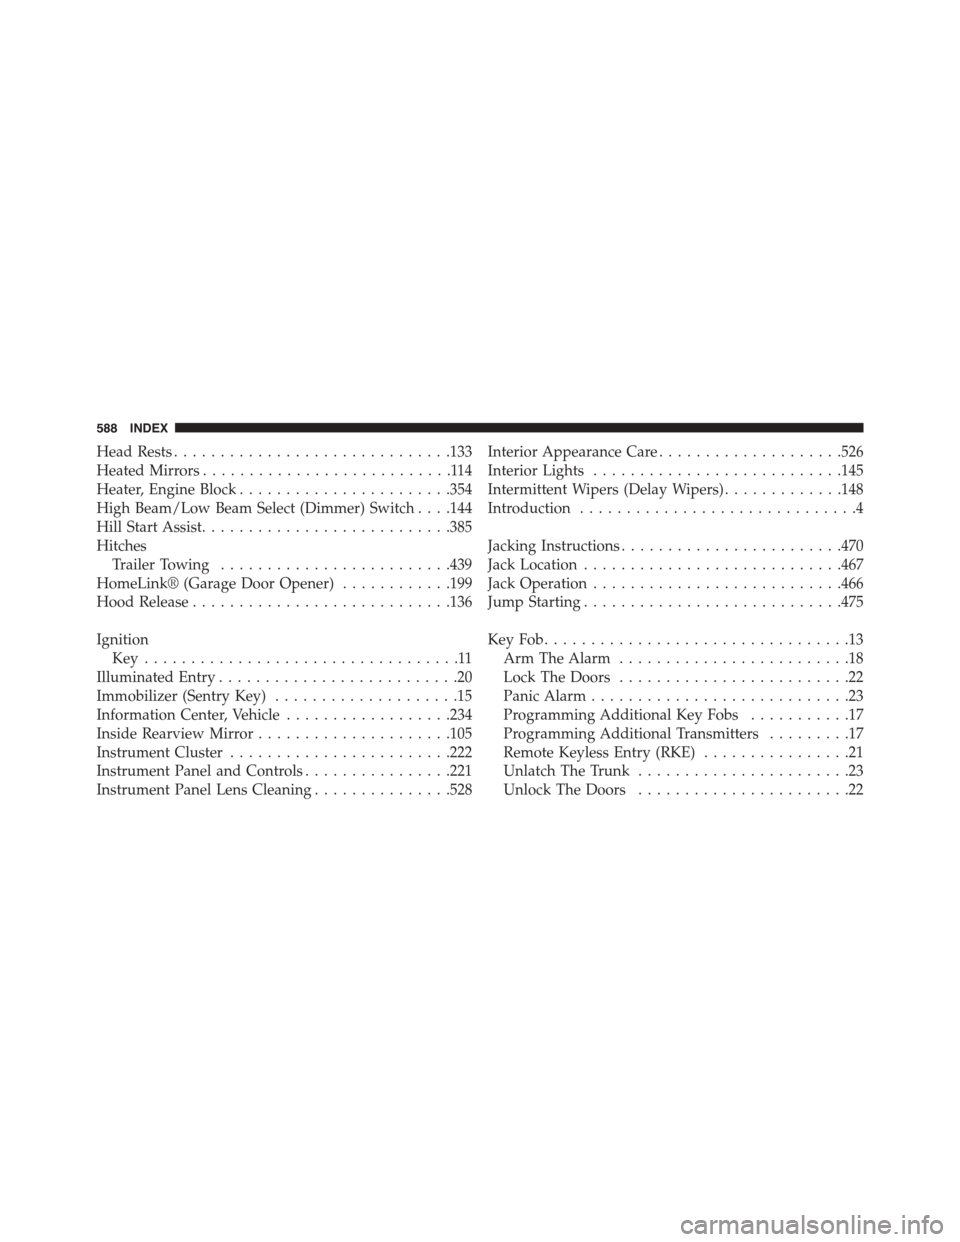
Head Rests..............................133
Heated Mirrors...........................114
Heater, Engine Block.......................354
High Beam/Low Beam Select (Dimmer) Switch . . . .144
Hill Start Assist...........................385
Hitches
Trailer Towing.........................439
HomeLink® (Garage Door Opener)............199
Hood Release............................136
Ignition
Key . . . . . . . . . . . . . . . . . . . . . . . . . . . . . . . . . .11
Illuminated Entry..........................20
Immobilizer (Sentry Key)....................15
Information Center, Vehicle..................234
Inside Rearview Mirror.....................105
Instrument Cluster........................222
Instrument Panel and Controls................221
Instrument Panel Lens Cleaning...............528
Interior Appearance Care....................526
Interior Lights...........................145
Intermittent Wipers (Delay Wipers).............148
Introduction..............................4
Jacking Instructions........................470
Jack Location............................467
Jack Operation...........................466
Jump Starting............................475
Key Fob . . . . . . . . . . . . . . . . . . . . . . . . . . . . . . . . .13
Arm The Alarm.........................18
Lock The Doors.........................22
Panic Alarm............................23
Programming Additional Key Fobs...........17
Programming Additional Transmitters.........17
Remote Keyless Entry (RKE)................21
Unlatch The Trunk.......................23
Unlock The Doors.......................22
588 INDEX