stop start DODGE CHALLENGER 2015 3.G Owner's Manual
[x] Cancel search | Manufacturer: DODGE, Model Year: 2015, Model line: CHALLENGER, Model: DODGE CHALLENGER 2015 3.GPages: 220, PDF Size: 30.96 MB
Page 140 of 220
•Thetransmissionwillautomaticallydownshifttofirstgearwhencomingtoastop.After
astop,thedrivershouldmanuallyupshift(+)thetransmissionasthevehicleis
accelerated.
•Youcanstartout,fromastop,infirstorsecondgear.Tapping(+)(atastop)willallow
starting in second gear. Starting out in second gear can be helpful in snowy or icy
conditions.
•Ifarequesteddownshiftwouldcausetheenginetoover-speed,thatshiftwillnotoccur.
•Thesystemwillignoreattemptstoupshiftattoolowofavehiclespeed.
•Holdingthe(-)paddledepressed(ifequipped),orholdingtheshiftleverinthe(-)
position, will downshift the transmission to the lowest gear possible at the current
speed.
•TransmissionshiftingwillbemorenoticeablewhenAutoStickisengaged.
•Thesystemmayreverttoautomaticshiftmodeifafaultoroverheatconditionis
detected.
To d i s e n g a g e A u t o S t i c k m o d e , r e t u r n t h e s h i f t l e v e r t o t h e D R I V E p o s i t i o n , o r p r e s s a n d
hold the (+) shift paddle (if equipped, and the shift lever is already in DRIVE) until “D” is
once again indicated in the instrument cluster. You can shift in or out of the AutoStick
mode at any time without taking your foot off the accelerator pedal.
WARNING!
Do not downshift for additional engine braking on a slippery surface. The drive wheels
could lose their grip and the vehicle could skid, causing a collision or personal injury.
DRIVE MODES
Yo u r S RT v e h i c l e i s e q u i p p e d w i t h a S RT D r i v e M o d e f e a t u r e . T h i s f e a t u r e g i v e s t h e d r i v e r
control over the systems in the vehicle which affect its performance, enabling the driver
to tune it for desired driving scenarios.
NOTE:
Refer to the “Drive Mode Supplement” within your Owners Information kit for further
descriptions of these modes.
SRT
138
Page 143 of 220
•Engagingtheparkingbrakewilldisablethisfeature.
•Theword“READY”willdisplaywhenconditionsaremetfortheeventtobegin.
•Thedistanceandspeedmeasurementsdisplaywhiletheeventistakingplace.
•Thedistancemeasurementwillbeabortedifthebrakepedalisreleasedbeforethe
vehicle comes to a complete stop.
•ThedistanceandspeedmeasurementswillcontinuetodisplayuntiltheOKbutton is
pushed.
•PushingtheOKbutton will clear the current run and prepare the cluster to record a new
run.
Current G-Force
•Whenselected,thisscreendisplaysthecurrentG-Force(lateralandlongitudinal)along
with a friction circle that displays the directions of the forces.
Peak G-Force
When selected, this screen displays all four G-Force values (two lateral and two longitu-
dinal).
•Whenaforcegreaterthanzeroismeasured,thedisplaywillupdatethevalueasit
climbs. As the G-Force falls, the peak forces will continue to display.
•PushingtheOKbutton will clear the peak force values.
Lap Timer
When selected the Lap Timer page will show the timer always at 0:00.00 with the previous
Best and Last time data (unless the driver has cleared it via hold to Reset).
•PushingOKwillstart“current”timerfrom0:00.0.
•WhenOKispushedthetimesareupdatedaccordingly.
•AssoonasthedriverexitstheLapTimerpagesthe“current”timerwillstopandthe
time will be reset to 0:00.00.
•IfthedriverstaysontheLapTimerpagesthe“current”timerwillresetto0:00.0when
ignition is placed in the off position, or ignition placed in the ON position (or will roll
over at 59:59.99 if ever possible).
•EachtimethedriverpushesOKforaLapthatcurrenttimepopulatestheLasttimeand
also populates the 1st (top) space on the Timer History page the current time resets to
0:00.0 at every push of the OK button.
•Thetimerwillstopwhenthedrivernavigatesawayfromthispage.
Lap History
When selected, this screen displays the Lap History, and will color highlight the time that
is the best time from the Timer Page.
•EachtimethedriverpressestheOKbutton(whileontheLapTimerpage)thecurrent
Lap Time populates the 1st spot and the rest of the data shifts down.
SRT
141
Page 149 of 220
-EngineTemperatureWarningLight
This light warns of an overheated engine condition.
If the light turns on or flashes continuously while driving, safely pull over and stop the vehicle.
If the A/C system is on, turn it off. Also, shift the transmission into NEUTRAL and idle the
vehicle. If the temperature reading does not return to normal, turn the engine off immediately.
We recommend that you do not operate the vehicle or engine damage will occur. Have the
vehicle serviced immediately.
WARNING!
Ahotenginecoolingsystemisdangerous.Youorotherscouldbebadlyburnedby
steam or boiling coolant.
-BrakeWarningLight
The Brake Warning light illuminates when there is either a system malfunction or the
parking brake is applied. If the light is on and the parking brake is not applied, it indicates
apossiblebrakehydraulicmalfunction,brakeboosterproblemoranAnti-LockBrake
System problem.
Please have your vehicle serviced immediately.
WARNING!
Driving a vehicle with the red brake light on is dangerous. Part of the brake system may
have failed. It will take longer to stop the vehicle. You could have a collision. Have the
vehicle checked immediately.
-MalfunctionIndicatorLight(MIL)
Certain conditions, such as a loose or missing gas cap, poor fuel quality, etc., may
illuminate the MIL after engine start. The vehicle should be serviced if the light stays on
through several typical driving cycles. In most situations, the vehicle will drive normally
and not require towing.
If the MIL flashes when the engine is running, serious conditions may exist that could lead
to immediate loss of power or severe catalytic converter damage. We recommend you do
not operate the vehicle. Have the vehicle serviced immediately.
-ElectronicStabilityControl(ESC)OFFIndicatorLight
This light indicates the Electronic Stability Control (ESC) is off.
-ChargingSystemLight
This light shows the status of the electrical charging system. If the charging system light
remains on, it means that the vehicle is experiencing a problem with the charging system.
WHAT TO DO IN EMERGENCIES
147
Page 150 of 220
We recommend you do not continue driving if the charging system light is on. Have the
vehicle serviced immediately.
-OilPressureWarningLight
This light indicates low engine oil pressure. If the light turns on while driving, stop the
vehicle and shut off the engine as soon as possible. A chime will sound when this light
turns on.
We recommend you do not operate the vehicle or engine damage will occur. Have the
vehicle serviced immediately.
-Anti-LockBrake(ABS)Light
This light monitors the Anti-Lock Brake System (ABS).
If the light is not on during starting, stays on, or turns on while driving, we recommend you
contact the nearest authorized dealer and have the vehicle serviced immediately.
-ElectronicThrottleControl(ETC)IndicatorLight
This light informs you of a problem with the system.
If a problem is detected, the light will come on while the engine is running. Cycle the
ignition when the vehicle has completely stopped and the shift lever is placed in the PARK
position; the light should turn off.
If the light remains lit with the engine running, your vehicle will usually be drivable;
however, see an authorized dealer immediately. If the light is flashing when the engine is
running, immediate service is required and you may experience reduced performance, an
elevated/rough idle or engine stall and your vehicle may require towing.
-SeatBeltReminderLight
When the ignition switch is first turned to the ON/RUN position, this light will turn on for
four to eight seconds as a bulb check. During the bulb check, if the driver's seat belt is
unbuckled, a chime will sound. After the bulb check or when driving, if the driver or front
passenger seat belt remains unbuckled, the Seat Belt Indicator Light will flash or remain
on continuously. Refer to “Seat Belt Systems” in “Things To Know Before Starting” in the
OM on your DVD for further information.
-AirBagWarningLight
If the light is not on during starting, stays on, or turns on while driving, have the vehicle
serviced by an authorized dealer immediately.
-TransmissionTemperatureWarningLight
This light indicates that there is excessive transmission fluid temperature that might
occur with severe usage such as trailer towing. If this light turns on, stop the vehicle and
run the engine at idle, with the transmission in NEUTRAL, until the light turns off. Once
the light turns off, you may continue to drive normally.
WHAT TO DO IN EMERGENCIES
148
Page 151 of 220
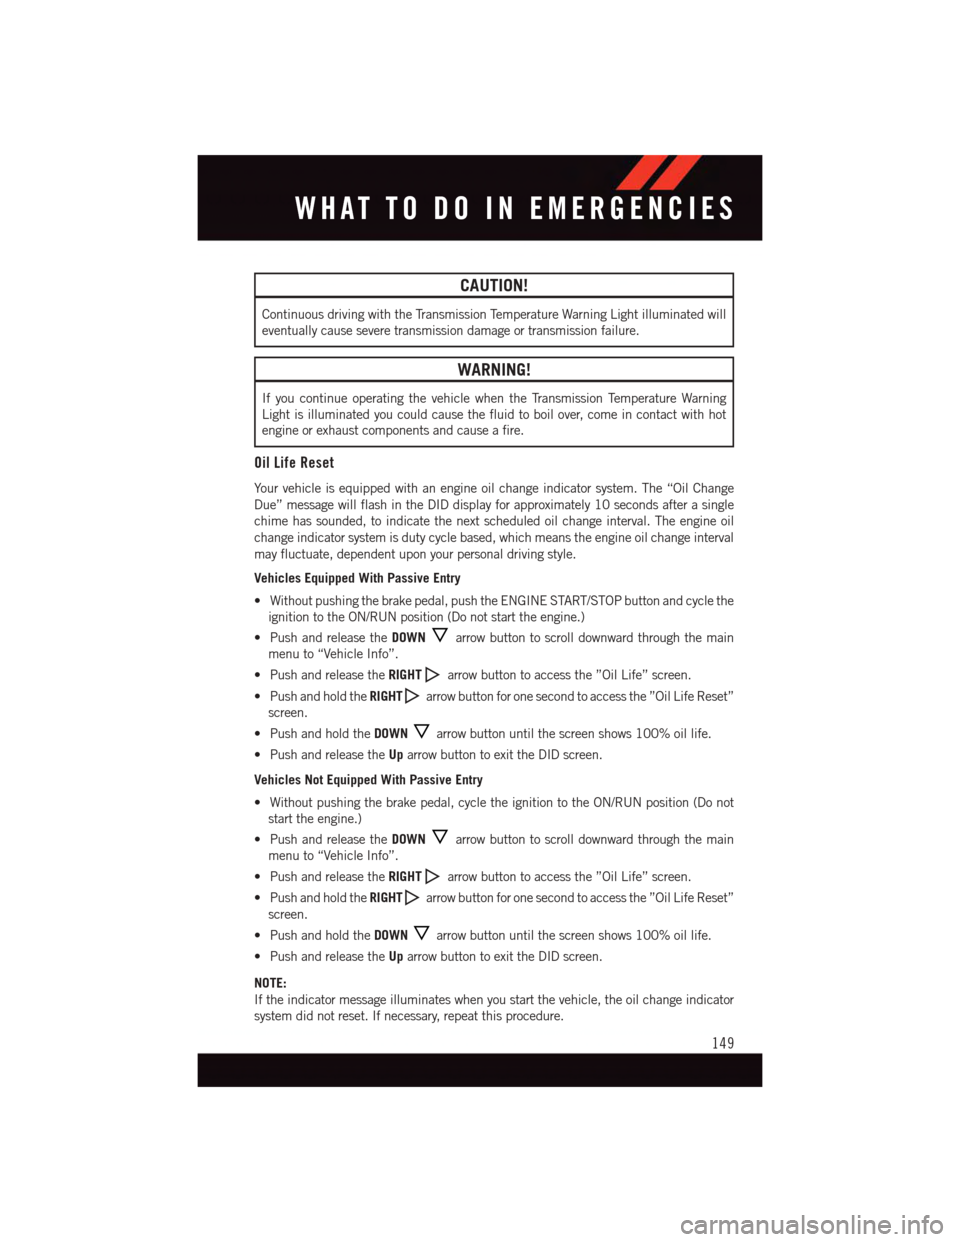
CAUTION!
Continuous driving with the Transmission Temperature Warning Light illuminated will
eventually cause severe transmission damage or transmission failure.
WARNING!
If you continue operating the vehicle when the Transmission Temperature Warning
Light is illuminated you could cause the fluid to boil over, come in contact with hot
engine or exhaust components and cause a fire.
Oil Life Reset
Yo u r v e h i c l e i s e q u i p p e d w i t h a n e n g i n e o i l c h a n g e i n d i c a t o r s y s t e m . T h e “ O i l C h a n g e
Due” message will flash in the DID display for approximately 10 seconds after a single
chime has sounded, to indicate the next scheduled oil change interval. The engine oil
change indicator system is duty cycle based, which means the engine oil change interval
may fluctuate, dependent upon your personal driving style.
Vehicles Equipped With Passive Entry
•Withoutpushingthebrakepedal,pushtheENGINESTART/STOPbuttonandcyclethe
ignition to the ON/RUN position (Do not start the engine.)
•PushandreleasetheDOWNarrow button to scroll downward through the main
menu to “Vehicle Info”.
•PushandreleasetheRIGHTarrow button to access the ”Oil Life” screen.
•PushandholdtheRIGHTarrow button for one second to access the ”Oil Life Reset”
screen.
•PushandholdtheDOWNarrow button until the screen shows 100% oil life.
•PushandreleasetheUparrow button to exit the DID screen.
Vehicles Not Equipped With Passive Entry
•Withoutpushingthebrakepedal,cycletheignitiontotheON/RUNposition(Donot
start the engine.)
•PushandreleasetheDOWNarrow button to scroll downward through the main
menu to “Vehicle Info”.
•PushandreleasetheRIGHTarrow button to access the ”Oil Life” screen.
•PushandholdtheRIGHTarrow button for one second to access the ”Oil Life Reset”
screen.
•PushandholdtheDOWNarrow button until the screen shows 100% oil life.
•PushandreleasetheUparrow button to exit the DID screen.
NOTE:
If the indicator message illuminates when you start the vehicle, the oil change indicator
system did not reset. If necessary, repeat this procedure.
WHAT TO DO IN EMERGENCIES
149
Page 152 of 220
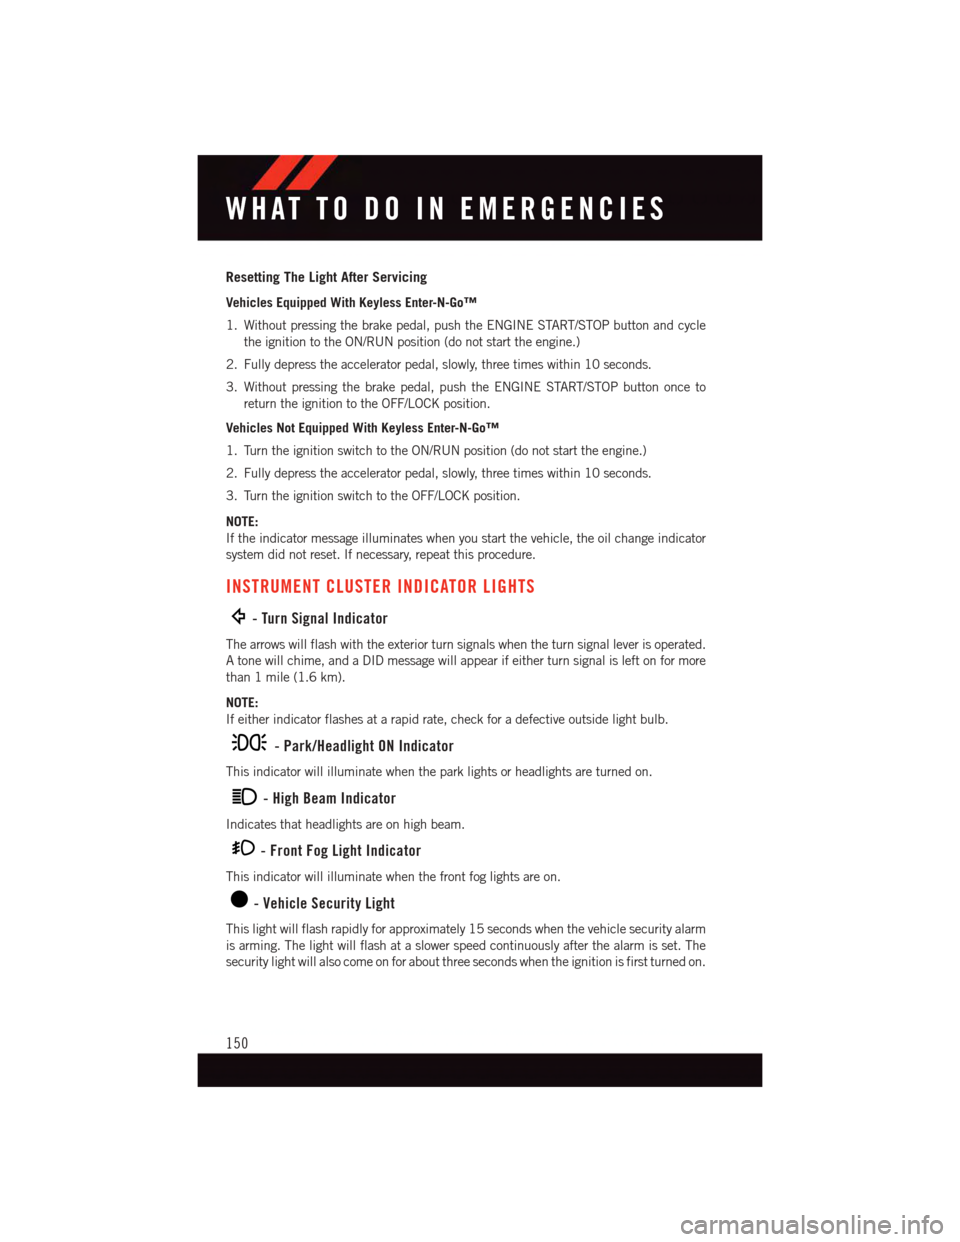
Resetting The Light After Servicing
Vehicles Equipped With Keyless Enter-N-Go™
1. Without pressing the brake pedal, push the ENGINE START/STOP button and cycle
the ignition to the ON/RUN position (do not start the engine.)
2. Fully depress the accelerator pedal, slowly, three times within 10 seconds.
3. Without pressing the brake pedal, push the ENGINE START/STOP button once to
return the ignition to the OFF/LOCK position.
Vehicles Not Equipped With Keyless Enter-N-Go™
1. Turn the ignition switch to the ON/RUN position (do not start the engine.)
2. Fully depress the accelerator pedal, slowly, three times within 10 seconds.
3. Turn the ignition switch to the OFF/LOCK position.
NOTE:
If the indicator message illuminates when you start the vehicle, the oil change indicator
system did not reset. If necessary, repeat this procedure.
INSTRUMENT CLUSTER INDICATOR LIGHTS
-TurnSignalIndicator
The arrows will flash with the exterior turn signals when the turn signal lever is operated.
Atonewillchime,andaDIDmessagewillappearifeitherturnsignalisleftonformore
than 1 mile (1.6 km).
NOTE:
If either indicator flashes at a rapid rate, check for a defective outside light bulb.
-Park/HeadlightONIndicator
This indicator will illuminate when the park lights or headlights are turned on.
-HighBeamIndicator
Indicates that headlights are on high beam.
-FrontFogLightIndicator
This indicator will illuminate when the front fog lights are on.
-VehicleSecurityLight
This light will flash rapidly for approximately 15 seconds when the vehicle security alarm
is arming. The light will flash at a slower speed continuously after the alarm is set. The
security light will also come on for about three seconds when the ignition is first turned on.
WHAT TO DO IN EMERGENCIES
150
Page 159 of 220
CAUTION!
Do not attempt to raise the vehicle by jacking on locations other than those indicated
in the Jacking Instructions for this vehicle.
WARNING!
•Donotattempttochangeatireonthesideofthevehicleclosetomovingtraffic.
Pull far enough off the road to avoid the danger of being hit when operating the jack
or changing the wheel.
•Beingunderajacked-upvehicleisdangerous.Thevehiclecouldslipoffthejack
and fall on you. You could be crushed. Never put any part of your body under a
vehicle that is on a jack.
•Neverstartorruntheenginewhilethevehicleisonajack.Ifyouneedtogetunder
araisedvehicle,takeittoaservicecenterwhereitcanberaisedonalift.
•Thejackisdesignedtobeusedasatoolforchangingtiresonly.Thejackshouldnot
be used to lift the vehicle for service purposes. The vehicle should be jacked on a
firm level surface only. Avoid ice or slippery areas.
•Aloosetireorjackthrownforwardinacollisionorhardstopcouldendangertheoccupants
of the vehicle. Always stow the jack parts and the spare tire in the places provided.
•Carefullyfollowthesetirechangingwarningstohelppreventpersonalinjuryor
damage to your vehicle:
•Alwaysparkonafirm,levelsurfaceasfarfromtheedgeoftheroadwayaspossible
before raising the vehicle.
•TurnontheHazardWarningflasher.
•Blockthewheeldiagonallyoppositethewheeltoberaised.
•SettheparkingbrakefirmlyandsetanautomatictransmissioninPARK;amanual
transmission in REVERSE.
•Donotletanyonesitinthevehiclewhenitisonajack.
•Donotgetunderthevehiclewhenitisonajack.
•Only use the jack in the positions indicated and for lifting this vehicle during a tire change.
•Ifworkingonorneararoadway,beextremelycarefulofmotortraffic.
•Raising the vehicle higher than necessary can make the vehicle less stable. It could slip
off the jack and hurt someone near it. Raise the vehicle only enough to remove the tire.
•Toavoidtheriskofforcingthevehicleoffthejack,donotfullytightenthewheel
nuts until the vehicle has been lowered. Failure to follow this warning may result in
personal injury.
•Aloosetireorjackthrownforwardinacollisionorhardstopcouldendangertheoccupants
of the vehicle. Always stow the jack parts and the spare tire in the places provided.
•Thelimited-usesparetiresareforemergencyuseonly.Installationofthislimited-use spare tire affects vehicle handling. With this tire, do not drive more than60 mph (100 km/h). Keep inflated to the cold tire inflation pressure listed on eitheryour tire placard or limited-use spare tire and wheel assembly. Replace (or repair)the original tire at the first opportunity and reinstall it on your vehicle. Failure to doso could result in loss of vehicle control.
WHAT TO DO IN EMERGENCIES
157
Page 215 of 220
Ti r e P r e s s u r e M o n i t o r i n g S y s t e m
(TPMS) Light...........145
Tu r n S i g n a l I n d i c a t o r.......150
Vehicle Security Light.......150
Clutch . . . . . . . . . . . . . . . . .186
Clutch Fluid . . . . . . . . . . . . . .186
Compact Spare Tire..........204
Cooling System.............186
Adding Coolant (Antifreeze)....186
Coolant Capacity......182, 184Coolant Level...........186Disposal of Used Coolant.....186Drain, Flush, and Refill......186Inspection . . . . . . . . . . . . .186Points to Remember.......186Pressure Cap . . . . . . . . . . .186Selection of Coolant(Antifreeze) . . .182, 184, 185, 186Corrosion Protection..........186Cruise Control (Speed Control).....38Cruise Light . . . . . . . . . . . . . . .38Customer Assistance..........207Customer Programmable Features . .131
Defects, Reporting...........208Dimmer Control.............37Dimmer Switch, Headlight.......37Disabled Vehicle Towing . . . . .145, 169Disarming, Security System.......16DisposalAntifreeze (Engine Coolant)....186Door Locks................10Drive Modes...........131, 138Driver Cockpit...............6Driver Information DisplayControls . . . . . . . . . . .130, 139DID . . . . . . . . . . . . . .130, 139
Electronic Power Distribution Center(Fuses) . . . . . . . . . . . . . . .198ElectronicsYo u r Ve h i c l e ' s S o u n dSystem.............52,53Electronic Speed Control (CruiseControl) . . . . . . . . . . . . . . . .38Electronic Stability Control (ESC) . . .145Electronic Stability Control (ESC) OFFIndicator . . . . . . . . . . . . . .147
Electronic Throttle Control Warning
Light . . . . . . . . . . . . . . . . .148
Emergency, In Case of
Brake Warning Light . . . . . . .147
Freeing Vehicle When Stuck . . .167
Jacking..............152
Jump Starting...........164
Overheating............151
To w i n g . . . . . . . . . . . .145, 169
Emergency Key.............11EngineAir Cleaner . . . . . . . . . . . . .186Break-In Recommendations . .33, 34Checking Oil Level.........186Compartment............174Coolant (Antifreeze).....182, 185Cooling . . . . . . . . . . . . . . .186Jump Starting...........164Oil . . . . . . . .182, 184, 185, 186Oil Filler Cap...........186Oil Selection . . . . .182, 184, 186Overheating............151Starting.............14,15Stopping............14,15Te m p e r a t u r e W a r n i n g L i g h t....147Event Data Recorder..........171Exhaust System............186
FA Q . . . . . . . . . . . . . . . . . . . 2 1 0FiltersAir Cleaner . . . . . . . . . . . . .186Engine Oil.......182, 185, 186Engine Oil Disposal........186FlashersTu r n S i g n a l............150Flat Tire Changing...........152Fluid, Brake . . . . . . . . . . .184, 186Fluid Capacities.........182, 184Fluids, Lubricants and GenuineParts . . . . . . . . . . . . .182, 185Fog Lights . . . . . . . . . . . . .37, 150Folding Rear Seat............28Forward Collision Warning........42Freeing A Stuck Vehicle . . . . . . . .167Frequently Asked Questions......210Front Heated Seats...........29FuelFiller Cap (Gas Cap)........151
INDEX
213
Page 216 of 220
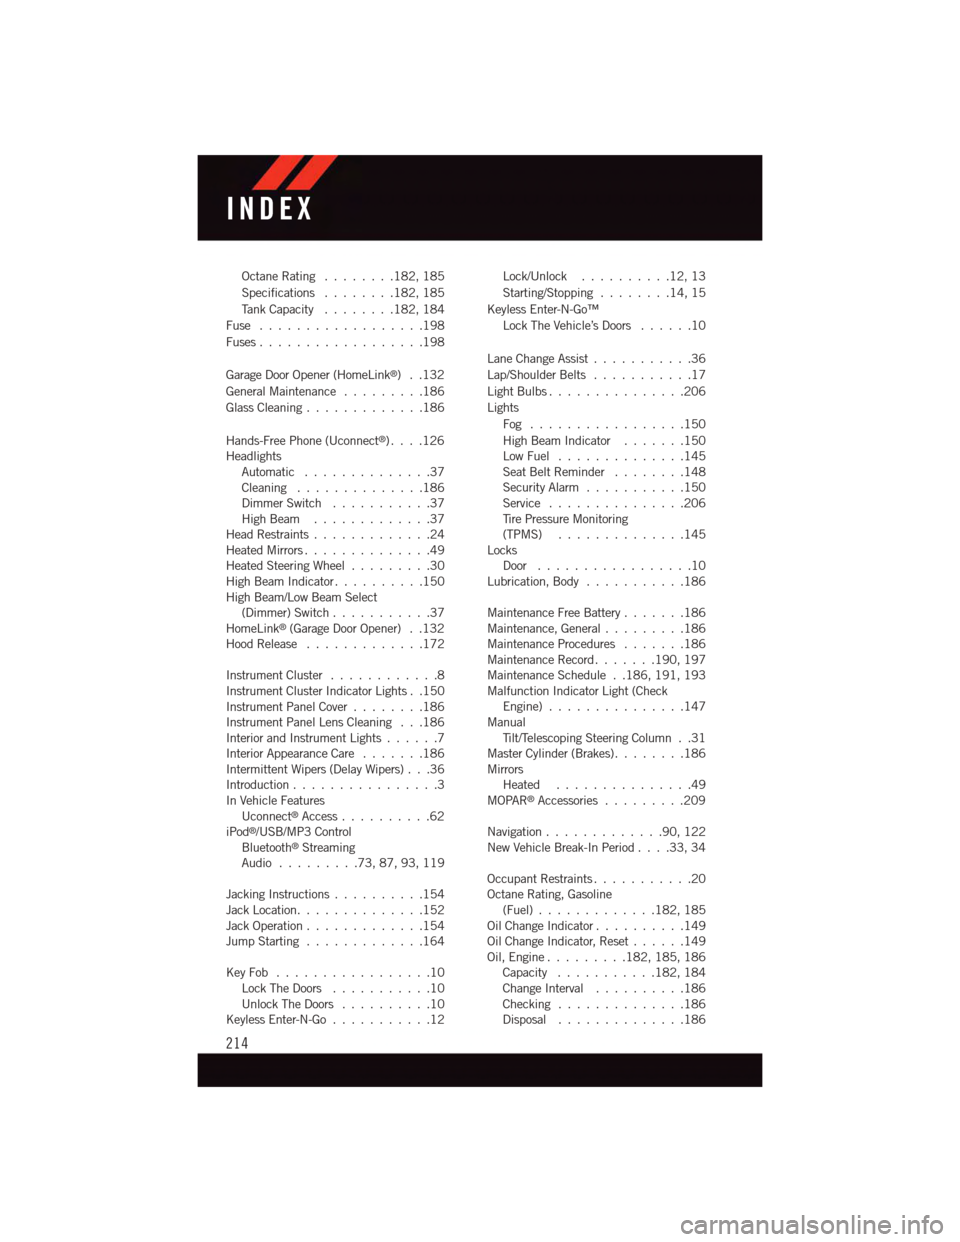
Octane Rating . . . . . . . .182, 185
Specifications........182, 185
Ta n k C a p a c i t y........182, 184
Fuse . . . . . . . . . . . . . . . . . .198
Fuses . . . . . . . . . . . . . . . . . .198
Garage Door Opener (HomeLink®)..132
General Maintenance.........186
Glass Cleaning . . . . . . . . . . . . .186
Hands-Free Phone (Uconnect®). . . .126HeadlightsAutomatic . . . . . . . . . . . . . .37Cleaning..............186Dimmer Switch...........37High Beam . . . . . . . . . . . . .37Head Restraints.............24Heated Mirrors..............49Heated Steering Wheel.........30High Beam Indicator..........150High Beam/Low Beam Select(Dimmer) Switch...........37HomeLink®(Garage Door Opener) . .132Hood Release . . . . . . . . . . . . .172
Instrument Cluster............8Instrument Cluster Indicator Lights . .150Instrument Panel Cover........186Instrument Panel Lens Cleaning . . .186Interior and Instrument Lights......7Interior Appearance Care.......186Intermittent Wipers (Delay Wipers) . . .36Introduction................3In Vehicle FeaturesUconnect®Access..........62iPod®/USB/MP3 ControlBluetooth®StreamingAudio.........73,87,93,119
Jacking Instructions . . . . . . . . . .154Jack Location. . . . . . . . . . . . . .152Jack Operation . . . . . . . . . . . . .154Jump Starting.............164
Key Fob . . . . . . . . . . . . . . . . .10Lock The Doors...........10Unlock The Doors..........10Keyless Enter-N-Go...........12
Lock/Unlock..........12,13
Starting/Stopping........14,15
Keyless Enter-N-Go™
Lock The Vehicle’s Doors......10
Lane Change Assist...........36
Lap/Shoulder Belts...........17
Light Bulbs . . . . . . . . . . . . . . .206
Lights
Fog . . . . . . . . . . . . . . . . .150
High Beam Indicator.......150Low Fuel..............145Seat Belt Reminder........148Security Alarm...........150Service...............206Ti r e P r e s s u r e M o n i t o r i n g(TPMS)..............145LocksDoor.................10Lubrication, Body...........186
Maintenance Free Battery.......186Maintenance, General.........186Maintenance Procedures.......186Maintenance Record.......190, 197Maintenance Schedule . .186, 191, 193Malfunction Indicator Light (CheckEngine)...............147ManualTi l t / Te l e s c o p i n g S t e e r i n g C o l u m n . . 3 1Master Cylinder (Brakes)........186MirrorsHeated...............49MOPAR®Accessories.........209
Navigation . . . . . . . . . . . . .90, 122New Vehicle Break-In Period . . . .33, 34
Occupant Restraints...........20Octane Rating, Gasoline(Fuel).............182, 185Oil Change Indicator..........149Oil Change Indicator, Reset......149Oil, Engine.........182, 185, 186Capacity...........182, 184Change Interval..........186Checking..............186Disposal..............186
INDEX
214