service DODGE CHALLENGER 2015 3.G Owner's Guide
[x] Cancel search | Manufacturer: DODGE, Model Year: 2015, Model line: CHALLENGER, Model: DODGE CHALLENGER 2015 3.GPages: 220, PDF Size: 30.96 MB
Page 162 of 220
5. Uncoil the Power Plug (8) and insert the plug into the vehicle’s 12 Volt power outlet.
6. Do not remove foreign objects (e.g., screws or nails) from the tire.
(C) Injecting Tire Service Kit Sealant Into The Deflated Tire:
Always start the engine before turning ON the Tire Service Kit.
NOTE:
Manual transmission vehicles must have the parking brake engaged and the shift lever in
NEUTRAL.
After pressing the Power Button (4), the sealant (white fluid) will flow from the Sealant
Bottle (1) through the Sealant Hose (6) and into the tire.
NOTE:
Sealant may leak out through the puncture in the tire.
If the sealant (white fluid) does not flow within0–10seconds through the Sealant Hose (6):
1. Press the Power Button (4) to turn Off the Tire Service Kit. Disconnect the Sealant
Hose (6) from the valve stem. Make sure the valve stem is free of debris. Reconnect the
Sealant Hose (6) to the valve stem. Check that the Mode Select Knob (5) is in the
Sealant Mode position and not Air Mode. Press the Power Button (4) to turn On the Tire
Service Kit.
2. Connect the Power Plug (8) to a different 12 Volt power outlet in your vehicle or
another vehicle, if available. Make sure the engine is running before turning ON the
Ti r e S e r v i c e K i t .
3. The Sealant Bottle (1) may be empty due to previous use. Call for assistance.
NOTE:
If the Mode Select Knob (5) is on Air Mode and the pump is operating, air will dispense
from the Air Pump Hose (7) only, not the Sealant Hose (6).
If the sealant (white fluid) does flow through the Sealant Hose (6):
1. Continue to operate the pump until sealant is no longer flowing through the hose
(typically takes 30 - 70 seconds). As the sealant flows through the Sealant Hose (6),
the Pressure Gauge (3) can read as high as 70 psi (4.8 Bar). The Pressure Gauge (3)
will decrease quickly from approximately 70 psi (4.8 Bar) to the actual tire pressure
when the Sealant Bottle (1) is empty.
2. The pump will start to inject air into the tire immediately after the Sealant Bottle (1)
is empty. Continue to operate the pump and inflate the tire to the pressure indicated
on the tire pressure label on the driver-side latch pillar (recommended pressure).
Check the tire pressure by looking at the Pressure Gauge (3).
WHAT TO DO IN EMERGENCIES
160
Page 163 of 220
If the tire does not inflate to at least 26 psi (1.8 Bar) pressure within 15 minutes:
The tire is too badly damaged. Do not attempt to drive the vehicle further. Call for
assistance.
NOTE:
If the tire becomes over-inflated, press the Deflation Button to reduce the tire pressure to
the recommended inflation pressure before continuing.
If the tire inflates to the recommended pressure or is at least 26 psi (1.8 Bar) pressure
within 15 minutes:
1. Press the Power Button (4) to turn off the Tire Service Kit.
2. Remove the Speed Limit sticker from the top of the Sealant Bottle (1) and place the
sticker on the instrument panel.
3. Immediately disconnect the Sealant Hose (6) from the valve stem, reinstall the cap on
the fitting at the end of the hose, and place the Tire Service Kit in the vehicle storage
location. Quickly proceed to (D) “Drive Vehicle.”
(D) Drive Vehicle:
Immediately after injecting sealant and inflating the tire, drive the vehicle 5 miles (8 km)
or 10 minutes to ensure distribution of the Tire Service Kit Sealant within the tire. Do not
exceed 55 mph (88 km/h).
(E) After Driving:
Pull over to a safe location. Refer to “Whenever You Stop to Use Tire Service Kit” before
continuing.
1. Turn the Mode Select Knob (5) to the Air Mode position.
2. Uncoil the Air Pump Hose (7) (black in color) and screw the fitting at the end of hose
(7) onto the valve stem.
3. Uncoil the power plug and insert the plug into the vehicles 12 Volt power outlet.
4. Check the pressure in the tire by reading the Pressure Gauge (3).
If tire pressure is less than 19 psi (1.3 Bar), the tire is too badly damaged. Do not attempt
to drive the vehicle further. Call for assistance.
If the tire pressure is 19 psi (1.3 Bar) or higher:
1. Press the Power Button (4) to turn on Tire Service Kit and inflate the tire to the pressure
indicated on the tire and loading information label on the driver-side door opening.
2. Disconnect the Tire Service Kit from the valve stem, reinstall the cap on the valve stem
and unplug from 12 Volt outlet.
3. Place the Tire Service Kit in its proper storage area in the vehicle.
4. Have the tire inspected and repaired or replaced at the earliest opportunity at an
authorized dealer or tire service center.
WHAT TO DO IN EMERGENCIES
161
Page 164 of 220
5. Remove the Speed Limit sticker from the instrument panel after the tire has been
repaired.
6. Replace the Sealant Bottle (1) and Sealant Hose (6) assembly at your authorized
dealer as soon as possible. Refer to “(F) Sealant Bottle and Hose Replacement.”
NOTE:
•Ifthetirebecomesover-inflated,presstheDeflationButtontoreducethetirepressure
to the recommended inflation pressure before continuing.
•Whenhavingthetireserviced,advisetheauthorizeddealerorservicecenterthatthe
tire has been sealed using the Tire Service Kit.
(F) Sealant Bottle And Hose Replacement:
1. Uncoil the Sealant Hose (6) (clear in color).
2. Locate the round Sealant Bottle release button in the recessed area under the sealant
bottle.
3. Press the Sealant Bottle release button. The Sealant Bottle (1) will pop up. Remove
the bottle and dispose of it accordingly.
4. Clean any remaining sealant from the Tire Service Kit housing.
5. Position the new Sealant Bottle (1) in the housing so that the Sealant Hose (6) aligns
with the hose slot in the front of the housing. Press the bottle into the housing. An
audible click will be heard indicating the bottle is locked into place.
6. Verify that the cap is installed on the fitting at the end of the Sealant Hose (6) and
return the hose to its storage area (located on the bottom of the air pump).
7. Return the Tire Service Kit to its storage location in the vehicle.
NOTE:
•ThemetalendfittingfromPowerPlug(8)maygethotafteruse,soitshouldbehandled
carefully.
•FailuretoreinstallthecaponthefittingattheendoftheSealantHose(6)canresult
in sealant contacting your skin, clothing, and the vehicle’s interior. It can also result in
sealant contacting internal Tire Service Kit components which may cause permanent
damage to the kit.
WHAT TO DO IN EMERGENCIES
162
Page 165 of 220
WARNING!
•Donotattempttosealatireonthesideofthevehicleclosesttotraffic.Pullfar
enough off the road to avoid the danger of being hit when using the Tire Service Kit.•DonotusetheTireServiceKitordrivethevehicleunderthefollowingcircum-
stances:
•Ifthepunctureinthetiretreadisapproximately1/4”.(6mm)orlarger.
•Ifthetirehasanysidewalldamage.
•Ifthetirehasanydamagefromdrivingwithextremelylowtirepressure.
•Ifthetirehasanydamagefromdrivingonaflattire.
•Ifthewheelhasanydamage.
•Ifyouareunsureoftheconditionofthetireorthewheel.
•KeeptheTireServiceKitawayfromopenflamesorheatsource.
•AlooseTireServiceKitthrownforwardinacollisionorhardstopcouldendangerthe
occupants of the vehicle. Always stow the Tire Service Kit in the place provided.
Failure to follow these warnings can result in injuries that are serious or fatal to you,
your passengers, and others around you.
•TakecarenottoallowthecontentsoftheTireServiceKittocomeincontactwith
hair, eyes, or clothing. The Tire Service Kit is harmful if inhaled, swallowed, or
absorbed through the skin. It causes skin, eye, and respiratory irritation. Flush
immediately with plenty of water if there is any contact with eyes or skin. Change
clothing as soon as possible, if there is any contact with clothing.
•TheTireServiceKitSealantsolutioncontainslatex.Incaseofanallergicreaction
or rash, consult a physician immediately. Keep the Tire Service Kit out of reach of
children. If swallowed, rinse mouth immediately with plenty of water and drink
plenty of water. Do not induce vomiting! Consult a physician immediately.
•TheTireServiceKitisnotapermanentflattirerepair.Havethetireinspectedand
repaired or replaced after using the Tire Service Kit. Do not exceed 55 mph
(88 km/h) until the tire is repaired or replaced. Failure to follow this warning can
result in injuries that are serious or fatal to you, your passengers, and others around
you.
WHAT TO DO IN EMERGENCIES
163
Page 171 of 220
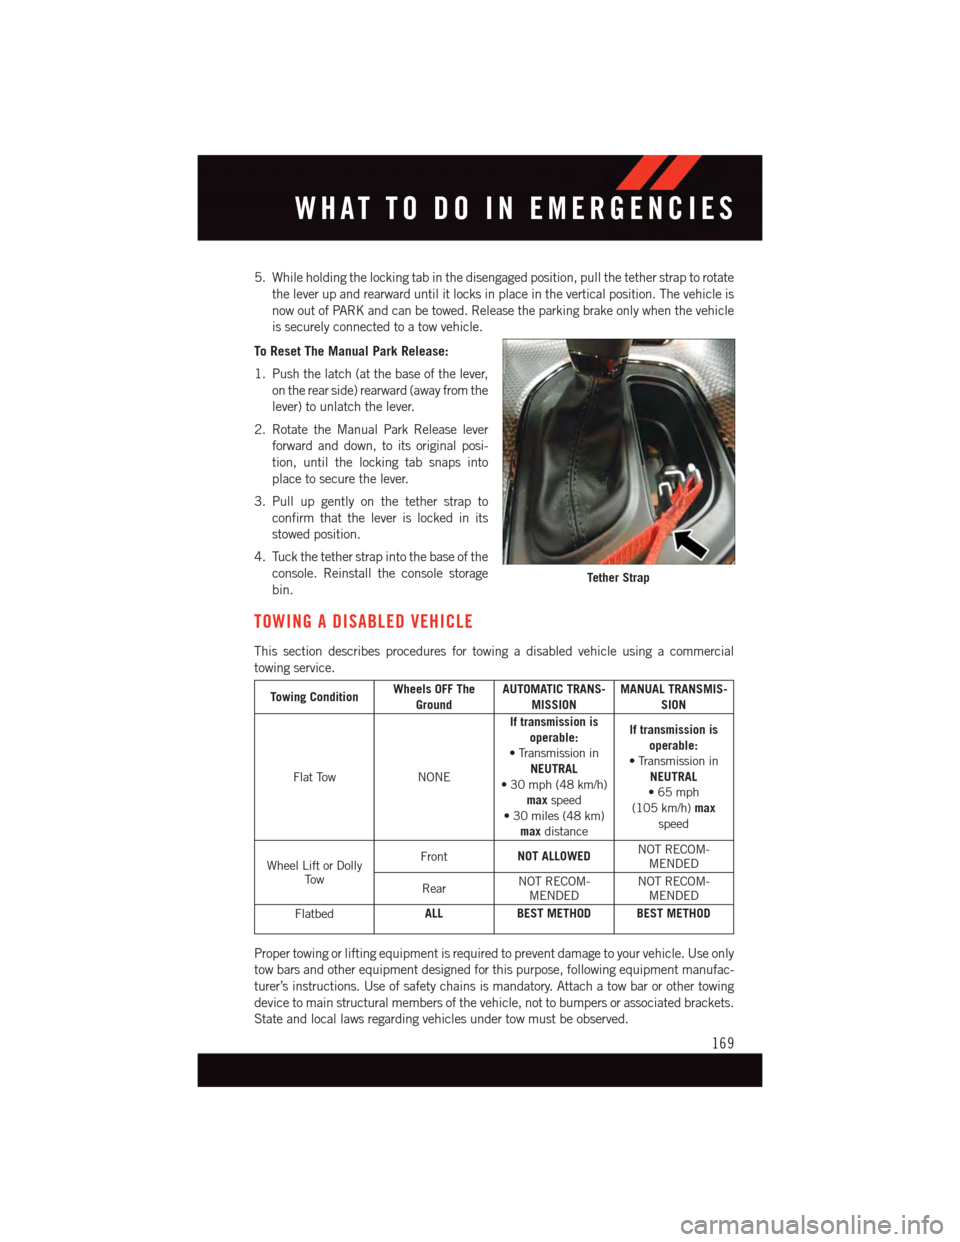
5. While holding the locking tab in the disengaged position, pull the tether strap to rotate
the lever up and rearward until it locks in place in the vertical position. The vehicle is
now out of PARK and can be towed. Release the parking brake only when the vehicle
is securely connected to a tow vehicle.
To Reset The Manual Park Release:
1. Push the latch (at the base of the lever,
on the rear side) rearward (away from the
lever) to unlatch the lever.
2. Rotate the Manual Park Release lever
forward and down, to its original posi-
tion, until the locking tab snaps into
place to secure the lever.
3. Pull up gently on the tether strap to
confirm that the lever is locked in its
stowed position.
4. Tuck the tether strap into the base of the
console. Reinstall the console storage
bin.
TOWING A DISABLED VEHICLE
This section describes procedures for towing a disabled vehicle using a commercial
towing service.
Towing ConditionWheels OFF TheGroundAUTOMATIC TRANS-MISSIONMANUAL TRANSMIS-SION
Flat TowNONE
If transmission isoperable:•TransmissioninNEUTRAL•30mph(48km/h)maxspeed•30miles(48km)maxdistance
If transmission isoperable:•TransmissioninNEUTRAL•65mph(105 km/h)maxspeed
Wheel Lift or DollyTo w
FrontNOT ALLOWEDNOT RECOM-MENDED
RearNOT RECOM-MENDEDNOT RECOM-MENDED
FlatbedALLBEST METHOD BEST METHOD
Proper towing or lifting equipment is required to prevent damage to your vehicle. Use only
tow bars and other equipment designed for this purpose, following equipment manufac-
turer’s instructions. Use of safety chains is mandatory. Attach a tow bar or other towing
device to main structural members of the vehicle, not to bumpers or associated brackets.
State and local laws regarding vehicles under tow must be observed.
Tether Strap
WHAT TO DO IN EMERGENCIES
169
Page 188 of 220
Chassis
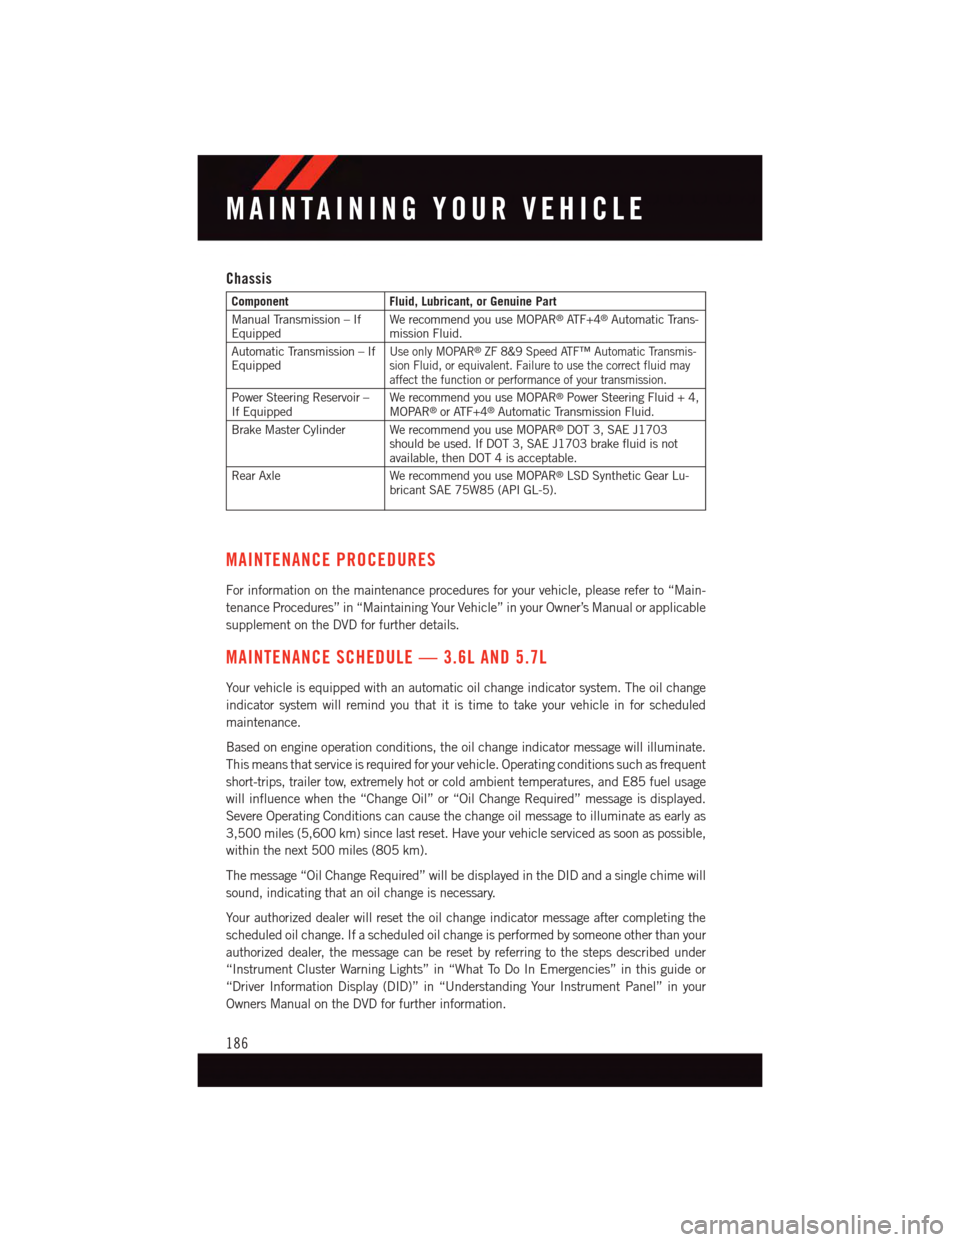
ComponentFluid, Lubricant, or Genuine Part
Manual Transmission – IfEquippedWe recommend you use MOPAR®AT F + 4®Automatic Trans-mission Fluid.
Automatic Transmission – IfEquippedUse only MOPAR®ZF 8&9 Speed ATF™ Automatic Transmis-sion Fluid, or equivalent. Failure to use the correct fluid mayaffect the function or performance of your transmission.
Power Steering Reservoir –If EquippedWe recommend you use MOPAR®Power Steering Fluid + 4,MOPAR®or ATF+4®Automatic Transmission Fluid.
Brake Master Cylinder We recommend you use MOPAR®DOT 3, SAE J1703should be used. If DOT 3, SAE J1703 brake fluid is notavailable, then DOT 4 is acceptable.
Rear Axle We recommend you use MOPAR®LSD Synthetic Gear Lu-bricant SAE 75W85 (API GL-5).
MAINTENANCE PROCEDURES
For information on the maintenance procedures for your vehicle, please refer to “Main-
tenance Procedures” in “Maintaining Your Vehicle” in your Owner’s Manual or applicable
supplement on the DVD for further details.
MAINTENANCE SCHEDULE — 3.6L AND 5.7L
Yo u r v e h i c l e i s e q u i p p e d w i t h a n a u t o m a t i c o i l c h a n g e i n d i c a t o r s y s t e m . T h e o i l c h a n g e
indicator system will remind you that it is time to take your vehicle in for scheduled
maintenance.
Based on engine operation conditions, the oil change indicator message will illuminate.
This means that service is required for your vehicle. Operating conditions such as frequent
short-trips, trailer tow, extremely hot or cold ambient temperatures, and E85 fuel usage
will influence when the “Change Oil” or “Oil Change Required” message is displayed.
Severe Operating Conditions can cause the change oil message to illuminate as early as
3,500 miles (5,600 km) since last reset. Have your vehicle serviced as soon as possible,
within the next 500 miles (805 km).
The message “Oil Change Required” will be displayed in the DID and a single chime will
sound, indicating that an oil change is necessary.
Yo u r a u t h o r i z e d d e a l e r w i l l r e s e t t h e o i l c h a n g e i n d i c a t o r m e s s a g e a f t e r c o m p l e t i n g t h e
scheduled oil change. If a scheduled oil change is performed by someone other than your
authorized dealer, the message can be reset by referring to the steps described under
“Instrument Cluster Warning Lights” in “What To Do In Emergencies” in this guide or
“Driver Information Display (DID)” in “Understanding Your Instrument Panel” in your
Owners Manual on the DVD for further information.
MAINTAINING YOUR VEHICLE
186
Page 189 of 220
NOTE:
Under no circumstances should oil change intervals exceed 10,000 miles (16,000 km)
or twelve months, whichever comes first.
Severe Duty All Models
Change Engine Oil at 4000 miles (6,500 km) if the vehicle is operated in a dusty and off
road environment. This type of vehicle use is considered Severe Duty
Once A Month Or Before A Long Trip:
•Checkengineoillevel
•Checkwindshieldwasherfluidlevel
•Checktirepressureandlookforunusualwearordamage.Rotatetiresatthefirstsign
of irregular wear, even if it occurs before your next scheduled service.
•Checkthefluidlevelsofthecoolantreservoir,brakemastercylinder,andpower
steering and fill as needed.
•Checkfunctionofallinteriorandexteriorlights
Required Maintenance Intervals.
Refer to the maintenance schedules on the following page for the required maintenance
intervals.
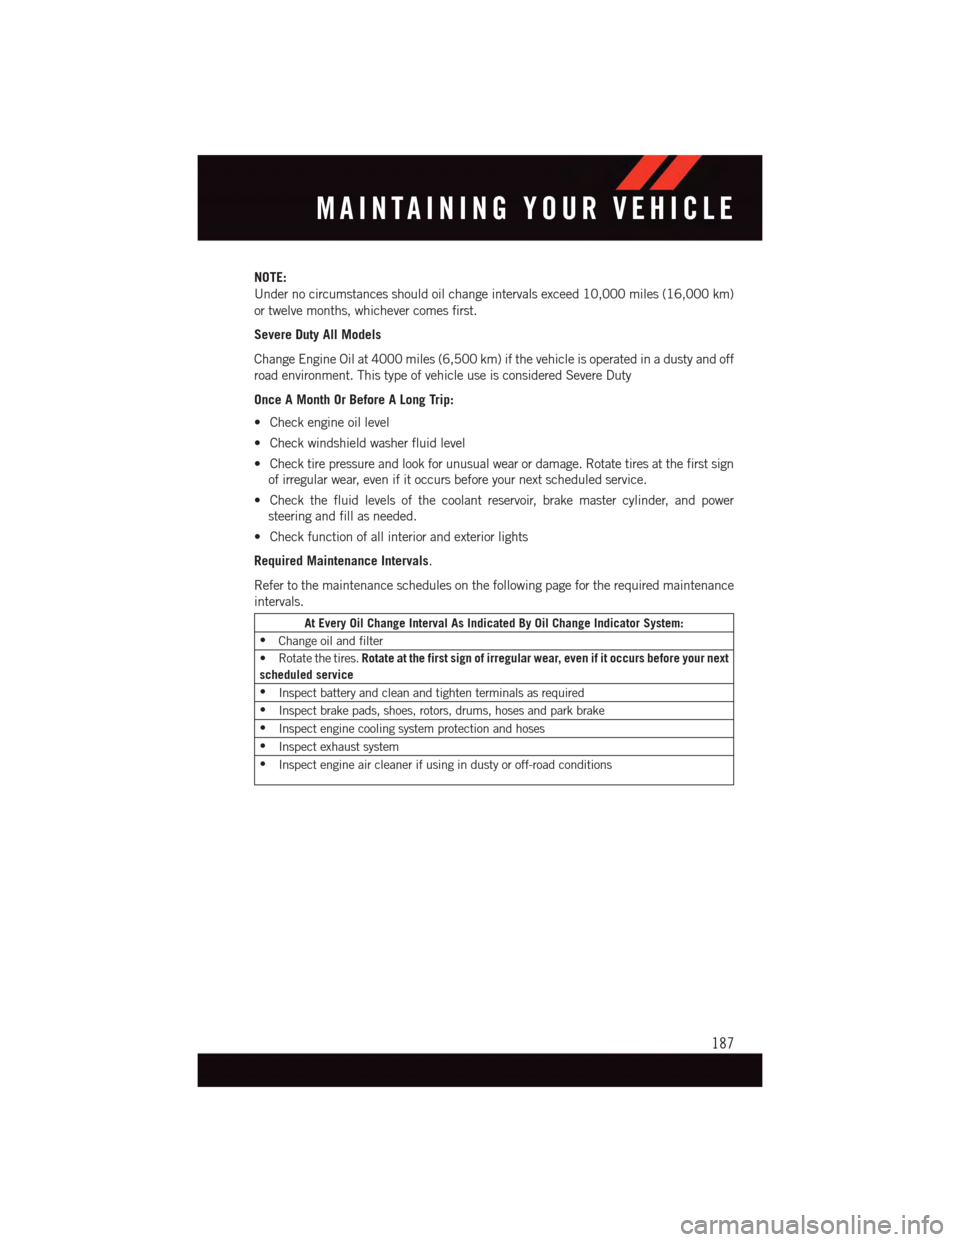
At Every Oil Change Interval As Indicated By Oil Change Indicator System:
•Change oil and filter
•Rotatethetires.Rotate at the first sign of irregular wear, even if it occurs before your next
scheduled service
•Inspect battery and clean and tighten terminals as required
•Inspect brake pads, shoes, rotors, drums, hoses and park brake
•Inspect engine cooling system protection and hoses
•Inspect exhaust system
•Inspect engine air cleaner if using in dusty or off-road conditions
MAINTAINING YOUR VEHICLE
187
Page 191 of 220
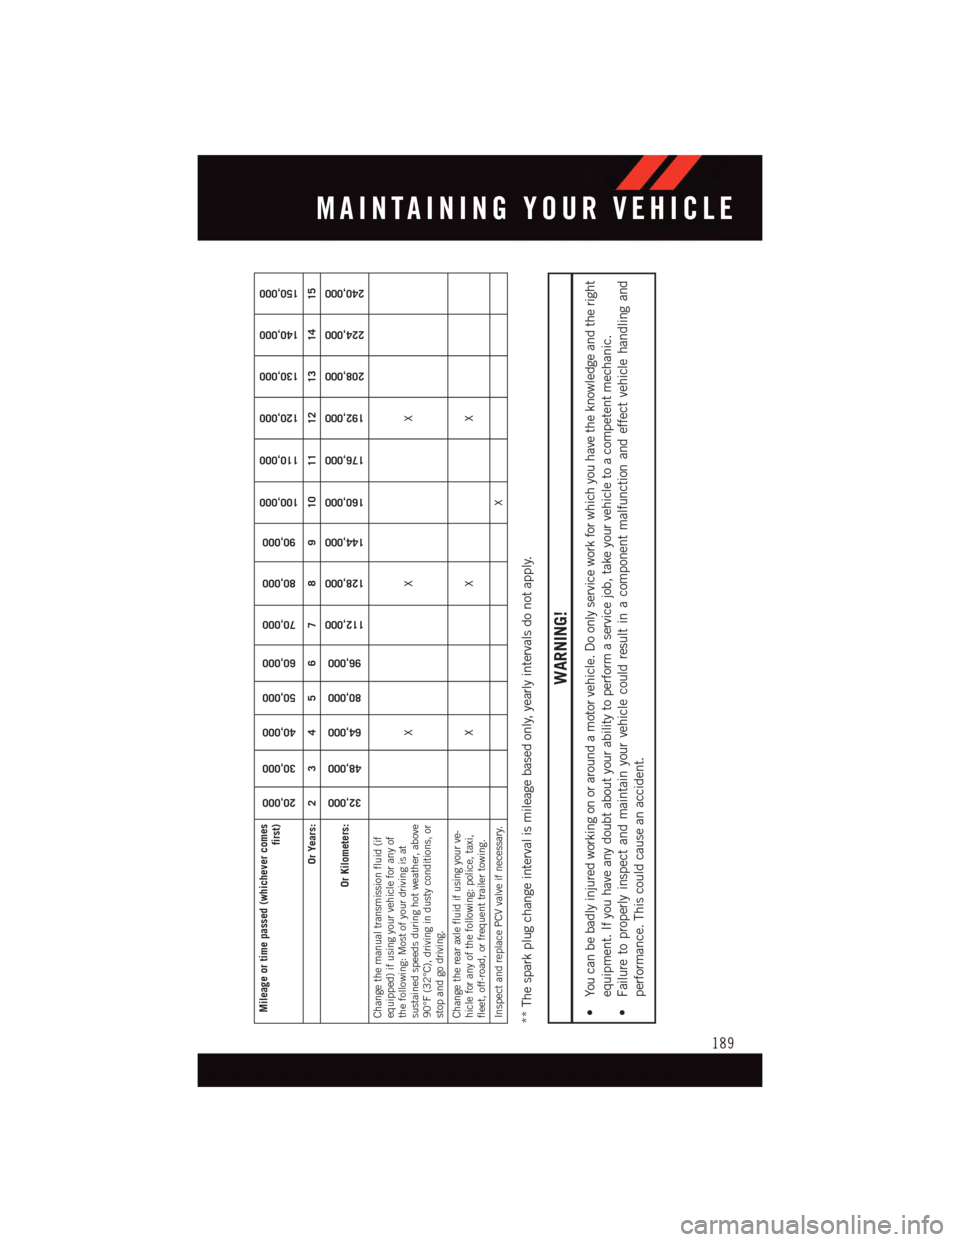
Mileage or time passed (whichever comes
first)
20,000
30,000
40,000
50,000
60,000
70,000
80,000
90,000
100,000
110,000
120,000
130,000
140,000
150,000
Or Years: 2 3 4 5 6 7 8 9 10 11 12 13 14 15
Or Kilometers:
32,000
48,000
64,000
80,000
96,000
112,000
128,000
144,000
160,000
176,000
192,000
208,000
224,000
240,000
Change the manual transmission fluid (ifequipped) if using your vehicle for any ofthe following: Most of your driving is atsustained speeds during hot weather, above90°F (32°C), driving in dusty conditions, orstop and go driving.
XX X
Change the rear axle fluid if using your ve-hicle for any of the following: police, taxi,fleet, off-road, or frequent trailer towing.
XX X
Inspect and replace PCV valve if necessary. X** The spark plug change interval is mileage based only, yearly intervals do not apply.
WARNING!
•Youcanbebadlyinjuredworkingonoraroundamotorvehicle.Doonlyserviceworkforwhichyouhavetheknowledgeandtheright
equipment. If you have any doubt about your ability to perform a service job, take your vehicle to a competent mechanic.
•Failuretoproperlyinspectandmaintainyourvehiclecouldresultinacomponentmalfunctionandeffectvehiclehandlingand
performance. This could cause an accident.
MAINTAINING YOUR VEHICLE
189
Page 192 of 220
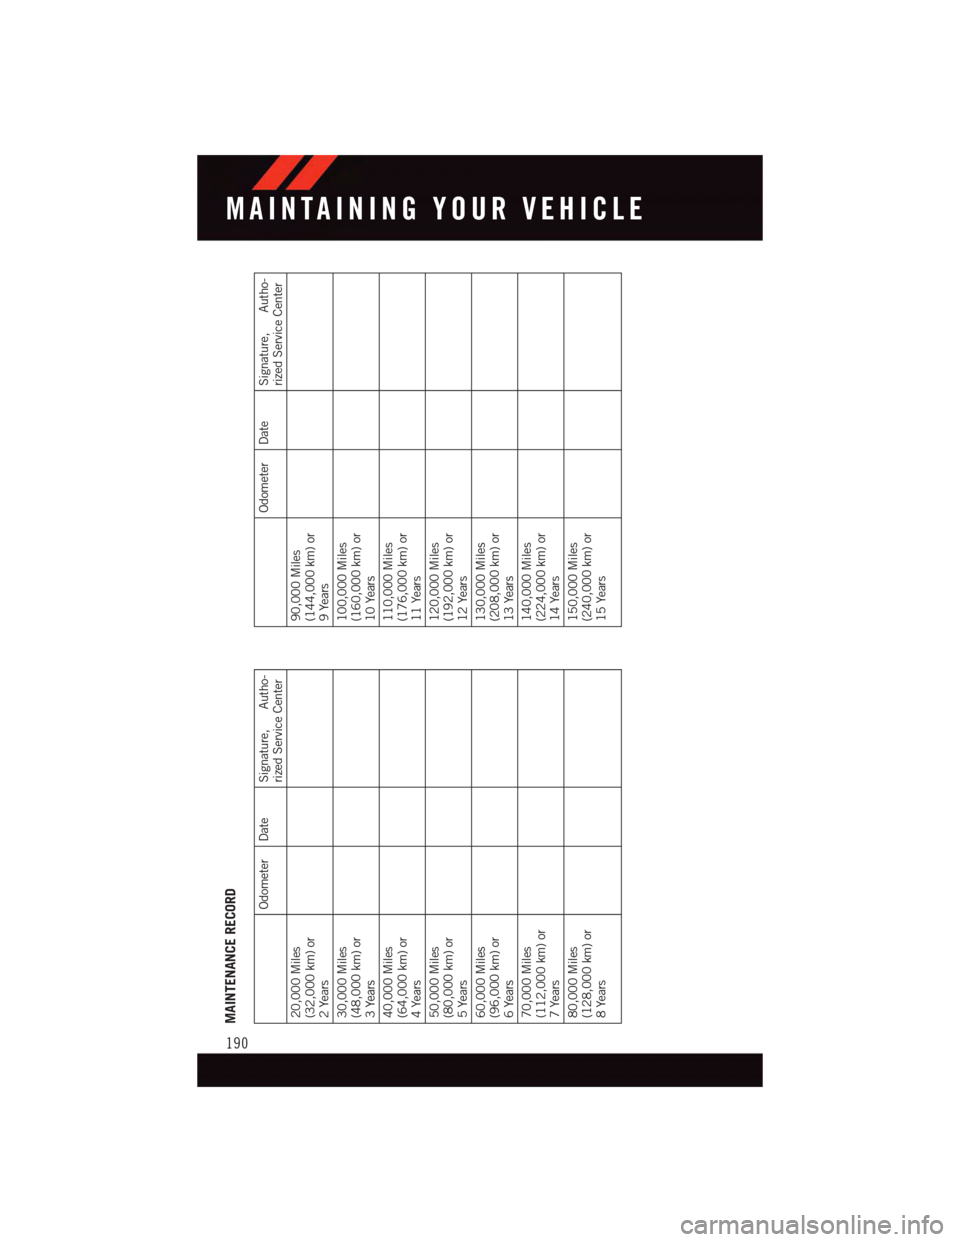
MAINTENANCE RECORD
Odometer Date Signature, Autho-
rized Service Center
20,000 Miles(32,000 km) or2Years30,000 Miles(48,000 km) or3Years40,000 Miles(64,000 km) or4Years50,000 Miles(80,000 km) or5Years60,000 Miles(96,000 km) or6Years70,000 Miles(112,000 km) or7Years80,000 Miles(128,000 km) or8Years
Odometer Date Signature, Autho-
rized Service Center
90,000 Miles(144,000 km) or9Years100,000 Miles(160,000 km) or10 Years110,000 Miles(176,000 km) or11 Years120,000 Miles(192,000 km) or12 Years130,000 Miles(208,000 km) or13 Years140,000 Miles(224,000 km) or14 Years150,000 Miles(240,000 km) or15 Years
MAINTAINING YOUR VEHICLE
190
Page 193 of 220
MAINTENANCE SCHEDULE — 6.2L SUPERCHARGED AND 6.4L
The Scheduled Maintenance services listed in this manual must be done at the times or
mileages specified to protect your vehicle warranty and ensure the best vehicle perfor-
mance and reliability. More frequent maintenance may be needed for vehicles in severe
operating conditions, such as dusty areas and very short trip driving. Inspection and
service should also be done anytime a malfunction is suspected.
The oil change indicator system will remind you that it is time to take your vehicle in for
scheduled maintenance.
The message “Oil Change Required” will be displayed in the DID and a single chime will
sound, indicating that an oil change is necessary.
Based on engine operation conditions, the oil change indicator message will illuminate.
This means that service is required for your vehicle. Have your vehicle serviced as soon as
possible, within the next 500 miles (805 km).
NOTE:
•Theoilchangeindicatormessagewillnotmonitorthetimesincethelastoilchange.
Change your vehicle's oil if it has been six months since your last oil change, even if the
oil change indicator message is NOT illuminated.
•Changeyourengineoilmoreoftenifyoudriveyourvehicleoff-roadforanextended
period of time.
•Undernocircumstancesshouldoilchangeintervalsexceed6,000miles(10,000km)
or six months, whichever comes first.
Yo u r a u t h o r i z e d d e a l e r w i l l r e s e t t h e o i l c h a n g e i n d i c a t o r m e s s a g e a f t e r c o m p l e t i n g t h e
scheduled oil change. If a scheduled oil change is performed by someone other than your
authorized dealer, the message can be reset by referring to the steps described under
“Instrument Cluster Warning Lights” in “What To Do In Emergencies” in this guide or
“Driver Information Display (DID)” in “Understanding Your Instrument Panel” in your
Owners Manual on the DVD for further information.
At Each Stop For Fuel
•Checktheengineoillevel.Referto“MaintenanceProcedures/EngineOil”in“Main-
taining Your Vehicle” for further information.
•Checkthewindshieldwashersolventandaddifrequired.
MAINTAINING YOUR VEHICLE
191