service interval DODGE CHALLENGER 2017 3.G Owners Manual
[x] Cancel search | Manufacturer: DODGE, Model Year: 2017, Model line: CHALLENGER, Model: DODGE CHALLENGER 2017 3.GPages: 506, PDF Size: 4.44 MB
Page 45 of 506
•Steering Wheel and Column
• Instrument Panel
• Knee Impact Bolsters
• Driver and Front Passenger Air Bags
• Supplemental Side Air Bags
• Front and Side Impact Sensors
• Seat Belt Pretensioners
• Seat Track Position Sensors
• Seat Belt Buckle Switch
Air Bag Warning Light
The ORC monitors the readiness of the electronic parts of
the air bag system whenever the ignition switch
is in the START or ON/RUN position. If the
ignition switch is in the OFF position or in the
ACC position, the air bag system is not on and
the air bags will not inflate.
The ORC contains a backup power supply system that may
deploy the air bag system even if the battery loses power or
it becomes disconnected prior to deployment. The ORC turns on the Air Bag Warning Light in the
instrument panel for approximately four to eight seconds
for a self-check when the ignition switch is first in the
ON/RUN position. After the self-check, the Air Bag Warn-
ing Light will turn off. If the ORC detects a malfunction in
any part of the system, it turns on the Air Bag Warning
Light, either momentarily or continuously. A single chime
will sound to alert you if the light comes on again after
initial startup.
The ORC also includes diagnostics that will illuminate the
instrument panel Air Bag Warning Light if a malfunction is
detected that could affect the air bag system. The diagnos-
tics also record the nature of the malfunction. While the air
bag system is designed to be maintenance free, if any of the
following occurs, have an authorized dealer service the air
bag system immediately.
•
The Air Bag Warning Light does not come on during the
four to eight seconds when the ignition switch is first in
the ON/RUN position.
• The Air Bag Warning Light remains on after the four to
eight-second interval.
• The Air Bag Warning Light comes on intermittently or
remains on while driving.
2
THINGS TO KNOW BEFORE STARTING YOUR VEHICLE 43
Page 419 of 506
WARNING!
You can be badly injured working on or around a
motor vehicle. Only do service work for which you
have the knowledge and the proper equipment. If you
have any doubt about your ability to perform a service
job, take your vehicle to a competent mechanic.
MAINTENANCE PROCEDURES
The pages that follow contain therequiredmaintenance
services determined by the engineers who designed your
vehicle.
Besides those maintenance items specified in the fixed
“Maintenance Schedule”, there are other components
which may require servicing or replacement in the future.
CAUTION!
• Failure to properly maintain your vehicle or perform
repairs and service when necessary could result in
more costly repairs, damage to other components or
negatively impact vehicle performance. Immediately
(Continued)
CAUTION! (Continued)
have potential malfunctions examined by an autho-
rized dealer or qualified repair center.
• Your vehicle has been built with improved fluids
that protect the performance and durability of your
vehicle and also allow extended maintenance inter-
vals. Do not use chemical flushes in these compo-
nents as the chemicals can damage your engine,
transmission, or air conditioning. Such damage is not
covered by the New Vehicle Limited Warranty. If a
flush is needed because of component malfunction,
use only the specified fluid for the flushing proce-
dure.
Engine Oil
Checking Oil Level — 3.6L Engine
To assure proper engine lubrication, the engine oil must be
maintained at the correct level. Check the oil level at
regular intervals, such as once a month. The best time to
check the engine oil level is about five minutes after a fully
warmed engine is shut off.
Checking the oil while the vehicle is on level ground will
improve the accuracy of the oil level readings. Maintain the
7
MAINTAINING YOUR VEHICLE 417
Page 424 of 506
3. Using a water and mild detergent clean the followinglocations.
— The water drain slot located at the front forward edge of
the shaker assembly.
— The seals attached to the scoop and air box.
— Lower water drains located in the lower shaker assem-
bly and air box as well as the hood interface areas for the
seals. Apply Mopar Leather, Rubber & Vinyl Protectant
after cleaning to seals.
4. Re-install shaker assembly.
Synthetic Engine Oils
You may use synthetic engine oils provided the recom-
mended oil quality requirements are met, and the recom-
mended maintenance intervals for oil and filter changes are
followed.
Synthetic engine oils which do not have both the engine oil
certification mark and the correct SAE viscosity grade
number should not be used.
Disposing Of Used Engine Oil And Oil Filters
Care should be taken in disposing of used engine oil and
oil filters from your vehicle. Used oil and oil filters,
indiscriminately discarded, can present a problem to the
environment. Contact your authorized dealer, service sta-
tion or governmental agency for advice on how and where
used oil and oil filters can be safely discarded in your area.
Engine Oil Filter
The engine oil filter should be replaced with a new filter at
every engine oil change.
Engine Oil Filter Selection
This manufacturer’s engines have a full-flow type oil filter.
Use a filter of this type for replacement. The quality of
replacement filters varies considerably. Only high quality
filters should be used to assure most efficient service.
Mopar engine oil filters are high quality oil filters and are
recommended.
Engine Air Cleaner Filter
Refer to the “Maintenance Schedule” for the proper main-
tenance intervals.
422 MAINTAINING YOUR VEHICLE
Page 438 of 506
WARNING!(Continued)
to boil unexpectedly during hard or prolonged brak-
ing, resulting in sudden brake failure. This could
result in a collision.
• Overfilling the brake fluid reservoir can result in
spilling brake fluid on hot engine parts, causing the
brake fluid to catch fire. Brake fluid can also damage
painted and vinyl surfaces, care should be taken to
avoid its contact with these surfaces.
• Do not allow petroleum based fluid to contaminate
the brake fluid. Brake seal components could be
damaged, causing partial or complete brake failure.
This could result in a collision.
Clutch Hydraulic System — Manual Transmission
(If Equipped)
The clutch hydraulic system is fed by a segregated volume
of fluid within the brake system master cylinder reservoir.
In the event of leakage or wear, use only the manufactur-
er’s recommended brake fluid. Refer to “Fluids, Lubri-
cants, And Genuine Parts” in “Maintaining Your Vehicle”
for further information.
Manual Transmission — If Equipped
Fluid Level Check
Check the fluid level by removing the fill plug on the left
side of the transmission. The fluid level should be 1/4 inch
(6.4mm) below the bottom of the fill hole. Add fluid, if
necessary, to maintain the proper level. Refer to “Fluids,
Lubricants, And Genuine Parts” in “Maintaining Your
Vehicle” for further information.
CAUTION!
Using a transmission fluid other than the manufactur-
er’s recommended fluid may cause deterioration in
transmission shift quality and/or damage to the trans-
mission. Refer to “Fluids, Lubricants, And Genuine
Parts” in this section for fluid specifications.
Change Transmission Fluid
If contaminated with water, change the fluid immediately.
See your authorized dealer for service.
Refer to the “Maintenance Schedule” for the proper main-
tenance intervals.
436 MAINTAINING YOUR VEHICLE
Page 472 of 506
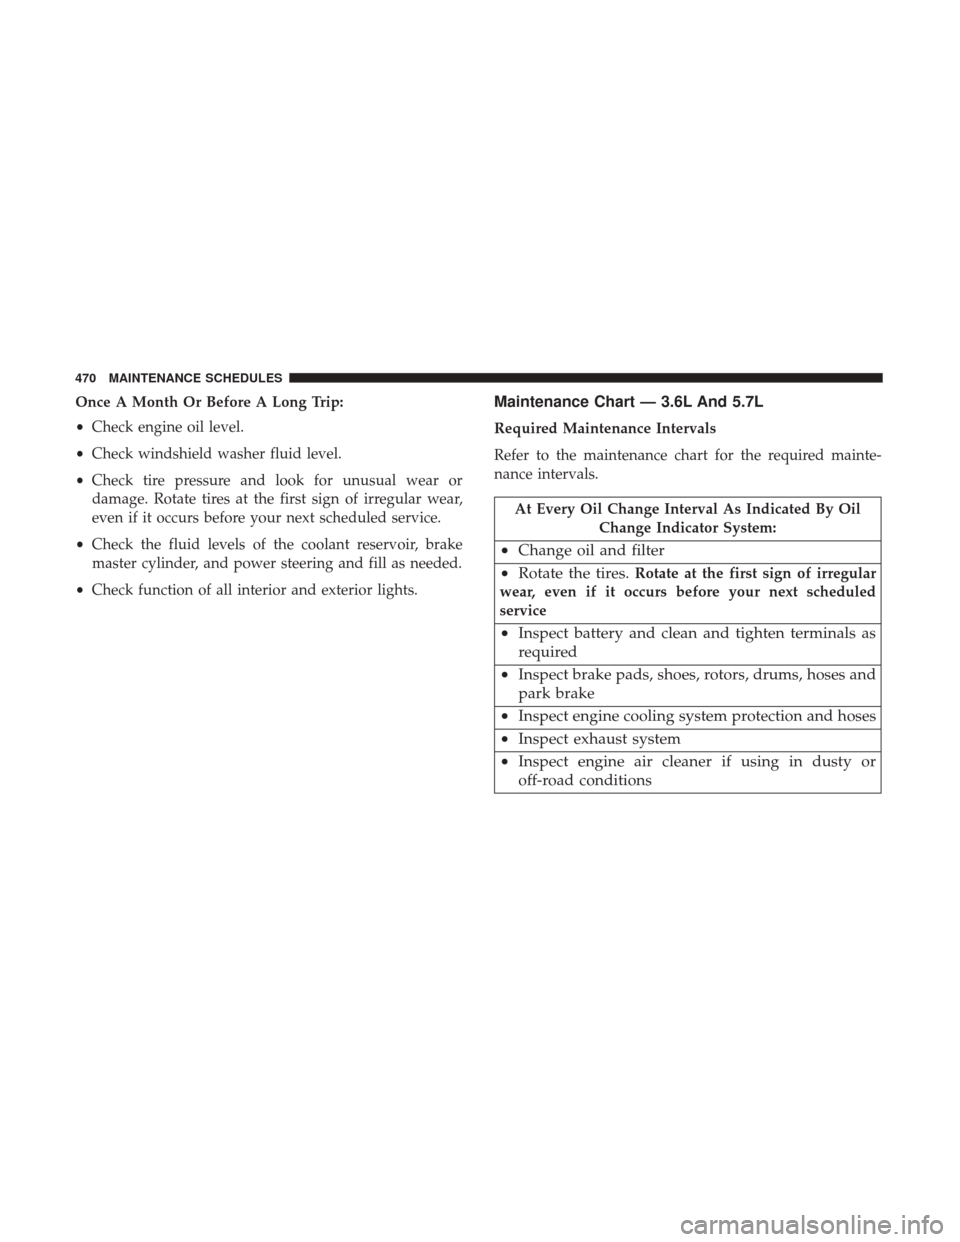
Once A Month Or Before A Long Trip:
•Check engine oil level.
• Check windshield washer fluid level.
• Check tire pressure and look for unusual wear or
damage. Rotate tires at the first sign of irregular wear,
even if it occurs before your next scheduled service.
• Check the fluid levels of the coolant reservoir, brake
master cylinder, and power steering and fill as needed.
• Check function of all interior and exterior lights.Maintenance Chart — 3.6L And 5.7L
Required Maintenance Intervals
Refer to the maintenance chart for the required mainte-
nance intervals.
At Every Oil Change Interval As Indicated By Oil
Change Indicator System:
•Change oil and filter
• Rotate the tires.
Rotate at the first sign of irregular
wear, even if it occurs before your next scheduled
service
• Inspect battery and clean and tighten terminals as
required
• Inspect brake pads, shoes, rotors, drums, hoses and
park brake
• Inspect engine cooling system protection and hoses
• Inspect exhaust system
• Inspect engine air cleaner if using in dusty or
off-road conditions
470 MAINTENANCE SCHEDULES
Page 475 of 506
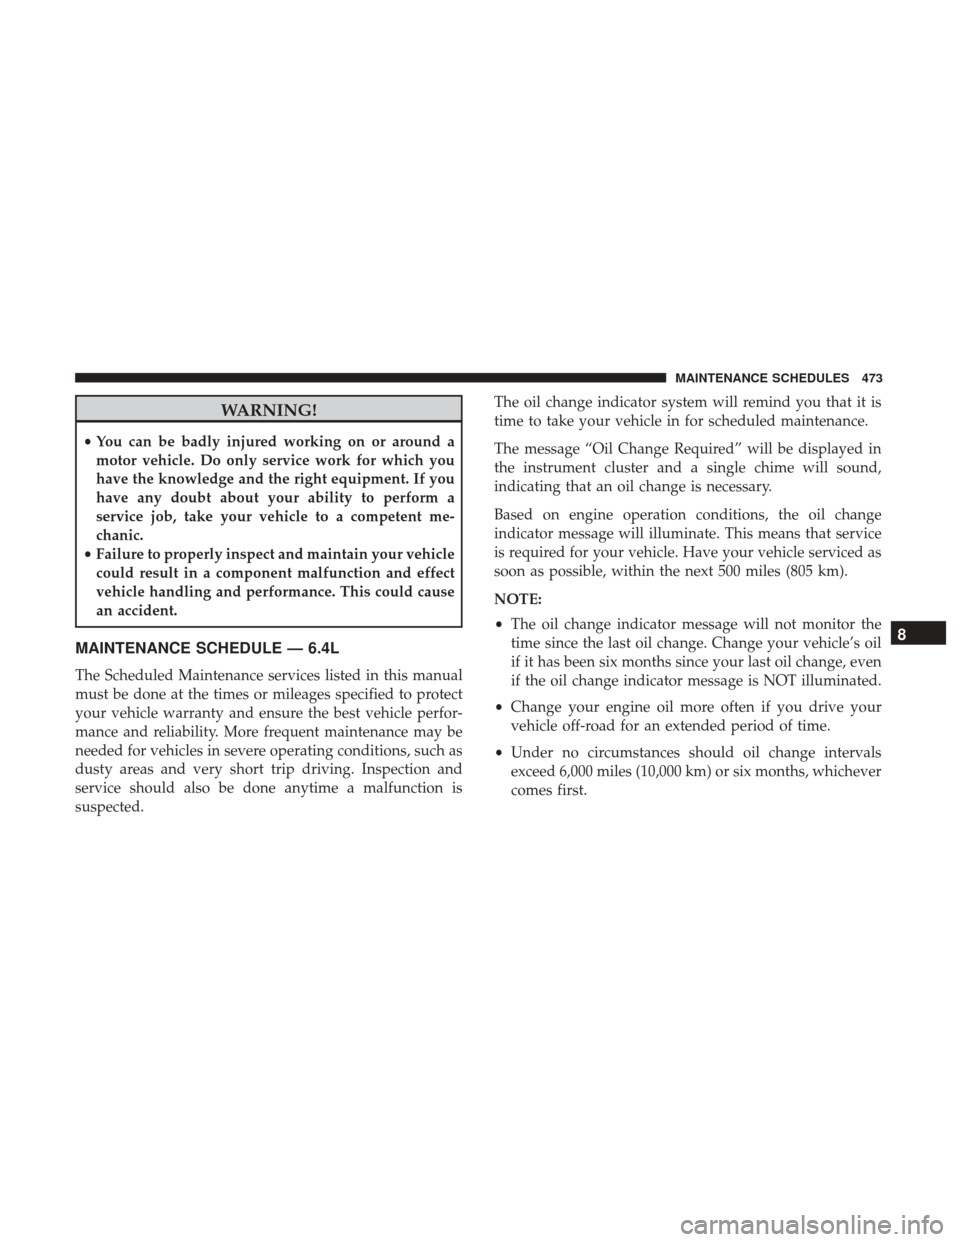
WARNING!
•You can be badly injured working on or around a
motor vehicle. Do only service work for which you
have the knowledge and the right equipment. If you
have any doubt about your ability to perform a
service job, take your vehicle to a competent me-
chanic.
• Failure to properly inspect and maintain your vehicle
could result in a component malfunction and effect
vehicle handling and performance. This could cause
an accident.
MAINTENANCE SCHEDULE — 6.4L
The Scheduled Maintenance services listed in this manual
must be done at the times or mileages specified to protect
your vehicle warranty and ensure the best vehicle perfor-
mance and reliability. More frequent maintenance may be
needed for vehicles in severe operating conditions, such as
dusty areas and very short trip driving. Inspection and
service should also be done anytime a malfunction is
suspected. The oil change indicator system will remind you that it is
time to take your vehicle in for scheduled maintenance.
The message “Oil Change Required” will be displayed in
the instrument cluster and a single chime will sound,
indicating that an oil change is necessary.
Based on engine operation conditions, the oil change
indicator message will illuminate. This means that service
is required for your vehicle. Have your vehicle serviced as
soon as possible, within the next 500 miles (805 km).
NOTE:
•
The oil change indicator message will not monitor the
time since the last oil change. Change your vehicle’s oil
if it has been six months since your last oil change, even
if the oil change indicator message is NOT illuminated.
• Change your engine oil more often if you drive your
vehicle off-road for an extended period of time.
• Under no circumstances should oil change intervals
exceed 6,000 miles (10,000 km) or six months, whichever
comes first.
8
MAINTENANCE SCHEDULES 473