instrument panel DODGE CHALLENGER 2020 Owners Manual
[x] Cancel search | Manufacturer: DODGE, Model Year: 2020, Model line: CHALLENGER, Model: DODGE CHALLENGER 2020Pages: 396, PDF Size: 16.64 MB
Page 3 of 396
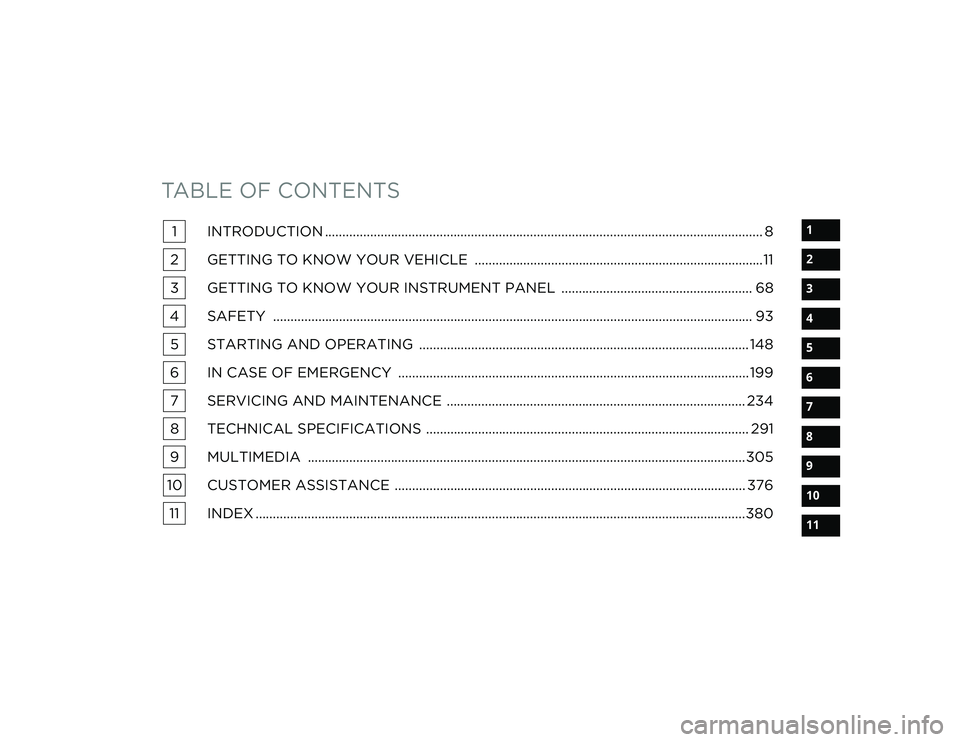
TABLE OF CONTENTS
1
2
3
4
5
6
7
8
9
10
11
1 INTRODUCTION .............................................................................................................................. 8
2 GETTING TO KNOW YOUR VEHICLE ...................................................................................11
3 GETTING TO KNOW YOUR INSTRUMENT PANEL ....................................................... 68
4 SAFETY .......................................................................................................................................... 93 5 STARTING AND OPERATING ............................................................................................... 148
6 IN CASE OF EMERGENCY ..................................................................................................... 199 7 SERVICING AND MAINTENANCE ...................................................................................... 234
8 TECHNICAL SPECIFICATIONS ............................................................................................. 291
9 MULTIMEDIA ..............................................................................................................................305
10 CUSTOMER ASSISTANCE ..................................................................................................... 376 11 INDEX .............................................................................................................................................380
20_LA_OM_EN_USC_t.book Page 1
Page 5 of 396
3
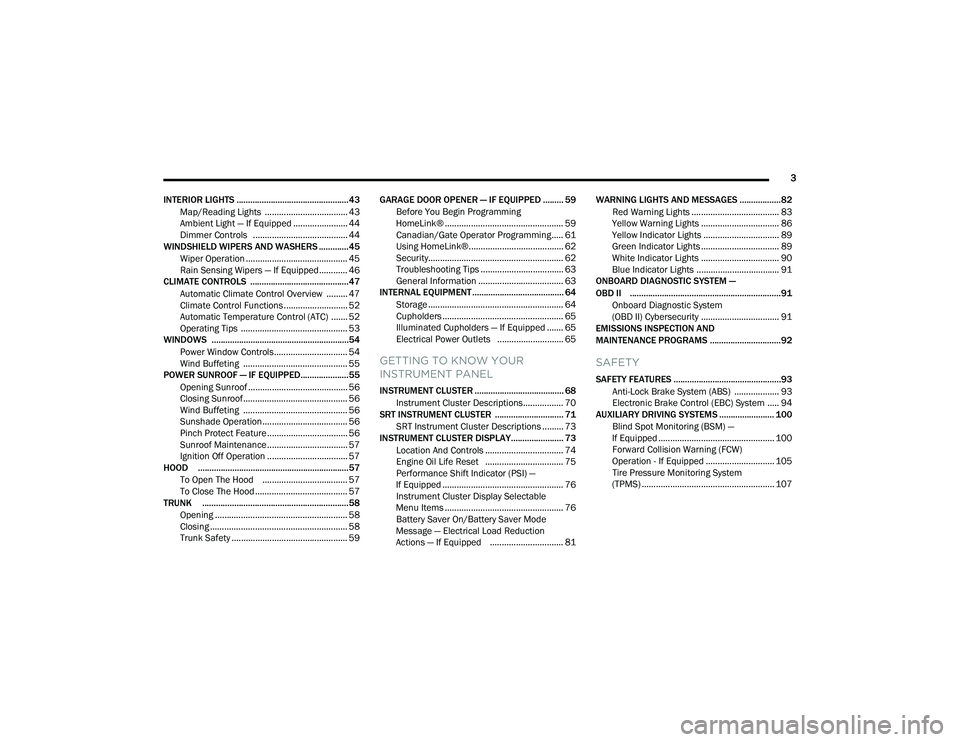
INTERIOR LIGHTS .................................................43 Map/Reading Lights ................................... 43
Ambient Light — If Equipped ....................... 44
Dimmer Controls ........................................ 44
WINDSHIELD WIPERS AND WASHERS .............45
Wiper Operation ........................................... 45
Rain Sensing Wipers — If Equipped ............ 46
CLIMATE CONTROLS ...........................................47
Automatic Climate Control Overview ......... 47
Climate Control Functions ........................... 52
Automatic Temperature Control (ATC) ....... 52
Operating Tips ............................................. 53
WINDOWS ............................................................54
Power Window Controls............................... 54
Wind Buffeting ............................................ 55
POWER SUNROOF — IF EQUIPPED.....................55
Opening Sunroof .......................................... 56
Closing Sunroof ............................................ 56
Wind Buffeting ............................................ 56
Sunshade Operation.................................... 56
Pinch Protect Feature .................................. 56
Sunroof Maintenance .................................. 57
Ignition Off Operation .................................. 57
HOOD ..................................................................57
To Open The Hood .................................... 57
To Close The Hood ....................................... 57
TRUNK ................................................................58
Opening ........................................................ 58
Closing .......................................................... 58
Trunk Safety ................................................. 59 GARAGE DOOR OPENER — IF EQUIPPED ......... 59
Before You Begin Programming
HomeLink® .................................................. 59 Canadian/Gate Operator Programming ..... 61
Using HomeLink®........................................ 62
Security......................................................... 62
Troubleshooting Tips ................................... 63
General Information .................................... 63
INTERNAL EQUIPMENT ........................................ 64
Storage ......................................................... 64
Cupholders ................................................... 65
Illuminated Cupholders — If Equipped ....... 65
Electrical Power Outlets ............................ 65
GETTING TO KNOW YOUR
INSTRUMENT PANEL
INSTRUMENT CLUSTER ....................................... 68
Instrument Cluster Descriptions ................. 70
SRT INSTRUMENT CLUSTER .............................. 71
SRT Instrument Cluster Descriptions ......... 73
INSTRUMENT CLUSTER DISPLAY....................... 73
Location And Controls ................................. 74
Engine Oil Life Reset ................................. 75
Performance Shift Indicator (PSI) —
If Equipped ................................................... 76 Instrument Cluster Display Selectable
Menu Items .................................................. 76 Battery Saver On/Battery Saver Mode
Message — Electrical Load Reduction
Actions — If Equipped ............................... 81 WARNING LIGHTS AND MESSAGES ..................82
Red Warning Lights ..................................... 83
Yellow Warning Lights ................................. 86
Yellow Indicator Lights ................................ 89
Green Indicator Lights ................................. 89
White Indicator Lights ................................. 90
Blue Indicator Lights ................................... 91
ONBOARD DIAGNOSTIC SYSTEM —
OBD II ..................................................................91
Onboard Diagnostic System
(OBD II) Cybersecurity ................................. 91
EMISSIONS INSPECTION AND
MAINTENANCE PROGRAMS ...............................92
SAFETY
SAFETY FEATURES ...............................................93
Anti-Lock Brake System (ABS) ................... 93
Electronic Brake Control (EBC) System ..... 94
AUXILIARY DRIVING SYSTEMS ........................ 100
Blind Spot Monitoring (BSM) —
If Equipped ................................................. 100 Forward Collision Warning (FCW)
Operation - If Equipped ............................. 105 Tire Pressure Monitoring System
(TPMS) ........................................................ 107
20_LA_OM_EN_USC_t.book Page 3
Page 11 of 396
9
HOW TO USE THIS MANUAL
ESSENTIAL INFORMATION
Consult the Table of Contents to determine which section contains the
information you desire.
Since the specification of your vehicle depends on the items of equipment
ordered, certain descriptions and illustrations may differ from your
vehicle's equipment.
The detailed Index at the back of this Owner's Manual contains a
complete listing of all subjects.
SYMBOLS
Some vehicle components have colored labels whose symbols indicate
precautions to be observed when using this component. Refer to
“Warning Lights and Messages” in “Getting To Know Your Instrument
Panel” for further information on the symbols used in your vehicle.
WARNINGS AND CAUTIONS
This Owner’s Manual contains WARNINGS against operating procedures
that could result in a collision, bodily injury and/or death. It also contains
CAUTIONS against procedures that could result in damage to your vehicle.
If you do not read this entire Owner’s Manual, you may miss important
information. Observe all Warnings and Cautions.
1
20_LA_OM_EN_USC_t.book Page 9
Page 42 of 396
40GETTING TO KNOW YOUR VEHICLE
ILLUMINATED VANITY MIRRORS
An illuminated vanity mirror is on the sun visor.
To use the mirror, rotate the sun visor
downward and swing the mirror cover upward.
The light turns on automatically. Close the
mirror cover to turn off the light.
Illuminated Vanity Mirror
“Slide-On-Rod” And Extender Features Of
Sun Visor
To use the “Slide-On-Rod” feature of the sun
visor, rotate the sun visor downward and swing
the sun visor so it is parallel to the side window,
pull the sun visor rearwards until it is in the
desired position. To use the extender feature of the sun visor,
grab the extender which is located at the rear of
the visor and pull rearward.
Slide-On-Rod Extender
EXTERIOR LIGHTS
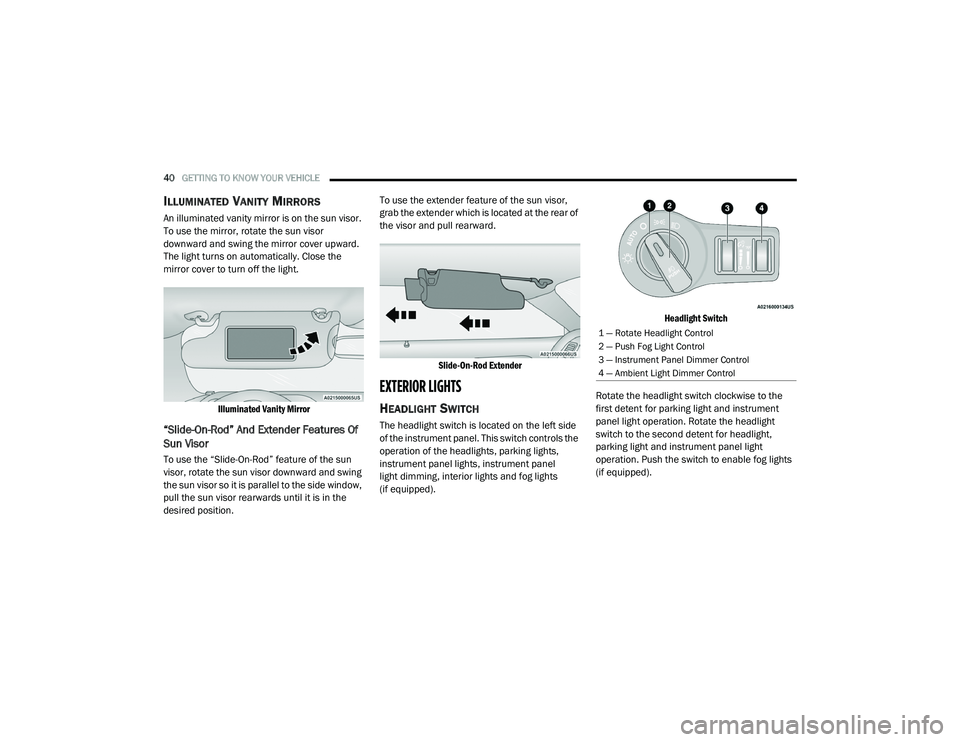
HEADLIGHT SWITCH
The headlight switch is located on the left side
of the instrument panel. This switch controls the
operation of the headlights, parking lights,
instrument panel lights, instrument panel
light dimming, interior lights and fog lights
(if equipped).
Headlight Switch
Rotate the headlight switch clockwise to the
first detent for parking light and instrument
panel light operation. Rotate the headlight
switch to the second detent for headlight,
parking light and instrument panel light
operation. Push the switch to enable fog lights
(if equipped).
1 — Rotate Headlight Control
2 — Push Fog Light Control
3 — Instrument Panel Dimmer Control
4 — Ambient Light Dimmer Control
20_LA_OM_EN_USC_t.book Page 40
Page 44 of 396
42GETTING TO KNOW YOUR VEHICLE
FLASH-TO-PASS
You can signal another vehicle with your
headlights by lightly pulling the multifunction
lever toward you. This will turn on the high beam
headlights until the lever is released.
NOTE:
If the multifunction lever is held in the flash-to
pass position for more than 20 seconds, the
high beams will shut off.
AUTOMATIC HEADLIGHTS
This system automatically turns the headlights
on or off according to ambient light levels. To
turn the system on, rotate the headlight switch
counterclockwise to the AUTO position. When
the system is on, the headlight time delay
feature is also on. This means the headlights
will stay on for up to 90 seconds after you place
the ignition into the OFF position. The headlight
time delay can be programmed 0/30/60/
90 seconds.
Refer to “Uconnect Settings” in “Multimedia”
for further information.
To turn the automatic system off, move the
headlight switch out of the AUTO position. NOTE:
The engine must be running before the head
-
lights will come on in the automatic mode.
PARKING LIGHTS
Turn the headlight switch knob to the first
detent to turn the parking lights on. This also
turns on all instrument panel lighting.
HEADLIGHTS ON WITH WIPERS
When this feature is active, the headlights will
turn on after the wipers are turned on if the
headlight switch is placed in the AUTO position
and the programmable feature is set to on. In
addition, the headlights will turn off when the
wipers are turned off if they were turned on by
this feature.
NOTE:
The “Headlights On With Wipers” feature can be
turned on or off using the Uconnect System.
Refer to “Uconnect Settings” in “Multimedia”
for further information.
HEADLIGHT TIME DELAY
This feature provides the safety of headlight
illumination for up to 90 seconds when leaving
your vehicle in an unlit area with the headlight
switch in the O (off) position. To activate the delay feature, place the ignition
in the OFF position while the headlights are still
on. Then, turn off the headlights within 45
seconds. The delay interval begins when the
headlight switch is turned off.
NOTE:
The lights must be turned off within 45 seconds
of placing the ignition in the OFF position to acti
-
vate this feature.
If you turn the headlights, park lights or ignition
switch ON again, the system will cancel the
delay.
If you turn the headlights off before the ignition,
they will turn off in the normal manner.
NOTE:
The Headlight Time Delay is programmable
using the Uconnect System, refer to “Uconnect
Settings” in “Multimedia” for further
information.
LIGHTS-ON REMINDER
If the headlights or parking lights are on after
the ignition is placed in the OFF position, a
chime will sound to alert the driver when the
driver's door is opened.
20_LA_OM_EN_USC_t.book Page 42
Page 46 of 396
44GETTING TO KNOW YOUR VEHICLE
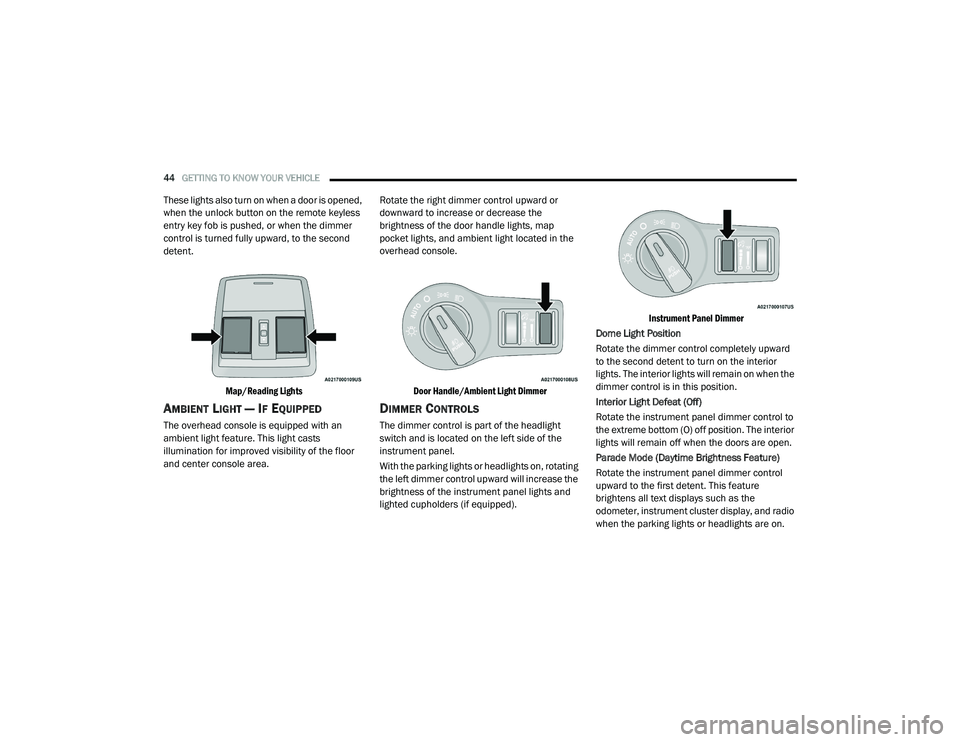
These lights also turn on when a door is opened,
when the unlock button on the remote keyless
entry key fob is pushed, or when the dimmer
control is turned fully upward, to the second
detent.
Map/Reading Lights
AMBIENT LIGHT — IF EQUIPPED
The overhead console is equipped with an
ambient light feature. This light casts
illumination for improved visibility of the floor
and center console area. Rotate the right dimmer control upward or
downward to increase or decrease the
brightness of the door handle lights, map
pocket lights, and ambient light located in the
overhead console.
Door Handle/Ambient Light Dimmer
DIMMER CONTROLS
The dimmer control is part of the headlight
switch and is located on the left side of the
instrument panel.
With the parking lights or headlights on, rotating
the left dimmer control upward will increase the
brightness of the instrument panel lights and
lighted cupholders (if equipped).
Instrument Panel Dimmer
Dome Light Position
Rotate the dimmer control completely upward
to the second detent to turn on the interior
lights. The interior lights will remain on when the
dimmer control is in this position.
Interior Light Defeat (Off)
Rotate the instrument panel dimmer control to
the extreme bottom (O) off position. The interior
lights will remain off when the doors are open.
Parade Mode (Daytime Brightness Feature)
Rotate the instrument panel dimmer control
upward to the first detent. This feature
brightens all text displays such as the
odometer, instrument cluster display, and radio
when the parking lights or headlights are on.
20_LA_OM_EN_USC_t.book Page 44
Page 49 of 396
GETTING TO KNOW YOUR VEHICLE47
CLIMATE CONTROLS
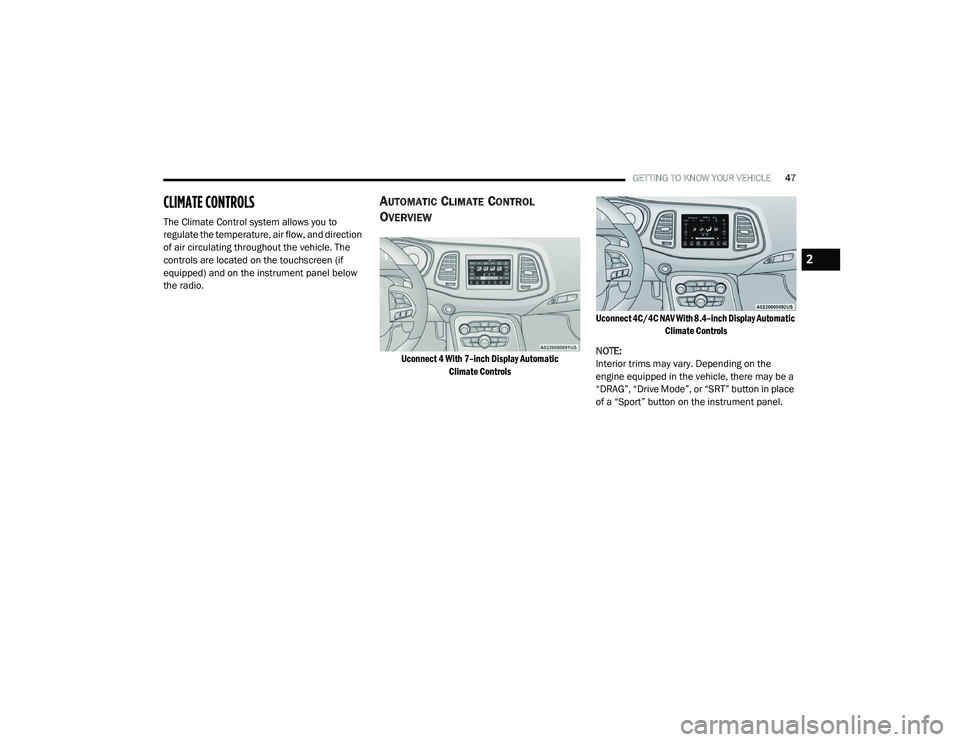
The Climate Control system allows you to
regulate the temperature, air flow, and direction
of air circulating throughout the vehicle. The
controls are located on the touchscreen (if
equipped) and on the instrument panel below
the radio.
AUTOMATIC CLIMATE CONTROL
O
VERVIEW
Uconnect 4 With 7–inch Display Automatic
Climate Controls Uconnect 4C/4C NAV With 8.4–inch Display Automatic
Climate Controls
NOTE:
Interior trims may vary. Depending on the
engine equipped in the vehicle, there may be a
“DRAG”, “Drive Mode”, or “SRT” button in place
of a “Sport” button on the instrument panel.
2
20_LA_OM_EN_USC_t.book Page 47
Page 52 of 396
50GETTING TO KNOW YOUR VEHICLE
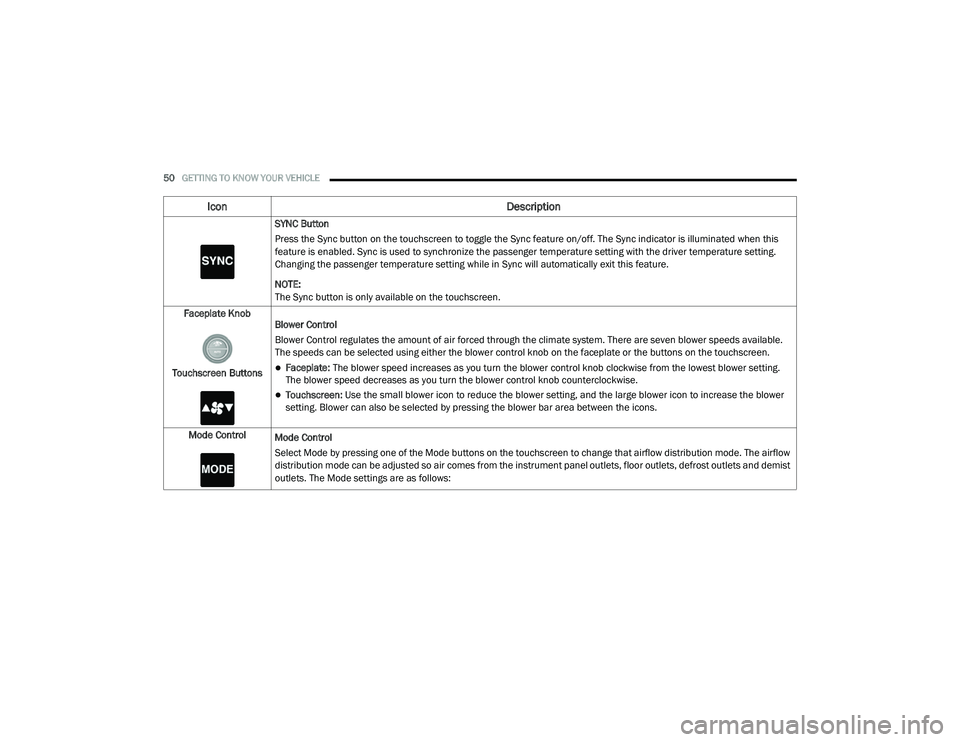
SYNC Button
Press the Sync button on the touchscreen to toggle the Sync feature on/off. The Sync indicator is illuminated when this
feature is enabled. Sync is used to synchronize the passenger temperature setting with the driver temperature setting.
Changing the passenger temperature setting while in Sync will automatically exit this feature.
NOTE:
The Sync button is only available on the touchscreen.
Faceplate Knob
Touchscreen Buttons Blower Control
Blower Control regulates the amount of air forced through the climate system. There are seven blower speeds available.
The speeds can be selected using either the blower control knob on the faceplate or the buttons on the touchscreen.
Faceplate: The blower speed increases as you turn the blower control knob clockwise from the lowest blower setting.
The blower speed decreases as you turn the blower control knob counterclockwise.
Touchscreen:
Use the small blower icon to reduce the blower setting, and the large blower icon to increase the blower
setting. Blower can also be selected by pressing the blower bar area between the icons.
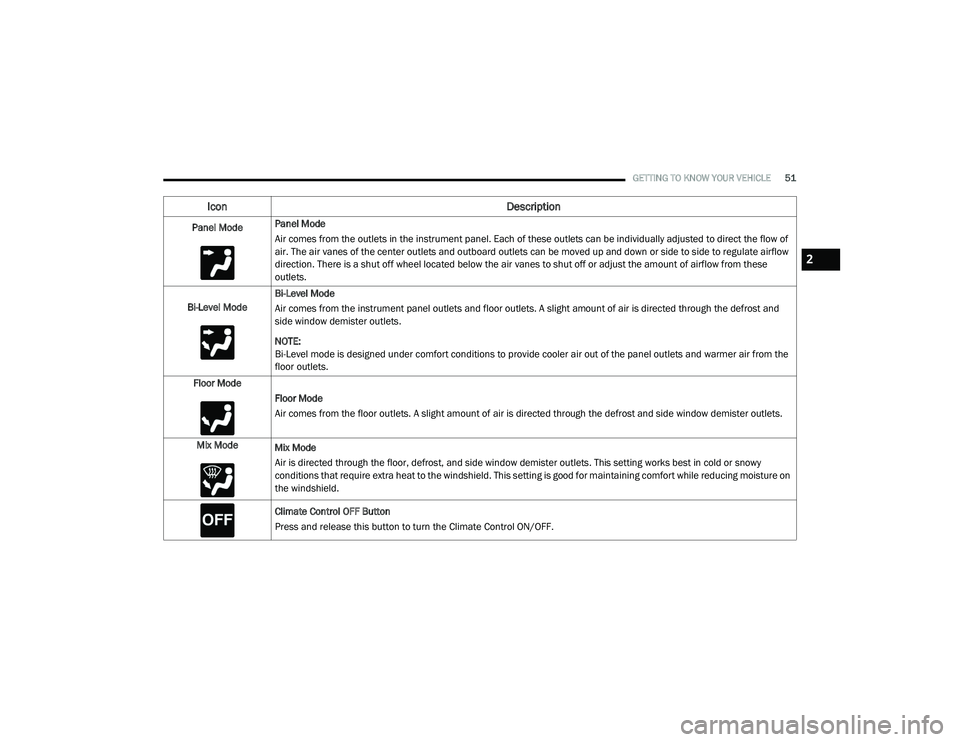
Mode Control Mode Control
Select Mode by pressing one of the Mode buttons on the touchscreen to change that airflow distribution mode. The airflow
distribution mode can be adjusted so air comes from the instrument panel outlets, floor outlets, defrost outlets and demist
outlets. The Mode settings are as follows:
Icon Description
20_LA_OM_EN_USC_t.book Page 50
Page 53 of 396
GETTING TO KNOW YOUR VEHICLE51
Panel ModePanel Mode
Air comes from the outlets in the instrument panel. Each of these outlets can be individually adjusted to direct the flow of
air. The air vanes of the center outlets and outboard outlets can be moved up and down or side to side to regulate airflow
direction. There is a shut off wheel located below the air vanes to shut off or adjust the amount of airflow from these
outlets.
Bi-Level Mode Bi-Level Mode
Air comes from the instrument panel outlets and floor outlets. A slight amount of air is directed through the defrost and
side window demister outlets.
NOTE:
Bi-Level mode is designed under comfort conditions to provide cooler air out of the panel outlets and warmer air from the
floor outlets.
Floor Mode Floor Mode
Air comes from the floor outlets. A slight amount of air is directed through the defrost and side window demister outlets.
Mix Mode Mix Mode
Air is directed through the floor, defrost, and side window demister outlets. This setting works best in cold or snowy
conditions that require extra heat to the windshield. This setting is good for maintaining comfort while reducing moisture on
the windshield.
Climate Control OFF Button
Press and release this button to turn the Climate Control ON/OFF.
Icon Description
2
20_LA_OM_EN_USC_t.book Page 51
Page 59 of 396
GETTING TO KNOW YOUR VEHICLE57
NOTE:
If three consecutive sunroof close attempts
result in Pinch Protect reversals, Pinch Protect
will disable and the sunroof must be closed in
Manual Mode.
SUNROOF MAINTENANCE
Use only a non-abrasive cleaner and a soft cloth
to clean the glass panel. Periodically check for
and clear out any debris that may have
collected in the tracks.
IGNITION OFF OPERATION
NOTE:
The power sunroof switch can remain active
in Accessory Delay for up to approximately
10 minutes after the vehicle’s ignition is
placed to the OFF position. Opening either
front door will cancel this feature.
This feature is programmable using the Ucon -
nect System. Refer to “Uconnect Settings” in
“Multimedia” for further information.
HOOD
TO OPEN THE HOOD
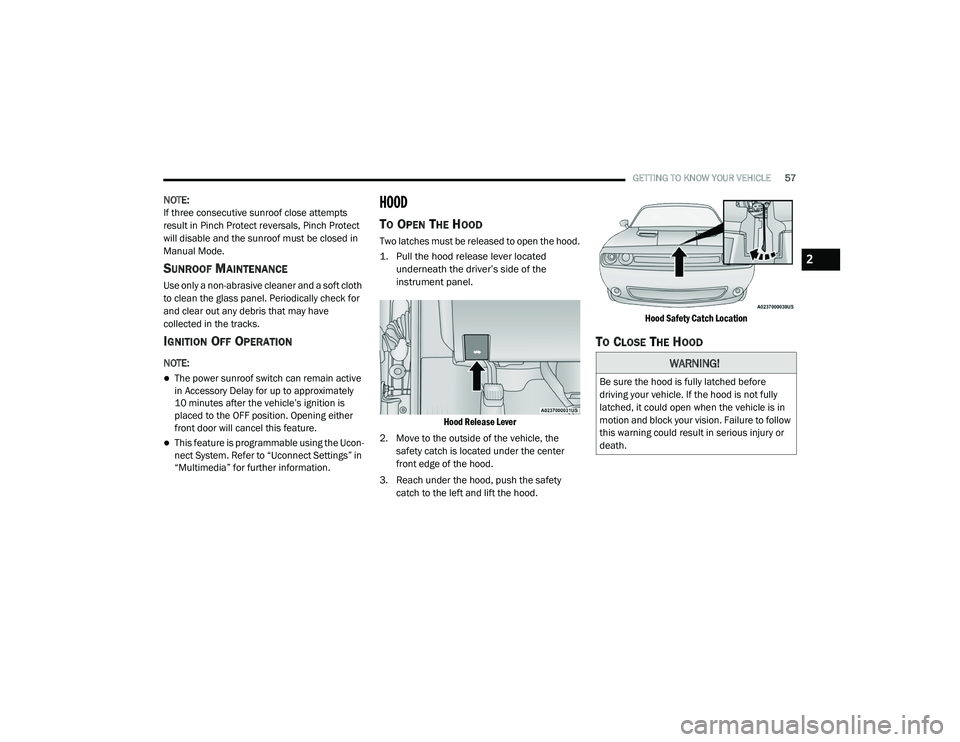
Two latches must be released to open the hood.
1. Pull the hood release lever located
underneath the driver’s side of the
instrument panel.
Hood Release Lever
2. Move to the outside of the vehicle, the safety catch is located under the center
front edge of the hood.
3. Reach under the hood, push the safety catch to the left and lift the hood.
Hood Safety Catch Location
TO CLOSE THE HOOD
WARNING!
Be sure the hood is fully latched before
driving your vehicle. If the hood is not fully
latched, it could open when the vehicle is in
motion and block your vision. Failure to follow
this warning could result in serious injury or
death.
2
20_LA_OM_EN_USC_t.book Page 57