low beam DODGE CHALLENGER 2021 Owners Manual
[x] Cancel search | Manufacturer: DODGE, Model Year: 2021, Model line: CHALLENGER, Model: DODGE CHALLENGER 2021Pages: 328, PDF Size: 15 MB
Page 5 of 328
3
Programming HomeLink® To A Garage Door
Opener ..............................................................39
Programming HomeLink® To A Miscellaneous
Device ...............................................................40
Reprogramming A Single HomeLink® Button .. 40
Canadian/Gate Operator Programming .........40
EXTERIOR LIGHTS.................................................. 41
Headlight Switch...............................................41
Multifunction Lever ..........................................42
Daytime Running Lights (DRLs) —
If Equipped........................................................42
High/Low Beam Switch....................................42
Automatic High Beam Headlamp Control —
If Equipped .......................................................42
Flash-To-Pass....................................................43
Automatic Headlights ......................................43
Parking Lights ..................................................43
Automatic Headlights With Wipers..................43
Headlight Time Delay ......................................43
Lights-On Reminder .........................................43
Fog Lights — If Equipped ..................................44
Turn Signals .....................................................44
Lane Change Assist — If Equipped ..................44
INTERIOR LIGHTS ................................................. 44
Front Map/Reading Lights ..............................45
Ambient Light — If Equipped ............................45
Dimmer Control ................................................45 WINDSHIELD WIPERS AND WASHERS............... 46
Windshield Wiper Operation ............................46
Rain Sensing Wipers — If Equipped ................47
CLIMATE CONTROLS .............................................48
Automatic Climate Control Descriptions
And Functions ..................................................48
Automatic Temperature Control (ATC) ...........51
Climate — Voice Recognition ...........................51
Operating Tips .................................................51
INTERIOR STORAGE AND EQUIPMENT ............... 53
Storage..............................................................53
Illuminated Cupholders — If Equipped............53
USB/AUX Control ..............................................54
Power Outlets ...................................................54
WINDOWS ..............................................................56
Power Window Controls ...................................56
Wind Buffeting ..................................................56
POWER SUNROOF — IF EQUIPPED ...................... 56
Opening And Closing The Sunroof...................57
Pinch Protect Feature — If Equipped ..............57
Venting Sunroof................................................57
Sunshade Operation ........................................57
Sunroof Maintenance ......................................58
Ignition Off Operation.......................................58 HOOD....................................................................... 58
Opening The Hood ..........................................58
Closing The Hood ............................................. 58
TRUNK ..................................................................... 59
Opening The Trunk ........................................... 59
Closing The Trunk............................................. 59
Trunk Safety ..................................................... 60
GETTING TO KNOW YOUR
INSTRUMENT PANEL
INSTRUMENT CLUSTER ........................................ 61Instrument Cluster Descriptions ..................... 62
INSTRUMENT CLUSTER DISPLAY ........................ 62
Location And Controls...................................... 63
Engine Oil Life Reset ........................................ 64
Performance Shift Indicator (PSI) —
If Equipped .......................................................64
Instrument Cluster Display Selectable
Menu Items ...................................................... 64
Battery Saver On/Battery Saver Mode
Message — Electrical Load Reduction
Actions — If Equipped ..................................... 68
21_LA_OM_EN_USC_t.book Page 3
Page 24 of 328
22GETTING TO KNOW YOUR VEHICLE
POWER DOOR LOCKS
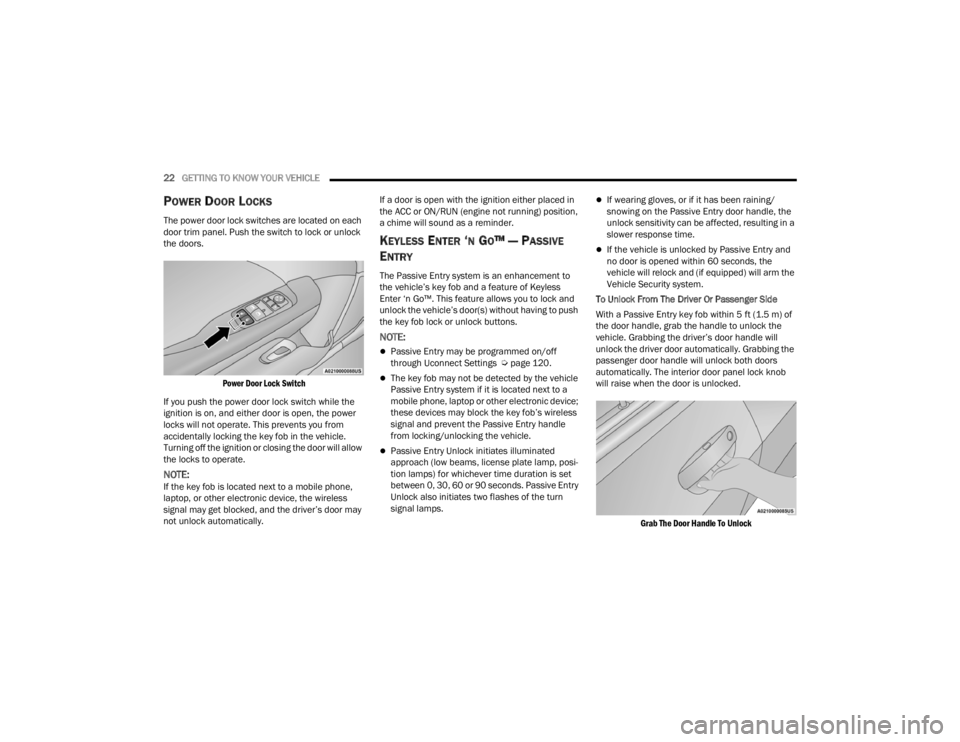
The power door lock switches are located on each
door trim panel. Push the switch to lock or unlock
the doors.
Power Door Lock Switch
If you push the power door lock switch while the
ignition is on, and either door is open, the power
locks will not operate. This prevents you from
accidentally locking the key fob in the vehicle.
Turning off the ignition or closing the door will allow
the locks to operate.
NOTE:If the key fob is located next to a mobile phone,
laptop, or other electronic device, the wireless
signal may get blocked, and the driver’s door may
not unlock automatically. If a door is open with the ignition either placed in
the ACC or ON/RUN (engine not running) position,
a chime will sound as a reminder.
KEYLESS ENTER ‘N GO™ — PASSIVE
E
NTRY
The Passive Entry system is an enhancement to
the vehicle’s key fob and a feature of Keyless
Enter ‘n Go™. This feature allows you to lock and
unlock the vehicle’s door(s) without having to push
the key fob lock or unlock buttons.
NOTE:
Passive Entry may be programmed on/off
through Uconnect Settings Ú page 120.
The key fob may not be detected by the vehicle
Passive Entry system if it is located next to a
mobile phone, laptop or other electronic device;
these devices may block the key fob’s wireless
signal and prevent the Passive Entry handle
from locking/unlocking the vehicle.
Passive Entry Unlock initiates illuminated
approach (low beams, license plate lamp, posi -
tion lamps) for whichever time duration is set
between 0, 30, 60 or 90 seconds. Passive Entry
Unlock also initiates two flashes of the turn
signal lamps.
If wearing gloves, or if it has been raining/
snowing on the Passive Entry door handle, the
unlock sensitivity can be affected, resulting in a
slower response time.
If the vehicle is unlocked by Passive Entry and
no door is opened within 60 seconds, the
vehicle will relock and (if equipped) will arm the
Vehicle Security system.
To Unlock From The Driver Or Passenger Side
With a Passive Entry key fob within 5 ft (1.5 m) of
the door handle, grab the handle to unlock the
vehicle. Grabbing the driver’s door handle will
unlock the driver door automatically. Grabbing the
passenger door handle will unlock both doors
automatically. The interior door panel lock knob
will raise when the door is unlocked.
Grab The Door Handle To Unlock
21_LA_OM_EN_USC_t.book Page 22
Page 44 of 328
42GETTING TO KNOW YOUR VEHICLE
To turn on the headlights, rotate the headlight
switch clockwise. When the headlight switch is on,
the parking lights, taillights, license plate light and
instrument panel lights are also turned on. To turn
off the headlights, rotate the headlight switch back
to the O (off) position.
NOTE:For vehicles sold in Canada, rotate the headlight
switch clockwise from the parking lights and
instrument panel lights position to the first detent
to turn the headlight switch to the AUTO position.
Rotate to the second detent to turn on headlights,
parking lights, and instrument panel lights oper -
ation.
MULTIFUNCTION LEVER
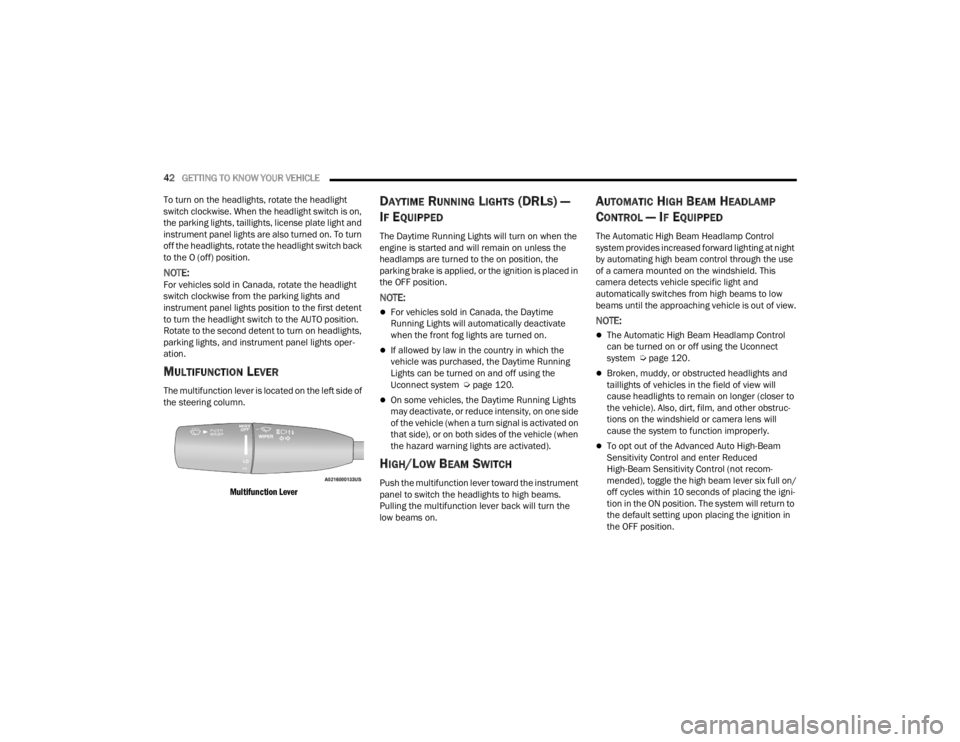
The multifunction lever is located on the left side of
the steering column.
Multifunction Lever
DAYTIME RUNNING LIGHTS (DRLS) —
I
F EQUIPPED
The Daytime Running Lights will turn on when the
engine is started and will remain on unless the
headlamps are turned to the on position, the
parking brake is applied, or the ignition is placed in
the OFF position.
NOTE:
For vehicles sold in Canada, the Daytime
Running Lights will automatically deactivate
when the front fog lights are turned on.
If allowed by law in the country in which the
vehicle was purchased, the Daytime Running
Lights can be turned on and off using the
Uconnect system Ú page 120.
On some vehicles, the Daytime Running Lights
may deactivate, or reduce intensity, on one side
of the vehicle (when a turn signal is activated on
that side), or on both sides of the vehicle (when
the hazard warning lights are activated).
HIGH/LOW BEAM SWITCH
Push the multifunction lever toward the instrument
panel to switch the headlights to high beams.
Pulling the multifunction lever back will turn the
low beams on.
AUTOMATIC HIGH BEAM HEADLAMP
C
ONTROL — IF EQUIPPED
The Automatic High Beam Headlamp Control
system provides increased forward lighting at night
by automating high beam control through the use
of a camera mounted on the windshield. This
camera detects vehicle specific light and
automatically switches from high beams to low
beams until the approaching vehicle is out of view.
NOTE:
The Automatic High Beam Headlamp Control
can be turned on or off using the Uconnect
system Ú page 120.
Broken, muddy, or obstructed headlights and
taillights of vehicles in the field of view will
cause headlights to remain on longer (closer to
the vehicle). Also, dirt, film, and other obstruc -
tions on the windshield or camera lens will
cause the system to function improperly.
To opt out of the Advanced Auto High-Beam
Sensitivity Control and enter Reduced
High-Beam Sensitivity Control (not recom -
mended), toggle the high beam lever six full on/
off cycles within 10 seconds of placing the igni -
tion in the ON position. The system will return to
the default setting upon placing the ignition in
the OFF position.
21_LA_OM_EN_USC_t.book Page 42
Page 46 of 328
44GETTING TO KNOW YOUR VEHICLE
FOG LIGHTS — IF EQUIPPED
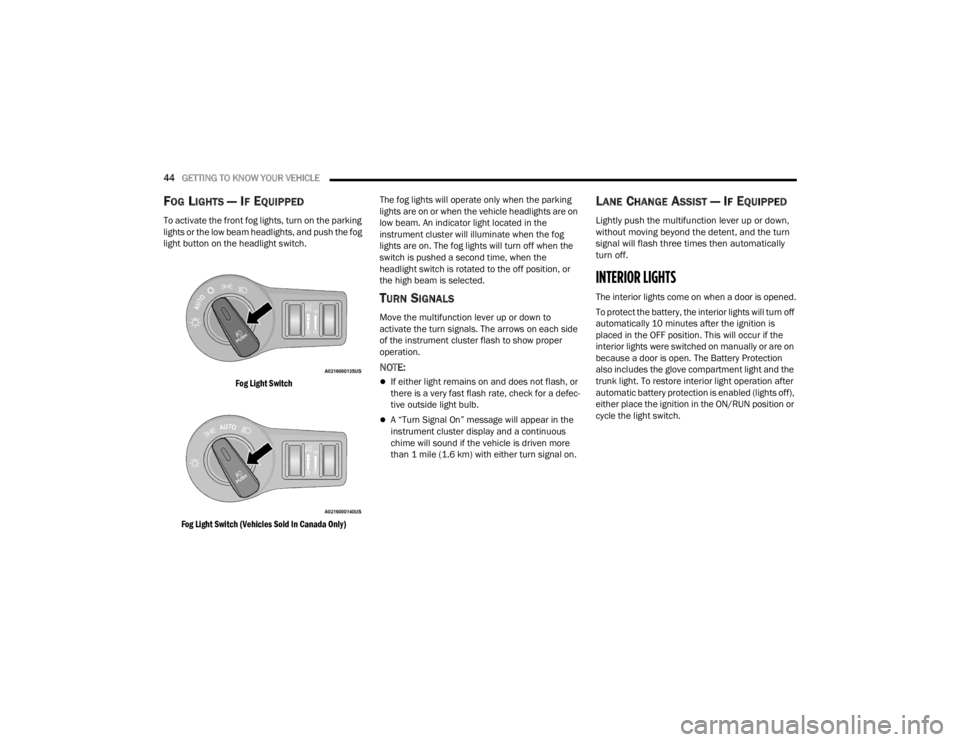
To activate the front fog lights, turn on the parking
lights or the low beam headlights, and push the fog
light button on the headlight switch.
Fog Light Switch
Fog Light Switch (Vehicles Sold In Canada Only)
The fog lights will operate only when the parking
lights are on or when the vehicle headlights are on
low beam. An indicator light located in the
instrument cluster will illuminate when the fog
lights are on. The fog lights will turn off when the
switch is pushed a second time, when the
headlight switch is rotated to the off position, or
the high beam is selected.
TURN SIGNALS
Move the multifunction lever up or down to
activate the turn signals. The arrows on each side
of the instrument cluster flash to show proper
operation.
NOTE:
If either light remains on and does not flash, or
there is a very fast flash rate, check for a defec
-
tive outside light bulb.
A “Turn Signal On” message will appear in the
instrument cluster display and a continuous
chime will sound if the vehicle is driven more
than 1 mile (1.6 km) with either turn signal on.
LANE CHANGE ASSIST — IF EQUIPPED
Lightly push the multifunction lever up or down,
without moving beyond the detent, and the turn
signal will flash three times then automatically
turn off.
INTERIOR LIGHTS
The interior lights come on when a door is opened.
To protect the battery, the interior lights will turn off
automatically 10 minutes after the ignition is
placed in the OFF position. This will occur if the
interior lights were switched on manually or are on
because a door is open. The Battery Protection
also includes the glove compartment light and the
trunk light. To restore interior light operation after
automatic battery protection is enabled (lights off),
either place the ignition in the ON/RUN position or
cycle the light switch.
21_LA_OM_EN_USC_t.book Page 44
Page 78 of 328
76GETTING TO KNOW YOUR INSTRUMENT PANEL
Sport Mode Indicator Light — If Equipped
This light will turn on when Sport Mode is
active.
Refer to the Drive Modes Supplement
for further information.
WHITE INDICATOR LIGHTS
Cruise Control Ready Indicator
This indicator light will illuminate when
the cruise control is ready, but not set
Úpage 93.
Adaptive Cruise Control (ACC) Ready
Indicator Light — If Equipped
This light will turn on when ACC has
been turned on, but is not set
Úpage 95.
Speed Warning Indicator Light —
If Equipped
The indicator light will illuminate white
along with a notification text message
(Speed Warning Set to XX followed by
unit). When the set speed is just
exceeded, a single chime will sound along with pop
up message of Speed Warning Exceeded. When
the set speed is exceeded, the indicator will light
up yellow and flash along with a continuous chime (up to 10 seconds or until the speed is no longer
exceeded).
NOTE:The number “31” is only an example of a speed
that can be selected.
BLUE INDICATOR LIGHTS
High Beam Indicator Light
This indicator light will illuminate to
indicate that the high beam headlights
are on. With the low beams activated,
push the multifunction lever forward
(toward the front of the vehicle) to turn on the high
beams. Pull the multifunction lever rearward
(toward the rear of the vehicle) to turn off the high
beams. If the high beams are off, pull the lever
toward you for a temporary high beam on, "flash to
pass" scenario.
ONBOARD DIAGNOSTIC SYSTEM — OBD II
Your vehicle is equipped with a sophisticated
Onboard Diagnostic system called OBD II. This
system monitors the performance of the
emissions, engine, and transmission control
systems. When these systems are operating
properly, your vehicle will provide excellent
performance and fuel economy, as well as engine
emissions well within current government
regulations. If any of these systems require service, the OBD II
system will turn on the Malfunction Indicator Light
(MIL). It will also store diagnostic codes and other
information to assist your service technician in
making repairs. Although your vehicle will usually
be drivable and not need towing, see an authorized
dealer for service as soon as possible.
ONBOARD DIAGNOSTIC SYSTEM
(OBD II) C
YBERSECURITY
Your vehicle is required to have OBD II and a
connection port to allow access to information
related to the performance of your emissions
controls. Authorized service technicians may need
to access this information to assist with the
diagnosis and service of your vehicle and
emissions system Ú page 119.
CAUTION!
Prolonged driving with the MIL on could cause
further damage to the emission control
system. It could also affect fuel economy and
driveability. The vehicle must be serviced
before any emissions tests can be performed.
If the MIL is flashing while the vehicle is
running, severe catalytic converter damage
and power loss will soon occur. Immediate
service is required.
21_LA_OM_EN_USC_t.book Page 76
Page 129 of 328

MULTIMEDIA127
Lights
When the Lights button is pressed on the touchscreen, the system displays the options related to the vehicle’s exterior and interior lights.
NOTE:When the “Daytime Running Lights” feature is selected, the daytime running lights can be turned On or Off. This feature is only allowed by law in the country
of the vehicle purchased.
Depending on the vehicle’s options, feature settings may vary.
Setting Name Description
Headlight Off DelayThis setting will allow you to set the amount of time it takes for the headlights
to shut off after the vehicle is turned off. The available settings are “0 sec”, “30 sec”, “60 sec”, and “90 sec”.
Headlight Illumination On Approach This setting will allow you to set the amount of time it takes for the headlights
to shut off after the vehicle is unlocked. The available settings are “0 sec”, “30 sec”, “60 sec”, and “90 sec”.
Headlights with Wipers This setting will turn the headlights on when the wipers are activated.
Daytime Running Lights This setting will allow you to turn the Daytime Running Lights on or off.
Flash Lights With Lock This setting will allow you to turn on or off the flashing of the lights when the
Lock button is pushed on the key fob. Available settings are “On” and “Off”.
Auto Dim High Beams This setting will allow you to turn the Auto Dim High Beams on or off.5
21_LA_OM_EN_USC_t.book Page 127
Page 227 of 328
SAFETY225
PERIODIC SAFETY CHECKS YOU SHOULD
M
AKE OUTSIDE THE VEHICLE
Tires
Examine tires for excessive tread wear and uneven
wear patterns. Check for stones, nails, glass, or
other objects lodged in the tread or sidewall.
Inspect the tread for cuts and cracks. Inspect
sidewalls for cuts, cracks, and bulges. Check the
lug nuts/bolt torque for tightness. Check the tires
(including spare) for proper cold inflation pressure.
Lights
Have someone observe the operation of brake
lights and exterior lights while you work the
controls. Check turn signal and high beam
indicator lights on the instrument panel.
Door Latches
Check for proper closing, latching, and locking.
Fluid Leaks
Check area under the vehicle after overnight
parking for fuel, coolant, oil, or other fluid leaks.
Also, if gasoline fumes are detected or if fuel or
brake fluid leaks are suspected, the cause should
be located and corrected immediately.
EXHAUST GAS
The best protection against carbon monoxide entry
into the vehicle body is a properly maintained
engine exhaust system.
Whenever a change is noticed in the sound of the
exhaust system, when exhaust fumes can be
detected inside the vehicle, or when the underside
or rear of the vehicle is damaged, have an authorized dealer inspect the complete exhaust
system and adjacent body areas for broken,
damaged, deteriorated, or mispositioned parts.
Open seams or loose connections could permit
exhaust fumes to seep into the passenger
compartment. In addition, inspect the exhaust
system each time the vehicle is raised for
lubrication or oil change. Replace as required.
CARBON MONOXIDE WARNINGS
WARNING!
Exhaust gases can injure or kill. They contain
carbon monoxide (CO), which is colorless and
odorless. Breathing it can make you
unconscious and can eventually poison you. To
avoid breathing (CO), follow these safety tips:
Do not run the engine in a closed garage or in
confined areas any longer than needed to
move your vehicle in or out of the area.
If you are required to drive with the trunk/lift
-
gate/rear doors open, make sure that all
windows are closed and the climate control
BLOWER switch is set at high speed. DO NOT
use the recirculation mode.
If it is necessary to sit in a parked vehicle with
the engine running, adjust your heating or
cooling controls to force outside air into the
vehicle. Set the blower at high speed.
WARNING!
Carbon monoxide (CO) in exhaust gases is
deadly. Follow the precautions below to prevent
carbon monoxide poisoning:
Do not inhale exhaust gases. They contain
carbon monoxide, a colorless and odorless gas,
which can kill. Never run the engine in a closed
area, such as a garage, and never sit in a parked
vehicle with the engine running for an extended
period. If the vehicle is stopped in an open area
with the engine running for more than a short
period, adjust the ventilation system to force
fresh, outside air into the vehicle.
Guard against carbon monoxide with proper
maintenance. Have the exhaust system
inspected every time the vehicle is raised.
Have any abnormal conditions repaired
promptly. Until repaired, drive with all side
windows fully open.
6
21_LA_OM_EN_USC_t.book Page 225
Page 280 of 328
278SERVICING AND MAINTENANCE
Replacing Exterior Bulbs
LOW BEAM HEADLAMP, HIGH BEAM
HEADLAMP — MODELS WITH HALOGEN
HEADLAMPS — IF EQUIPPED
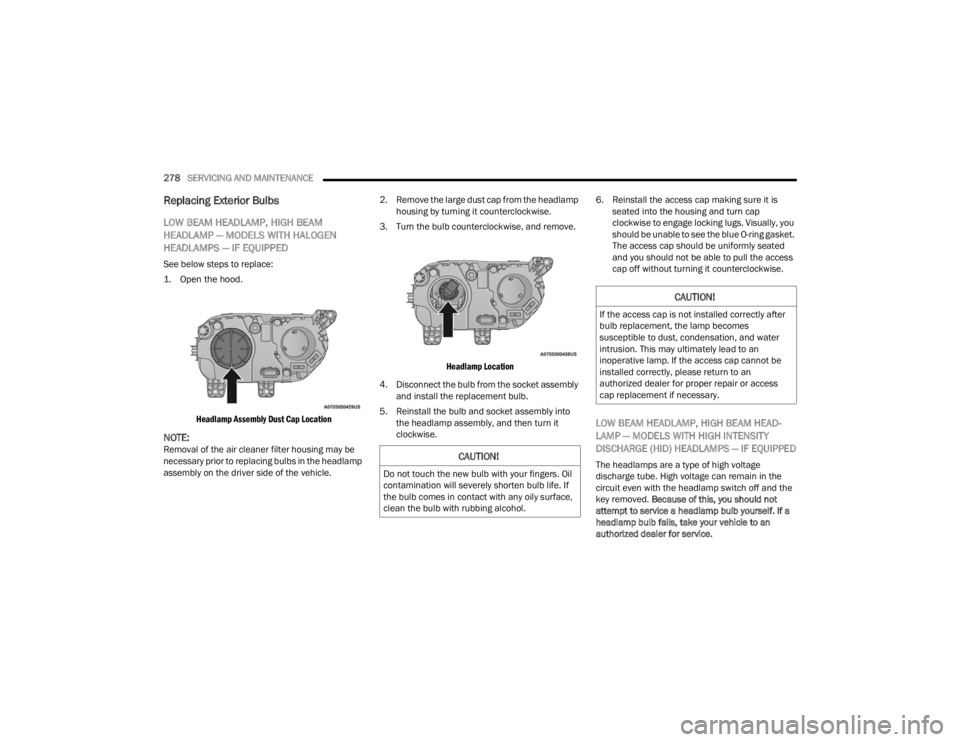
See below steps to replace:
1. Open the hood.
Headlamp Assembly Dust Cap Location
NOTE:Removal of the air cleaner filter housing may be
necessary prior to replacing bulbs in the headlamp
assembly on the driver side of the vehicle. 2. Remove the large dust cap from the headlamp
housing by turning it counterclockwise.
3. Turn the bulb counterclockwise, and remove.
Headlamp Location
4. Disconnect the bulb from the socket assembly and install the replacement bulb.
5. Reinstall the bulb and socket assembly into the headlamp assembly, and then turn it
clockwise. 6. Reinstall the access cap making sure it is
seated into the housing and turn cap
clockwise to engage locking lugs. Visually, you
should be unable to see the blue O-ring gasket.
The access cap should be uniformly seated
and you should not be able to pull the access
cap off without turning it counterclockwise.
LOW BEAM HEADLAMP, HIGH BEAM HEAD -
LAMP — MODELS WITH HIGH INTENSITY
DISCHARGE (HID) HEADLAMPS — IF EQUIPPED
The headlamps are a type of high voltage
discharge tube. High voltage can remain in the
circuit even with the headlamp switch off and the
key removed. Because of this, you should not
attempt to service a headlamp bulb yourself. If a
headlamp bulb fails, take your vehicle to an
authorized dealer for service.CAUTION!
Do not touch the new bulb with your fingers. Oil
contamination will severely shorten bulb life. If
the bulb comes in contact with any oily surface,
clean the bulb with rubbing alcohol.
CAUTION!
If the access cap is not installed correctly after
bulb replacement, the lamp becomes
susceptible to dust, condensation, and water
intrusion. This may ultimately lead to an
inoperative lamp. If the access cap cannot be
installed correctly, please return to an
authorized dealer for proper repair or access
cap replacement if necessary.
21_LA_OM_EN_USC_t.book Page 278
Page 317 of 328

315
F
Filler Location Fuel
........................................ 109Filters Air Cleaner................................................. 256Air Conditioning.................................. 52, 258Engine Oil........................................ 256, 306Engine Oil Disposal................................... 256Flashers......................................................... 226Hazard Warning......................................... 226Turn Signals................................ 44, 75, 225Flash-To-Pass.................................................. 43Flooded Engine Starting.................................. 81Fluid Capacities............................................. 305Fluid Leaks.................................................... 225Fluid Level ChecksBrake........................................................ 265Cooling System.......................................... 262Engine Oil.................................................. 253Transfer Case............................................ 267Fluid, Brake................................................... 307Fog Lights........................................................ 44Fold-Flat Seats.......................................... 29, 30Forward Collision Warning............................. 187Freeing A Stuck Vehicle................................. 243
Fuel............................................................... 302Additives................................................... 303Clean Air................................................... 303Ethanol..................................................... 303Filler Cap (Gas Cap).................................. 109Gasoline................................................... 302Materials Added....................................... 303Methanol.................................................. 303Octane Rating.................................. 302, 306Requirements........................................... 302Specifications........................................... 306Tank Capacity........................................... 305Fueling.......................................................... 109Fuses............................................................ 267
G
Garage Door Opener (HomeLink)..................... 38Gas Cap (Fuel Filler Cap).............................. 109Gasoline, Clean Air........................................ 303Gasoline, Reformulated................................ 303Gear Ranges.................................................... 88Glass Cleaning.............................................. 300Gross Axle Weight Rating..................... 111, 112Gross Vehicle Weight Rating................ 110, 111GVWR............................................................ 110
H
HazardDriving Through Flowing, Rising, Or Shallow Standing Water
.................................... 118Hazard Warning Flashers.............................. 226Head Restraints........................................34, 35Head Rests............................................... 34, 35HeadlightsAutomatic....................................................43Cleaning.................................................... 298High Beam/Low Beam Select Switch..........42Lights On Reminder.....................................43On With Wipers............................................43Passing........................................................43Switch..........................................................41Time Delay...................................................43Washers.................................................... 253Heated Mirrors.................................................38Heated Seats...................................................32Heater..............................................................48Heater, Engine Block........................................81
High Beam/Low Beam Select (Dimmer) Switch.. 42
Hill Start Assist.............................................. 182HitchesTrailer Towing........................................... 113HomeLink (Garage Door Opener).....................38Hood Prop........................................................58Hood Release...................................................5811
21_LA_OM_EN_USC_t.book Page 315
Page 318 of 328

316 I
Ignition
............................................................ 16Switch......................................................... 16Information Center, Vehicle............................. 63Inside Rearview Mirror............................ 36, 226Instrument Cluster Descriptions......................................... 61, 75Display................................................. 62, 64Instrument Cluster DisplayAudio........................................................... 67Driver Assist................................................ 66Fuel Economy.............................................. 67Speedometer.............................................. 65Vehicle Info................................................. 65Instrument Panel Lens Cleaning.................... 300Interior Appearance Care............................... 299Interior Lights.................................................. 44Intermittent Wipers (Delay Wipers).................. 46iPod/USB/MP3 Control................................... 54Bluetooth Streaming Audio......................... 54
J
Jack Location................................................. 230Jack Operation............................................... 231Jacking Instructions....................................... 231Jump Starting............................. 238, 239, 240
K
Key FobArm The System
.......................................... 20Programming Additional Key Fobs............... 15Unlatch The Trunk....................................... 14Key Fob Battery Service
(Remote Keyless Entry).................................... 14
Key Fob Programming (Remote Keyless Entry).. 15
Keyless Enter 'n Go™....................................... 22Enter The Trunk........................................... 14Keys................................................................. 13Replacement............................................... 15
L
Lane Change And Turn Signals........................ 44Lane Change Assist......................................... 44Lap/Shoulder Belts....................................... 195Latches......................................................... 225Hood............................................................ 58Lead Free Gasoline....................................... 302Leaks, Fluid.................................................. 225Life Of Tires................................................... 290Light Bulbs........................................... 225, 276
Lights............................................................ 225Air Bag...................................... 69, 200, 223Automatic Headlights..................................43Brake Assist Warning................................ 182Brake Warning................................... 70, 301Bulb Replacement.................................... 276Courtesy/Reading........................................45Cruise...................................................75, 76Daytime Running.........................................42Dimmer Switch, Headlight...........................42
Electronic Stability Program(ESP) Indicator....71
Exterior.............................................. 41, 225Fog...............................................................44Headlight Switch..........................................41Headlights............................................ 41, 43Headlights On With Wipers..........................43High Beam...................................................42High Beam/Low Beam Select......................42Instrument Cluster.......................................41Intensity Control..........................................45Interior.........................................................44License..................................................... 279Lights On Reminder.....................................43Malfunction Indicator (Check Engine)..........73
21_LA_OM_EN_USC_t.book Page 316