bolt pattern DODGE CHALLENGER 2022 Owners Manual
[x] Cancel search | Manufacturer: DODGE, Model Year: 2022, Model line: CHALLENGER, Model: DODGE CHALLENGER 2022Pages: 336, PDF Size: 16.47 MB
Page 233 of 336

SAFETY231
(Continued)
(Continued)
PERIODIC SAFETY CHECKS YOU SHOULD
M
AKE OUTSIDE THE VEHICLE
Tires
Examine tires for excessive tread wear and uneven
wear patterns. Check for stones, nails, glass, or
other objects lodged in the tread or sidewall.
Inspect the tread for cuts and cracks. Inspect
sidewalls for cuts, cracks, and bulges. Check the
lug nuts/bolt torque for tightness. Check the tires
(including spare) for proper cold inflation pressure.
WARNING!
An improperly attached, damaged, folded, or
stacked floor mat, or damaged floor mat
fasteners may cause your floor mat to interfere
with the accelerator, brake, or clutch pedals and
cause a loss of vehicle control. To prevent
SERIOUS INJURY or DEATH:
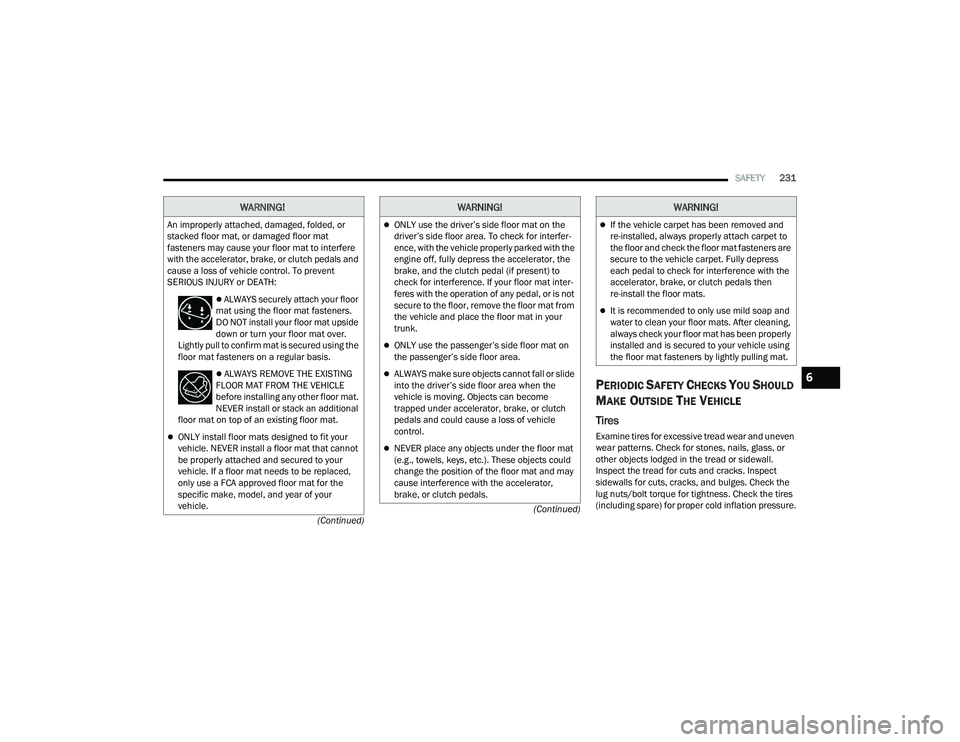
ALWAYS securely attach your floor
mat using the floor mat fasteners.
DO NOT install your floor mat upside
down or turn your floor mat over.
Lightly pull to confirm mat is secured using the
floor mat fasteners on a regular basis.
ALWAYS REMOVE THE EXISTING
FLOOR MAT FROM THE VEHICLE
before installing any other floor mat.
NEVER install or stack an additional
floor mat on top of an existing floor mat.
ONLY install floor mats designed to fit your
vehicle. NEVER install a floor mat that cannot
be properly attached and secured to your
vehicle. If a floor mat needs to be replaced,
only use a FCA approved floor mat for the
specific make, model, and year of your
vehicle.
ONLY use the driver’s side floor mat on the
driver’s side floor area. To check for interfer -
ence, with the vehicle properly parked with the
engine off, fully depress the accelerator, the
brake, and the clutch pedal (if present) to
check for interference. If your floor mat inter -
feres with the operation of any pedal, or is not
secure to the floor, remove the floor mat from
the vehicle and place the floor mat in your
trunk.
ONLY use the passenger’s side floor mat on
the passenger’s side floor area.
ALWAYS make sure objects cannot fall or slide
into the driver’s side floor area when the
vehicle is moving. Objects can become
trapped under accelerator, brake, or clutch
pedals and could cause a loss of vehicle
control.
NEVER place any objects under the floor mat
(e.g., towels, keys, etc.). These objects could
change the position of the floor mat and may
cause interference with the accelerator,
brake, or clutch pedals.
WARNING!
If the vehicle carpet has been removed and
re-installed, always properly attach carpet to
the floor and check the floor mat fasteners are
secure to the vehicle carpet. Fully depress
each pedal to check for interference with the
accelerator, brake, or clutch pedals then
re-install the floor mats.
It is recommended to only use mild soap and
water to clean your floor mats. After cleaning,
always check your floor mat has been properly
installed and is secured to your vehicle using
the floor mat fasteners by lightly pulling mat.
WARNING!
6
22_LA_OM_EN_USC_t.book Page 231
Page 243 of 336

IN CASE OF EMERGENCY241
6. Remove the lug nuts and tire.
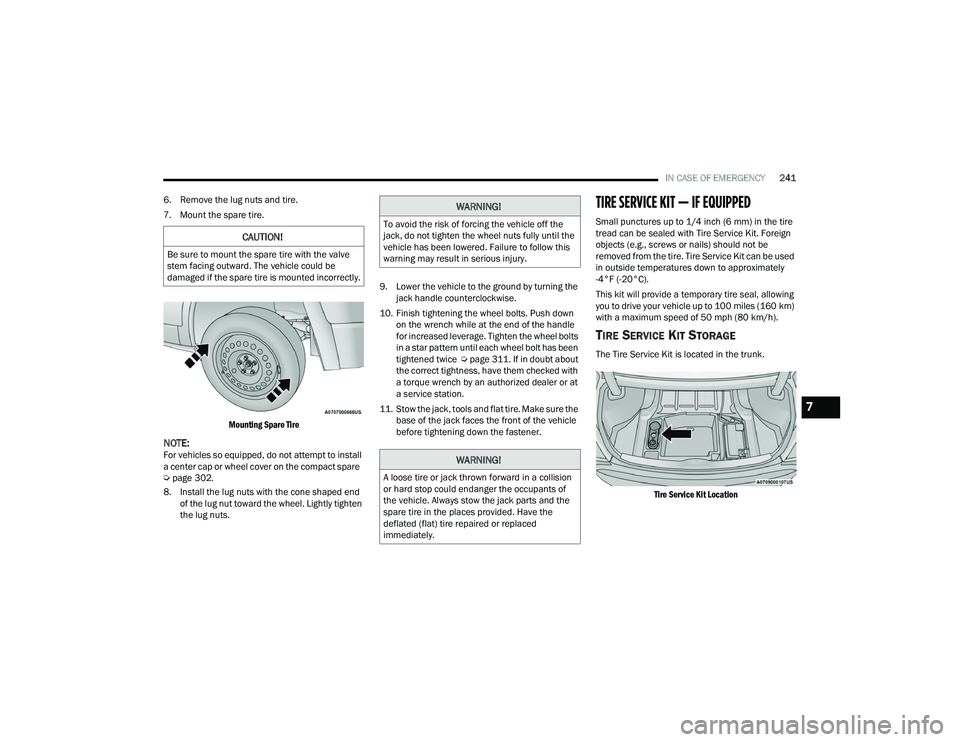
7. Mount the spare tire.
Mounting Spare Tire
NOTE:For vehicles so equipped, do not attempt to install
a center cap or wheel cover on the compact spare
Úpage 302.
8. Install the lug nuts with the cone shaped end of the lug nut toward the wheel. Lightly tighten
the lug nuts. 9. Lower the vehicle to the ground by turning the
jack handle counterclockwise.
10. Finish tightening the wheel bolts. Push down on the wrench while at the end of the handle
for increased leverage. Tighten the wheel bolts
in a star pattern until each wheel bolt has been
tightened twice Úpage 311. If in doubt about
the correct tightness, have them checked with
a torque wrench by an authorized dealer or at
a service station.
11. Stow the jack, tools and flat tire. Make sure the base of the jack faces the front of the vehicle
before tightening down the fastener.
TIRE SERVICE KIT — IF EQUIPPED
Small punctures up to 1/4 inch (6 mm) in the tire
tread can be sealed with Tire Service Kit. Foreign
objects (e.g., screws or nails) should not be
removed from the tire. Tire Service Kit can be used
in outside temperatures down to approximately
-4°F (-20°C).
This kit will provide a temporary tire seal, allowing
you to drive your vehicle up to 100 miles (160 km)
with a maximum speed of 50 mph (80 km/h).
TIRE SERVICE KIT STORAGE
The Tire Service Kit is located in the trunk.
Tire Service Kit Location
CAUTION!
Be sure to mount the spare tire with the valve
stem facing outward. The vehicle could be
damaged if the spare tire is mounted incorrectly.
WARNING!
To avoid the risk of forcing the vehicle off the
jack, do not tighten the wheel nuts fully until the
vehicle has been lowered. Failure to follow this
warning may result in serious injury.
WARNING!
A loose tire or jack thrown forward in a collision
or hard stop could endanger the occupants of
the vehicle. Always stow the jack parts and the
spare tire in the places provided. Have the
deflated (flat) tire repaired or replaced
immediately.
7
22_LA_OM_EN_USC_t.book Page 241
Page 314 of 336

312TECHNICAL SPECIFICATIONS
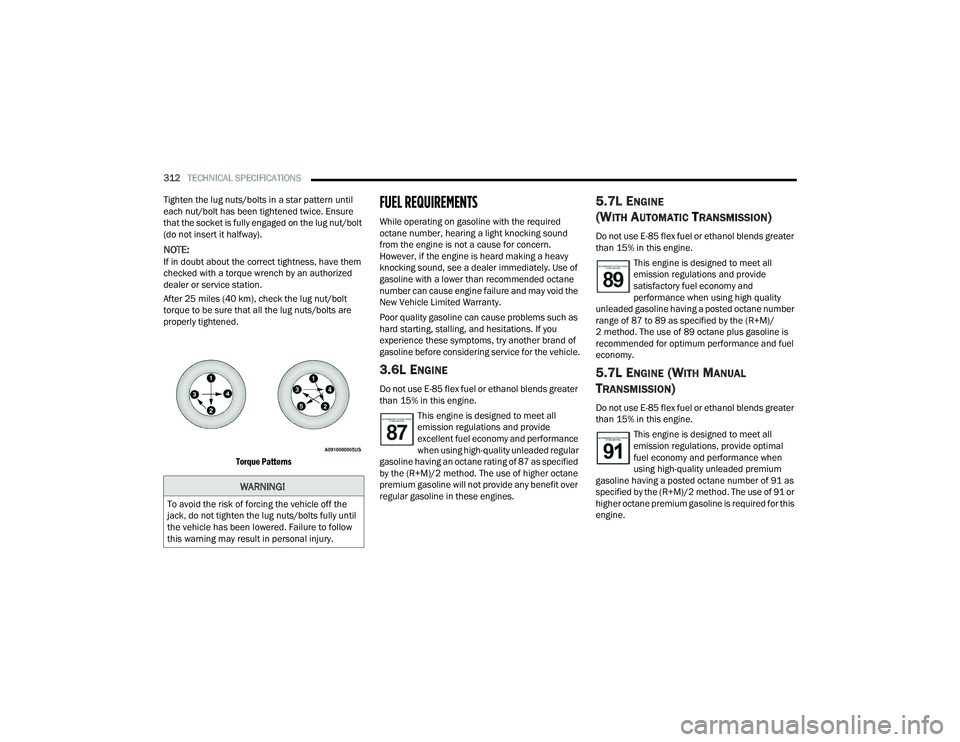
Tighten the lug nuts/bolts in a star pattern until
each nut/bolt has been tightened twice. Ensure
that the socket is fully engaged on the lug nut/bolt
(do not insert it halfway).
NOTE:If in doubt about the correct tightness, have them
checked with a torque wrench by an authorized
dealer or service station.
After 25 miles (40 km), check the lug nut/bolt
torque to be sure that all the lug nuts/bolts are
properly tightened.
Torque Patterns
FUEL REQUIREMENTS
While operating on gasoline with the required
octane number, hearing a light knocking sound
from the engine is not a cause for concern.
However, if the engine is heard making a heavy
knocking sound, see a dealer immediately. Use of
gasoline with a lower than recommended octane
number can cause engine failure and may void the
New Vehicle Limited Warranty.
Poor quality gasoline can cause problems such as
hard starting, stalling, and hesitations. If you
experience these symptoms, try another brand of
gasoline before considering service for the vehicle.
3.6L ENGINE
Do not use E-85 flex fuel or ethanol blends greater
than 15% in this engine.This engine is designed to meet all
emission regulations and provide
excellent fuel economy and performance
when using high-quality unleaded regular
gasoline having an octane rating of 87 as specified
by the (R+M)/2 method. The use of higher octane
premium gasoline will not provide any benefit over
regular gasoline in these engines.
5.7L ENGINE
(W
ITH AUTOMATIC TRANSMISSION)
Do not use E-85 flex fuel or ethanol blends greater
than 15% in this engine.
This engine is designed to meet all
emission regulations and provide
satisfactory fuel economy and
performance when using high quality
unleaded gasoline having a posted octane number
range of 87 to 89 as specified by the (R+M)/
2 method. The use of 89 octane plus gasoline is
recommended for optimum performance and fuel
economy.
5.7L ENGINE (WITH MANUAL
T
RANSMISSION)
Do not use E-85 flex fuel or ethanol blends greater
than 15% in this engine.
This engine is designed to meet all
emission regulations, provide optimal
fuel economy and performance when
using high-quality unleaded premium
gasoline having a posted octane number of 91 as
specified by the (R+M)/2 method. The use of 91 or
higher octane premium gasoline is required for this
engine.
WARNING!
To avoid the risk of forcing the vehicle off the
jack, do not tighten the lug nuts/bolts fully until
the vehicle has been lowered. Failure to follow
this warning may result in personal injury.
22_LA_OM_EN_USC_t.book Page 312