instrument cluster DODGE CHARGER 2015 7.G Owner's Manual
[x] Cancel search | Manufacturer: DODGE, Model Year: 2015, Model line: CHARGER, Model: DODGE CHARGER 2015 7.GPages: 236, PDF Size: 35.67 MB
Page 155 of 236
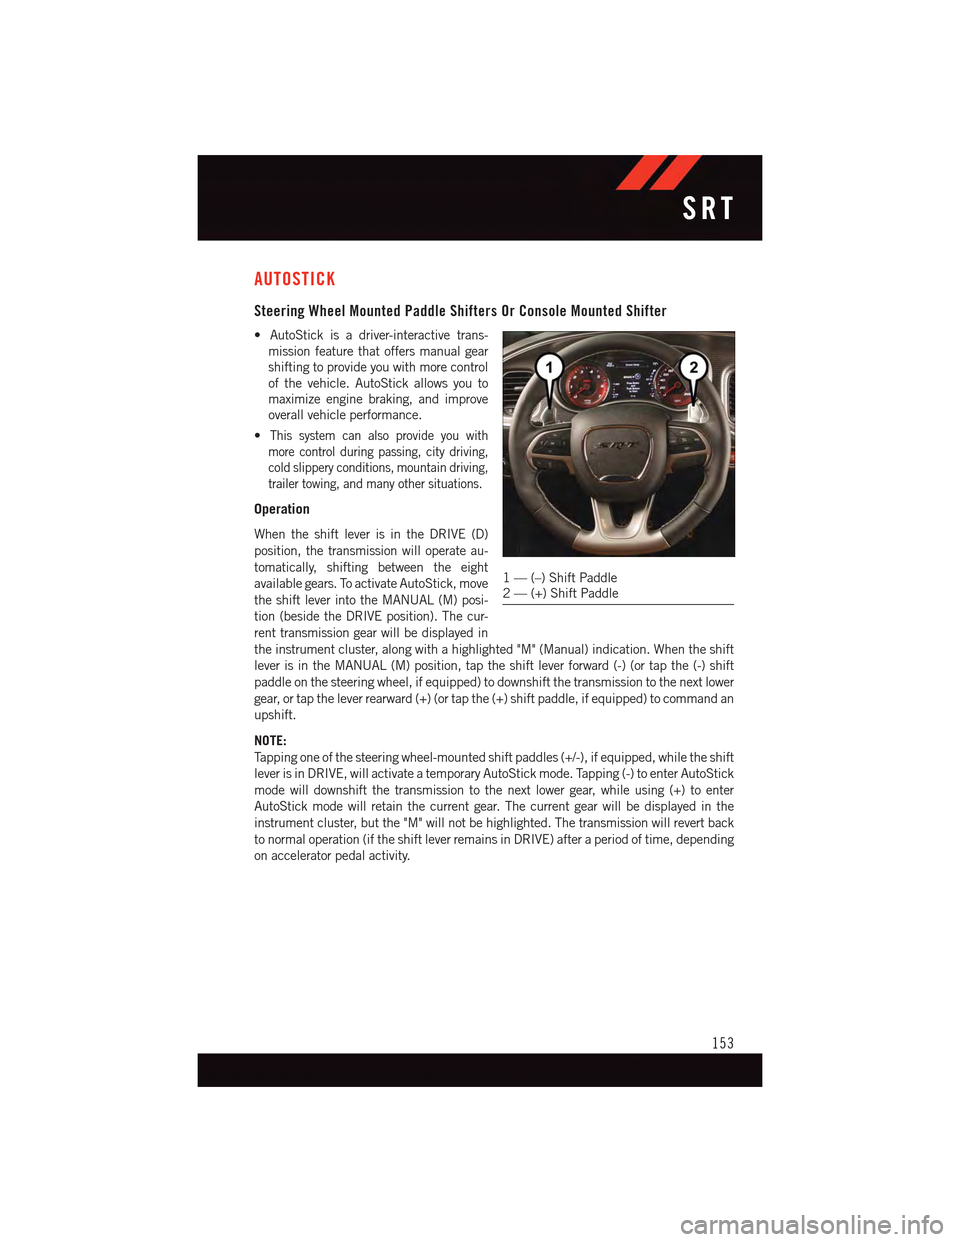
AUTOSTICK
Steering Wheel Mounted Paddle Shifters Or Console Mounted Shifter
•AutoStickisadriver-interactivetrans-
mission feature that offers manual gear
shifting to provide you with more control
of the vehicle. AutoStick allows you to
maximize engine braking, and improve
overall vehicle performance.
•This system can also provide you with
more control during passing, city driving,
cold slippery conditions, mountain driving,
trailer towing, and many other situations.
Operation
When the shift lever is in the DRIVE (D)
position, the transmission will operate au-
tomatically, shifting between the eight
available gears. To activate AutoStick, move
the shift lever into the MANUAL (M) posi-
tion (beside the DRIVE position). The cur-
rent transmission gear will be displayed in
the instrument cluster, along with a highlighted "M" (Manual) indication. When the shift
lever is in the MANUAL (M) position, tap the shift lever forward (-) (or tap the (-) shift
paddle on the steering wheel, if equipped) to downshift the transmission to the next lower
gear, or tap the lever rearward (+) (or tap the (+) shift paddle, if equipped) to command an
upshift.
NOTE:
Ta p p i n g o n e o f t h e s t e e r i n g w h e e l - m o u n t e d s h i f t p a d d l e s ( + / - ) , i f e q u i p p e d , w h i l e t h e s h i f t
lever is in DRIVE, will activate a temporary AutoStick mode. Tapping (-) to enter AutoStick
mode will downshift the transmission to the next lower gear, while using (+) to enter
AutoStick mode will retain the current gear. The current gear will be displayed in the
instrument cluster, but the "M" will not be highlighted. The transmission will revert back
to normal operation (if the shift lever remains in DRIVE) after a period of time, depending
on accelerator pedal activity.
1—(–)ShiftPaddle2—(+)ShiftPaddle
SRT
153
Page 156 of 236
![DODGE CHARGER 2015 7.G Owners Manual In AutoStick mode, the transmission will shift up or down when (+/-) is manually selected
by the driver (using the shift lever, or the shift paddles [if equipped]), unless an engine
lugging or overspe DODGE CHARGER 2015 7.G Owners Manual In AutoStick mode, the transmission will shift up or down when (+/-) is manually selected
by the driver (using the shift lever, or the shift paddles [if equipped]), unless an engine
lugging or overspe](/img/12/5581/w960_5581-155.png)
In AutoStick mode, the transmission will shift up or down when (+/-) is manually selected
by the driver (using the shift lever, or the shift paddles [if equipped]), unless an engine
lugging or overspeed condition would result. It will remain in the selected gear until
another upshift or downshift is chosen, except as described below.
•IntemporaryAutoStickmode(shiftleverinDRIVE),thetransmissionwillautomatically
shift up when maximum engine speed is reached. If the accelerator is fully depressed,
the transmission will downshift when possible (based on current vehicle speed and
gear, except 6.4L models). Lack of accelerator pedal activity will cause the transmis-
sion to revert to automatic operation.
•IfnormalAutoStickmodeisengaged(shiftleverinMANUALposition),manualgear
selection will be maintained until the shift lever is returned to DRIVE, or as described
below. The transmission will not upshift automatically at redline in this mode, nor will
downshifts be obtained if the accelerator pedal is pressed to the floor.
•Thetransmissionwillautomaticallydownshiftasthevehicleslows(topreventengine
lugging) and will display the current gear.
•Thetransmissionwillautomaticallydownshifttofirstgearwhencomingtoastop.After
astop,thedrivershouldmanuallyupshift(+)thetransmissionasthevehicleis
accelerated.
•Youcanstartout,fromastop,infirstorsecondgear.Tapping(+)(atastop)willallow
starting in second gear. Starting out in second gear can be helpful in snowy or icy
conditions.
•Ifarequesteddownshiftwouldcausetheenginetoover-speed,thatshiftwillnotoccur.
•Thesystemwillignoreattemptstoupshiftattoolowofavehiclespeed.
•Holdingthe(-)paddledepressed(ifequipped),orholdingtheshiftleverinthe(-)
position, will downshift the transmission to the lowest gear possible at the current
speed.
•TransmissionshiftingwillbemorenoticeablewhenAutoStickisengaged.
•Thesystemmayreverttoautomaticshiftmodeifafaultoroverheatconditionis
detected.
To d i s e n g a g e A u t o S t i c k m o d e , r e t u r n t h e s h i f t l e v e r t o t h e D R I V E p o s i t i o n , o r p r e s s a n d
hold the (+) shift paddle (if equipped, and the shift lever is already in DRIVE) until “D” is
once again indicated in the instrument cluster. You can shift in or out of the AutoStick
mode at any time without taking your foot off the accelerator pedal.
WARNING!
Do not downshift for additional engine braking on a slippery surface. The drive wheels
could lose their grip and the vehicle could skid, causing a collision or personal injury.
SRT
154
Page 161 of 236
ROADSIDE ASSISTANCE
Dial toll-free 1-800-521-2779 for U.S. Residents or 1-800-363-4869 for Canadian
Residents.
•Provideyourname,vehicleidentificationnumber,licenseplatenumber,andyour
location, including the telephone number from which you are calling.
•Brieflydescribethenatureoftheproblemandanswerafewsimplequestions.
•Youwillbegiventhenameoftheserviceproviderandanestimatedtimeofarrival.
If you feel you are in an “unsafe situation”, please let us know. With your consent, we
will contact local police or safety authorities.
INSTRUMENT CLUSTER WARNING LIGHTS
-LowFuelWarningLight
This warning light indicates when the fuel level reaches approximately 2.0 gal (7.8 L).
This light will turn on and a single chime will sound.
Charging System Light
This light shows the status of the electrical charging system. If the charging system light
remains on, it means that the vehicle is experiencing a problem with the charging system.
We recommend you do not continue driving if the charging system light is on. Have the
vehicle serviced immediately.
Oil Pressure Warning Light
This light indicates low engine oil pressure. If the light turns on while driving, stop the
vehicle and shut off the engine as soon as possible. A chime will sound when this light
turns on.
We recommend you do not operate the vehicle or engine damage will occur. Have the
vehicle serviced immediately.
Anti-Lock Brake (ABS) Light
This light monitors the Anti-Lock Brake System (ABS).
If the light is not on during starting, stays on or turns on while driving, we recommend you
contact the nearest authorized dealer and have the vehicle serviced immediately.
Air Bag Warning Light
If the light is not on during starting, stays on, or turns on while driving, have the vehicle
serviced by an authorized dealer immediately.
WHAT TO DO IN EMERGENCIES
159
Page 164 of 236
Electronic Stability Control (ESC) Activation/Malfunction Indicator Light
The “ESC Activation/Malfunction Indicator Light” in the instrument cluster will come on
when the ignition switch is turned to the ON/RUN position. It should go out with the
engine running. If the “ESC Activation/Malfunction Indicator Light” comes on continu-
ously with the engine running, a malfunction has been detected in the ESC system.
If this light remains on after several ignition cycles, and the vehicle has been driven
several miles (kilometers) at speeds greater than 30 mph (48 km/h), we recommend you
drive to the nearest service center and have the vehicle serviced immediately.
Brake Warning Light
This light monitors various brake functions, including brake fluid level and parking brake
application. If the brake light turns on, it may indicate that the parking brake is applied,
that the brake fluid level is low, or that there is a problem with the anti-lock brake system
reservoir.
If the light remains on when the parking brake has been disengaged, and the fluid level is
at the full mark on the master cylinder reservoir, it indicates a possible brake hydraulic
system malfunction or that a problem with the Brake Booster has been detected by the
Anti-Lock Brake System (ABS)/Electronic Stability Control (ESC) system. In this case, the
light will remain on until the condition has been corrected. If the problem is related to the
brake booster, the ABS pump will run when applying the brake, and a brake pedal
pulsation may be felt during each stop.
The dual brake system provides a reserve braking capacity in the event of a failure to a
portion of the hydraulic system. A leak in either half of the dual brake system is indicated
by the Brake Warning Light, which will turn on when the brake fluid level in the master
cylinder has dropped below a specified level. The light will remain on until the cause is
corrected.
Vehicles equipped with the Anti-Lock Brake System (ABS) are also equipped with
Electronic Brake Force Distribution (EBD). In the event of an EBD failure, the Brake
Warning Light will turn on along with the ABS Light. Immediate repair to the ABS system
is required.
Operation of the Brake Warning Light can be checked by turning the ignition switch from
the OFF position to the ON/RUN position. The light should illuminate for approximately
two seconds. The light should then turn off unless the parking brake is applied or a brake
fault is detected. If the light does not illuminate, have the light inspected by an authorized
dealer.
The light also will turn on when the parking brake is applied with the ignition switch in the
ON/RUN position.
NOTE:
This light shows only that the parking brake is applied. It does not show the degree of
brake application.
WHAT TO DO IN EMERGENCIES
162
Page 165 of 236

WARNING!
Driving a vehicle with the red brake light on is dangerous. Part of the brake system may
have failed. It will take longer to stop the vehicle. You could have a collision. Have the
vehicle checked immediately.
Malfunction Indicator Light (MIL)
Certain conditions, such as a poor fuel quality, etc., may illuminate the MIL after engine
start. The vehicle should be serviced if the light stays on through several typical driving
cycles. In most situations, the vehicle will drive normally and not require towing.
If the MIL flashes when the engine is running, serious conditions may exist that could lead
to immediate loss of power or severe catalytic converter damage. We recommend you do
not operate the vehicle. Have the vehicle serviced immediately.
Electronic Stability Control (ESC) OFF Indicator Light
This light indicates the Electronic Stability Control (ESC) is off.
INSTRUMENT CLUSTER INDICATOR LIGHTS
Turn Signal Indicator
The arrows will flash with the exterior turn signals when the turn signal lever is operated.
Atonewillchime,andaDIDmessagewillappearifeitherturnsignalisleftonformore
than 1 mile (1.6 km).
NOTE:
If either indicator flashes at a rapid rate, check for a defective outside light bulb.
High Beam Indicator
Indicates that headlights are on high beam.
Front Fog Light Indicator
This indicator will illuminate when the front fog lights are on.
Vehicle Security Light
This light will flash rapidly for approximately 15 seconds when the vehicle security alarm
is arming. The light will flash at a slower speed continuously after the alarm is set. The
security light will also come on for about three seconds when the ignition is first turned on.
Electronic Speed Control Set
Indicates that the Electronic Speed Control has been set.
WHAT TO DO IN EMERGENCIES
163
Page 200 of 236
MAINTENANCE PROCEDURES
For information on the maintenance procedures for your vehicle, please refer to “Main-
tenance Procedures” in “Maintaining Your Vehicle” in your Owner’s Manual or applicable
supplement on the DVD for further details.
MAINTENANCE SCHEDULE — NON-SRT
Yo u r v e h i c l e i s e q u i p p e d w i t h a n a u t o m a t i c o i l c h a n g e i n d i c a t o r s y s t e m . T h e o i l c h a n g e
indicator system will remind you that it is time to take your vehicle in for scheduled
maintenance.
Based on engine operation conditions, the oil change indicator message will illuminate.
This means that service is required for your vehicle. Operating conditions such as frequent
short-trips, trailer tow, extremely hot or cold ambient temperatures, and E85 fuel usage
will influence when the “Change Oil” or “Oil Change Required” message is displayed.
Severe Operating Conditions can cause the change oil message to illuminate as early as
3,500 miles (5,600 km) since last reset. Have your vehicle serviced as soon as possible,
within the next 500 miles (805 km).
The “Oil Change Required” message will be displayed in the DID and a single chime will
sound, indicating that an oil change is necessary.
Yo u r a u t h o r i z e d d e a l e r w i l l r e s e t t h e o i l c h a n g e i n d i c a t o r m e s s a g e a f t e r c o m p l e t i n g t h e
scheduled oil change. If a scheduled oil change is performed by someone other than your
authorized dealer, the message can be reset by referring to the steps described under
“Instrument Cluster Warning Lights” in “What To Do In Emergencies” in this guide or
“Driver Information Dispay (DID)” in “Understanding Your Instrument Panel” in your
Owners Manual on the DVD for further information.
NOTE:
Under no circumstances should oil change intervals exceed 10,000 miles (16,000 km)
or twelve months, whichever comes first.
MAINTAINING YOUR VEHICLE
198
Page 205 of 236
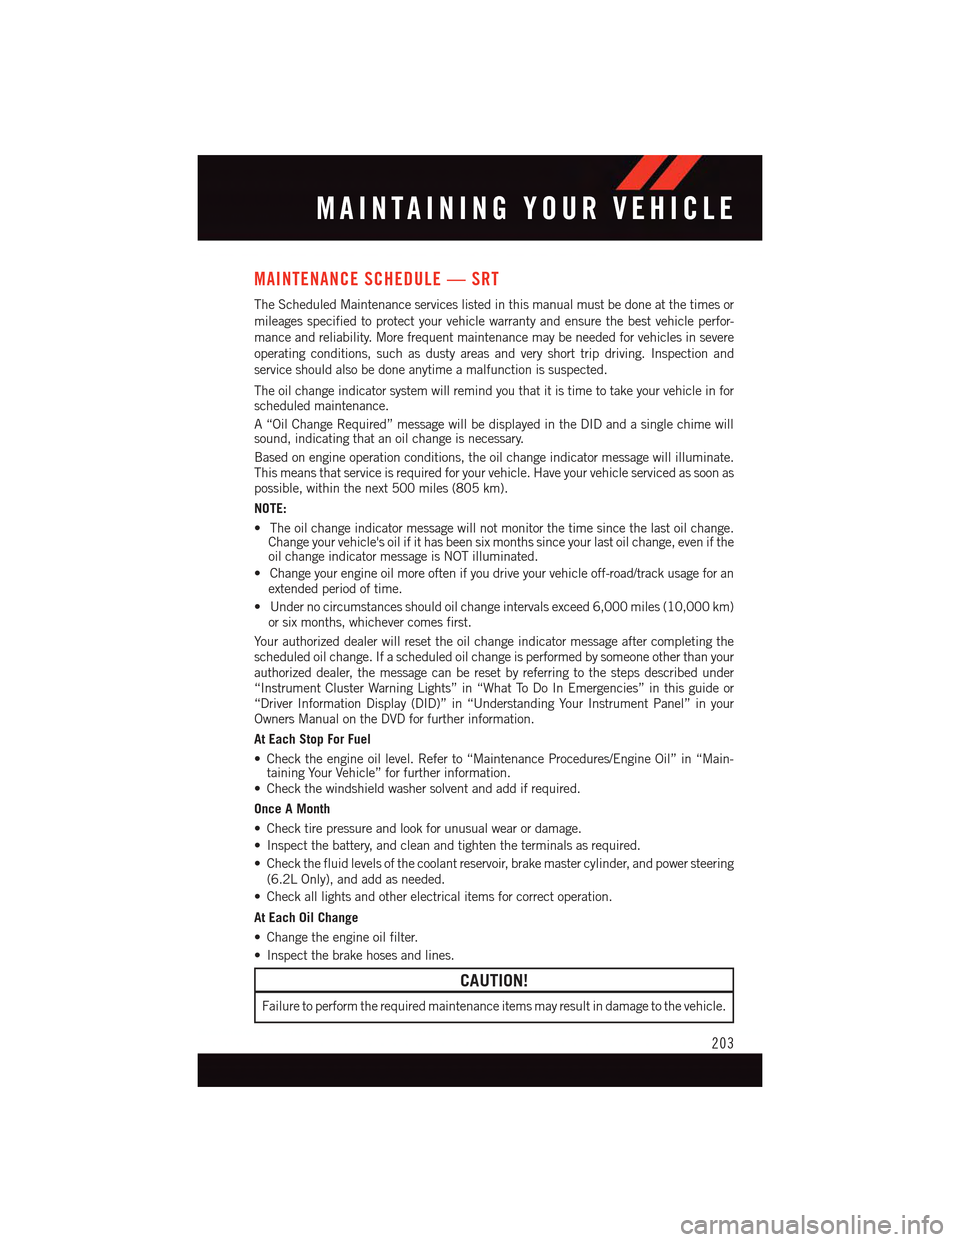
MAINTENANCE SCHEDULE — SRT
The Scheduled Maintenance services listed in this manual must be done at the times or
mileages specified to protect your vehicle warranty and ensure the best vehicle perfor-
mance and reliability. More frequent maintenance may be needed for vehicles in severe
operating conditions, such as dusty areas and very short trip driving. Inspection and
service should also be done anytime a malfunction is suspected.
The oil change indicator system will remind you that it is time to take your vehicle in forscheduled maintenance.
A“OilChangeRequired”messagewillbedisplayedintheDIDandasinglechimewillsound, indicating that an oil change is necessary.
Based on engine operation conditions, the oil change indicator message will illuminate.This means that service is required for your vehicle. Have your vehicle serviced as soon aspossible, within the next 500 miles (805 km).
NOTE:
•Theoilchangeindicatormessagewillnotmonitorthetimesincethelastoilchange.Change your vehicle's oil if it has been six months since your last oil change, even if theoil change indicator message is NOT illuminated.
•Changeyourengineoilmoreoftenifyoudriveyourvehicleoff-road/trackusageforanextended period of time.
•Undernocircumstancesshouldoilchangeintervalsexceed6,000miles(10,000km)or six months, whichever comes first.
Yo u r a u t h o r i z e d d e a l e r w i l l r e s e t t h e o i l c h a n g e i n d i c a t o r m e s s a g e a f t e r c o m p l e t i n g t h escheduled oil change. If a scheduled oil change is performed by someone other than yourauthorized dealer, the message can be reset by referring to the steps described under“Instrument Cluster Warning Lights” in “What To Do In Emergencies” in this guide or“Driver Information Display (DID)” in “Understanding Your Instrument Panel” in yourOwners Manual on the DVD for further information.
At Each Stop For Fuel
•Checktheengineoillevel.Referto“MaintenanceProcedures/EngineOil”in“Main-taining Your Vehicle” for further information.•Checkthewindshieldwashersolventandaddifrequired.
Once A Month
•Checktirepressureandlookforunusualwearordamage.
•Inspectthebattery,andcleanandtightentheterminalsasrequired.
•Checkthefluidlevelsofthecoolantreservoir,brakemastercylinder,andpowersteering
(6.2L Only), and add as needed.
•Checkalllightsandotherelectricalitemsforcorrectoperation.
At Each Oil Change
•Changetheengineoilfilter.
•Inspectthebrakehosesandlines.
CAUTION!
Failure to perform the required maintenance items may result in damage to the vehicle.
MAINTAINING YOUR VEHICLE
203
Page 226 of 236
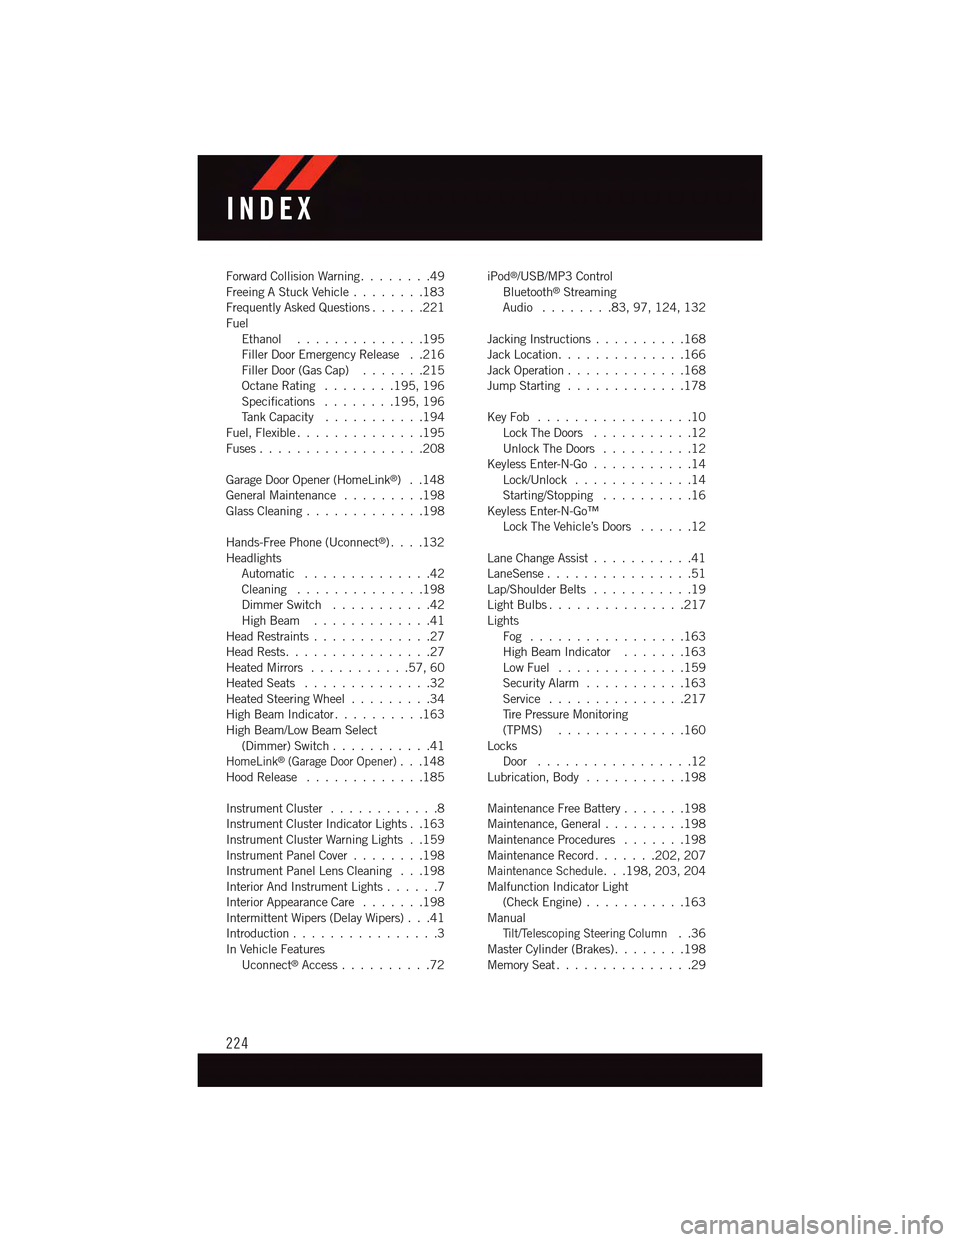
Forward Collision Warning........49Freeing A Stuck Vehicle . . . . . . . .183Frequently Asked Questions......221FuelEthanol..............195Filler Door Emergency Release . .216Filler Door (Gas Cap).......215Octane Rating . . . . . . . .195, 196Specifications........195, 196Ta n k C a p a c i t y...........194Fuel, Flexible..............195Fuses . . . . . . . . . . . . . . . . . .208
Garage Door Opener (HomeLink®)..148General Maintenance.........198Glass Cleaning . . . . . . . . . . . . .198
Hands-Free Phone (Uconnect®). . . .132HeadlightsAutomatic . . . . . . . . . . . . . .42Cleaning..............198Dimmer Switch...........42High Beam . . . . . . . . . . . . .41Head Restraints.............27Head Rests. . . . . . . . . . . . . . . .27Heated Mirrors...........57,60Heated Seats..............32Heated Steering Wheel.........34High Beam Indicator..........163High Beam/Low Beam Select(Dimmer) Switch...........41HomeLink®(Garage Door Opener)...148Hood Release . . . . . . . . . . . . .185
Instrument Cluster............8Instrument Cluster Indicator Lights . .163Instrument Cluster Warning Lights . .159Instrument Panel Cover........198Instrument Panel Lens Cleaning . . .198Interior And Instrument Lights......7Interior Appearance Care.......198Intermittent Wipers (Delay Wipers) . . .41Introduction................3In Vehicle FeaturesUconnect®Access..........72
iPod®/USB/MP3 ControlBluetooth®StreamingAudio........83,97,124, 132
Jacking Instructions..........168Jack Location..............166Jack Operation.............168Jump Starting.............178
Key Fob . . . . . . . . . . . . . . . . .10Lock The Doors...........12Unlock The Doors..........12Keyless Enter-N-Go...........14Lock/Unlock.............14Starting/Stopping..........16Keyless Enter-N-Go™Lock The Vehicle’s Doors......12
Lane Change Assist...........41LaneSense................51Lap/Shoulder Belts...........19Light Bulbs . . . . . . . . . . . . . . .217LightsFog . . . . . . . . . . . . . . . . .163High Beam Indicator.......163Low Fuel..............159Security Alarm...........163Service...............217Ti r e P r e s s u r e M o n i t o r i n g(TPMS)..............160LocksDoor.................12Lubrication, Body...........198
Maintenance Free Battery.......198Maintenance, General.........198Maintenance Procedures.......198Maintenance Record.......202, 207Maintenance Schedule...198,203,204Malfunction Indicator Light(Check Engine)...........163ManualTi l t / Te l e s c o p i n g S t e e r i n g C o l u m n..36Master Cylinder (Brakes)........198Memory Seat...............29
INDEX
224