DODGE CHARGER 2017 7.G Owners Manual
Manufacturer: DODGE, Model Year: 2017, Model line: CHARGER, Model: DODGE CHARGER 2017 7.GPages: 530, PDF Size: 4.72 MB
Page 291 of 530
•NORMAL
Press the “NORM” button on the touchscreen to provide
full traction control and full stability control.
Steering •
SPORT
Press the “Sport” button on the touchscreen to provide an
increased amount of steering feel, requiring a higher
amount of steering effort.
• NORMAL
Press the “Norm” button on the touchscreen to provide a
balanced steering feel and steering effort. This is also your
vehicles pre-set steering setting.
• COMFORT
Press the “Comf” button on the touchscreen to provide a
lower steering effort.
UCONNECT RADIOS — IF EQUIPPED
For detailed information about your Uconnect 5.0 radio,
refer to the Uconnect 5.0 Owner ’s Manual Supplement.
For detailed information about your Uconnect 8.4 radio,
refer to the following images for the correct Uconnect
Owner ’s Manual Supplement.
Steering
4
UNDERSTANDING YOUR INSTRUMENT PANEL 289
Page 292 of 530
For the below radio configuration, please refer to the
Uconnect 8.4/8.4 NAV Owner ’s Manual Supplement.For Canadian residents with the below radio configuration,
please refer to the Uconnect 8.4 Owner ’s Manual Supple-
ment.
Refer to the Uconnect 8.4/8.4 NAV Owner ’s Manual
Supplement
Refer to the Uconnect 8.4 Owner ’s Manual Supplement
290 UNDERSTANDING YOUR INSTRUMENT PANEL
Page 293 of 530
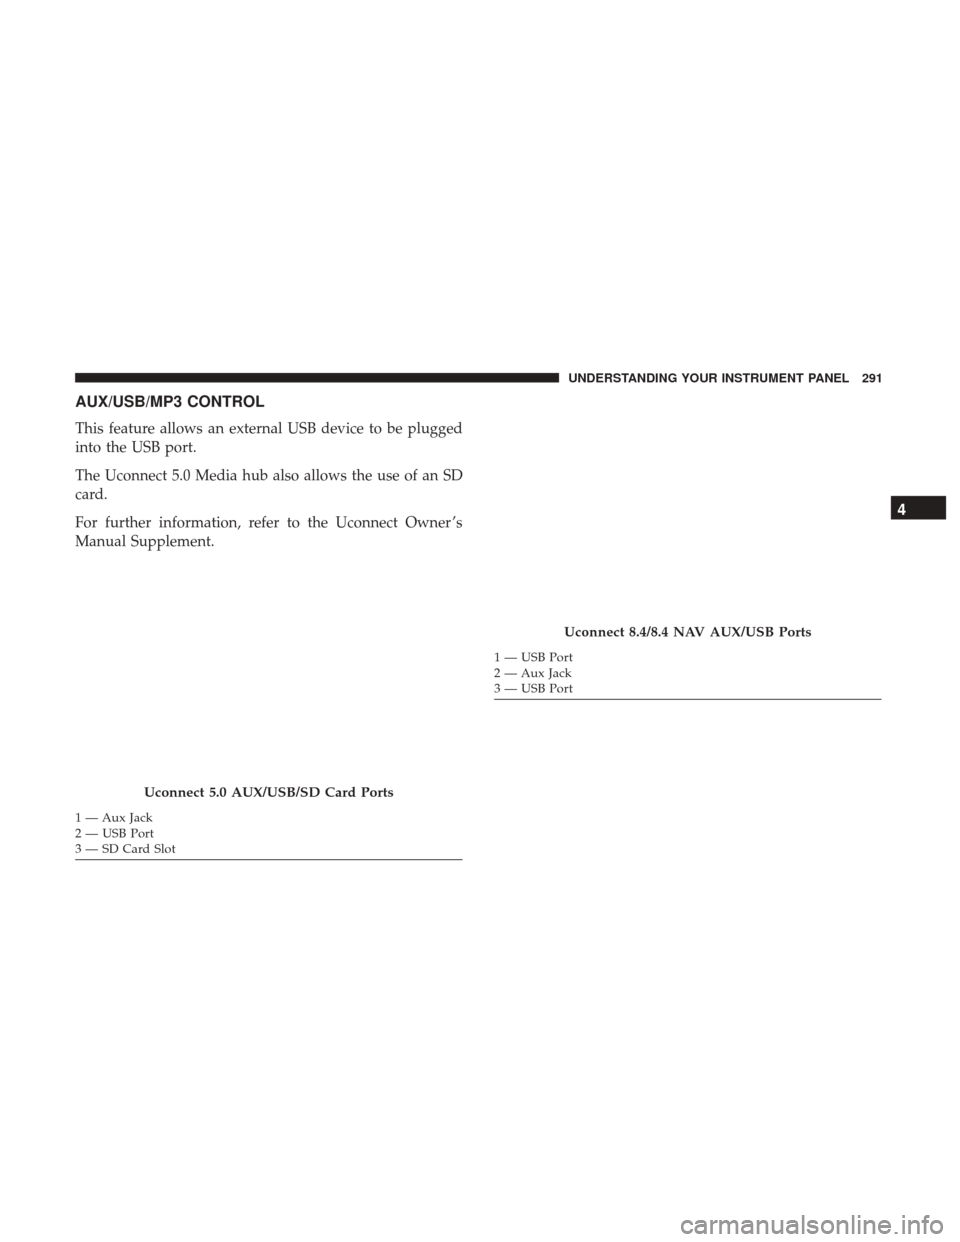
AUX/USB/MP3 CONTROL
This feature allows an external USB device to be plugged
into the USB port.
The Uconnect 5.0 Media hub also allows the use of an SD
card.
For further information, refer to the Uconnect Owner ’s
Manual Supplement.
Uconnect 5.0 AUX/USB/SD Card Ports
1 — Aux Jack
2 — USB Port
3 — SD Card Slot
Uconnect 8.4/8.4 NAV AUX/USB Ports
1 — USB Port
2 — Aux Jack
3 — USB Port
4
UNDERSTANDING YOUR INSTRUMENT PANEL 291
Page 294 of 530
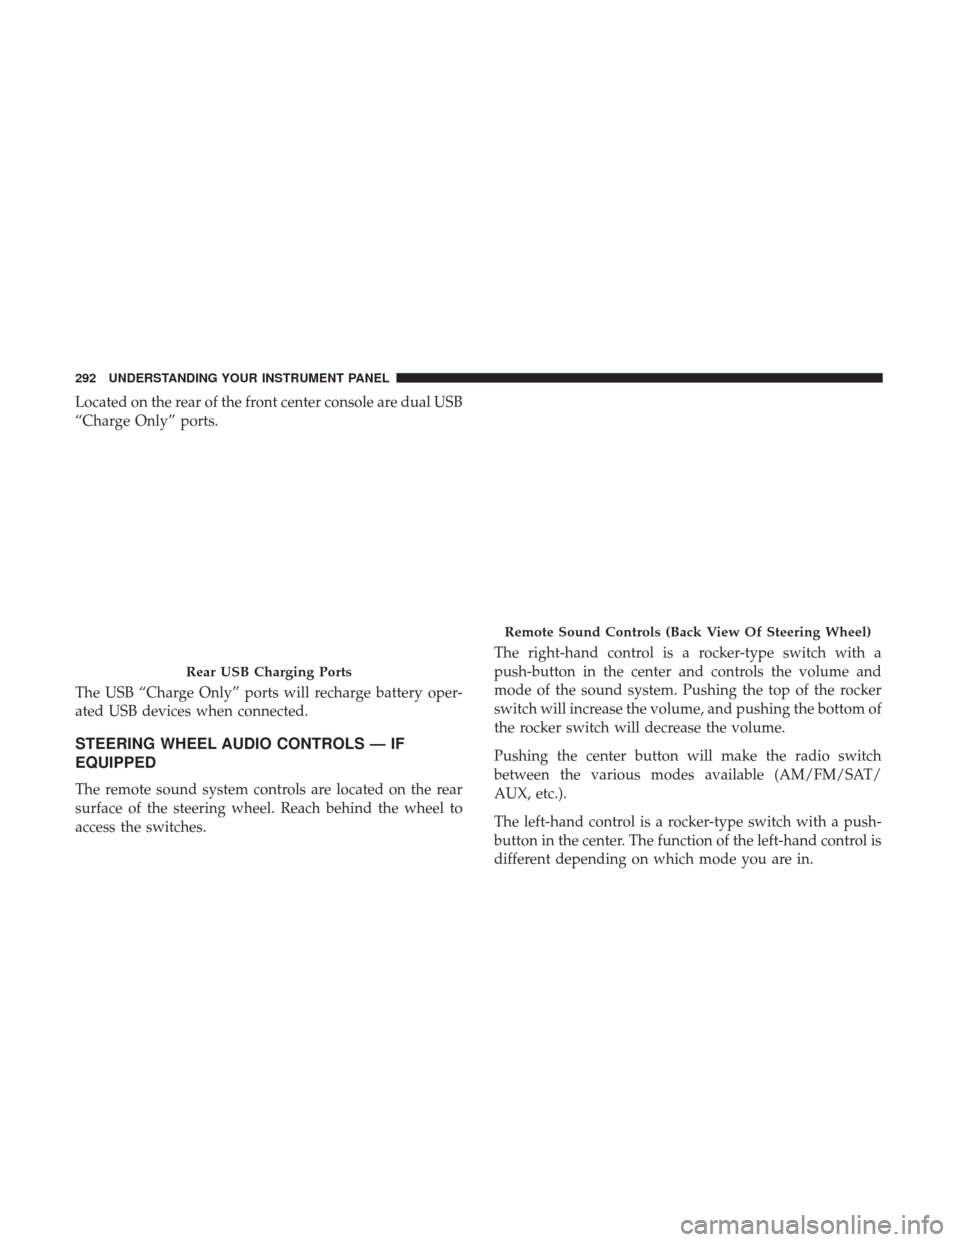
Located on the rear of the front center console are dual USB
“Charge Only” ports.
The USB “Charge Only” ports will recharge battery oper-
ated USB devices when connected.
STEERING WHEEL AUDIO CONTROLS — IF
EQUIPPED
The remote sound system controls are located on the rear
surface of the steering wheel. Reach behind the wheel to
access the switches.The right-hand control is a rocker-type switch with a
push-button in the center and controls the volume and
mode of the sound system. Pushing the top of the rocker
switch will increase the volume, and pushing the bottom of
the rocker switch will decrease the volume.
Pushing the center button will make the radio switch
between the various modes available (AM/FM/SAT/
AUX, etc.).
The left-hand control is a rocker-type switch with a push-
button in the center. The function of the left-hand control is
different depending on which mode you are in.
Rear USB Charging Ports
Remote Sound Controls (Back View Of Steering Wheel)
292 UNDERSTANDING YOUR INSTRUMENT PANEL
Page 295 of 530
The following describes the left-hand control operation in
each mode.
Radio Operation
Pushing the top of the switch will “Seek” up for the next
listenable station and pushing the bottom of the switch will
“Seek” down for the next listenable station.
The button located in the center of the left-hand control
will tune to the next preset station that you have pro-
grammed in the radio preset button.
RADIO OPERATION AND MOBILE DEVICES
Under certain conditions, an “on” mobile device in your
vehicle can cause erratic or noisy performance from your
radio. This condition may be lessened or eliminated by
relocating the mobile device antenna. This condition is not
harmful to the radio. If your radio performance does not
satisfactorily “clear” by the repositioning of the antenna, it
is recommended that the radio volume be turned down or
off during mobile device operation when not using
Uconnect (if equipped).
Regulatory And Safety Information
USA/CANADA
Exposure to Radio Frequency Radiation
The radiated output power of the internal wireless radio is
far below the FCC radio frequency exposure limits. Nev-
ertheless, the wireless radio will be used in such a manner
that the radio is 8 inches (20 centimeters) or further from
the human body.
The internal wireless radio operates within guidelines
found in radio frequency safety standards and recommen-
dations, which reflect the consensus of the scientific com-
munity.
The radio manufacturer believes the internal wireless radio
is safe for use by consumers. The level of energy emitted is
far less than the electromagnetic energy emitted by wire-
less devices such as mobile phones. However, the use of
wireless radios may be restricted in some situations or
environments, such as aboard airplanes. If you are unsure
of restrictions, you are encouraged to ask for authorization
before turning on the wireless radio.
4
UNDERSTANDING YOUR INSTRUMENT PANEL 293
Page 296 of 530
This device complies with Part 15 of the FCC Rules and
with Industry Canada license-exempt RSS standard(s).
Operation is subject to the following two conditions:
1. This device may not cause harmful interference.
2. This device must accept any interference received, in-cluding interference that may cause undesired opera-
tion.
NOTE:
• This equipment has been tested and found to comply
with the limits for a Class B digital device, pursuant to
Part 15 of the FCC Rules. These limits are designed to
provide reasonable protection against harmful interfer-
ence in a residential installation. This equipment gener-
ates, uses and can radiate radio frequency energy and, if
not installed and used in accordance with the instruc-
tions, may cause harmful interference to radio commu-
nications. However, there is no guarantee that interfer-
ence will not occur in a particular installation. •
If this equipment does cause harmful interference to
radio or television reception, which can be determined
by turning the equipment off and on, the user is encour-
aged to try to correct the interference by one or more of
the following measures:
• Increase the separation between the equipment and
receiver.
• Consult the dealer or an experienced radio technician for
help.
CLIMATE CONTROLS
The Climate Control System allows you to regulate the
temperature, airflow, and direction of air circulating
throughout the vehicle. The controls are located on the
instrument panel below the radio.
294 UNDERSTANDING YOUR INSTRUMENT PANEL
Page 297 of 530
Manual Climate Control Overview
Uconnect 5.0 Manual Climate Controls
4
UNDERSTANDING YOUR INSTRUMENT PANEL 295
Page 298 of 530
Uconnect 8.4 Manual Climate Controls
296 UNDERSTANDING YOUR INSTRUMENT PANEL
Page 299 of 530
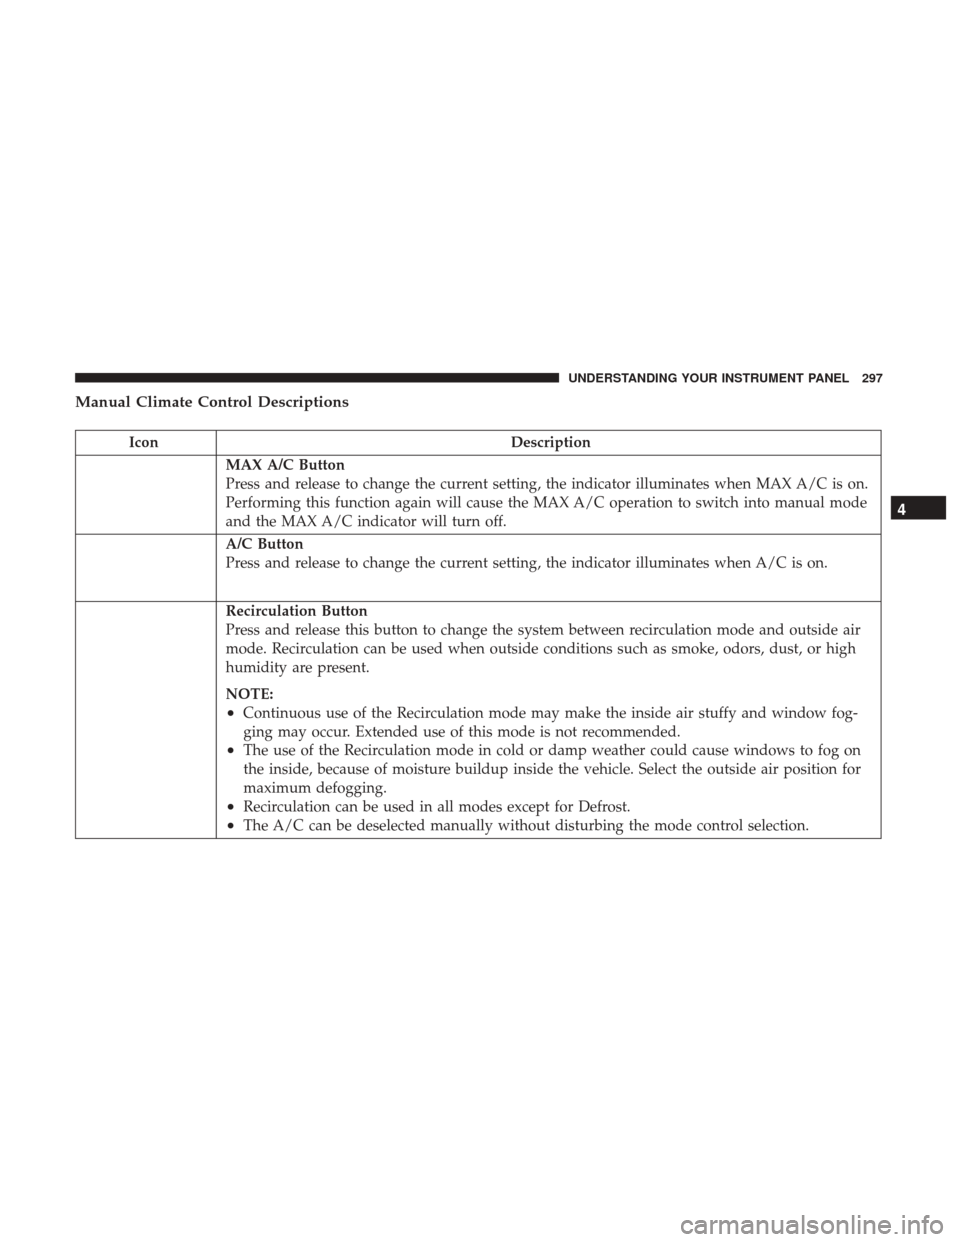
Manual Climate Control Descriptions
IconDescription
MAX A/C Button
Press and release to change the current setting, the indicator illuminates when MAX A/C is on.
Performing this function again will cause the MAX A/C operation to switch into manual mode
and the MAX A/C indicator will turn off.
A/C Button
Press and release to change the current setting, the indicator illuminates when A/C is on.
Recirculation Button
Press and release this button to change the system between recirculation mode and outside air
mode. Recirculation can be used when outside conditions such as smoke, odors, dust, or high
humidity are present.
NOTE:
•Continuous use of the Recirculation mode may make the inside air stuffy and window fog-
ging may occur. Extended use of this mode is not recommended.
•The use of the Recirculation mode in cold or damp weather could cause windows to fog on
the inside, because of moisture buildup inside the vehicle. Select the outside air position for
maximum defogging.
•Recirculation can be used in all modes except for Defrost.
•The A/C can be deselected manually without disturbing the mode control selection.
4
UNDERSTANDING YOUR INSTRUMENT PANEL 297
Page 300 of 530
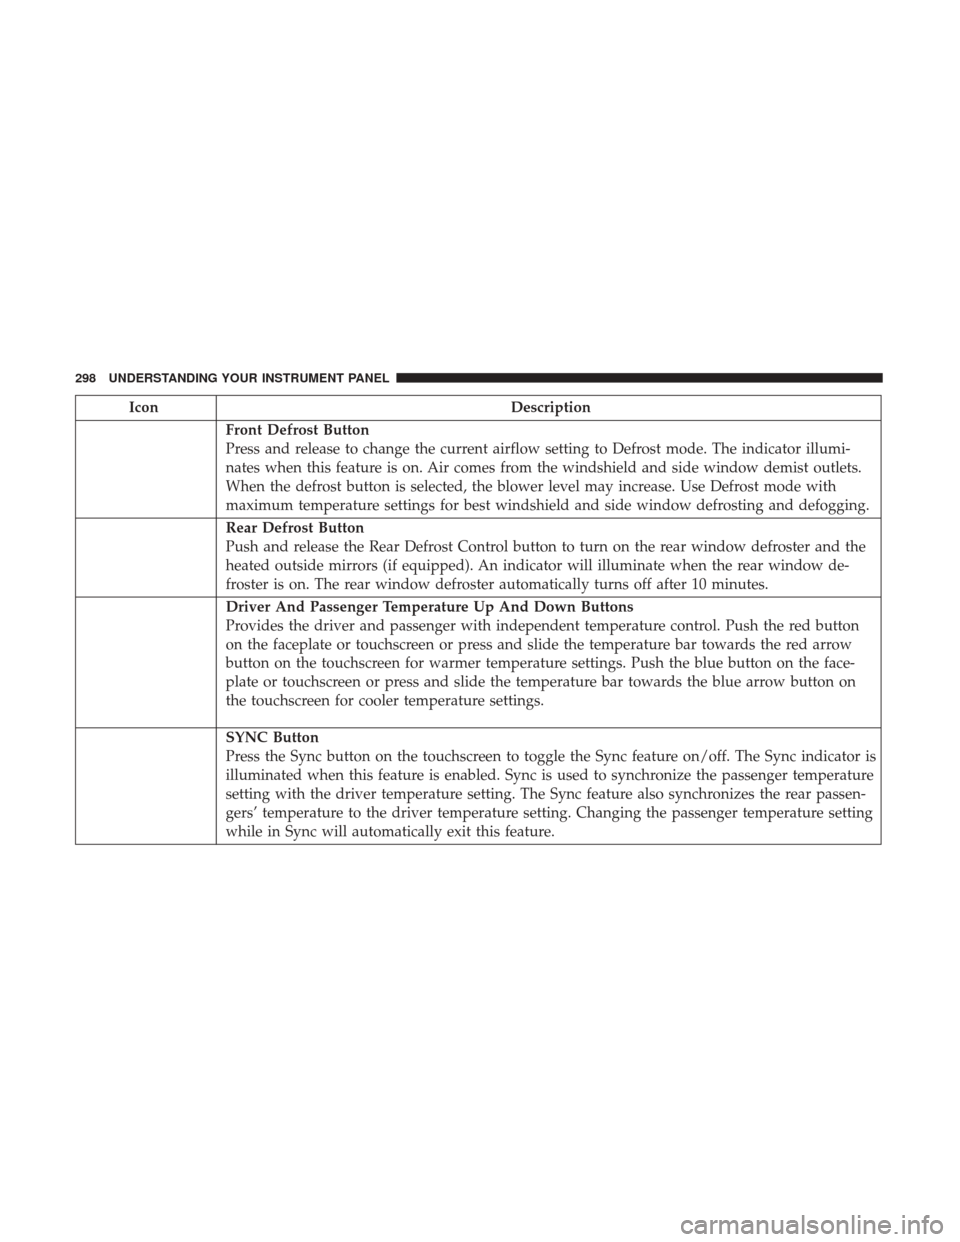
IconDescription
Front Defrost Button
Press and release to change the current airflow setting to Defrost mode. The indicator illumi-
nates when this feature is on. Air comes from the windshield and side window demist outlets.
When the defrost button is selected, the blower level may increase. Use Defrost mode with
maximum temperature settings for best windshield and side window defrosting and defogging.
Rear Defrost Button
Push and release the Rear Defrost Control button to turn on the rear window defroster and the
heated outside mirrors (if equipped). An indicator will illuminate when the rear window de-
froster is on. The rear window defroster automatically turns off after 10 minutes.
Driver And Passenger Temperature Up And Down Buttons
Provides the driver and passenger with independent temperature control. Push the red button
on the faceplate or touchscreen or press and slide the temperature bar towards the red arrow
button on the touchscreen for warmer temperature settings. Push the blue button on the face-
plate or touchscreen or press and slide the temperature bar towards the blue arrow button on
the touchscreen for cooler temperature settings.
SYNC Button
Press the Sync button on the touchscreen to toggle the Sync feature on/off. The Sync indicator is
illuminated when this feature is enabled. Sync is used to synchronize the passenger temperature
setting with the driver temperature setting. The Sync feature also synchronizes the rear passen-
gers’ temperature to the driver temperature setting. Changing the passenger temperature setting
while in Sync will automatically exit this feature.
298 UNDERSTANDING YOUR INSTRUMENT PANEL