brake DODGE CHARGER 2017 7.G Owners Manual
[x] Cancel search | Manufacturer: DODGE, Model Year: 2017, Model line: CHARGER, Model: DODGE CHARGER 2017 7.GPages: 530, PDF Size: 4.72 MB
Page 15 of 530
NOTE:With the Uconnect system, the power window
switches, radio, power sunroof (if equipped), and power
outlets will remain active for up to ten minutes after the
ignition is placed in the OFF position. Opening either front
door will cancel this feature. The time for this feature is
programmable. Refer to “Uconnect Settings” in “Under-
standing Your Instrument Panel” for further information.
WARNING!
• Before exiting a vehicle, always shift the automatic
transmission into PARK or the manual transmission
into FIRST gear or REVERSE, apply the parking
brake, turn the vehicle OFF, remove the key fobs
from vehicle, and lock all doors.
• Never leave children alone in a vehicle, or with
access to an unlocked vehicle. Leaving children in a
vehicle unattended is dangerous for a number of
reasons. A child or others could be seriously or
fatally injured. Children should be warned not to
touch the parking brake, brake pedal or the gear
selector.
• Allowing children to be in a vehicle unattended is
dangerous for a number of reasons. A child or others
(Continued)
WARNING! (Continued)
could be seriously or fatally injured. Children
should be warned not to touch the parking brake,
brake pedal or the gear selector.
• Do not leave the key fob in or near the vehicle, or in
a location accessible to children, and do not leave the
ignition of a vehicle equipped with Keyless Enter-
N-Go in the ACC or ON/RUN mode. A child could
operate power windows, other controls, or move the
vehicle.
• Do not leave children or animals inside parked
vehicles in hot weather. Interior heat build-up may
cause serious injury or death.
CAUTION!
An unlocked vehicle is an invitation. Always remove
the key fobs from vehicle, place the ignition in the OFF
position and lock all doors when leaving the vehicle
unattended.
2
THINGS TO KNOW BEFORE STARTING YOUR VEHICLE 13
Page 24 of 530
General Information
The following regulatory statement applies to all Radio
Frequency (RF) devices equipped in this vehicle:
This device complies with Part 15 of the FCC Rules and
with Industry Canada license-exempt RSS standard(s).
Operation is subject to the following two conditions:
1. This device may not cause harmful interference, and
2. This device must accept any interference received, in-cluding interference that may cause undesired opera-
tion.
NOTE: Changes or modifications not expressly approved
by the party responsible for compliance could void the
user ’s authority to operate the equipment.
REMOTE STARTING SYSTEM — IF EQUIPPED
This system uses the key fob to start the engine
conveniently from outside the vehicle while still
maintaining security. The system has a range of
approximately 300 ft (91 m). NOTE:
•
The vehicle must be equipped with an automatic trans-
mission to be equipped with Remote Start.
• Obstructions between the vehicle and the key fob may
reduce this range.
How To Use Remote Start
All of the following conditions must be met before the
engine will remote start:
• Gear selector in PARK
• Doors closed
• Hood closed
• Hazard switch off
• Brake switch inactive (brake pedal not pushed)
• Battery at an acceptable charge level
• PANIC button not pushed
• System not disabled from previous remote start event
• Vehicle security alarm not active
• Ignition in OFF position (Keyless Enter-N-Go)
22 THINGS TO KNOW BEFORE STARTING YOUR VEHICLE
Page 26 of 530
To Exit Remote Start Mode Without Driving The
Vehicle
Push and release the Remote Start button one time or allow
the engine to run for the entire 15-minute cycle.
NOTE:To avoid unintentional shut downs, the system will
disable the one time push of the Remote Start button for
two seconds after receiving a valid Remote Start request.
To Exit Remote Start Mode And Drive The Vehicle
Before the end of 15-minute cycle, push and release the
unlock button on the key fob to unlock the doors, or unlock
the vehicle using Passive Entry via the door handles, and
disarm the vehicle security alarm (if equipped). Then, prior
to the end of the 15-minute cycle, push and release the
keyless ignition button.
NOTE: In vehicles equipped with the Keyless Enter-N-Go
— Ignition feature, the message “Remote Start Active -
Push Start Button” will display. This message will clear
once the START button is pushed.
Cancel Remote Start
Remote Starting will also cancel if any of the following
occur:
• The engine stalls or engine speed exceeds 2500 rpm. •
Any engine warning lights come on.
• Low Fuel Light turns on.
• The hood is opened.
• The hazard switch is pushed.
• The gear selector is moved out of PARK.
• The brake pedal is pushed.
General Information
The following regulatory statement applies to all Radio
Frequency (RF) devices equipped in this vehicle:
This device complies with Part 15 of the FCC Rules and
with Industry Canada license-exempt RSS standard(s).
Operation is subject to the following two conditions:
1. This device may not cause harmful interference, and
2. This device must accept any interference received, in-
cluding interference that may cause undesired opera-
tion.
NOTE: Changes or modifications not expressly approved
by the party responsible for compliance could void the
user ’s authority to operate the equipment.
24 THINGS TO KNOW BEFORE STARTING YOUR VEHICLE
Page 27 of 530

DOOR LOCKS
Manual Door Locks
To lock each door, push the door lock knob on each door
trim panel downward. To unlock the front doors, pull the
inside door handle to the first detent. To unlock the rear
doors, pull the door lock knob on the door trim panel
upward.
If the door lock knob is down when you shut the door, the
door will lock. Therefore, make sure the key fob is not
inside the vehicle before closing the door.
WARNING!
•For personal security and safety in the event of a
collision, lock the vehicle doors before you drive as
well as when you park and leave the vehicle.
• When leaving the vehicle, always make sure the
keyless ignition node is in the “OFF” mode, remove
the key fob from the vehicle and lock your vehicle.
• Never leave children alone in a vehicle, or with
access to an unlocked vehicle. Allowing children to
be in a vehicle unattended is dangerous for a number
of reasons. A child or others could be seriously or
fatally injured. Children should be warned not to
touch the parking brake, brake pedal or the gear
selector.
• Do not leave the key fob in or near the vehicle, or in
a location accessible to children, and do not leave the
ignition of a vehicle equipped with Keyless Enter-
N-Go in the ACC or ON/RUN mode. A child could
operate power windows, other controls, or move the
vehicle.
Door Lock Knob
2
THINGS TO KNOW BEFORE STARTING YOUR VEHICLE 25
Page 61 of 530
Maintaining Your Air Bag System
WARNING!
•Modifications to any part of the air bag system could
cause it to fail when you need it. You could be
injured if the air bag system is not there to protect
you. Do not modify the components or wiring, in-
cluding adding any kind of badges or stickers to the
steering wheel hub trim cover or the upper right side
of the instrument panel. Do not modify the front
bumper, vehicle body structure, or add aftermarket
side steps or running boards.
• It is dangerous to try to repair any part of the air bag
system yourself. Be sure to tell anyone who works on
your vehicle that it has an air bag system.
• Do not attempt to modify any part of your air bag
system. The air bag may inflate accidentally or may
not function properly if modifications are made.
Take your vehicle to an authorized dealer for any air
bag system service. If your seat, including your trim
cover and cushion, needs to be serviced in any way
(including removal or loosening/tightening of seat
attachment bolts), take the vehicle to your authorized
(Continued)
WARNING! (Continued)
dealer. Only manufacturer approved seat accessories
may be used. If it is necessary to modify the air bag
system for persons with disabilities, contact your
authorized dealer.
Event Data Recorder (EDR)
This vehicle is equipped with an event data recorder
(EDR). The main purpose of an EDR is to record, in certain
crash or near crash-like situations, such as an air bag
deployment or hitting a road obstacle, data that will assist
in understanding how a vehicle’s systems performed. The
EDR is designed to record data related to vehicle dynamics
and safety systems for a short period of time, typically 30
seconds or less. The EDR in this vehicle is designed to
record such data as:
•How various systems in your vehicle were operating;
• Whether or not the driver and passenger safety belts
were buckled/fastened;
• How far (if at all) the driver was depressing the accel-
erator and/or brake pedal; and,
• How fast the vehicle was traveling.
2
THINGS TO KNOW BEFORE STARTING YOUR VEHICLE 59
Page 81 of 530
Air Bag Warning Light
The Air Bag Warning Lightwill turn on for four to
eight seconds as a bulb check when the ignition is first
placed in the ON/RUN position. If the light is either not
on during starting, stays on, or turns on while driving,
have the system inspected at an authorized dealer as
soon as possible. This light will illuminate with a single
chime when a fault with the Air Bag Warning Light has
been detected, it will stay on until the fault is cleared. If
the light comes on intermittently or remains on while
driving, have an authorized dealer service the vehicle
immediately. Refer to “Occupant Restraints” for further
information.
Defroster
Check operation by selecting the defrost mode and place
the blower control on high speed. You should be able to
feel the air directed against the windshield. See your
authorized dealer for service if your defroster is inoper-
able.
Floor Mat Safety Information
Always use floor mats designed to fit the footwell of your
vehicle. Use only floor mats that leave the pedal area
unobstructed and that are firmly secured so that they cannot slip out of position and interfere with the pedals or
impair safe operation of your vehicle in other ways.
WARNING!
An improperly attached, damaged, folded, or stacked
floor mat, or damaged floor mat fasteners may cause
your floor mat to interfere with the accelerator, brake,
or clutch pedals and cause a loss of vehicle control. To
prevent SERIOUS INJURY or DEATH:
•
ALWAYS securely attach
your floor mat using
the floor mat fasteners. DO NOT install your floor
mat upside down or turn your floor mat over.
Lightly pull to confirm mat is secured using the
floor mat fasteners on a regular basis.
• ALWAYS REMOVE THE EXISTING FLOOR MAT
FROM THE VEHICLE
before installing any
other floor mat. NEVER install or stack an addi-
tional floor mat on top of an existing floor mat.
•ONLY install floor mats designed to fit your vehicle.
NEVER install a floor mat that cannot be properly
attached and secured to your vehicle. If a floor mat
needs to be replaced, only use a FCA approved floor mat
for the specific make, model, and year of your vehicle.
(Continued)
2
THINGS TO KNOW BEFORE STARTING YOUR VEHICLE 79
Page 82 of 530
WARNING!(Continued)
•ONLY use the driver ’s side floor mat on the driver ’s side
floor area. To check for interference, with the vehicle
properly parked with the engine off, fully depress the
accelerator, the brake, and the clutch pedal (if present)
to check for interference. If your floor mat interferes
with the operation of any pedal, or is not secure to the
floor, remove the floor mat from the vehicle and place
the floor mat in your trunk.
• ONLY use the passenger ’s side floor mat on the
passenger ’s side floor area.
• ALWAYS make sure objects cannot fall or slide into
the driver ’s side floor area when the vehicle is
moving. Objects can become trapped under accelera-
tor, brake, or clutch pedals and could cause a loss of
vehicle control.
(Continued)
WARNING! (Continued)
•NEVER place any objects under the floor mat (e.g.,
towels, keys, etc.). These objects could change the
position of the floor mat and may cause interference
with the accelerator, brake, or clutch pedals.
• If the vehicle carpet has been removed and re-
installed, always properly attach carpet to the floor
and check the floor mat fasteners are secure to the
vehicle carpet. Fully depress each pedal to check for
interference with the accelerator, brake, or clutch
pedals then re-install the floor mats.
• It is recommended to only use mild soap and water
to clean your floor mats. After cleaning, always check
your floor mat has been properly installed and is
secured to your vehicle using the floor mat fasteners
by lightly pulling mat.
80 THINGS TO KNOW BEFORE STARTING YOUR VEHICLE
Page 83 of 530
Periodic Safety Checks You Should Make Outside
The Vehicle
Tires
Examine tires for excessive tread wear and uneven wear
patterns. Check for stones, nails, glass, or other objects
lodged in the tread or sidewall. Inspect the tread for cuts
and cracks. Inspect sidewalls for cuts, cracks, and bulges.
Check the wheel nuts for tightness. Check the tires (includ-
ing spare) for proper cold inflation pressure.
Lights
Have someone observe the operation of brake lights and
exterior lights while you work the controls. Check turn
signal and high beam indicator lights on the instrument
panel.
Door Latches
Check for proper closing, latching, and locking.
Fluid Leaks
Check area under vehicle after overnight parking for fuel,
engine coolant, oil, or other fluid leaks. Also, if gasoline
fumes are detected or if fuel, power steering fluid (if
equipped), or brake fluid leaks are suspected, the cause
should be located and corrected immediately.
2
THINGS TO KNOW BEFORE STARTING YOUR VEHICLE 81
Page 123 of 530
NOTE:The lights must be turned off within 45 seconds of
turning the ignition OFF to activate this feature.
If you turn the headlights, park lights or ignition switch
ON again, the system will cancel the delay.
If you turn the headlights off before the ignition, they will
turn off in the normal manner.
NOTE: The Headlight Time Delay is programmable using
the Uconnect System, refer to “Uconnect Settings” in
“Understanding Your Instrument Panel” for further infor-
mation.
Daytime Running Lights (DRL) — If Equipped
The Daytime Running Lights will turn on when the engine
is started and will remain on unless the headlamps are
turned to the on position, the parking brake is applied, or
the engine is shut OFF.
NOTE: If allowed by law in the country in which the
vehicle was purchased, the Daytime Running Lights can be
turned on and off using the Uconnect System, refer to
“Uconnect Settings” in “Understanding Your Instrument
Panel” for further information.
Lights-On Reminder
If the headlights or parking lights are on after the ignition
is placed in the OFF position, a chime will sound to alert
the driver when the driver’s door is opened.
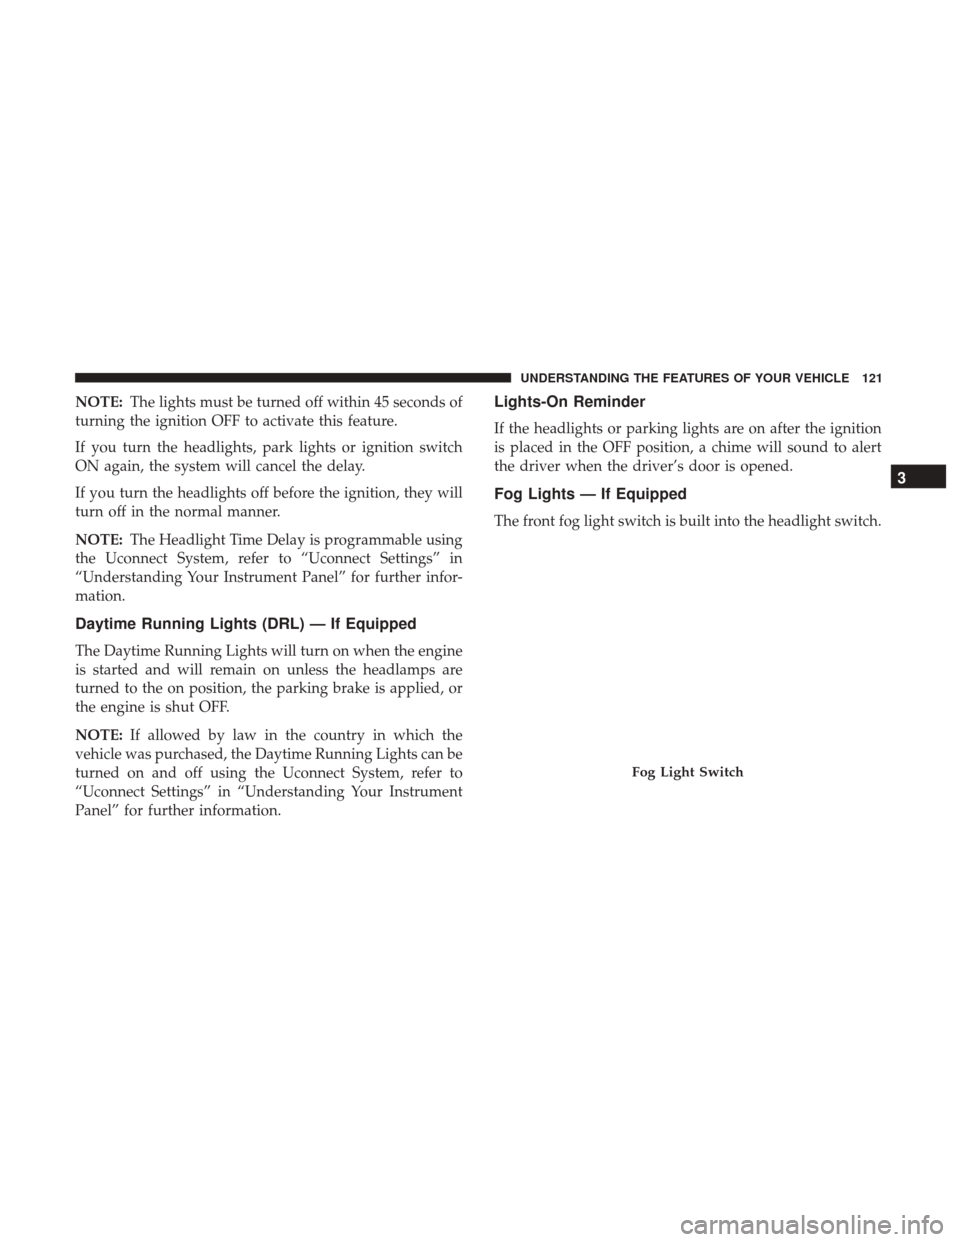
Fog Lights — If Equipped
The front fog light switch is built into the headlight switch.
Fog Light Switch
3
UNDERSTANDING THE FEATURES OF YOUR VEHICLE 121
Page 136 of 530
To Set A Desired Speed
Turn the Speed Control on. When the vehicle has reached
the desired speed, push the SET (+) or SET (–) button and
release. Release the accelerator and the vehicle will operate
at the selected speed. Once a speed has been set a message,
“CRUISE CONTROL SET TO MPH (km/h)”, will appear
indicating what speed was set. A cruise indicator lamp,
along with set speed will also appear and stay on in the
instrument cluster display when the speed is set.
To Deactivate
A soft tap on the brake pedal, pushing the CANC button or
normal brake pressure while slowing the vehicle will
deactivate the Speed Control without erasing the set speed
from memory.
Pushing the on/off button or turning the ignition to the
OFF position erases the set speed from memory.
To Resume Speed
To resume a previously set speed, push the RES button and
release. Resume can be used at any speed above 20 mph
(32 km/h).
To Vary The Speed Setting
To Increase Speed
When the Speed Control is set, you can increase speed by
pushing the SET(+)button.
The driver’s preferred units can be selected through the
touchscreen radio settings if equipped. Refer to “Under-
standing Your Instrument Panel” for more information.
The speed increment shown is dependant on the chosen
speed unit of U.S. (mph) or Metric (km/h):
U.S. Speed (mph)
• Pushing the SET (+)button once will result ina1mph
increase in set speed. Each subsequent tap of the button
results in an increase of 1 mph.
• If the button is continually pushed, the set speed will
continue to increase until the button is released, then the
new set speed will be established.
Metric Speed (km/h)
• Pushing the SET (+)button once will result in a 1 km/h
increase in set speed. Each subsequent tap of the button
results in an increase of 1 km/h.
134 UNDERSTANDING THE FEATURES OF YOUR VEHICLE