reset DODGE CHARGER SRT 2013 7.G User Guide
[x] Cancel search | Manufacturer: DODGE, Model Year: 2013, Model line: CHARGER SRT, Model: DODGE CHARGER SRT 2013 7.GPages: 599, PDF Size: 4.21 MB
Page 240 of 599
NOTE:In order to ensure proper operation, the Elec-
tronic Speed Control system has been designed to shut
down if multiple Speed Control functions are operated at
the same time. If this occurs, the Electronic Speed Control
system can be reactivated by pushing the Electronic
Speed Control ON/OFF button and resetting the desired
vehicle set speed.
To Activate
Push the ON/OFF button. The Cruise Indicator light in
the Electronic Vehicle Information Center (EVIC) will
illuminate. To turn the system off, push the ON/OFF
button a second time. The Cruise Indicator light will turn
off. The system should be turned off when not in use.
WARNING!
Leaving the Electronic Speed Control system on
when not in use is dangerous. You could accidentally
set the system or cause it to go faster than you want.
You could lose control and have an accident. Always
leave the system OFF when you are not using it.
To Set A Desired Speed
Turn the Electronic Speed Control ON. When the vehicle
has reached the desired speed, press the SET (-) button
and release. Release the accelerator and the vehicle will
operate at the selected speed.
238 UNDERSTANDING THE FEATURES OF YOUR VEHICLE
Page 243 of 599
ADAPTIVE CRUISE CONTROL (ACC) —
IF EQUIPPED
Adaptive Cruise Control (ACC) increases the driving
convenience provided by cruise control while traveling
on highways and major roadways. However, it is not a
safety system and not designed to prevent collisions.
ACC will allow you to keep cruise control engaged in
light to moderate traffic conditions without the constant
need to reset your cruise control. ACC utilizes a radar
sensor designed to detect a vehicle directly ahead of you.
NOTE:
•If the sensor does not detect a vehicle ahead of you,
ACC will maintain a fixed set speed.
• If the ACC sensor detects a vehicle ahead, ACC will
apply limited braking or acceleration (not to exceed
the original set speed) automatically to maintain a preset following distance, while matching the speed of
the vehicle ahead.WARNING!
•
Adaptive Cruise Control (ACC) is a convenience
system. It is not a substitute for active driving
involvement. It is always the driver ’s responsibil-
ity to be attentive of road, traffic, and weather
conditions, vehicle speed, distance to the vehicle
ahead; and, most importantly, brake operation to
ensure safe operation of the vehicle under all road
conditions. Your complete attention is always re-
quired while driving to maintain safe control of
your vehicle. Failure to follow these warnings can
result in a collision and death or serious personal
injury.
(Continued)
3
UNDERSTANDING THE FEATURES OF YOUR VEHICLE 241
Page 245 of 599
The Cruise Control system has two control modes:
•Adaptive Cruise Control mode for maintaining an
appropriate distance between vehicles.
• Normal (fixed speed) cruise control mode is for cruis-
ing at a constant preset speed. For additional informa-
tion, refer to “Normal (Fixed Speed) Cruise Control
Mode” in this section.
NOTE: The system will not react to preceding vehicles.
Always be aware of the mode selected.
You can change the mode by using the Cruise Control
buttons. The two control modes function differently.
Always confirm which mode is selected.
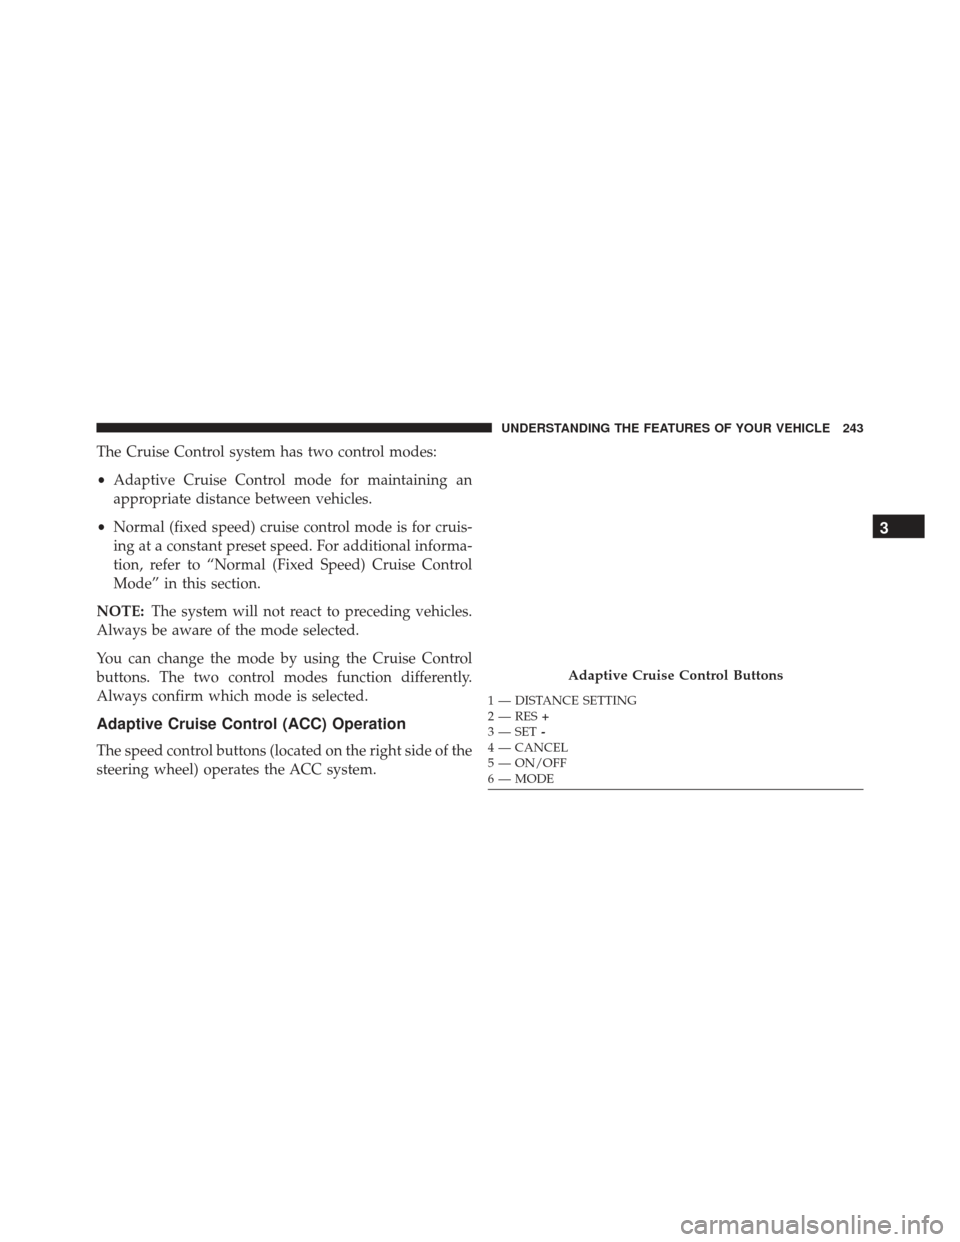
Adaptive Cruise Control (ACC) Operation
The speed control buttons (located on the right side of the
steering wheel) operates the ACC system.
Adaptive Cruise Control Buttons
1 — DISTANCE SETTING
2 — RES +
3 — SET -
4 — CANCEL
5 — ON/OFF
6 — MODE
3
UNDERSTANDING THE FEATURES OF YOUR VEHICLE 243
Page 314 of 599
odometer needs to be repaired or serviced, the repair
technician should leave the odometer reading the same
as it was before the repair or service. If s/he cannot do so,
then the odometer must be set at zero, and a sticker must
be placed in the door jamb stating what the mileage was
before the repair or service. It is a good idea for you to
make a record of the odometer reading before the repair/
service, so that you can be sure that it is properly reset, or
that the door jamb sticker is accurate if the odometer
must be reset at zero.
Electronic Vehicle Information Center (EVIC) Display
The Electronic Vehicle Information Center (EVIC) fea-
tures a driver-interactive display that is located in the
instrument cluster. For further information, refer to
“Electronic Vehicle Information Center (EVIC)”.
The Shift Lever Indicator is self-contained within the
EVIC display. It displays the gear position of the auto-
matic transmission.NOTE:
•
You must apply the brakes before shifting from PARK.
•The highest available transmission gear is displayed
in the lower right corner of the Electronic Vehicle
Information Center (EVIC) whenever the Electronic
Range Select (ERS) feature is active. Use the +/-
selector on the shift lever to activate ERS. Refer to
“Automatic Transmission” in “Starting And Operat-
ing” for further information.
7. Tire Pressure Monitoring Telltale Light — If Equipped
Each tire, including the spare (if provided),
should be checked monthly when cold and in-
flated to the inflation pressure recommended by
the vehicle manufacturer on the vehicle placard
or tire inflation pressure label. (If your vehicle has tires of
312 UNDERSTANDING YOUR INSTRUMENT PANEL
Page 325 of 599
UP ButtonPress and release the UP button to scroll up-
ward through the main menu and Vehicle Info
and Trip Info sub-menus (Fuel Economy, Ve-
hicle Info, Tire PSI, Cruise, Messages, Trip Info,
Vehicle Speed, and Turn Menu OFF) and sub-menus.
DOWN Button
Press and release the DOWN button to scroll
downward through the main menu and Vehicle
Info and Trip Info sub-menus (Fuel Economy,
Vehicle Info, Tire PSI, Cruise, Messages, Trip
Info, Vehicle Speed, and Turn Menu OFF) and sub-menus.
SELECT Button
Press and release the SELECT button for access
to main menus, sub-menus or to select a per-
sonal setting in the setup menu. Press and hold
the SELECT button for two seconds to reset
features.
BACK Button
Press the BACK button to scroll back to a
previous menu or sub-menu.
4
UNDERSTANDING YOUR INSTRUMENT PANEL 323
Page 332 of 599
Unless reset, this message will continue to display each
time you cycle the ignition to the ON/RUN position. To
turn off the message temporarily, press and release the
MENU button. To reset the oil change indicator system
(after performing the scheduled maintenance), perform
the following procedure:
1. Without pressing the brake pedal, push the ENGINESTART/STOP button and cycle the ignition to the
ON/RUN position (Do not start the engine.)
2. Fully depress the accelerator pedal, slowly, three times within 10 seconds.
3. Without pressing the brake pedal, push the ENGINE START/STOP button once to return the ignition to the
OFF/LOCK position.
NOTE: If the indicator message illuminates when you
start the vehicle, the oil change indicator system did not
reset. If necessary, repeat this procedure.Fuel Economy
Press and release the UP or DOWN button until “Fuel
Economy” displays highlighted in the EVIC and press
the SELECT button. Press and release the UP/DOWN
buttons until one of the following Fuel Economy func-
tions displays in the EVIC:
• Average Fuel Economy/Fuel Saver Mode
• Distance To Empty (DTE)
• Miles Per Gallon (MPG)
Press the UP/DOWN buttons to cycle through all the
Trip Computer functions.
330 UNDERSTANDING YOUR INSTRUMENT PANEL
Page 333 of 599
The Trip Functions mode displays the following informa-
tion:
Average Fuel Economy / ECO Fuel Saver Mode —
If Equipped
Shows the average fuel economy since the last reset. When
the fuel economy is reset, the display will read “RESET” or
show dashes for two seconds. Then, the history informa-
tion will be erased, and the averaging will continue from
the last fuel average reading before the reset.
There is an ECO icon between the Compass and Outside
Temperature info at the top of the EVIC display. This icon
will appear whenever the Multi-Displacement System
(MDS) (if equipped) allows the engine to operate on four
cylinders, or if you are driving in a fuel efficient manner.
This feature allows you to monitor when you are driving
in a fuel efficient manner, and it can be used to modify
driving habits in order to increase fuel economy.
Distance To Empty (DTE)
Shows the estimated distance that can be traveled with
the fuel remaining in the tank. This estimated distance is
determined by a weighted average of the instantaneous
and average fuel economy, according to the current fuel
tank level. DTE cannot be reset through the SELECT
button.
NOTE:Significant changes in driving style or vehicle
loading will greatly affect the actual drivable distance of
the vehicle, regardless of the DTE displayed value.
When the DTE value is less than 30 miles (48 km)
estimated driving distance, the DTE display will change
to a “LOW FUEL” message. This display will continue
until the vehicle runs out of fuel. Adding a significant
amount of fuel to the vehicle will turn off the “LOW
FUEL” message and a new DTE value will display.
4
UNDERSTANDING YOUR INSTRUMENT PANEL 331
Page 334 of 599
Miles Per Gallon (MPG)
The Miles Per Gallon (MPG) feature displays instanta-
neous fuel economy in a bar graph below the DTE, this
function cannot be reset. Press the BACK button to return
to the main menu.
Vehicle Speed
Press and release the UP or DOWN button until “Vehicle
Speed” displays highlighted in the EVIC and press the
SELECT button. Press the SELECT button to display the
current speed in mph or km/h. Pressing the SELECT
button a second time will toggle the unit of measure
between mph or km/h.
NOTE:
Changing the unit of measure in the Vehicle Speed
menu will not change the unit of measure in the EVIC.
Trip Info
Units
Press and release the UP or DOWN button until “Units”
displays highlighted in the EVIC and press the SELECT
button. The EVIC, odometer, and navigation system (if
equipped) can be changed between English and Metric
units of measure. To make your selection, scroll up or
down until the preferred setting is highlighted, then
press and release the SELECT button until a check-mark
appears next to the setting, showing that the setting has
been selected.
332 UNDERSTANDING YOUR INSTRUMENT PANEL
Page 335 of 599
SRT
WARNING!
Measurement of vehicle statistics with the perfor-
mance pages is intended for off-highway or off-road
use only and should not be done on any public
roadways. It is recommended that these features be
used in a controlled environment and within the
limits of the law. The capabilities of the vehicle as
measured by the performance pages must never be
exploited in a reckless or dangerous manner which
can jeopardize the users safety or the safety of others.
Only a safe, attentive, and skillful driver can prevent
accidents.The Performance Features include the following:
•
0-60 mph (0-100 km/h)
• Braking Distance
• 1/8 Mile
• 1/4 Mile
• Instantaneous G-Force
• Peak G-Force
To access, press and release either the UP or DOWN
arrow button until “SRT” appears in the EVIC, then press
and release the SELECT button. Press the UP or DOWN
button to cycle through the features. Press the SELECT
button to select a feature. Press and hold the SELECT
button to reset best time.
4
UNDERSTANDING YOUR INSTRUMENT PANEL 333
Page 348 of 599
NOTE:If the vehicle is equipped with Keyless Enter-
N-Go (Passive Entry) and the EVIC is programmed to
Unlock All Doors On 1st Press, all doors will unlock no
matter which Passive Entry equipped door handle is
grasped. If Unlock Driver Door Only On 1st Press is
programmed, only the driver ’s door will unlock when
the driver ’s door is grasped. With Passive Entry, if
Unlock Driver Door Only On 1st Press is programmed,
touching the handle more than once will only result in
the driver ’s door opening. If Unlock Driver Door Only
On 1st Press is selected, once the driver door is opened,
the interior door lock/unlock switch can be used to
unlock all the doors (or use the RKE transmitter).
• Memory Linked to FOB
Touch the Memory Linked to FOB soft-key to change this
display. This feature provides automatic driver seat po-
sitioning to enhance driver mobility when entering and
exiting the vehicle, driver 1 and driver 2 last mode, settings and presets. To make your selection, touch the
Memory Linked to FOB soft-key and select ON or OFF.
Then touch the arrow back soft-key.
NOTE:
The seat will return to the memorized seat
location (if Recall Memory with Remote Key Unlock is set
to ON) when the RKE transmitter is used to unlock the
door. Refer to “Driver Memory Seat” in “Understanding
The Features Of Your Vehicle” for further information.
• Passive Entry (Keyless Enter-N-Go)
Touch the Passive Entry soft-key to change this display.
This feature allows you to lock and unlock the vehicle’s
door(s) without having to press the RKE transmitter lock
or unlock buttons. To make your selection, touch the
Passive Entry soft-key and select ON or OFF. Then touch
the arrow back soft-key. Refer to “Keyless Enter-N-Go” in
“Things To Know Before Starting Your Vehicle”.
346 UNDERSTANDING YOUR INSTRUMENT PANEL