ECO mode DODGE CHARGER SRT 2015 7.G Uconnect 5
[x] Cancel search | Manufacturer: DODGE, Model Year: 2015, Model line: CHARGER SRT, Model: DODGE CHARGER SRT 2015 7.GPages: 56, PDF Size: 1.09 MB
Page 2 of 56
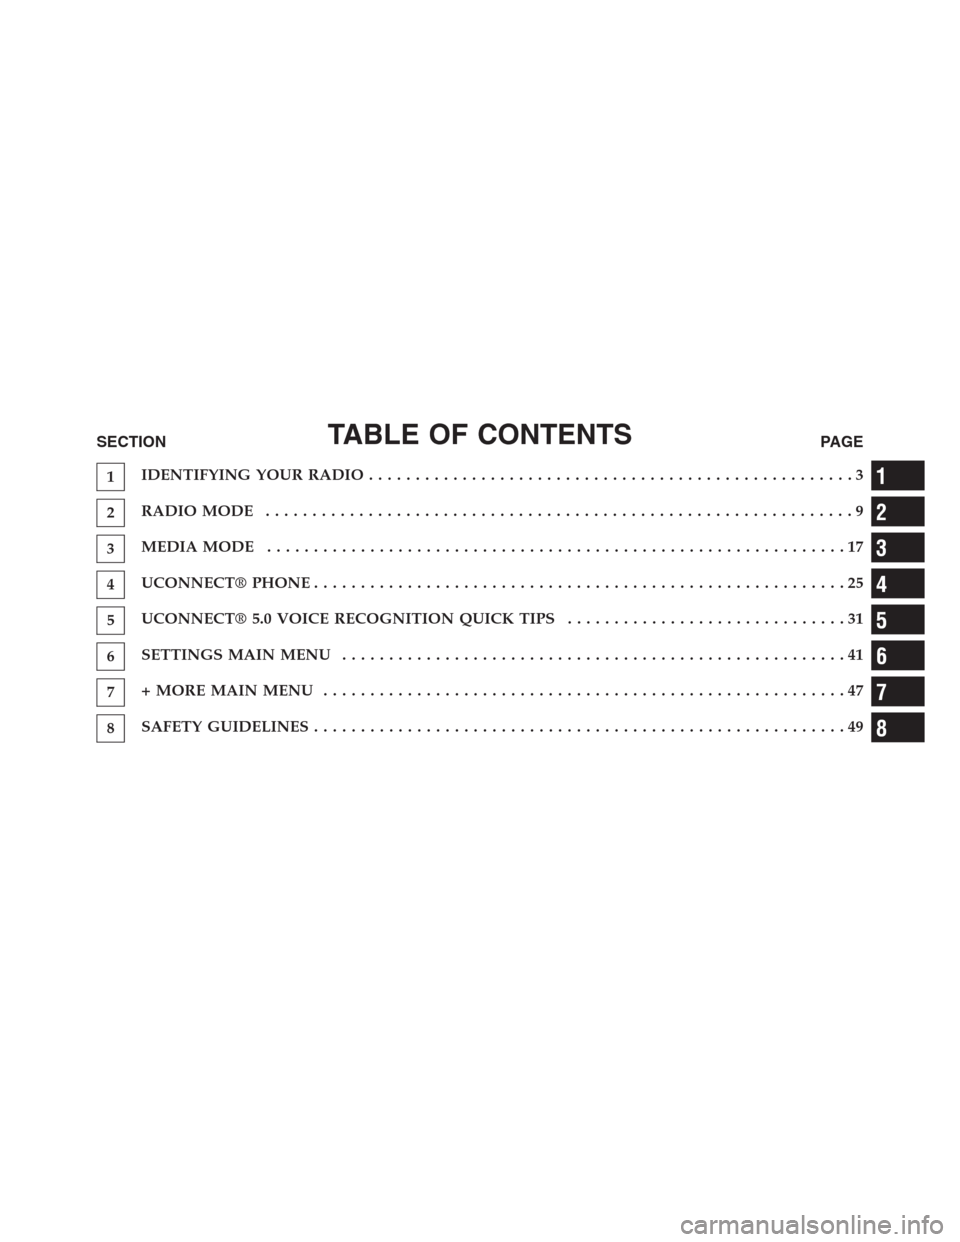
TABLE OF CONTENTSSECTIONPAGE
1IDENTIFYING YOUR RADIO....................................................3
2RADIO MODE...............................................................9
3MEDIA MODE. . . . . . . . . . . . . . . . . . . . . . . . . . . . . . . . . . . . . . . . . . . . . . . . . . . . . . . . . . . . . . 17
4UCONNECT® PHONE. . . . . . . . . . . . . . . . . . . . . . . . . . . . . . . . . . . . . . . . . . . . . . . . . . . . . . . . . 25
5UCONNECT® 5.0 VOICE RECOGNITION QUICK TIPS. . . . . . . . . . . . . . . . . . . . . . . . . . . . . . 31
6SETTINGS MAIN MENU. . . . . . . . . . . . . . . . . . . . . . . . . . . . . . . . . . . . . . . . . . . . . . . . . . . . . . 41
7+ MORE MAIN MENU . . . . . . . . . . . . . . . . . . . . . . . . . . . . . . . . . . . . . . . . . . . . . . . . . . . . . . . . 47
8SAFETY GUIDELINES. . . . . . . . . . . . . . . . . . . . . . . . . . . . . . . . . . . . . . . . . . . . . . . . . . . . . . . . . 49
1
2
3
4
5
6
7
8
Page 12 of 56
Fast Seek Up
Press and hold the “Seek Up”button on the touch-
screen to advance the radio through the available
stations or channels at a faster rate, the radio stops at
the next available station or channel when the button
on the touchscreen is released.
Seek Down
Press and release the “Seek Down”button on the
touchscreen to tune the radio to the next listenable
station or channel.
During a Seek Down function, if the radio reaches the
starting station after passing through the entire band two
times, the radio will stop at the station where it began.
Fast Seek Down
Press and hold the “Seek Down”button on the
touchscreen to advance the radio through the avail-
able stations or channel at a faster rate, the radio stops
at the next available station or channel when the
button on the touchscreen is released.
Setting Presets
The Presets are available for all Radio Modes, and are
activated by pressing any of the four “Preset” buttons on
the touchscreen, located at the top of the screen.
When you are receiving a station that you wish to
commit into memory, press and hold the desired num-
bered button on the touchscreen for more that two
seconds or until you hear a confirmation beep.
The Radio stores up to 12 presets in each of the Radio modes.
Four presets are visible at the top of the radio screen.
2
RADIO MODE 11
Page 19 of 56
MEDIA MODE
Media Mode is entered by pushing the MEDIA button
located on the faceplate. Once in Media Mode, press the
“Source” button on the touchscreen and the desired
mode button on the touchscreen. Disc (if equipped), USB,
SD Card (if equipped), AUX and Bluetooth® (if
equipped), are the Media sources available. When avail-
able, you can select the “Browse” button on the touch-
screen to be given these options:
•Now Playing
•Artists
•Albums
•Genres
•Songs
•Playlists
•Folders
You can press the “Source,” “Pause/Play” or the “Info”
button on the touchscreen for artist information on the
current song playing.
Common Media Functions
Seek Up/Seek Down
Press and release the “Right Arrow”button on the
touchscreen for the next selection. Press and release
the “Left Arrow”button on the touchscreen to
return to the beginning of the current selection, or
return to the beginning of the previous selection if the
Disc is within the first second of the current selection.
18 MEDIA MODE
Page 20 of 56
Fast Seek Up
Press and hold the “Right Arrow”button on the
touchscreen and the desired mode will begin to fast
forward through the current track until the button on
the touchscreen is released.
Fast Seek Down
Press and hold the “Left Arrow”button on the
touchscreen and the desired mode will begin to re-
wind through the current track until the button on the
touchscreen is released.
Source
Press the “Source” button on the touchscreen to select the
desired audio source: Disc (if equipped), USB, SD (if
equipped), AUX and Bluetooth® (if equipped). This
screen will time out after a few seconds and return to the
main radio screen if no selection is made.
Info
Press the “Info” button on the touchscreen to display the
current track information. Press the “X” button on the
touchscreen to cancel this feature.
Shuffle
Press the “Shuffle” button on the touchscreen to play the
selections on the USB/iPod® device in random order to
provide an interesting change of pace. Press the “Shuffle”
button on the touchscreen a second time to turn this
feature off.
Audio
Refer to “Operating Instructions — Radio Mode” for
adjusting the audio settings.
3
MEDIA MODE 19
Page 21 of 56
Repeat
Press the “Repeat” button on the touchscreen to repeat
the song selection. To cancel repeat, press the “Repeat”
button on the touchscreen a second time.
Disc Mode — If Equipped
Your vehicle may have a remote Disc player located in
the center console storage bin.
Disc Mode is entered by either inserting a CD/Disc or by
pushing the MEDIA button on the faceplate. Once in
Media Mode, press the “Source” button on the touch-
screen and select “Disc.”
Inserting Compact Disc
Gently insert one Disc into the Disc player with the Disc
label following the illustration indicated on the player.
The Disc will automatically be pulled into the Disc player
and the Disc icon will illuminate on the radio display. If
a Disc does not go into the slot more than 1.0 in (2.5 cm),
a Disc may already be loaded and must be ejected before
a new Disc can be loaded.
If you insert a Disc with the ignition ON and the radio
ON, the unit will switch to Disc mode and begin to play
when you insert the Disc. The display will show the track
number and index time in minutes and seconds. Play will
begin at the start of track 1.
Browse
Press the “Browse” button on the touchscreen to scroll
through and select a desired track on the Disc. Press the
“Exit” button on the touchscreen if you wish to cancel the
browse function.
20 MEDIA MODE
Page 22 of 56
Eject Button — Ejecting a Disc
Push the EJECT button to eject the Disc. If you have
ejected a Disc and have not removed it within 10 seconds,
it will be reloaded. If the Disc is not removed, the radio
will reinsert the Disc but will not play it.
A Disc can be ejected with the radio and ignition OFF.
USB/iPod® Mode
USB/iPod® Mode is entered by either inserting a USB
Jump Drive or iPod® cable into the USB port, or by
pushing the MEDIA button located on the faceplate.
Once in Media Mode, press the “Source” button on the
touchscreen and select “USB/iPod.”
Inserting USB/iPod® Device
Gently insert the USB/iPod® device into the USB Port. If
you insert a USB/iPod® device with the ignition ON, the
unit will switch to USB/iPod® mode and begin to play
when you insert the device. The display will show the
track number and index time in minutes and seconds.
Play will begin at the start of track 1.
Browse
Press the “Browse” button on the touchscreen to select
Artist, Albums, Genres, Songs, Playlists or Folders from
the USB/iPod® device. Once the desired selection is
made you can chose from the available media by pressing
the button on the touchscreen. Press the “Exit” button on
the touchscreen if you wish to cancel the browse func-
tion.
3
MEDIA MODE 21