USB DODGE CHARGER SRT 2015 7.G Uconnect 5
[x] Cancel search | Manufacturer: DODGE, Model Year: 2015, Model line: CHARGER SRT, Model: DODGE CHARGER SRT 2015 7.GPages: 56, PDF Size: 1.09 MB
Page 7 of 56
5 — ENTER/BROWSE & TUNE/SCROLL
Push the ENTER/BROWSE button to accept a high-
lighted selection on the screen. Rotate the TUNE/
SCROLL rotary knob to scroll through a list or tune a
radio station.
6 — BACK
Push the BACK button to return to a previous menu or
screen.
7 — SCREEN OFF
Push the SCREEN OFF button to turn the touchscreen
OFF. To turn the touchscreen back ON, just press the
screen.
8 — VOLUME/MUTE
Rotate the rotary knob to adjust the Volume. Push the
VOLUME/MUTE button to mute the system.
9 — PHONE
Push the PHONE button on the faceplate to access the
Uconnect® Phone feature.
10 — MEDIA
Pushing the MEDIA button on the faceplate will allow
you to switch to Media mode (CD — if equipped,
USB/iPOD®, AUX, SD Card — if equipped and
Bluetooth®).
11 — SEEK UP/SEEK DOWN
Press the “Seek Up”and the “Seek Down”but-
tons on the touchscreen to seek through radio stations
in AM, FM or SXM bands. Seek through tracks in CD
(if equipped) or iPod® modes.
6 IDENTIFYING YOUR RADIO
Page 9 of 56
5 — ENTER/BROWSE & TUNE/SCROLL
Push the ENTER/BROWSE button to accept a high-
lighted selection on the screen. Rotate the TUNE/
SCROLL rotary knob to scroll through a list or tune a
radio station.
6 — BACK
Push the BACK button to return to a previous menu or
screen.
7 — SCREEN OFF
Push the SCREEN OFF button to turn the touchscreen
OFF. To turn the touchscreen back ON, just press the
screen.
8 — VOLUME/MUTE
Rotate the rotary knob to adjust the Volume. Push the
VOLUME/MUTE button to mute the system.
9 — PHONE
Push the PHONE button on the faceplate to access the
Uconnect® Phone feature.
10 — MEDIA
Pushing the MEDIA button on the faceplate will allow
you to switch to Media mode (CD — if equipped,
USB/iPOD®, AUX, SD Card — if equipped and
Bluetooth®).
8 IDENTIFYING YOUR RADIO
Page 18 of 56
MEDIA MODE
CONTENTS
!MEDIA MODE. . . . . . . . . . . . . . . . . . . . . . . . .18
▫Common Media Functions. . . . . . . . . . . . . . . .18
▫Disc Mode — If Equipped. . . . . . . . . . . . . . . .20
▫USB/iPod® Mode. . . . . . . . . . . . . . . . . . . . . .21
▫AUX Mode. . . . . . . . . . . . . . . . . . . . . . . . . . .22
▫Bluetooth® Mode. . . . . . . . . . . . . . . . . . . . . .23
3
Page 19 of 56
MEDIA MODE
Media Mode is entered by pushing the MEDIA button
located on the faceplate. Once in Media Mode, press the
“Source” button on the touchscreen and the desired
mode button on the touchscreen. Disc (if equipped), USB,
SD Card (if equipped), AUX and Bluetooth® (if
equipped), are the Media sources available. When avail-
able, you can select the “Browse” button on the touch-
screen to be given these options:
•Now Playing
•Artists
•Albums
•Genres
•Songs
•Playlists
•Folders
You can press the “Source,” “Pause/Play” or the “Info”
button on the touchscreen for artist information on the
current song playing.
Common Media Functions
Seek Up/Seek Down
Press and release the “Right Arrow”button on the
touchscreen for the next selection. Press and release
the “Left Arrow”button on the touchscreen to
return to the beginning of the current selection, or
return to the beginning of the previous selection if the
Disc is within the first second of the current selection.
18 MEDIA MODE
Page 20 of 56
Fast Seek Up
Press and hold the “Right Arrow”button on the
touchscreen and the desired mode will begin to fast
forward through the current track until the button on
the touchscreen is released.
Fast Seek Down
Press and hold the “Left Arrow”button on the
touchscreen and the desired mode will begin to re-
wind through the current track until the button on the
touchscreen is released.
Source
Press the “Source” button on the touchscreen to select the
desired audio source: Disc (if equipped), USB, SD (if
equipped), AUX and Bluetooth® (if equipped). This
screen will time out after a few seconds and return to the
main radio screen if no selection is made.
Info
Press the “Info” button on the touchscreen to display the
current track information. Press the “X” button on the
touchscreen to cancel this feature.
Shuffle
Press the “Shuffle” button on the touchscreen to play the
selections on the USB/iPod® device in random order to
provide an interesting change of pace. Press the “Shuffle”
button on the touchscreen a second time to turn this
feature off.
Audio
Refer to “Operating Instructions — Radio Mode” for
adjusting the audio settings.
3
MEDIA MODE 19
Page 22 of 56
Eject Button — Ejecting a Disc
Push the EJECT button to eject the Disc. If you have
ejected a Disc and have not removed it within 10 seconds,
it will be reloaded. If the Disc is not removed, the radio
will reinsert the Disc but will not play it.
A Disc can be ejected with the radio and ignition OFF.
USB/iPod® Mode
USB/iPod® Mode is entered by either inserting a USB
Jump Drive or iPod® cable into the USB port, or by
pushing the MEDIA button located on the faceplate.
Once in Media Mode, press the “Source” button on the
touchscreen and select “USB/iPod.”
Inserting USB/iPod® Device
Gently insert the USB/iPod® device into the USB Port. If
you insert a USB/iPod® device with the ignition ON, the
unit will switch to USB/iPod® mode and begin to play
when you insert the device. The display will show the
track number and index time in minutes and seconds.
Play will begin at the start of track 1.
Browse
Press the “Browse” button on the touchscreen to select
Artist, Albums, Genres, Songs, Playlists or Folders from
the USB/iPod® device. Once the desired selection is
made you can chose from the available media by pressing
the button on the touchscreen. Press the “Exit” button on
the touchscreen if you wish to cancel the browse func-
tion.
3
MEDIA MODE 21
Page 37 of 56
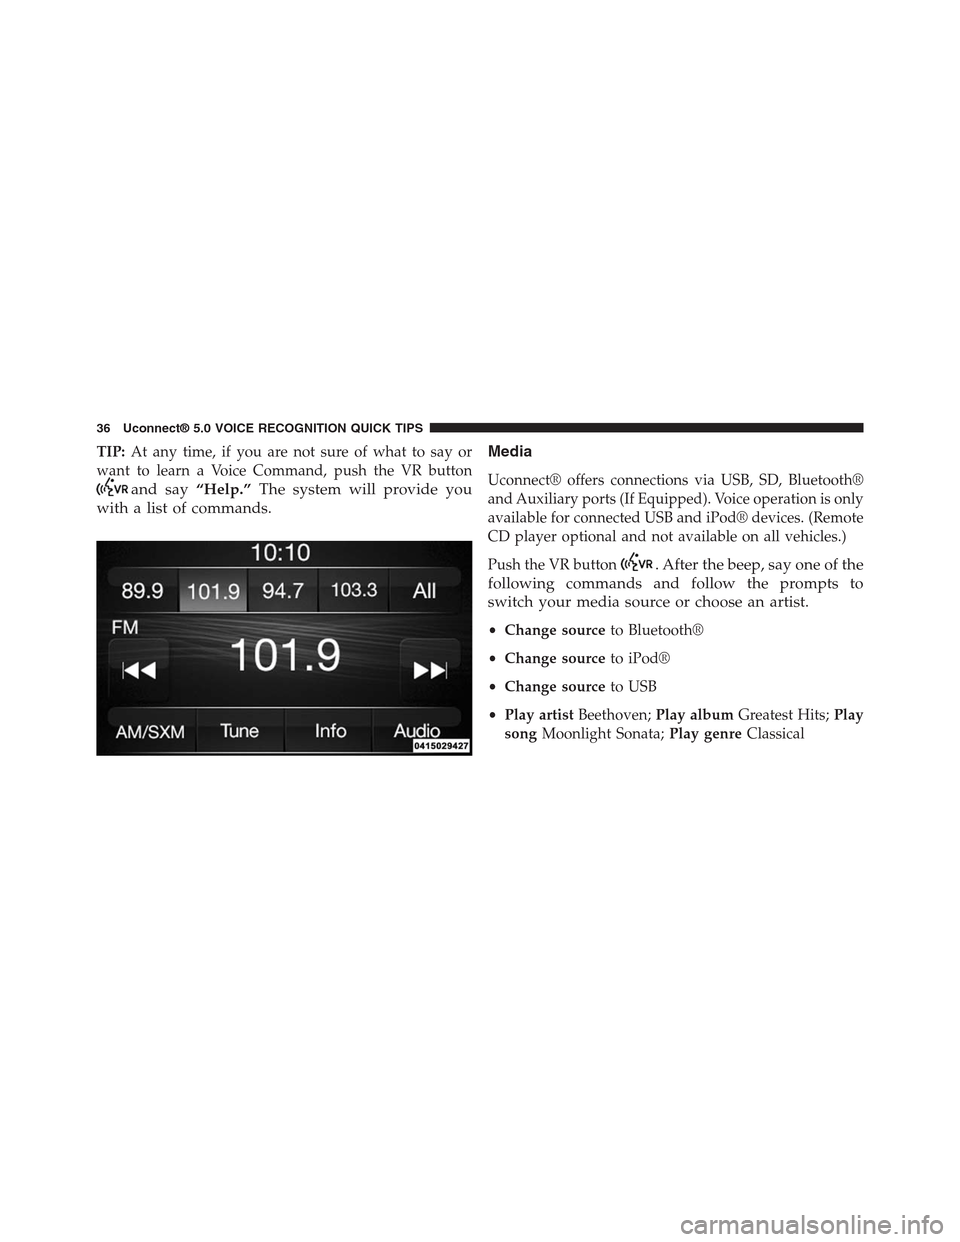
TIP:At any time, if you are not sure of what to say or
want to learn a Voice Command, push the VR button
and say“Help.”The system will provide you
with a list of commands.
Media
Uconnect® offers connections via USB, SD, Bluetooth®
and Auxiliary ports (If Equipped). Voice operation is only
available for connected USB and iPod® devices. (Remote
CD player optional and not available on all vehicles.)
Push the VR button. After the beep, say one of the
following commands and follow the prompts to
switch your media source or choose an artist.
•Change sourceto Bluetooth®
•Change sourceto iPod®
•Change sourceto USB
•Play artistBeethoven;Play albumGreatest Hits;Play
songMoonlight Sonata;Play genreClassical
36 Uconnect® 5.0 VOICE RECOGNITION QUICK TIPS
Page 38 of 56
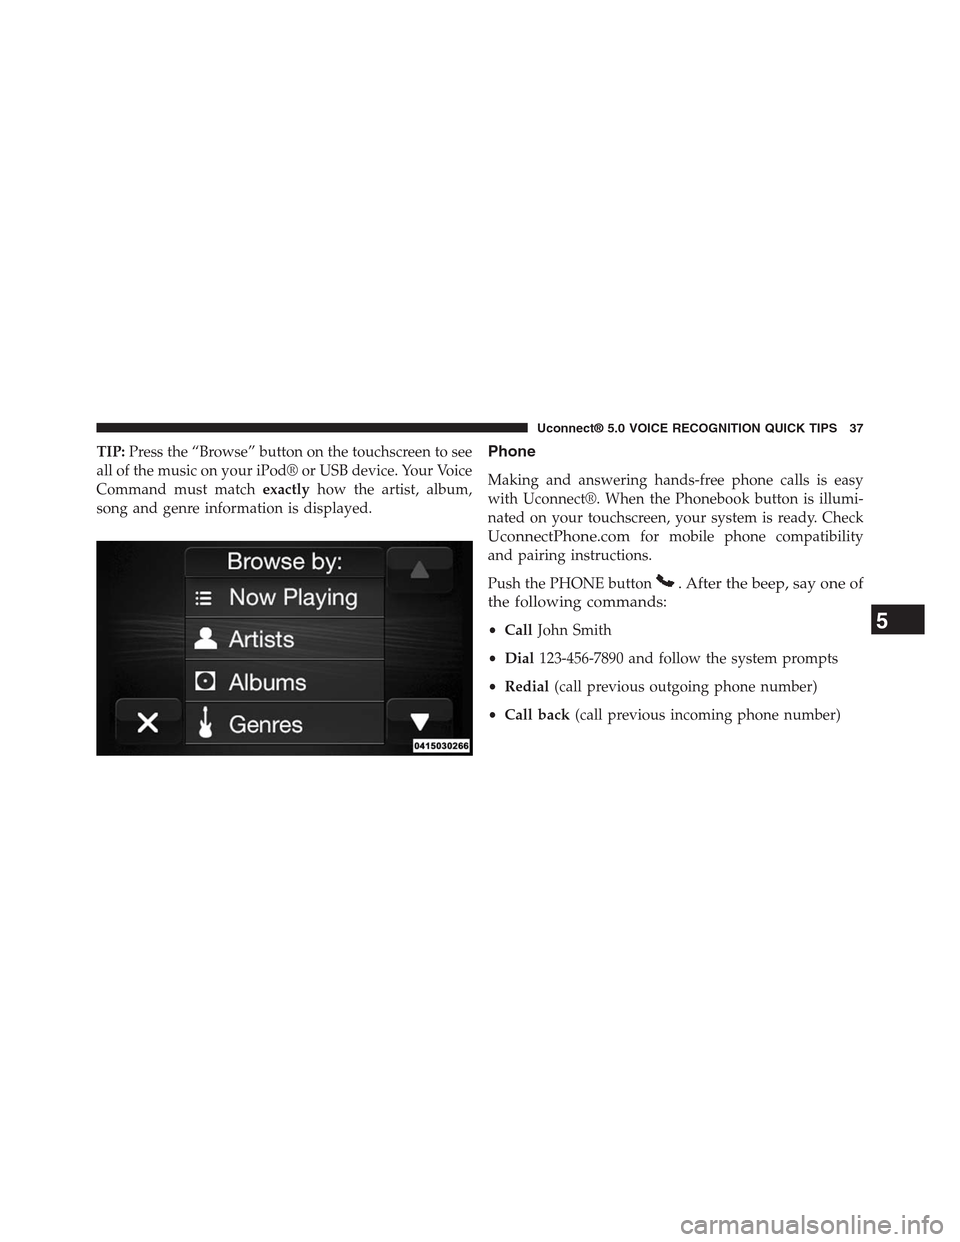
TIP:Press the “Browse” button on the touchscreen to see
all of the music on your iPod® or USB device. Your Voice
Command must matchexactlyhow the artist, album,
song and genre information is displayed.
Phone
Making and answering hands-free phone calls is easy
with Uconnect®. When the Phonebook button is illumi-
nated on your touchscreen, your system is ready. Check
UconnectPhone.comfor mobile phone compatibility
and pairing instructions.
Push the PHONE button. After the beep, say one of
the following commands:
•CallJohn Smith
•Dial123-456-7890 and follow the system prompts
•Redial(call previous outgoing phone number)
•Call back(call previous incoming phone number)
5
Uconnect® 5.0 VOICE RECOGNITION QUICK TIPS 37
Page 52 of 56
Safe Usage Of The Uconnect® System
•Read all instructions in this manual carefully before
using your system to ensure proper usage!
•Your system is a sophisticated electronic device. Do
not let young children use your system.
•Permanent hearing loss may occur if you play your
music or the system at loud volumes. Exercise caution
when setting the volume on your system.
•Keep drinks, rain and other sources of moisture away
from your system. Besides damage to your system,
moisture can cause electric shocks as with any elec-
tronic device.
NOTE:Many features of this system are speed depen-
dent. For your own safety, it is not possible to use some
of the touchscreen features while the vehicle is in motion.
Touchscreen
•Do NOT attach any object to the touchscreen, doing
so can result in damage to the touchscreen.
•Do not press the touchscreen with any hard or sharp
objects (pen, USB stick, jewelry, etc.) which could
scratch the touchscreen surface!
•Do not spray any liquid or caustic chemicals directly
on the screen! Use a clean and dry micro fiber lens
cleaning cloth in order to clean the touchscreen.
•If necessary, use a lint-free cloth dampened with a
cleaning solution, such as isopropyl alcohol or an
isopropyl alcohol and water solution ratio of 50:50. Be
sure to follow the solvent manufacturer’s precautions
and directions.8
SAFETY GUIDELINES 51