radio antenna DODGE DAKOTA 2009 3.G Owners Manual
[x] Cancel search | Manufacturer: DODGE, Model Year: 2009, Model line: DAKOTA, Model: DODGE DAKOTA 2009 3.GPages: 449, PDF Size: 10.96 MB
Page 166 of 449
NOperating Instructions Ð Hands-Free
Communication (UConnectt)Ð
If Equipped......................... 196
NClock Setting Procedure................ 196
mSales Code RES Ð AM/FM Stereo Radio With
CD Player (MP3 AUX Jack)................ 198
NOperating Instructions Ð Radio Mode...... 199
NOperation Instructions Ð CD Mode For CD
And MP3 Audio Play.................. 202
NNotes On Playing MP3 Files............. 204
NOperation Instructions - Auxiliary Mode.... 207
mSales Code RES/RSC Ð AM/FM Stereo Radio
With CD Player (MP3 AUX Jack) And Sirius
Radio............................... 207
NOperating Instructions Ð Radio Mode...... 208NOperation Instructions Ð CD Mode For CD
And MP3 Audio Play.................. 214
NNotes On Playing MP3 Files............. 216
NList Button (CD Mode For MP3 Play)...... 218
NInfo Button (CD Mode For MP3 Play)...... 219
mSound Box Operation................... 220
mSatellite Radio Ð If Equipped
(REN/REQ/RER/RES/REU Radios Only)..... 221
NSystem Activation.................... 221
NElectronic Serial Number/Sirius
Identification Number (ESN/SID)......... 221
NSelecting Satellite Mode................ 222
NSatellite Antenna..................... 222
NReception Quality.................... 223
164 UNDERSTANDING YOUR INSTRUMENT PANEL
Page 224 of 449
1. The Electronic Serial Number/Sirius Identification
Number (ESN/SID).
2. Your Vehicle Identification Number.
To access the ESN/SID, refer to the following steps:
ESN/SID Access With REQ/RES Radios
With the ignition switch in the ON/RUN or ACC posi-
tion and the radio on, press the SETUP button and scroll
using the Tune/Scroll control knob until Sirius ID is
selected. Press the Tune/Scroll control knob and the
Sirius ID number will display. The Sirius ID number
display will time out in two minutes. Press any button on
the radio to exit this screen.
ESN/SID Access With REN/RER Radios
While in SAT mode, press the MENU button on the radio
faceplate.
Next, touch the SUBSCRIPTION tab on the touch screen.
All the ESNs that apply to your vehicle will display.
ESN/SID Access With REU Radio
While in SAT mode, press the MENU button on the radio
faceplate.
Next, turn the knob surrounding the joystick in the center
of the radio to scroll to Subscription, and then press and
release the joystick. All of the ESNs that apply to your
vehicle will display.
Selecting Satellite Mode
Press the SAT button until9SAT9appears in the display. A
CD may remain in the radio while in the Satellite radio
mode.
Satellite Antenna
To ensure optimum reception, do not place items on the
roof around the rooftop antenna location or strap items to
the trunk lid around the trunk lid antenna (if equipped).
Metal objects placed within the line of sight of the
antenna will cause decreased performance. Larger lug-
gage items such as bikes should be placed as far rearward
222 UNDERSTANDING YOUR INSTRUMENT PANEL
Page 225 of 449
as possible, within the loading design of the rack. Do not
place items directly on or above the antenna.
Reception Quality
Satellite reception may be interrupted due to one of the
following reasons:
²The vehicle is parked in an underground parking
structure or under a physical obstacle.
²Dense tree coverage may interrupt reception in the
form of short audio mutes.
²Driving under wide bridges or along tall buildings can
cause intermittent reception.
²Placing objects over or too close to the antenna can
cause signal blockage.
Operating Instructions Ð Satellite Mode
NOTE:The ignition switch must be in the ON or ACC
position to operate the radio.
SEEK Buttons
Press and release the SEEK buttons to search for the next
channel in Satellite mode. Press the right switch to seek
up and the left switch to seek down. The radio will
remain tuned to the new channel until you make another
selection. Holding either button will bypass channels
without stopping until you release it.
SCAN Button (When Equipped)
Pressing the SCAN button causes the tuner to search for
the next channel, pausing for eight seconds before con-
tinuing to the next. To stop the search, press the SCAN
button a second time.
INFO Button Ð Except REU Radio
Pressing the INFO button will cycle the display informa-
tion between Artist, Song Title, and Composer (if avail-
able). Also, pressing and holding the INFO button for an
UNDERSTANDING YOUR INSTRUMENT PANEL 223
4
Page 230 of 449
3. Do not apply paper or tape to the disc; avoid scratch-
ing the disc.
4. Do not use solvents such as benzine, thinner, cleaners,
or antistatic sprays.
5. Store the disc in its case after playing.
6. Do not expose the disc to direct sunlight.
7. Do not store the disc where temperatures may become
too high.
NOTE:If you experience difficulty in playing a particu-
lar disc, it may be damaged (i.e. scratched, reflective
coating removed, a hair, moisture or dew on the disc)
oversized, or have theft protection encoding. Try a
known good disc before considering disc player service.RADIO OPERATION AND CELLULAR PHONES
Under certain conditions, the cellular phone being ON in
your vehicle can cause erratic or noisy performance from
your radio. This condition may be lessened or eliminated
by relocating the cellular phone antenna. This condition
is not harmful to the radio. If your radio performance
does not satisfactorily ªclearº by the repositioning of the
antenna, it is recommended that the radio volume be
turned down or off during cellular phone operation.
CLIMATE CONTROLS
The controls for the heating, ventilation and air condi-
tioning system in this vehicle consist of a series of rotary
knobs. These comfort controls can be set to obtain desired
interior conditions.
228 UNDERSTANDING YOUR INSTRUMENT PANEL
Page 430 of 449
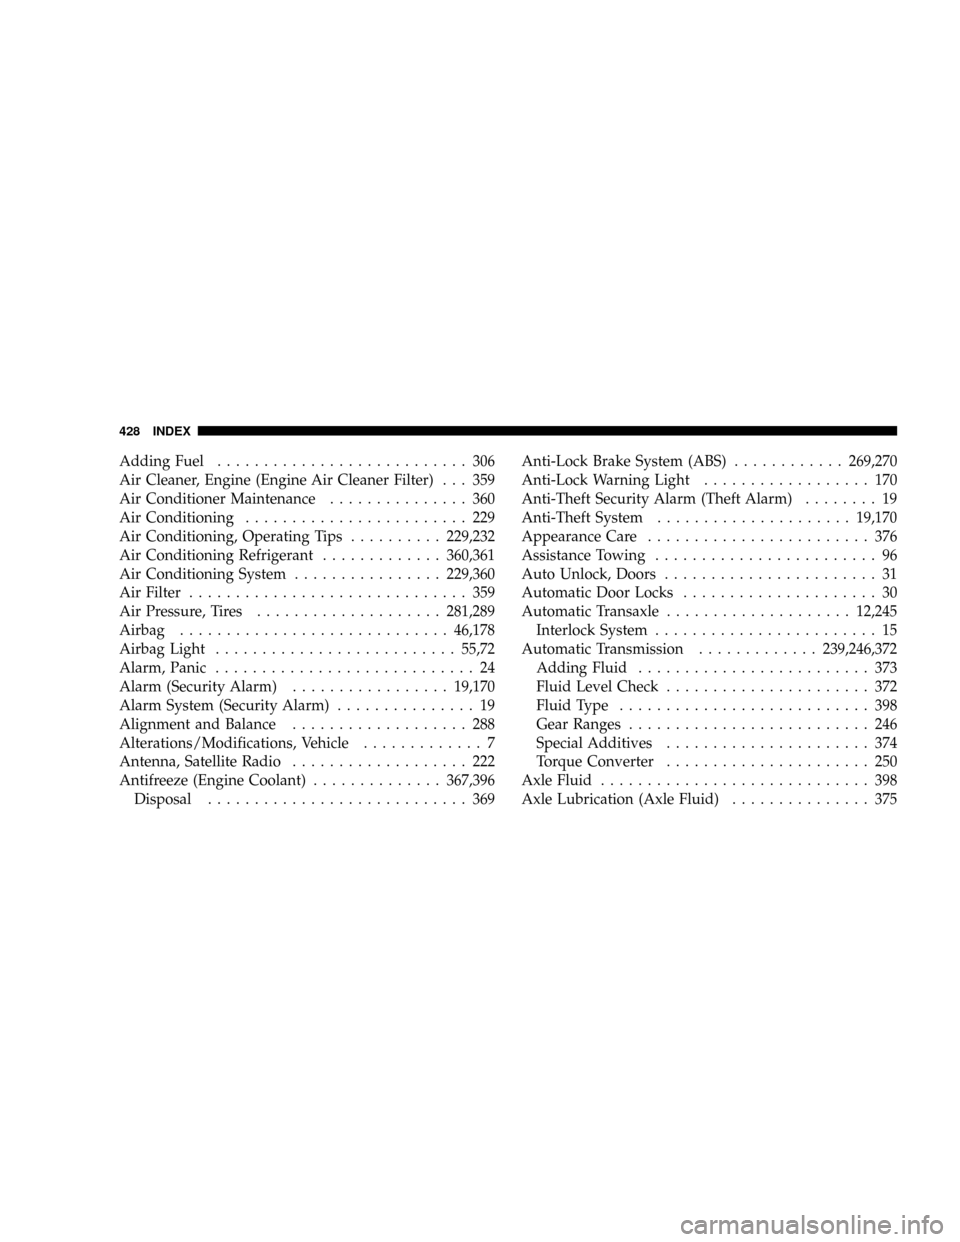
Adding Fuel........................... 306
Air Cleaner, Engine (Engine Air Cleaner Filter) . . . 359
Air Conditioner Maintenance............... 360
Air Conditioning........................ 229
Air Conditioning, Operating Tips..........229,232
Air Conditioning Refrigerant.............360,361
Air Conditioning System................229,360
Air Filter.............................. 359
Air Pressure, Tires....................281,289
Airbag.............................46,178
Airbag Light..........................55,72
Alarm, Panic............................ 24
Alarm (Security Alarm).................19,170
Alarm System (Security Alarm)............... 19
Alignment and Balance................... 288
Alterations/Modifications, Vehicle............. 7
Antenna, Satellite Radio................... 222
Antifreeze (Engine Coolant)..............367,396
Disposal............................ 369Anti-Lock Brake System (ABS)............269,270
Anti-Lock Warning Light.................. 170
Anti-Theft Security Alarm (Theft Alarm)........ 19
Anti-Theft System.....................19,170
Appearance Care........................ 376
Assistance Towing........................ 96
Auto Unlock, Doors....................... 31
Automatic Door Locks..................... 30
Automatic Transaxle....................12,245
Interlock System........................ 15
Automatic Transmission.............239,246,372
Adding Fluid......................... 373
Fluid Level Check...................... 372
Fluid Type........................... 398
Gear Ranges.......................... 246
Special Additives...................... 374
Torque Converter...................... 250
Axle Fluid............................. 398
Axle Lubrication (Axle Fluid)............... 375
428 INDEX
Page 441 of 449
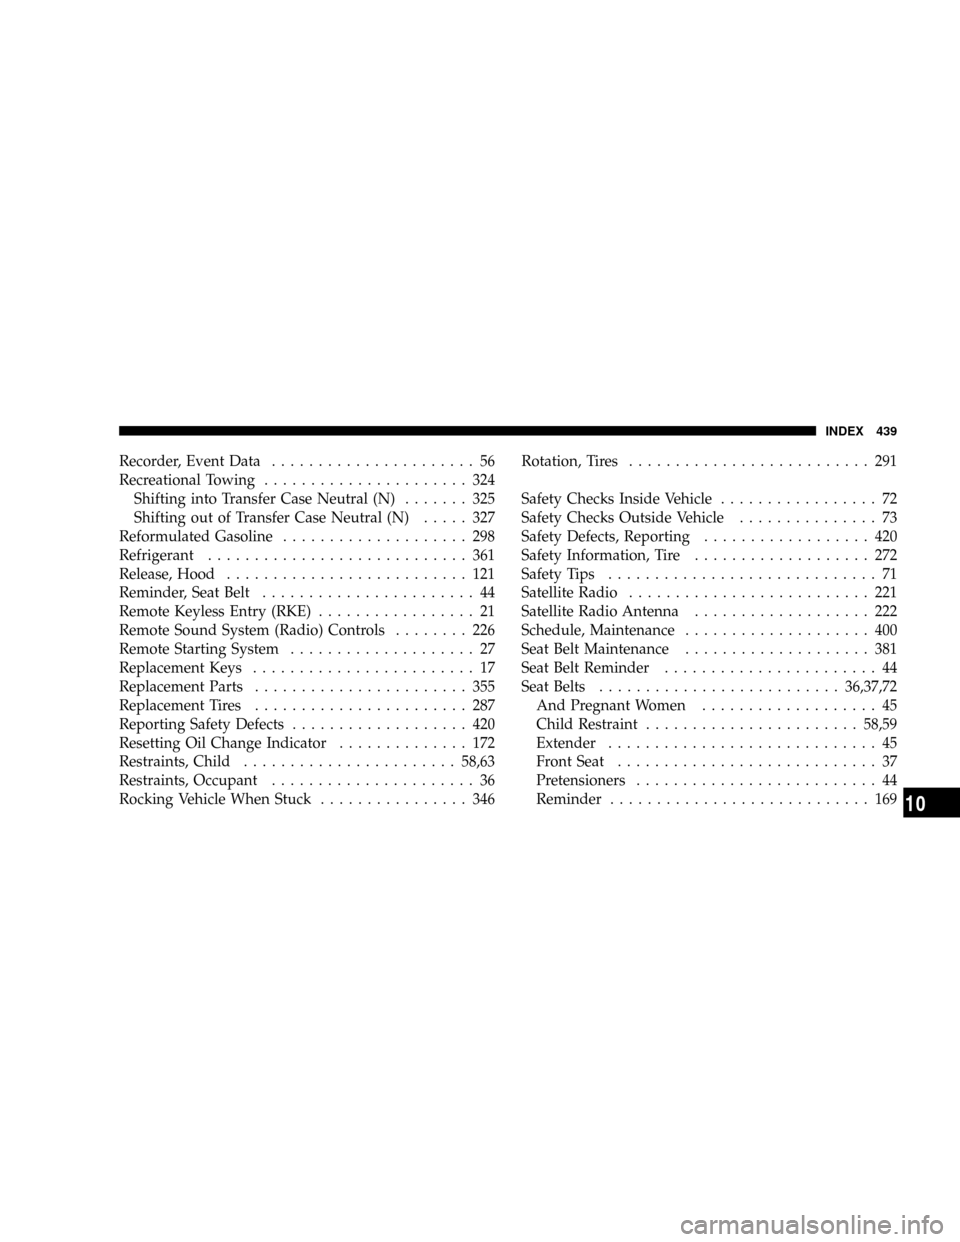
Recorder, Event Data...................... 56
Recreational Towing...................... 324
Shifting into Transfer Case Neutral (N)....... 325
Shifting out of Transfer Case Neutral (N)..... 327
Reformulated Gasoline.................... 298
Refrigerant............................ 361
Release, Hood.......................... 121
Reminder, Seat Belt....................... 44
Remote Keyless Entry (RKE)................. 21
Remote Sound System (Radio) Controls........ 226
Remote Starting System.................... 27
Replacement Keys........................ 17
Replacement Parts....................... 355
Replacement Tires....................... 287
Reporting Safety Defects................... 420
Resetting Oil Change Indicator.............. 172
Restraints, Child.......................58,63
Restraints, Occupant...................... 36
Rocking Vehicle When Stuck................ 346Rotation, Tires.......................... 291
Safety Checks Inside Vehicle................. 72
Safety Checks Outside Vehicle............... 73
Safety Defects, Reporting.................. 420
Safety Information, Tire................... 272
Safety Tips............................. 71
Satellite Radio.......................... 221
Satellite Radio Antenna................... 222
Schedule, Maintenance.................... 400
Seat Belt Maintenance.................... 381
Seat Belt Reminder....................... 44
Seat Belts..........................36,37,72
And Pregnant Women................... 45
Child Restraint.......................58,59
Extender............................. 45
Front Seat............................ 37
Pretensioners.......................... 44
Reminder............................ 169
INDEX 439
10
Page 447 of 449

INTRODUCTION INTRODUCTION HOW TO USE THIS MANUAL WARNINGS AND CAUTIONS VEHICLE IDENTIFICATION NUMBER VEHICLE MODIFICATIONS/ALTERATIONS THINGS TO KNOW BEFORE STARTING YOUR VEHICLE A WORD ABOUT YOUR KEYS
Ignition Key RemovalLocking Doors With The KeySTEERING WHEEL LOCK - IF EQUIPPED If You Wish To Manually Lock The Steering WheelTo Release The SteeringWheel LockAutomatic Transmission Ignition Interlock SystemSENTRY KEY IMMOBILIZER SYSTEM
- IF EQUIPPED Replacement KeysCustomer Key ProgrammingVEHICLE SECURITY ALARM SYSTEM - IF EQUIPPED To Set the AlarmTo Disarm the SystemILLUMINATED ENTRY Vehicles Equipped With Power Door LocksREMOTE KEYLESS ENTRY To Unlock The
DoorsTo Lock The DoorsUsing The Panic AlarmGeneral InformationProgramming Additional TransmittersBattery ReplacementREMOTE STARTING SYSTEM -IF EQUIPPED DOOR LOCKS Manual Door LocksPower Door LocksChild Protection Door LockWINDOWS Power
WindowsAuto Down (Drivers Side Only)Window Lockout SwitchWind BuffetingOCCUPANT RESTRAINTS Lap/Shoulder BeltsAdjustable Upper Shoulder Belt AnchorageAutomatic Locking Retractors (ALR) Mode - If EquippedCenter Lap BeltsSeat Belt Pretensioners
Enhanced Driver Seat Belt Reminder System (BeltAlert) Seat Belts And Pregnant WomenSeat Belt ExtenderDriver And Right Front Passenger Supplemental Restraint System (SRS) - AirbagsEvent Data Recorder (EDR)Child RestraintENGINE BREAK-IN
RECOMMENDATIONS SAFETY TIPS Exhaust SystemSafety Checks You Should Make Inside The VehicleSafety Checks You Should Make Outside The VehicleUNDERSTANDING THE FEATURES OF YOUR VEHICLE MIRRORS Inside Day/Night MirrorOutside Mirrors
Outside Mirrors Folding Feature - If EquippedPower MirrorsHANDS-FREE COMMUNICATION (UConnect) - IF EQUIPPED OperationPhone Call FeaturesUConnect System FeaturesAdvanced Phone ConnectivityThings You Should Know About Your UConnect System
General InformationVOICE RECOGNITION SYSTEM (VR) - IF EQUIPPED Voice Recognition System (VR) OperationCommandsVoice TrainingSEATS Manual Seat AdjustmentFront Seats Manual Seat ReclinersManual Lumbar Support Adjustment - If EquippedAdjustable
Head Restraints - Front Seating PositionsSix-Way Power Seat Adjuster - Drivers Side OnlyExtended Cab/Crew Cab Rear SeatHeated Seats - If EquippedTOOPEN AND CLOSE THE HOOD LIGHTS Interior LightsBattery SaverHeadlight DelayHeadlights, Parking Lights
And Panel LightsDaytime Running Lights (Canada - Standard and U.S. Fleet Vehicles) - If EquippedLights-on ReminderFog Lights - If EquippedCargo Light - If EquippedMultifunction LeverWINDSHIELD WIPERS AND WASHERS Windshield WipersWindshield Washers
TILT STEERING COLUMN ELECTRONIC SPEED CONTROL - IF EQUIPPED To ActivateTo Set At A Desired SpeedTo DeactivateTo Resume SpeedTo Vary The Speed SettingTo Accelerate For PassingOVERHEAD CONSOLE Courtesy/Reading Lights
COMPASS/TEMPERATURE MINI-TRIP COMPUTER US/M ButtonRESET ButtonSTEP ButtonAverage Fuel Economy (AVG ECO)Distance To Empty (DTE)Trip Odometer (ODO)Elapsed Time (ET)C/T ButtonGlobal ResetCompass/Temperature DisplayAutomatic Compass
CalibrationManual Compass CalibrationTo Put Into a Calibration ModeOutside TemperatureGARAGE DOOR OPENER - IF EQUIPPED Programming HomeLinkGate Operator/Canadian ProgrammingUsing HomeLinkReprogramming A Single HomeLink ButtonSecurity
Troubleshooting TipsGeneral InformationELECTRICAL POWER OUTLETS Electrical Outlet Use With Engine OFF (Battery Fed Configuration)CUPHOLDERS REAR STORAGE - IF EQUIPPED Rear Convenience Storage CratesPlastic Grocery Bag Retainers FLOOR
CONSOLE - IF EQUIPPED Floor Console FeaturesREAR CARGO AREA UTILITY RAILS REAR WINDOW FEATURES Rear Window Defroster - If EquippedSliding Rear Window - If EquippedSLIDE-IN CAMPERS Camper ApplicationsGeneral InformationCarbon Monoxide
Warning-Vehicles Equipped With A Cap or Slide-In CampersTAILGATE Tailgate RemovalTwo-Position Tailgate/Upper Load PlatformUNDERSTANDING YOURINSTRUMENT PANEL INSTRUMENTS AND CONTROLS INSTRUMENT CLUSTER INSTRUMENT CLUSTER
DESCRIPTION ELECTRONIC DIGITAL CLOCK Clock Setting ProcedureSALES CODE REQ - AM/FM STEREO RADIO AND 6-DISC CD/DVD CHANGER (MP3/WMA AUX JACK) Operating Instructions - Radio ModeOperation Instructions - (DISC MODE for CD and
MP3/WMA Audio Play, DVD-VIDEO)Notes On Playing MP3/WMA FilesLIST Button (DISC Mode for MP3/WMA Play)INFO Button (DISC Mode for MP3/WMA Play)AM/FM/CD/DVD MULTIMEDIA SYSTEM RADIO (RER/REN) - IF EQUIPPED Operating Instructions - Voice
Recognition System (VR) - If EquippedOperating Instructions - Hands-Free Communication (UConnect) - If EquippedClock Setting ProcedureSALES CODE RES - AM/FM STEREO RADIO WITH CD PLAYER (MP3 AUX JACK) Operating Instructions - Radio ModeOperation
Instructions - CD MODE For CD And MP3 Audio PlayNotes on Playing MP3 FilesOperation Instructions - Auxiliary ModeSALES CODE RES/RSC - AM/FM STEREO RADIO WITH CD PLAYER (MP3 AUX JACK) AND SIRIUS RADIO Operating Instructions - Radio Mode
Operation Instructions - CD MODE for CD and MP3 Audio PlayNotes On Playing MP3 FilesLIST Button (CD Mode for MP3 Play)INFO Button (CD Mode for MP3 Play)SOUND BOX OPERATION SATELLITE RADIO - IF EQUIPPED (REN/REQ/RER/RES/REU RADIOS ONLY)
System ActivationElectronic Serial Number/Sirius Identification Number (ESN/SID)Selecting Satellite ModeSatellite AntennaReception QualityOperating Instructions - Satellite ModeOperating Instructions - Hands-Free Phone (If Equipped)Operating Instructions - Video
Entertainment System (VES) (If Equipped)REMOTE SOUND SYSTEM CONTROLS - IF EQUIPPED Radio OperationCD PlayerCD/DVD MAINTENANCE RADIO OPERATION AND CELLULAR PHONES CLIMATE CONTROLS Air Conditioning And Heater Operating Tips
Operation Tips Chart STARTING AND OPERATING STARTING PROCEDURES Manual TransmissionAutomatic TransmissionNormal StartingExtreme Cold Weather(below -20 degrees F or -29 degrees C)If Engine Fails To StartAfter StartingENGINE BLOCK HEATER -
IF EQUIPPED MANUAL TRANSMISSION Shifting DownshiftingReverse ShiftingAUTOMATIC TRANSMISSION Brake/Transmission Interlock SystemAutomatic TransmissionFOUR-WHEEL DRIVE OPERATION NV233/243 GII Transfer Case Operating Information/
PrecautionsShifting Procedure - NV233/243 Transfer Case NV 244 Generation II Transfer Case Operating Information / PrecautionsShifting Procedure - NV 244 Generation II Transfer Case LIMITED-SLIP REAR AXLE DIFFERENTIAL - IF EQUIPPED DRIVING ON SLIPPERY
SURFACES DRIVING THROUGH WATER Flowing/Rising WaterShallow Standing WaterPOWER STEERING Power Steering Fluid CheckPARKING BRAKE BRAKE SYSTEM Rear-Wheel Anti-Lock Brake System (ABS) - If EquippedFour-Wheel Anti-Lock Brake System
(ABS)TIRE SAFETY INFORMATION Tire Markings Tire Identification Number (TIN)Tire Loading and Tire PressureTIRES - GENERAL INFORMATION Tire PressureTire Inflation PressuresTire Pressures for High Speed OperationRadial Ply TiresCompact Spare Tire - If
EquippedLimited-Use Spare - If EquippedTire SpinningTread Wear IndicatorsLife of TireReplacement TiresAlignment And BalanceSUPPLEMENTAL TIREPRESSURE
INFORMATION - IF EQUIPPED TIRE CHAINS SNOW TIRES TIRE ROTATION RECOMMENDATIONS TIRE PRESSURE MONITOR SYSTEM (TPMS) - IF EQUIPPED Base System - If EquippedGeneral InformationFUEL REQUIREMENTS Reformulated Gasoline
Gasoline/Oxygenate BlendsE-85 Usage In Non-Flex Fuel VehiclesMMT In GasolineMaterials Added To FuelFuel System CautionsCarbon Monoxide WarningsFLEXIBLE FUEL (4.7L ENGINE ONLY) - IF EQUIPPED E-85 General InformationETHANOL FUEL (E-85)Fuel
RequirementsSelection Of Engine Oil For Flexible Fuel Vehicles (E-85) and Gasoline VehiclesStartingCruising RangeReplacement PartsADDING FUELFuel Filler Cap (Gas Cap)VEHICLE LOADING Certification LabelCurb WeightLoadingTRAILER TOWING Common Towing
DefinitionsTrailer Hitch ClassificationTrailer Towing Weights (Maximum Trailer Weight Ratings)Trailer and Tongue WeightTowing RequirementsTowing TipsSNOWPLOW RECREATIONAL TOWING (BEHIND MOTORHOME, ETC.) 2WD Models4WD ModelsWHAT TO DO
IN EMERGENCIES HAZARD WARNING FLASHER CHANGING A FLAT TIRE Jack LocationRemoving The Spare TireTire Changing ProcedurePreparationsInstructionsTo Stow the Flat or SpareJUMP-STARTING FREEING A STUCK VEHICLE EMERGENCY TOW HOOKS
- IF EQUIPPED TOWING A DISABLED VEHICLE Four-Wheel Drive VehiclesTwo-Wheel Drive VehiclesMAINTAINING YOUR VEHICLE ENGINE COMPARTMENT - 3.7L ENGINE COMPARTMENT - 4.7L ONBOARD DIAGNOSTIC SYSTEM - OBD II Loose Fuel Filler Cap
MessageEMISSIONS INSPECTION AND MAINTENANCE PROGRAMS REPLACEMENT PARTS DEALER SERVICE MAINTENANCE PROCEDURES Engine OilEngine Oil FilterEngine Air Cleaner FilterMaintenance-Free BatteryAir Conditioner MaintenanceDrive Shaft
Constant Velocity JointsBody LubricationWindshield Wiper BladesWindshield WashersExhaust SystemCooling SystemBrake SystemClutch HydraulicSystemManual TransmissionAutomatic TransmissionTransfer CaseAxlesAppearance Care and Protection from Corrosion
FUSES Underhood Fuses (Power Distribution Center)VEHICLE STORAGE REPLACEMENT LIGHT BULBS BULB REPLACEMENT Headlight (Halogen)/Front Park And Turn LightsRear Side Marker, Taillamps/Stop Lamps, And Turn Signal Bulbs - ReplacementCenter
High-Mounted Stop Light And Cargo LampLicense LampsFog LightsFLUIDS AND CAPACITIES FLUIDS, LUBRICANTS AND GENUINE PARTS EngineChassisMAINTENANCE SCHEDULES EMISSIONS CONTROL SYSTEM MAINTENANCE MAINTENANCE SCHEDULE
Required Maintenance IntervalsIF YOU NEED CONSUMER ASSISTANCE SUGGESTIONS FOR OBTAINING SERVICE FOR YOUR VEHICLE Prepare For The AppointmentPrepare A ListBe Reasonable With RequestsWARRANTY INFORMATION (U.S. Vehicles Only)
MOPAR PARTS REPORTING SAFETY DEFECTS In The 50 United States And Washington, D.CIn CanadaPUBLICATION ORDER FORMS DEPARTMENT OF TRANSPORTATION UNIFORM TIRE QUALITY GRADES TreadwearTraction GradesTemperature GradesIF YOU
NEED ASSISTANCE Chrysler LLC Customer CenterChrysler Canada Inc. Customer CenterIn Mexico contactCustomer Assistance For The Hearing Or Speech Impaired (TDD/TTY)Service ContractINDEX
Page 448 of 449
INSTALLATION OF RADIO TRANSMITTING
EQUIPMENT
Special design considerations are incorporated into this
vehicle’s electronic system to provide immunity to radio
frequency signals. Mobile two-way radios and telephone
equipment must be installed properly by trained person-
nel. The following must be observed during installation.
The positive power connection should be made directly
to the battery and fused as close to the battery as possible.
The negative power connection should be made to body
sheet metal adjacent to the negative battery connection.
This connection should not be fused.
Antennas for two-way radios should be mounted on the
roof or the rear area of the vehicle. Care should be used
in mounting antennas with magnet bases. Magnets may
affect the accuracy or operation of the compass on
vehicles so equipped. The antenna cable should be as short as practical and
routed away from the vehicle wiring when possible. Use
only fully shielded coaxial cable.
Carefully match the antenna and cable to the radio to
ensure a low Standing Wave Ratio (SWR).
Mobile radio equipment with output power greater than
normal may require special precautions.
All installations should be checked for possible interfer-
ence between the communications equipment and the
vehicle’s electronic systems.