brake DODGE DART 2014 PF / 1.G User Guide
[x] Cancel search | Manufacturer: DODGE, Model Year: 2014, Model line: DART, Model: DODGE DART 2014 PF / 1.GPages: 140, PDF Size: 4.57 MB
Page 5 of 140
VEHICLES SOLD IN CANADA
With respect to any vehicles sold in Canada, the name Chrysler Group LLC shall be deemed
to be deleted and the name Chrysler Canada Inc. used in substitution.
WARNING!
• Pedals that cannot move freely can cause loss of vehicle control and increase therisk of serious personal injury.
• Always make sure that objects cannot fall into the driver foot well while the vehicle is
moving. Objects can become trapped under the brake pedal and accelerator pedal
causing a loss of vehicle control.
• Failure to properly follow floor mat installation or mounting can cause interference
with the brake pedal and accelerator pedal operation causing loss of control of the
vehicle.
• Never leave children alone in a vehicle, or with access to an unlocked vehicle.
Allowing children to be in a vehicle unattended is dangerous for a number of reasons.
A child or others could be seriously or fatally injured. Children should be warned not
to touch the parking brake, brake pedal or the shift lever/gear selector.
• Never use the ‘PARK’ position as a substitute for the parking brake. Always apply the parking brake fully when parked to guard against vehicle movement and possible
injury or damage.
• Refer to your Owner's Manual on the DVD for further details.
USE OF AFTERMARKET PRODUCTS (ELECTRONICS)
The use of aftermarket devices including cell phones, MP3 players, GPS systems, or chargers
may affect the performance of on-board wireless features including Keyless Enter-N-Go™ and
Remote Start range. If you are experiencing difficulties with any of your wireless features, try
disconnecting your aftermarket devices to see if the situation improves. If your symptoms
persist, please see an authorized dealer.
CHRYSLER, DODGE, JEEP, RAM TRUCK, ATF+4, MOPAR and Uconnect are registered trade-
marks of Chrysler Group LLC.
COPYRIGHT ©2014 CHRYSLER GROUP LLC
INTRODUCTION/WELCOME
3
Page 8 of 140
INSTRUMENT CLUSTER
1. Tachometer
2. Selectable Information Area
3. Electronic Vehicle Information Center (EVIC)
4. Speedometer
Warning Lights
- Low Fuel Warning Light
- Charging System Light**
- Oil Pressure Warning Light
- Anti-Lock Brake (ABS)Light**
- Air Bag Warning Light**
- Electronic Throttle Control(ETC) Light
- Tire Pressure MonitoringSystem (TPMS) Light
- Engine Temperature WarningLight
- Power Steering SystemWarning Light
- Seat Belt Reminder Light
BRAKE- Brake Warning Light**
- Malfunction Indicator Light(MIL)**
- Electronic Stability Control(ESC) Activation/
Malfunction Indicator Light*
(See page 83 for more information.)
CONTROLS AT A GLANCE
6
Page 11 of 140
Emergency Key
• Should the battery in the vehicle or the Key Fob transmitter go dead, there is anemergency key located in the Key Fob. To remove the emergency key, slide the button at
the back of the Key Fob sideways with your thumb and then pull the key out with your
other hand.
• The emergency key is also for locking the glove compartment.
WARNING!
• Never leave children alone in a vehicle, or with access to an unlocked vehicle. Allowing children to be in a vehicle unattended is dangerous for a number of reasons.
A child or others could be seriously or fatally injured. Children should be warned not
to touch the parking brake, brake pedal or the shift lever.
• Do not leave the Key Fob in or near the vehicle, or in a location accessible to children,
and do not leave the ignition of a vehicle equipped with Keyless Enter-N-Go™ in the
ACC or ON/RUN mode. A child could operate power windows, other controls, or move
the vehicle.
REMOTE START
• Press the REMOTE START buttonx2on the Key Fob twice within five seconds. Pressing
the REMOTE START button a third time shuts the engine off.
• To drive the vehicle, press the UNLOCK button and cycle the ignition to the ON/RUN position.
• With remote start, the engine will only run for 15 minutes (timeout) unless the ignition is cycled to the ON/RUN position.
• The vehicle must be cycled to the ON/RUN position after two consecutive timeouts.
WARNING!
• Do not start or run an engine in a closed garage or confined area. Exhaust gas contains Carbon Monoxide (CO) which is odorless and colorless. Carbon Monoxide is
poisonous and can cause you or others to be severely injured or killed when inhaled.
• Keep Key Fob transmitters away from children. Operation of the Remote Start
System, windows, door locks or other controls could cause you and others to be
severely injured or killed.
GETTING STARTED
9
Page 14 of 140
Engine Starting/Stopping
Starting
• With a valid Keyless Enter-N-Go™ Key Fobinside the vehicle.
• Place the shift lever in PARK or NEUTRAL.
• While pressing the brake pedal, press the ENGINE START/STOP button once. If the
engine fails to start, the starter will disen-
gage automatically after 10 seconds.
• To stop the cranking of the engine prior to the engine starting, press the button
again.
NOTE:
In case the ignition switch does not change
with the push of a button, the RKE transmit-
ter (Key Fob) may have a low or dead battery.
In this situation a back up method can be
used to operate the ignition switch. Put the nose side of the Key Fob against the ENGINE
START/STOP button and push to operate the ignition switch.
Stopping
1. Bring the vehicle to a complete stop.
2. Shift the transmission to PARK (P).
3. Push the ENGINE START/STOP button once. The ignition switch will return to the OFF position.
NOTE:
If the transmission is not in PARK and the vehicle is in motion, the ENGINE START/STOP
button must be held for two seconds with the vehicle speed above 5 mph (8 km/h) before
the engine will shut off.
Accessory Positions With Engine Off
NOTE:
The following functions are with the driver’s foot OFF the brake pedal (transmission in PARK
or NEUTRAL position).
1 — Engine START/STOP Button
GETTING STARTED
12
Page 31 of 140
To Decrease Speed
• When the Electronic Speed Control is set, you can decrease speed by pushing the SET-
button.
The speed decrement shown is dependant on the speed of U.S. (mph) or Metric (km/h) units:
U.S. Speed (mph)
• Pressing the SET -button once will result i n a 1 mph decrease in set speed. Each
subsequent tap of the button results in a decrease of 1 mph.
• If the button is continually pressed, the set speed will continue to decrease until the button is released, then the new set speed will be established.
Metric Speed (km/h)
• Pressing the SET -button once will result i n a 2 km/h decrease in set speed. Each
subsequent tap of the button results in a decrease of 2 km/h.
• If the button is continually pressed, the set speed will continue to decrease until the button is released, then the new set speed will be established.
Resume
• To resume a previously selected set speed in memory, push the RES + button andrelease.
Cancel
• Push the CANCEL button, or apply the brakes to cancel the set speed and maintain theset speed memory.
• Push the ON/OFF button to turn the system off and erase the set speed memory.
WARNING!
• Leaving the Electronic Speed Control system on when not in use is dangerous. You could accidentally set the system or cause it to go faster than you want. You could
lose control and have a collision. Always leave the Electronic Speed Control system
off when you are not using it.
• Electronic Speed Control can be dangerous where the system cannot maintain a constant speed. Your vehicle could go too fast for the conditions, and you could lose
control. A collision could be the result. Do not use Electronic Speed Control in heavy
traffic or on roads that are winding, icy, snow-covered or slippery.
OPERATING YOUR VEHICLE
29
Page 38 of 140
Shifting The Transmission
• The transmission shift lever position (PRND) is displayed both on the shift lever and in theElectronic Vehicle Information Center (EVIC).
• To drive, depress the brake pedal, press the button on the front of the shift lever and move the shift lever from PARK or NEUTRAL to the DRIVE position.
• Manual shifts can also be made using the AutoStick® shift control.
• This transmission is programmed to prevent shifting from Reverse to Drive or Drive to Reverse, if vehicle speed is above 6 mph (10 km/h). This safety feature helps protect your
transmission from damage.
NOTE:
• When stopped on an incline, it is recommended that you always hold the vehicle in place using the brakes. On steep inclines, Hill Start Assist (HSA) will temporarily hold the car in
position when the brake pedal is released. If the accelerator pedal is not applied after a
short time, the car will roll back. Either reapply the brake (to hold the vehicle) or press the
accelerator to climb the hill.
• During acceleration, gear changes will feel smooth compared to a vehicle with a tradi- tional manual transmission. This is a benefit of the dual clutch design that avoids power
loss during up-shifts.
Instrument Cluster Messages
• Messages will be displayed in the instrument cluster (if equipped with an EVIC) to alertthe driver when certain conditions occur. These messages are described below.
MESSAGE DESCRIPTION
GEAR NOT AVAILABLE In AutoStick® mode, the gear selected by
the driver is not available due to a fault
condition. See your authorized dealer for diagnosis and service.
SHIFT NOT ALLOWED The gear position requested by the driver is
currently blocked. This occurs if NEUTRAL is requested while moving, if REVERSE is
requested while moving (at 6 mph [10 km/h]
or faster), if DRIVE is requested while moving
backwards (at 6 mph [10 km/h] or faster), or if 3rd gear or higher is requested at a stop.Make sure the vehicle is stopped before engaging DRIVE or REVERSE.
OPERATING YOUR VEHICLE
36
Page 39 of 140
MESSAGEDESCRIPTION
SHIFT TO NEUTRAL THEN D or R The transmission has shifted itself into NEUTRAL (due to a fault condition, or over-
heat due to excessive idling when stopped in
DRIVE with the brakes released), but the shift lever remains in gear. Shift into NEUTRAL
and then back into gear for continued driving. If the transmission will not reengage, see your authorized dealer.
AUTOSTICK NOT AVAILABLE AutoStick® mode is unavailable due to a
shift lever fault. See your authorized dealer for diagnosis and service.
AUTOMATIC MODE NOT AVAILABLE The transmission is unable to shift itself automatically, due to a fault condition.
Use the AutoStick® mode to shift the trans-
mission manually. See your authorized dealer for diagnosis and service.
REDUCE GEAR CHANGES The transmission pump is overheating.
In AutoStick® mode, try to drive in one
specific gear as much as possible, avoiding frequent gear changes. In DRIVE, the trans- mission will automatically modify its shiftschedule to reduce the number of shifts.
TRANS. GETTING HOT PRESS BRAKE The transmission driving clutch is over- heating, usually due to repeated launches instop-and-go traffic. Pull over and allow the transmission to cool in NEUTRAL until“TRANS. COOL READY TO DRIVE” is displayed.
TRANS. HOT STOP SAFELY SHIFT TO P The transmission driving clutch has over- heated. Pull over, shift the transmission intoPARK, and allow the vehicle to cool until “TRANS. COOL READY TO DRIVE” is displayed.
SERVICE TRANSMISSION A transmission fault has been detected.
See your authorized dealer for diagnosis and service.
SERVICE SHIFTER A shift lever fault has been detected.
See your authorized dealer for diagnosis and service.
ENGAGE PARK BRAKE The sensor that monitors PARK engagement
is not functioning properly. Engage the
parking brake to ensure that the vehicle will not roll when in PARK.
• Refer to your Owner's Manual on the DVD for further details.
OPERATING YOUR VEHICLE
37
Page 87 of 140
- Engine Temperature Warning Light
This light warns of an overheated engine condition.
If the light turns on or flashes continuously while driving, safely pull over and stop the
vehicle. If the A/C system is on, turn it off. Also, shift the transmission into NEUTRAL and
idle the vehicle. If the temperature reading does not return to normal, turn the engine off
immediately.
We recommend that you do not operate the vehicle or engine damage will occur. Have the
vehicle serviced immediately.
WARNING!
A hot engine cooling system is dangerous. You or others could be badly burned by steam
or boiling coolant.
BRAKE- Brake Warning Light
The Brake Warning light illuminates when there is either a system malfunction or the
parking brake is applied. If the light is on and the parking brake is not applied, it indicates a
possible brake hydraulic malfunction, brake booster problem or an Anti-Lock Brake System
problem.
Please have your vehicle serviced immediately.
WARNING!
Driving a vehicle with the red brake light on is dangerous. Part of the brake system may
have failed. It will take longer to stop the vehicle. You could have a collision. Have the
vehicle checked immediately.
- Malfunction Indicator Light (MIL)
Certain conditions, such as a loose or missing gas cap, poor fuel quality, etc., may
illuminate the MIL after engine start. The vehicle should be serviced if the light stays on
through several typical driving cycles. In most situations, the vehicle will drive normally and
not require towing.
If the MIL flashes when the engine is running, serious conditions may exist that could lead
to immediate loss of power or severe catalytic converter damage. We recommend you do
not operate the vehicle. Have the vehicle serviced immediately.
- Electronic Stability Control (ESC) OFF Indicator Light
This light indicates the Electronic Stability Control (ESC) is off.
WHAT TO DO IN EMERGENCIES
85
Page 88 of 140
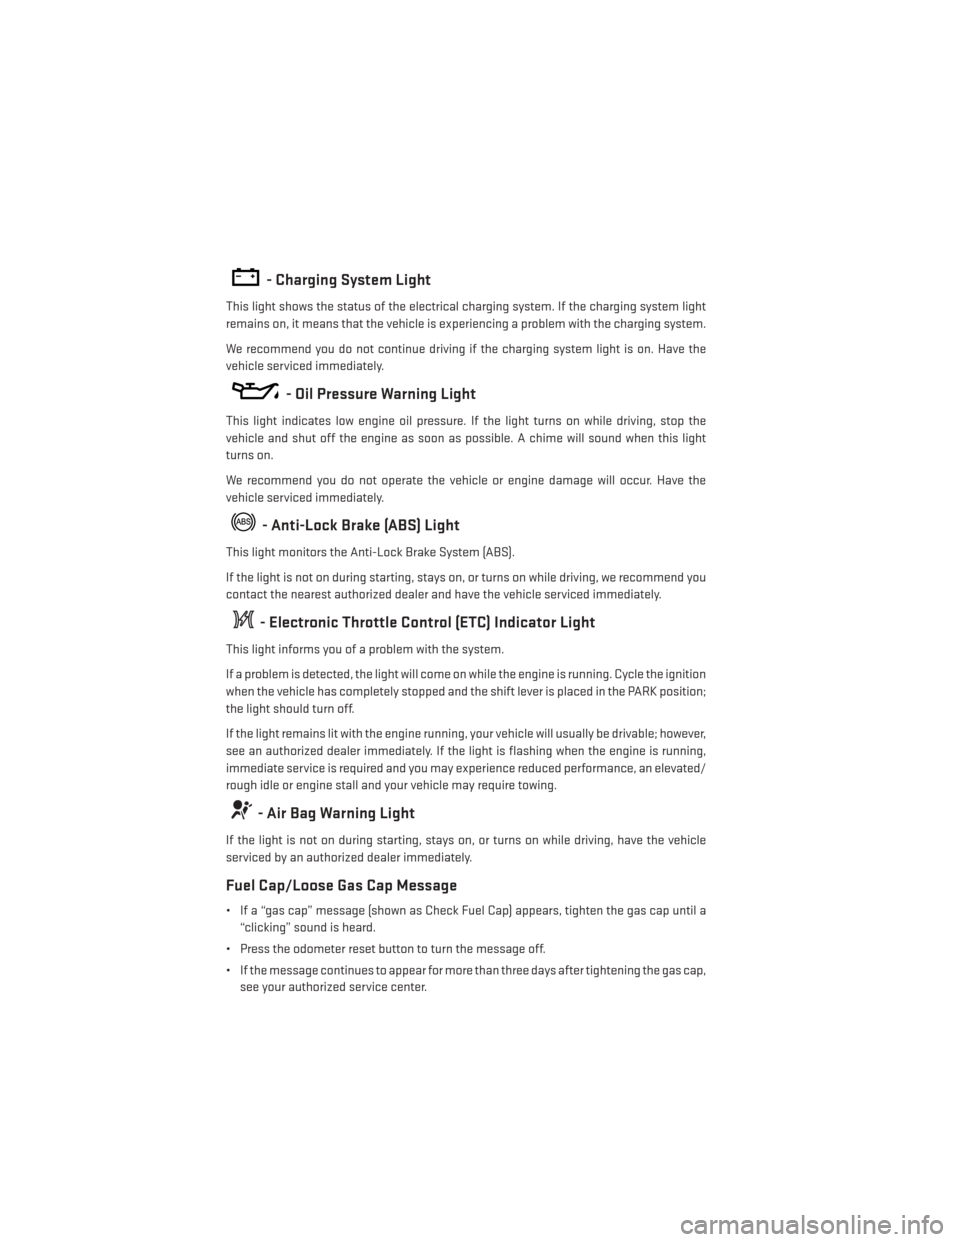
- Charging System Light
This light shows the status of the electrical charging system. If the charging system light
remains on, it means that the vehicle is experiencing a problem with the charging system.
We recommend you do not continue driving if the charging system light is on. Have the
vehicle serviced immediately.
- Oil Pressure Warning Light
This light indicates low engine oil pressure. If the light turns on while driving, stop the
vehicle and shut off the engine as soon as possible. A chime will sound when this light
turns on.
We recommend you do not operate the vehicle or engine damage will occur. Have the
vehicle serviced immediately.
- Anti-Lock Brake (ABS) Light
This light monitors the Anti-Lock Brake System (ABS).
If the light is not on during starting, stays on, or turns on while driving, we recommend you
contact the nearest authorized dealer and have the vehicle serviced immediately.
- Electronic Throttle Control (ETC) Indicator Light
This light informs you of a problem with the system.
If a problem is detected, the light will come on while the engine is running. Cycle the ignition
when the vehicle has completely stopped and the shift lever is placed in the PARK position;
the light should turn off.
If the light remains lit with the engine running, your vehicle will usually be drivable; however,
see an authorized dealer immediately. If the light is flashing when the engine is running,
immediate service is required and you may experience reduced performance, an elevated/
rough idle or engine stall and your vehicle may require towing.
- Air Bag Warning Light
If the light is not on during starting, stays on, or turns on while driving, have the vehicle
serviced by an authorized dealer immediately.
Fuel Cap/Loose Gas Cap Message
• If a “gas cap” message (shown as Check Fuel Cap) appears, tighten the gas cap until a“clicking” sound is heard.
• Press the odometer reset button to turn the message off.
• If the message continues to appear for more than three days after tightening the gas cap, see your authorized service center.
WHAT TO DO IN EMERGENCIES
86
Page 89 of 140
Oil Change Indicator
• Your vehicle is equipped with an engine oil change indicator system. The “Oil ChangeDue” message will flash in the EVIC display for approximately 10 seconds after a single
chime has sounded, to indicate the next scheduled oil change interval. The engine oil
change indicator system is duty cycle based, which means the engine oil change interval
may fluctuate, dependent upon your personal driving style.
• Unless reset, this message will continue to display each time you turn the ignition switch to the ON/RUN position or cycle the ignition to the ON/RUN position if equipped with
Keyless Enter-N-Go™. To turn off the message temporarily, press and release the MENU
button. To reset the oil change indicator system (after performing the scheduled main-
tenance) refer to the following procedure.
Vehicles Equipped With Keyless Enter-N-Go™
1. Without pressing the brake pedal, cycle the ignition to the ON/RUN position (do not start the engine).
2. Fully depress the accelerator pedal, slowly, three times within 10 seconds.
3. Cycle the ignition to the OFF/LOCK position.
Vehicles Not Equipped With Keyless Enter-N-Go™
1. Turn the ignition switch to the ON/RUN position (do not start the engine).
2. Fully depress the accelerator pedal, slowly, three times within 10 seconds.
3. Turn the ignition switch to the OFF/LOCK position.
Using The EVIC Menu
Vehicles Equipped With Passive Entry
• Without pressing the brake pedal, press the ENGINE START/STOP button and cycle the ignition to the ON/RUN position (Do not start the engine.)
• Press and release the DOWN
arrow button to scroll downward through the main
menu to “Vehicle Info”.
• Press and release the RIGHT
arrow button to access the ”Oil Life” screen.
• Press and hold the RIGHT
arrow button for one second to access the ”Oil Life Reset”
screen.
• Press and hold the DOWN
arrow button until the screen shows 100% oil life.
• Press and release the Up arrow button to exit the EVIC screen.
Vehicles Not Equipped With Passive Entry
• Without pressing the brake pedal, cycle the ignition to the ON/RUN position (Do not start the engine.)
• Press and release the DOWN
arrow button to scroll downward through the main
menu to “Vehicle Info”.
• Press and release the RIGHT
arrow button to access the ”Oil Life” screen.
WHAT TO DO IN EMERGENCIES
87