wheel DODGE DART 2014 PF / 1.G Owner's Manual
[x] Cancel search | Manufacturer: DODGE, Model Year: 2014, Model line: DART, Model: DODGE DART 2014 PF / 1.GPages: 140, PDF Size: 4.57 MB
Page 58 of 140
USB Port
• Connect your MP3 Player or compatibledevice using a USB cable into the USB
Port. USB Memory sticks with audio files
can also be used. Then, audio from the
device can be played on the vehicles
sound system while providing metadata
(artist, track title, album, etc.) information
on the radio display.
• When connected, the MP3 Player/ compatible USB device can be controlled
using the radio or Steering Wheel Audio
Controls to play, skip to the next or previ-
ous track, browse, and list the contents.
• The MP3 Player battery charges when plugged into the USB port (if supported by
the specific device).
• To route the audio cable out of the center console, use the access cut out on the right side of the console.
ELECTRONICS
56
Page 67 of 140
Uconnect® Phone (Bluetooth® HANDS FREE CALLING)
• If the Uconnect® PhoneButton exists on your steering wheel, then you have the
Uconnect® Phone features.
• The Uconnect® Phone is a voice-activated, hands-free, in-vehicle communications system with Voice Command Capability (see Voice Command section).
• The Uconnect® Phone allows you to dial a phone number stored in your mobile phone by using simple voice commands or using screen soft-keys.
• Refer to the “Understand The Features Of Your Vehicle” section of your vehicle's Owner's Manual on the DVD for further details.
NOTE:
The Uconnect® Phone requires a mobile phone equipped with the Bluetooth® Hands-Free
Profile, Version 1.0 or higher. For Uconnect® customer support, call 1–877–855–8400 or
visit www.UconnectPhone.com. Canadian Residents: call 1-800-465–2001 (English) or
1-800-387-9983 (French) or visit www.UconnectPhone.com.
Pairing A Phone
• To use the Uconnect® Phone feature, you must first pair your Bluetooth® phone with the Uconnect® system.
NOTE:
For Voice Command enabled phone pairing, refer to your vehicles Owner's Manual for
details.
Start Pairing Procedure On The Radio
• Touch the “Phone” soft-key and then the “Settings” soft-key. Next, touch “Add
Device.”
•
Uconnect® Phone will display an “In prog-
ress” screen while the system is connecting.
Start Pairing Procedure On Mobile Phone
• Search for available devices on your Bluetooth® enabled mobile phone. This is
usually within Settings or Options under
“Bluetooth®.” See your mobile phone’s
manual for details.
NOTE:
For assistance in pairing your phone, contact Uconnect® customer support at 1–877–855–8400
or visit www.UconnectPhone.com. Canadian Residents: call 1-800-465–2001 (English) or
1-800-387-9983 (French) or visit www.UconnectPhone.com.
• When your phone finds the system, select “Uconnect” as the paired device.
ELECTRONICS
65
Page 68 of 140
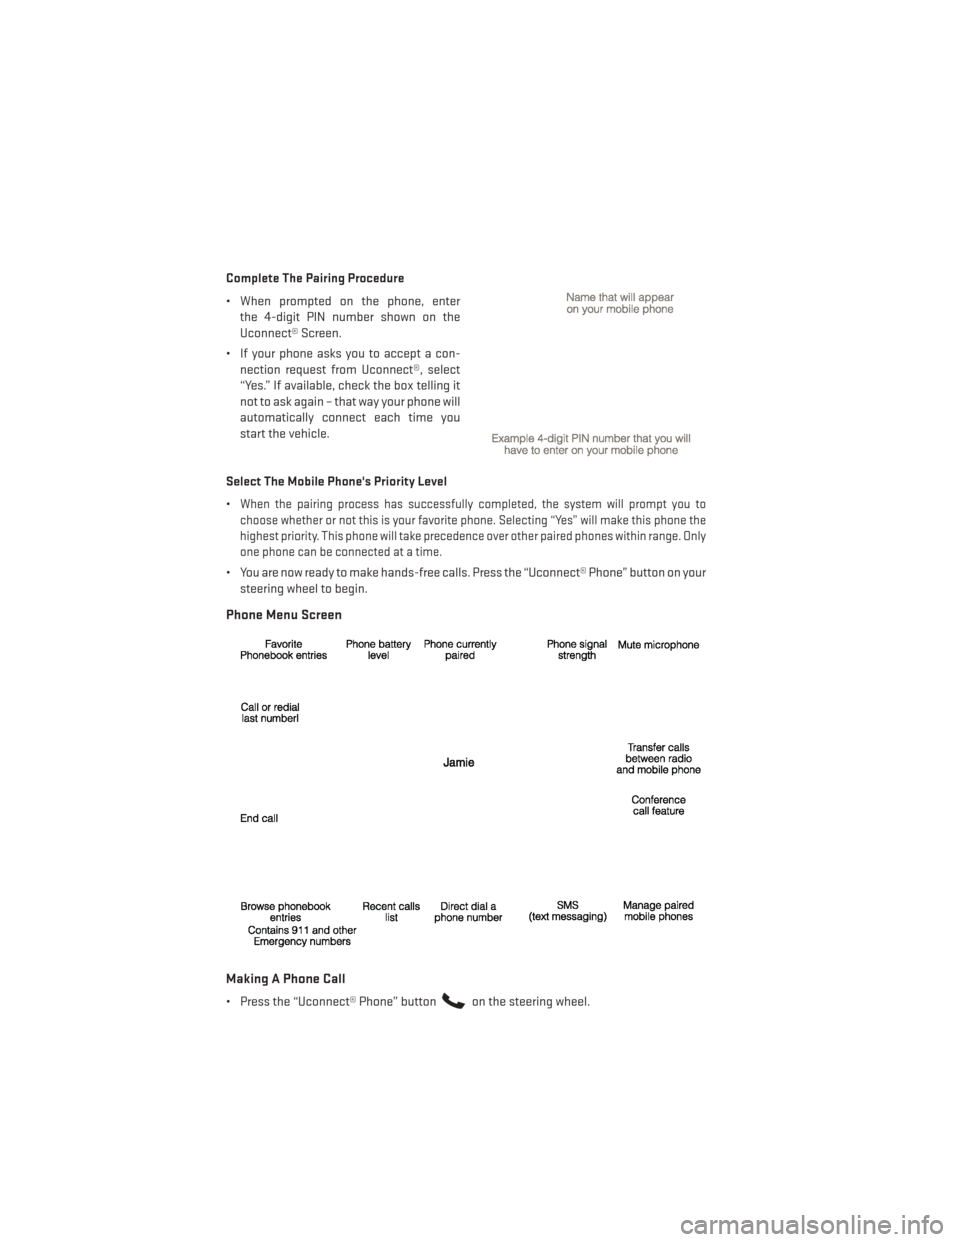
Complete The Pairing Procedure
• When prompted on the phone, enterthe 4-digit PIN number shown on the
Uconnect® Screen.
• If your phone asks you to accept a con- nection request from Uconnect®, select
“Yes.” If available, check the box telling it
not to ask again – that way your phone will
automatically connect each time you
start the vehicle.
Select The Mobile Phone's Priority Level
•
When the pairing process has successfully completed, the system will prompt you to
choose whether or not this is your favorite phone. Selecting “Yes” will make this phone the
highest priority. This phone will take precedence over other paired phones within range. Only
one phone can be connected at a time.
• You are now ready to make hands-free calls. Press the “Uconnect® Phone” button on your steering wheel to begin.
Phone Menu Screen
Making A Phone Call
• Press the “Uconnect® Phone” buttonon the steering wheel.
ELECTRONICS
66
Page 70 of 140
Voice Command Tips
• The Phonebutton is for placing calls, or responding to texts, or Phone controls.
• The Voice Command
button is for controlling Media, such as changing broad-
cast modes, (FM, SATELLITE), or Tuning to stations (95.5 or “Symphony Hall”).
• Take care to speak into the Voice Command System as calmly and normally as possible. The ability of Voice Command to recognize user voice commands may be negatively
affected by rapid speaking or a raised voice level.
• Use longer names that are less easily mistaken for others. For examples, say “Call John Doe” instead of “Call John”.
• You can “chain” commands together for faster results. Say “Call John Doe, mobile”, for example.
•
You can interrupt while the system is talking to you, enabling you to say your response
without waiting. Just press the
button on the steering wheel to say your command.
Changing The Volume
• Start a dialogue by pressing the “Phone” button, then say a command for example
- “Help”.
• Use the radio ON/OFF VOLUME rotary knob to adjust the volume to a comfortable level while the Uconnect® system is speaking. Please note the volume setting for Uconnect® is
different than the audio system.
NOTE:
To access help, press the “Uconnect® Phone”
button on the steering wheel and say
“help.” Touch the display or push either
orbutton and say “cancel” to cancel
the help session.
Voice Text Reply
• Uconnect® Phone can read or send new text messages on your mobile phone.
• Your mobile phone must support Voice Text Reply over Bluetooth® in order to use this feature. If the Uconnect® Phone determines your phone is not compatible with Voice Text
Reply messaging over Bluetooth® the “Messaging” button will be greyed out and the
feature will not be available for use.
NOTE: • For mobile phone compatibility and pairing instructions, please visitwww.UconnectPhone.com.
• When the vehicle is in motion, Uconnect® Phone Voice Text Reply is only available though Voice Commands.
ELECTRONICS
68
Page 72 of 140
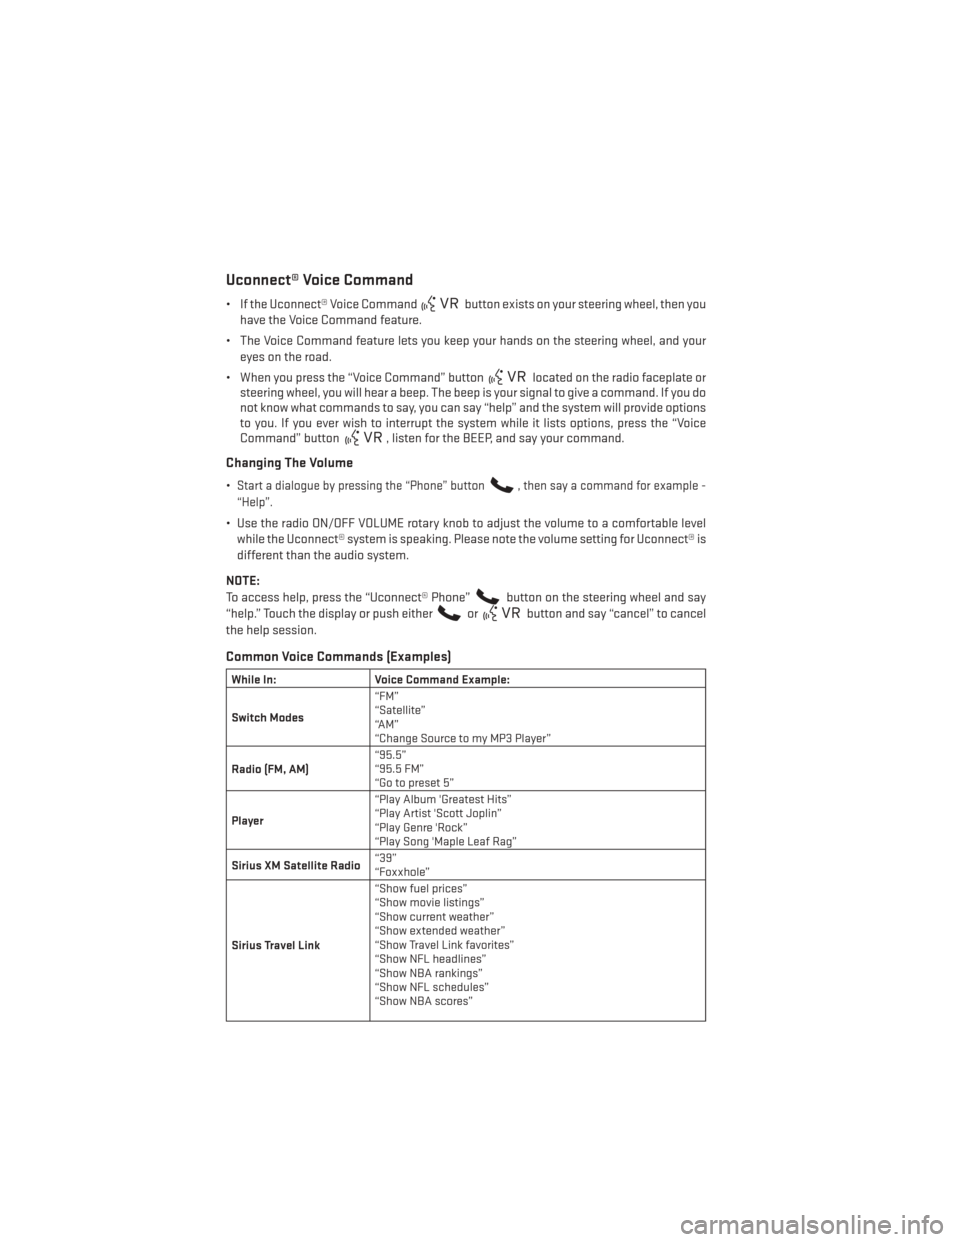
Uconnect® Voice Command
• If the Uconnect® Voice Commandbutton exists on your steering wheel, then you
have the Voice Command feature.
• The Voice Command feature lets you keep your hands on the steering wheel, and your eyes on the road.
• When you press the “Voice Command” button
located on the radio faceplate or
steering wheel, you will hear a beep. The beep is your signal to give a command. If you do
not know what commands to say, you can say “help” and the system will provide options
to you. If you ever wish to interrupt the system while it lists options, press the “Voice
Command” button
, listen for the BEEP, and say your command.
Changing The Volume
•Start a dialogue by pressing the “Phone” button, then say a command for example -
“Help”.
• Use the radio ON/OFF VOLUME rotary knob to adjust the volume to a comfortable level while the Uconnect® system is speaking. Please note the volume setting for Uconnect® is
different than the audio system.
NOTE:
To access help, press the “Uconnect® Phone”
button on the steering wheel and say
“help.” Touch the display or push either
orbutton and say “cancel” to cancel
the help session.
Common Voice Commands (Examples)
While In: Voice Command Example:
Switch Modes “FM”
“Satellite”
“AM”
“Change Source to my MP3 Player”
Radio (FM, AM) “95.5”
“95.5 FM”
“Go to preset 5”
Player “Play Album 'Greatest Hits”
“Play Artist 'Scott Joplin”
“Play Genre 'Rock”
“Play Song 'Maple Leaf Rag”
Sirius XM Satellite Radio “39”
“Foxxhole”
Sirius Travel Link “Show fuel prices”
“Show movie listings”
“Show current weather”
“Show extended weather”
“Show Travel Link favorites”
“Show NFL headlines”
“Show NBA rankings”
“Show NFL schedules”
“Show NBA scores”
ELECTRONICS
70
Page 74 of 140
WARNING!
• Any voice commanded system should be used only in safe driving conditions follow-ing applicable laws regarding phone use. Your attention should be focused on safely
operating the vehicle. Failure to do so may result in a collision causing you and others
to be severely injured or killed.
• In an emergency, to use Uconnect® Phone, your mobile phone must be:
• turned on,
• paired to Uconnect® Phone,
• and have network coverage.
STEERING WHEEL AUDIO CONTROLS
• The steering wheel audio controls are lo-cated on the rear surface of the steering
wheel.
Right Switch
• Press the switch up or down to increase ordecrease the volume.
• Press the button in the center to change modes AM/FM/CD/SXM.
Left Switch
• Press the switch up or down to search forthe next listenable station or select the next or previous CD track.
• Press the button in the center to select the next preset station (radio) or to change CDs if equipped with a CD Changer.
ELECTRONICS
72
Page 75 of 140
ELECTRONIC VEHICLE INFORMATION CENTER (EVIC) —
STANDARD (2 BUTTON)
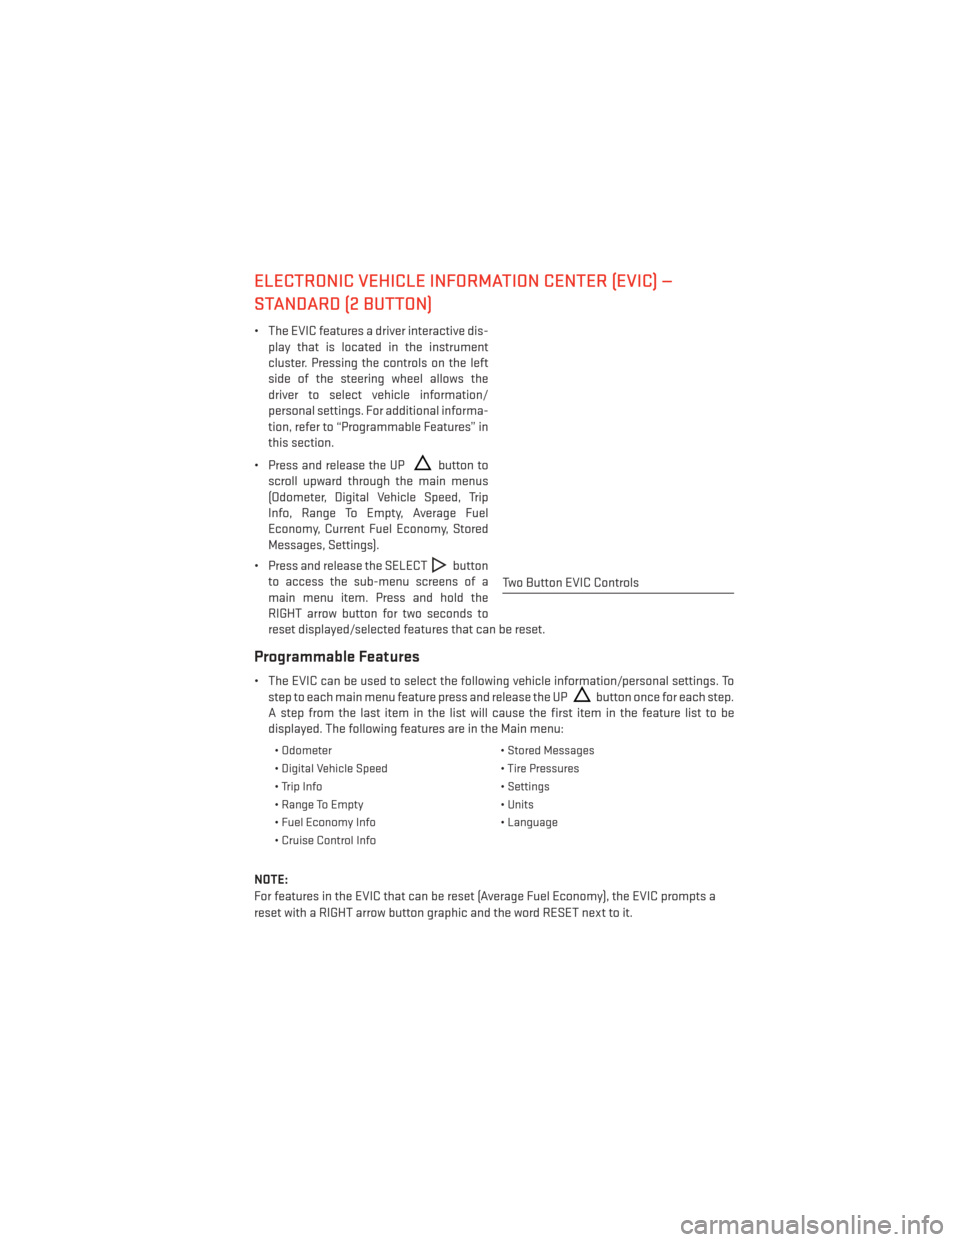
• The EVIC features a driver interactive dis-play that is located in the instrument
cluster. Pressing the controls on the left
side of the steering wheel allows the
driver to select vehicle information/
personal settings. For additional informa-
tion, refer to “Programmable Features” in
this section.
• Press and release the UP
button to
scroll upward through the main menus
(Odometer, Digital Vehicle Speed, Trip
Info, Range To Empty, Average Fuel
Economy, Current Fuel Economy, Stored
Messages, Settings).
• Press and release the SELECT
button
to access the sub-menu screens of a
main menu item. Press and hold the
RIGHT arrow button for two seconds to
reset displayed/selected features that can be reset.
Programmable Features
• The EVIC can be used to select the following vehicle information/personal settings. To step to each main menu feature press and release the UP
button once for each step.
A step from the last item in the list will cause the first item in the feature list to be
displayed. The following features are in the Main menu:
• Odometer • Stored Messages
• Digital Vehicle Speed • Tire Pressures
• Trip Info • Settings
• Range To Empty • Units
• Fuel Economy Info • Language
• Cruise Control Info
NOTE:
For features in the EVIC that can be reset (Average Fuel Economy), the EVIC prompts a
reset with a RIGHT arrow button graphic and the word RESET next to it.
Two Button EVIC Controls
ELECTRONICS
73
Page 76 of 140
ELECTRONIC VEHICLE INFORMATION CENTER (EVIC) —
PREMIUM (4 BUTTON)
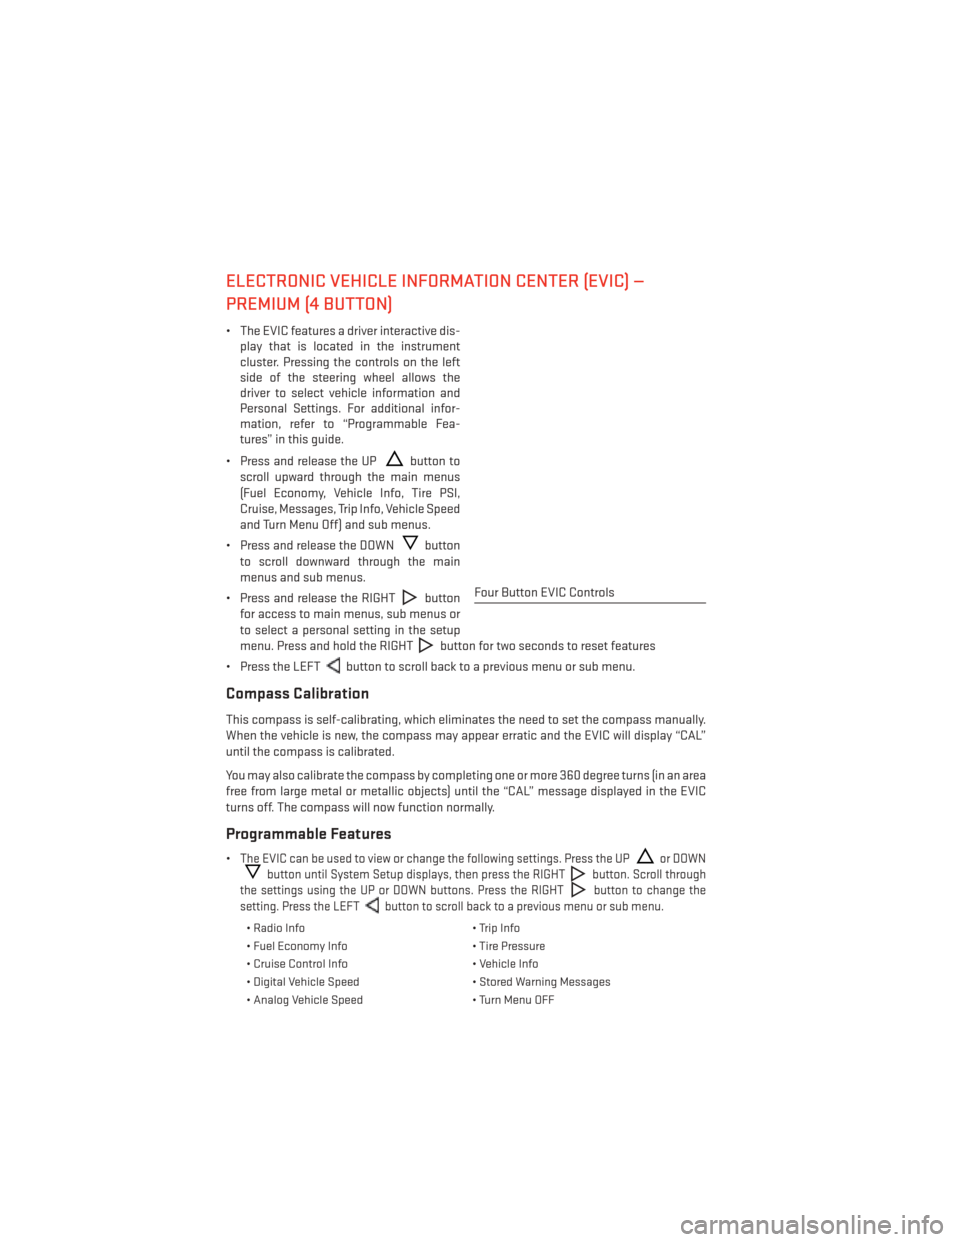
• The EVIC features a driver interactive dis-play that is located in the instrument
cluster. Pressing the controls on the left
side of the steering wheel allows the
driver to select vehicle information and
Personal Settings. For additional infor-
mation, refer to “Programmable Fea-
tures” in this guide.
• Press and release the UP
button to
scroll upward through the main menus
(Fuel Economy, Vehicle Info, Tire PSI,
Cruise, Messages, Trip Info, Vehicle Speed
and Turn Menu Off) and sub menus.
• Press and release the DOWN
button
to scroll downward through the main
menus and sub menus.
• Press and release the RIGHT
button
for access to main menus, sub menus or
to select a personal setting in the setup
menu. Press and hold the RIGHT
button for two seconds to reset features
• Press the LEFT
button to scroll back to a previous menu or sub menu.
Compass Calibration
This compass is self-calibrating, which eliminates the need to set the compass manually.
When the vehicle is new, the compass may appear erratic and the EVIC will display “CAL”
until the compass is calibrated.
You may also calibrate the compass by completing one or more 360 degree turns (in an area
free from large metal or metallic objects) until the “CAL” message displayed in the EVIC
turns off. The compass will now function normally.
Programmable Features
•The EVIC can be used to view or change the following settings. Press the UPor DOWN
button until System Setup displays, then press the RIGHTbutton. Scroll through
the settings using the UP or DOWN buttons. Press the RIGHT
button to change the
setting. Press the LEFT
button to scroll back to a previous menu or sub menu.
• Radio Info • Trip Info
• Fuel Economy Info • Tire Pressure
• Cruise Control Info • Vehicle Info
• Digital Vehicle Speed • Stored Warning Messages
• Analog Vehicle Speed • Turn Menu OFF
Four Button EVIC Controls
ELECTRONICS
74
Page 84 of 140
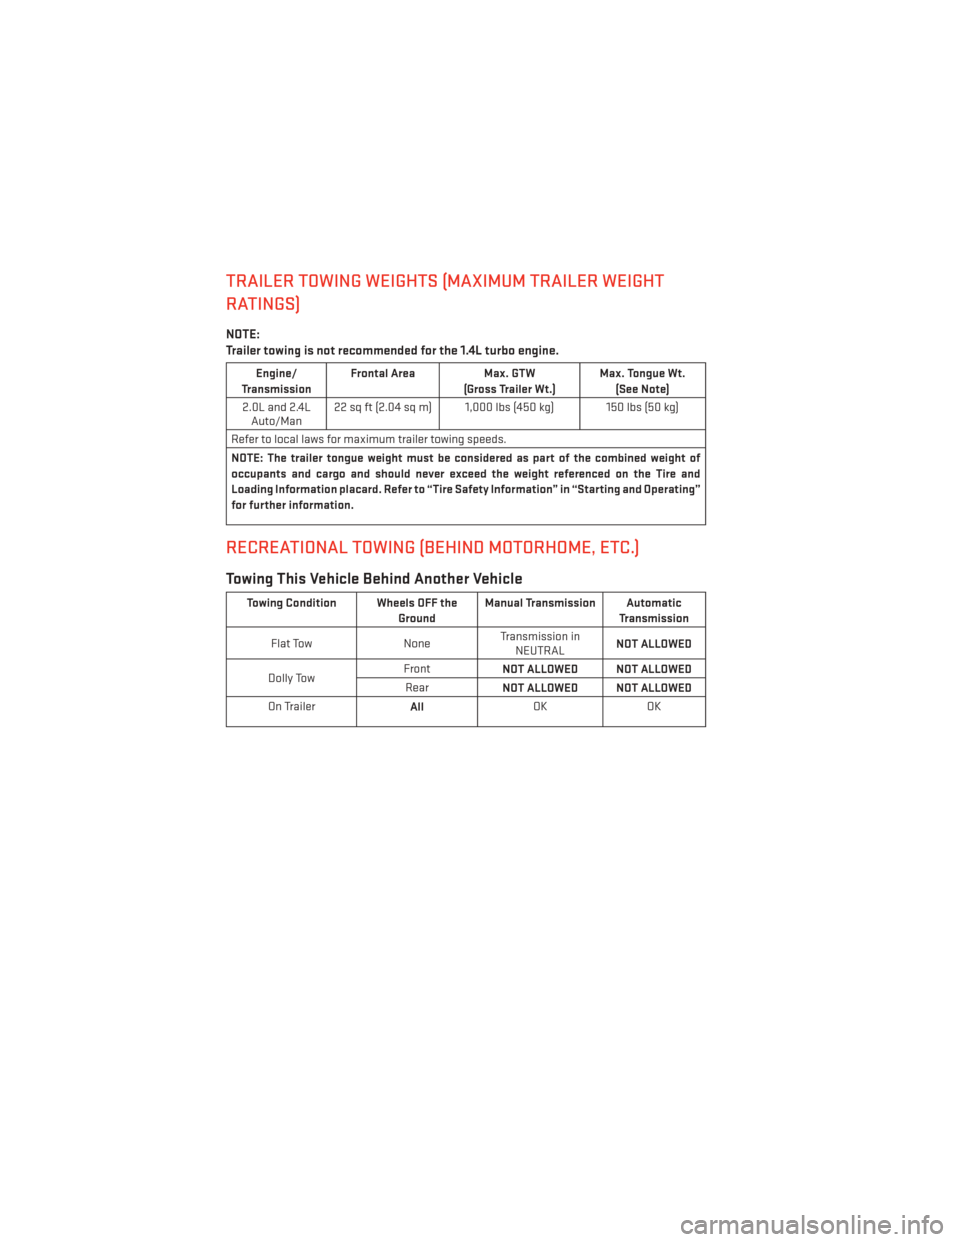
TRAILER TOWING WEIGHTS (MAXIMUM TRAILER WEIGHT
RATINGS)
NOTE:
Trailer towing is not recommended for the 1.4L turbo engine.
Engine/
Transmission Frontal Area
Max. GTW
(Gross Trailer Wt.) Max. Tongue Wt.
(See Note)
2.0L and 2.4L Auto/Man 22 sq ft (2.04 sq m) 1,000 lbs (450 kg) 150 lbs (50 kg)
Refer to local laws for maximum trailer towing speeds.
NOTE: The trailer tongue weight must be considered as part of the combined weight of
occupants and cargo and should never exceed the weight referenced on the Tire and
Loading Information placard. Refer to “Tire Safety Information” in “Starting and Operating”
for further information.
RECREATIONAL TOWING (BEHIND MOTORHOME, ETC.)
Towing This Vehicle Behind Another Vehicle
Towing Condition Wheels OFF the GroundManual Transmission Automatic
Transmission
Flat Tow NoneTransmission in
NEUTRAL NOT ALLOWED
Dolly Tow Front
NOT ALLOWED NOT ALLOWED
Rear NOT ALLOWED NOT ALLOWED
On Trailer AllOK
OK
UTILITY
82
Page 86 of 140
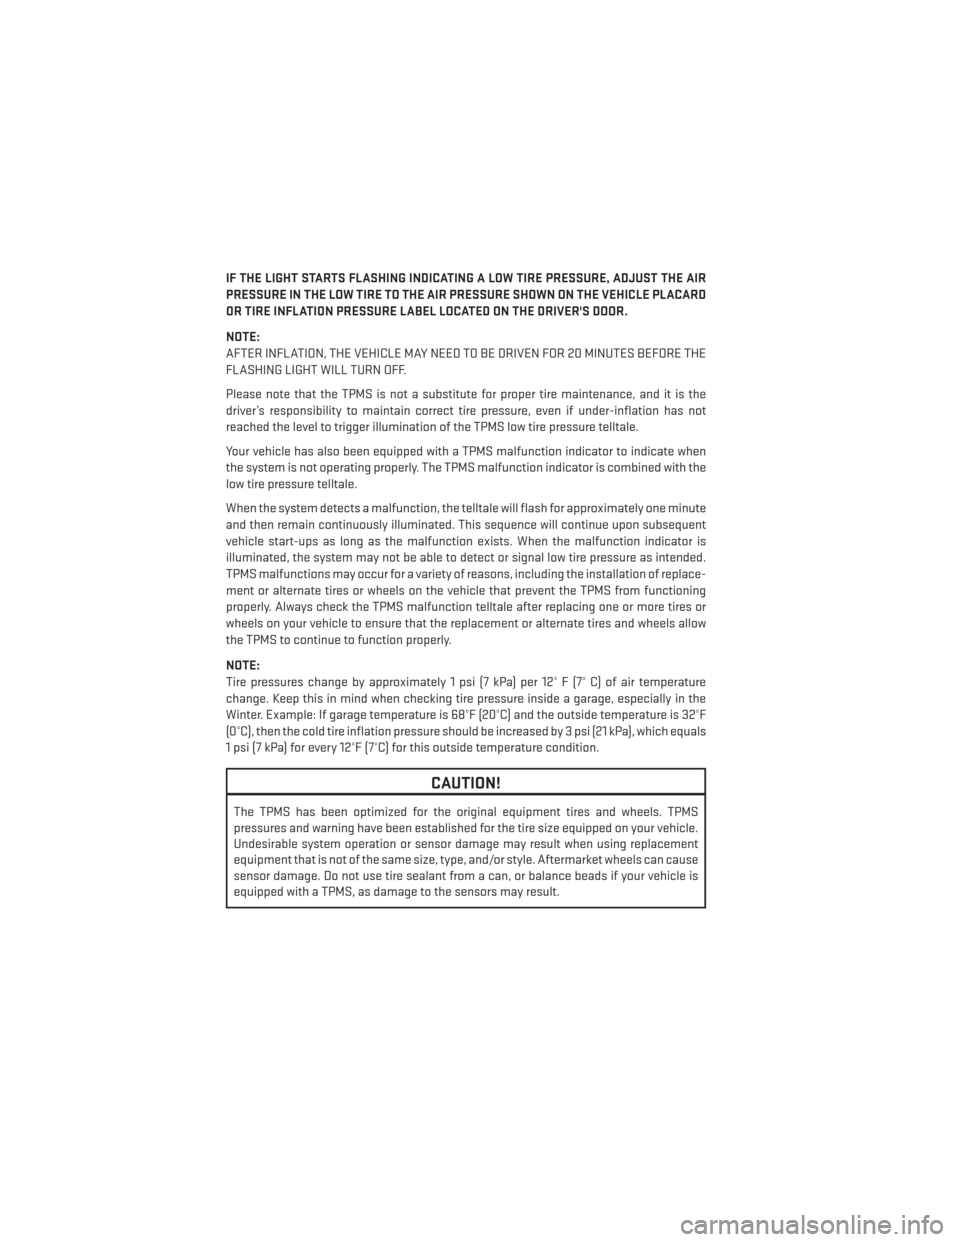
IF THE LIGHT STARTS FLASHING INDICATING A LOW TIRE PRESSURE, ADJUST THE AIR
PRESSURE IN THE LOW TIRE TO THE AIR PRESSURE SHOWN ON THE VEHICLE PLACARD
OR TIRE INFLATION PRESSURE LABEL LOCATED ON THE DRIVER'S DOOR.
NOTE:
AFTER INFLATION, THE VEHICLE MAY NEED TO BE DRIVEN FOR 20 MINUTES BEFORE THE
FLASHING LIGHT WILL TURN OFF.
Please note that the TPMS is not a substitute for proper tire maintenance, and it is the
driver’s responsibility to maintain correct tire pressure, even if under-inflation has not
reached the level to trigger illumination of the TPMS low tire pressure telltale.
Your vehicle has also been equipped with a TPMS malfunction indicator to indicate when
the system is not operating properly. The TPMS malfunction indicator is combined with the
low tire pressure telltale.
When the system detects a malfunction, the telltale will flash for approximately one minute
and then remain continuously illuminated. This sequence will continue upon subsequent
vehicle start-ups as long as the malfunction exists. When the malfunction indicator is
illuminated, the system may not be able to detect or signal low tire pressure as intended.
TPMS malfunctions may occur for a variety of reasons, including the installation of replace-
ment or alternate tires or wheels on the vehicle that prevent the TPMS from functioning
properly. Always check the TPMS malfunction telltale after replacing one or more tires or
wheels on your vehicle to ensure that the replacement or alternate tires and wheels allow
the TPMS to continue to function properly.
NOTE:
Tire pressures change by approximately 1 psi (7 kPa) per 12° F (7° C) of air temperature
change. Keep this in mind when checking tire pressure inside a garage, especially in the
Winter. Example: If garage temperature is 68°F (20°C) and the outside temperature is 32°F
(0°C), then the cold tire inflation pressure should be increased by 3 psi (21 kPa), which equals
1 psi (7 kPa) for every 12°F (7°C) for this outside temperature condition.
CAUTION!
The TPMS has been optimized for the original equipment tires and wheels. TPMS
pressures and warning have been established for the tire size equipped on your vehicle.
Undesirable system operation or sensor damage may result when using replacement
equipment that is not of the same size, type, and/or style. Aftermarket wheels can cause
sensor damage. Do not use tire sealant from a can, or balance beads if your vehicle is
equipped with a TPMS, as damage to the sensors may result.
WHAT TO DO IN EMERGENCIES
84