steering DODGE DART 2014 PF / 1.G User Guide
[x] Cancel search | Manufacturer: DODGE, Model Year: 2014, Model line: DART, Model: DODGE DART 2014 PF / 1.GPages: 140, PDF Size: 4.57 MB
Page 3 of 140
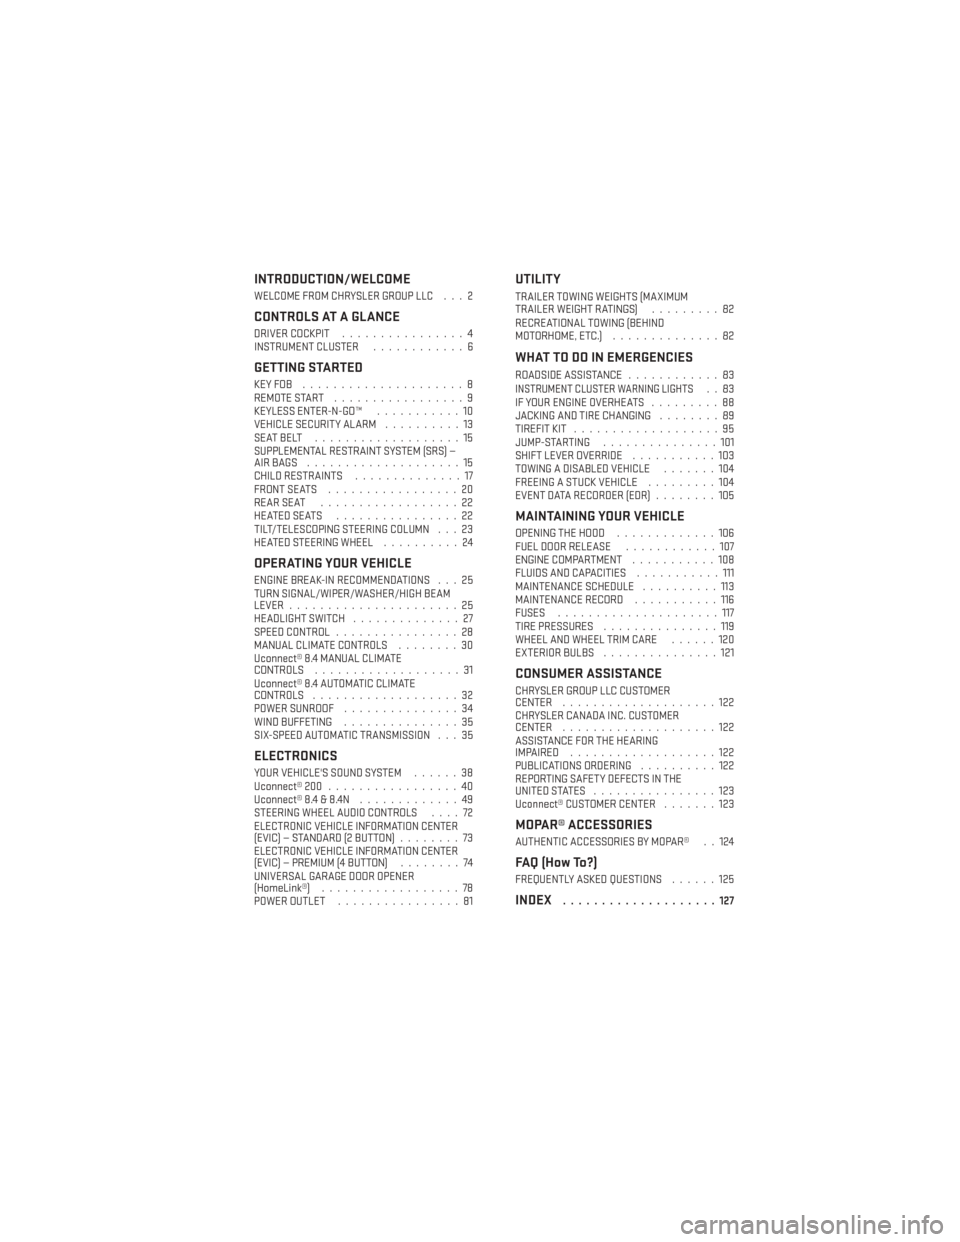
INTRODUCTION/WELCOME
WELCOME FROM CHRYSLER GROUP LLC . . . 2
CONTROLS AT A GLANCE
DRIVER COCKPIT................4
INSTRUMENT CLUSTER ............6
GETTING STARTED
KEYFOB .....................8
REMOTE START.................9
KEYLESS ENTER-N-GO™ ...........10
VEHICLE SECURITY ALARM ..........13
SEATBELT ...................15
SUPPLEMENTAL RESTRAINT SYSTEM (SRS) —
AIRBAGS ....................15
CHILD RESTRAINTS ..............17
FRONT SEATS .................20
REARSEAT ..................22
HEATEDSEATS ................22
TILT/TELESCOPING STEERING COLUMN . . . 23
HEATED STEERING WHEEL ..........24
OPERATING YOUR VEHICLE
ENGINE BREAK-IN RECOMMENDATIONS . . . 25
TURN SIGNAL/WIPER/WASHER/HIGH BEAM
LEVER......................25
HEADLIGHT SWITCH ..............27
SPEED CONTROL ................28
MANUAL CLIMATE CONTROLS ........30
Uconnect® 8.4 MANUAL CLIMATE
CONTROLS ...................31
Uconnect® 8.4 AUTOMATIC CLIMATE
CONTROLS ...................32
POWER SUNROOF ...............34
WIND BUFFETING ...............35
SIX-SPEED AUTOMATIC TRANSMISSION . . . 35
ELECTRONICS
YOUR VEHICLE'S SOUND SYSTEM ......38
Uconnect® 200 .................40
Uconnect® 8.4 & 8.4N .............49
STEERING WHEEL AUDIO CONTROLS ....72
ELECTRONIC VEHICLE INFORMATION CENTER
(EVIC) — STANDARD (2 BUTTON) ........73
ELECTRONIC VEHICLE INFORMATION CENTER
(EVIC) — PREMIUM (4 BUTTON) ........74
UNIVERSAL GARAGE DOOR OPENER
(HomeLink®) ..................78
POWER OUTLET ................81
UTILITY
TRAILER TOWING WEIGHTS (MAXIMUM
TRAILERWEIGHTRATINGS) .........82
RECREATIONAL TOWING (BEHIND
MOTORHOME, ETC.) ..............82
WHAT TO DO IN EMERGENCIES
ROADSIDE ASSISTANCE ............83INSTRUMENT CLUSTER WARNING LIGHTS..83
IF YOUR ENGINE OVERHEATS .........88
JACKING AND TIRE CHANGING ........89
TIREFIT KIT ...................95
JUMP-STARTING ...............101
SHIFT LEVER OVERRIDE ...........103
TOWING A DISABLED VEHICLE .......104
FREEING A STUCK VEHICLE .........104
EVENT DATA RECORDER (EDR) ........105
MAINTAINING YOUR VEHICLE
OPENING THE HOOD.............106
FUEL DOOR RELEASE ............107
ENGINE COMPARTMENT ...........108
FLUIDS AND CAPACITIES ...........111
MAINTENANCE SCHEDULE ..........113
MAINTENANCE RECORD ...........116
FUSES .....................117
TIRE PRESSURES ...............119
WHEEL AND WHEEL TRIM CARE ......120
EXTERIOR BULBS ...............121
CONSUMER ASSISTANCE
CHRYSLER GROUP LLC CUSTOMER
CENTER....................122
CHRYSLER CANADA INC. CUSTOMER
CENTER ....................122
ASSISTANCE FOR THE HEARING
IMPAIRED ...................122
PUBLICATIONS ORDERING ..........122
REPORTING SAFETY DEFECTS IN THE
UNITEDSTATES ................123
Uconnect® CUSTOMER CENTER .......123
MOPAR® ACCESSORIES
AUTHENTIC ACCESSORIES BY MOPAR® . . 124
FAQ (How To?)
FREQUENTLY ASKED QUESTIONS ......125
INDEX....................127
TABLE OF CONTENTS
Page 8 of 140
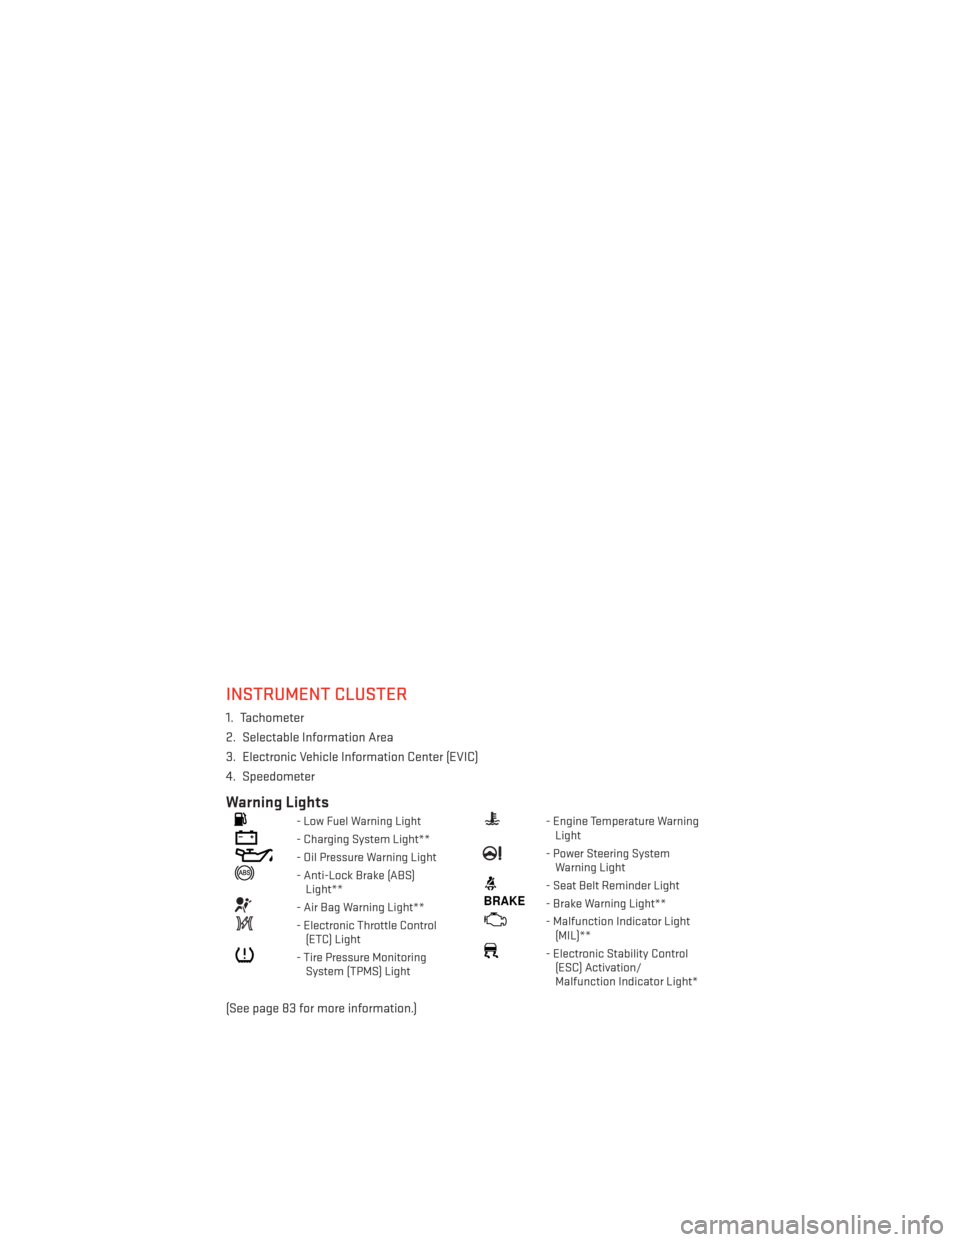
INSTRUMENT CLUSTER
1. Tachometer
2. Selectable Information Area
3. Electronic Vehicle Information Center (EVIC)
4. Speedometer
Warning Lights
- Low Fuel Warning Light
- Charging System Light**
- Oil Pressure Warning Light
- Anti-Lock Brake (ABS)Light**
- Air Bag Warning Light**
- Electronic Throttle Control(ETC) Light
- Tire Pressure MonitoringSystem (TPMS) Light
- Engine Temperature WarningLight
- Power Steering SystemWarning Light
- Seat Belt Reminder Light
BRAKE- Brake Warning Light**
- Malfunction Indicator Light(MIL)**
- Electronic Stability Control(ESC) Activation/
Malfunction Indicator Light*
(See page 83 for more information.)
CONTROLS AT A GLANCE
6
Page 18 of 140
• This vehicle is equipped with Supplemental Side Air Bag Inflatable Curtains to protectthe driver, front and rear passengers sitting next to a window.
• This vehicle is equipped with Supplemental Seat-Mounted Side Air Bags to provide enhanced protection to help protect an occupant during a side impact.
• This vehicle is equipped with a Supplemental Driver Side Knee Air Bag mounted in the instrument panel below the steering column and a Supplemental Passenger Side Knee
Air Bag mounted in the instrument panel below the glove compartment.
• This vehicle has an Occupant Classification System (“OCS”) in the right front passenger seat. The OCS may reduce the inflation rate of the passenger Advanced Front Air Bag if
the sensors estimates that:• The front passenger seat is unoccupied or has very light objects in it.
• The front passenger seat is occupied by a small passenger, including a child.
• The front passenger seat is occupied by a rearward facing infant seat.
• The front passenger is not properly seated or his or her weight is taken off of the seat
for a period of time.
• If the Air Bag Warning Light
is not on during starting, stays on, or turns on while
driving, have the vehicle serviced by an authorized service center immediately.
• Refer to the Owner's Manual on the DVD for further details regarding the Supplemental Restraint System (SRS).
WARNING!
• Relying on the air bags alone could lead to more severe injuries in a collision. The air
bags work with your seat belt to restrain you properly. In some collisions, the air bags
won't deploy at all. Always wear your seat belts even though you have air bags.
• Being too close to the steering wheel or instrument panel during Advanced Front Air
Bag deployment could cause serious injury, including death. Air bags need room to
inflate. Sit back, comfortably extending your arms to reach the steering wheel or
instrument panel.
• Supplemental Side Air Bag Inflatable Curtains and Supplemental Seat-Mounted Side
Air Bags need room to inflate. Do not lean against the door or window. Sit upright in
the center of the seat.
• Being too close to the Supplemental Side Air Bag Inflatable Curtain and/or Seat-
Mounted Side Air Bag during deployment could cause you to be severely injured or
killed.
• Do not drive your vehicle after the air bags have deployed. If you are involved in
another collision, the air bags will not be in place to protect you.
• After any collision, the vehicle should be taken to an authorized dealer immediately.
GETTING STARTED
16
Page 25 of 140
NOTE:
Vehicle Equipped With Remote Start
On models that are equipped with remote start, this feature can be programmed to come on
during a remote start through the Uconnect® system. Refer to “Uconnect® Settings” in
“Understanding Your Instrument Panel” in the Owner's Manual on the DVD.
WARNING!
• Persons who are unable to feel pain to the skin because of advanced age, chronicillness, diabetes, spinal cord injury, medication, alcohol use, exhaustion or other
physical conditions must exercise care when using the seat heater. It may cause
burns even at low temperatures, especially if used for long periods of time.
• Do not place anything on the seat that insulates against heat, such as a blanket or
cushion. This may cause the seat heater to overheat. Sitting in a seat that has been
overheated could cause serious burns due to the increased surface temperature of
the seat.
TILT/TELESCOPING STEERING COLUMN
• The tilt/telescoping control lever is lo-cated below the steering wheel at the end
of the steering column.
• Push down on the lever to unlock the steering column.
• To tilt the steering column, move the steering wheel upward or downward as
desired.
• To lengthen or shorten the steering col- umn, pull the steering wheel outward or
push it inward as desired.
• Pull upward on the lever to lock the column firmly in place.
WARNING!
Do not adjust the steering wheel while driving. The tilt/telescoping adjustment must be
locked while driving. Adjusting the steering wheel while driving or driving without the
tilt/telescoping adjustment locked could cause the driver to lose control of the vehicle.
Failure to follow this warning may result in you and others being severely injured or killed.
GETTING STARTED
23
Page 26 of 140
HEATED STEERING WHEEL
The steering wheel contains a heating element that heats the steering wheel to one
temperature setting.
The heated steering wheel control button is located within the climate or controls screen of
the touchscreen.
• Press the heated steering wheel button
once to turn the heating element On.
• Press the heated steering wheel button
a second time to turn the heating element
Off.
Once the heated steering wheel has been turned on, it will operate for up to 80 minutes
before automatically shutting off. The heated steering wheel can shut off early or may not
turn on when the steering wheel is already warm.
NOTE:
Vehicle Equipped With Remote Start
On models that are equipped with remote start, this feature can be programmed to come on
during a remote start through the Uconnect® system. Refer to “Uconnect® Settings” in
“Understanding Your Instrument Panel” in the Owner's Manual on the DVD.
WARNING!
• Persons who are unable to feel pain to the skin because of advanced age, chronic illness, diabetes, spinal cord injury, medication, alcohol use, exhaustion, or other
physical conditions must exercise care when using the steering wheel heater. It may
cause burns even at low temperatures, especially if used for long periods.
• Do not place anything on the steering wheel that insulates against heat, such as a
blanket or steering wheel covers of any type and material. This may cause the
steering wheel heater to overheat.
GETTING STARTED
24
Page 29 of 140
HEADLIGHT SWITCH
Automatic Headlights/Parking
Lights/Headlights
• Rotate the headlight switch, located onthe instrument panel to the left of the
steering wheel, to the first detent for park-
ing lights
and to the second detent
for headlights
.
• With the parking lights or low beam head- lights on, push the headlight switch once
for fog lights.
• Rotate the headlight switch to AUTO for AUTO headlights.
• When set to AUTO, the system automati- cally turns the headlights on or off based
on ambient light levels.
Fog Lights
• Turn the headlights or parking lights onand push the headlight switch once to
turn the fog lights on. Push the switch a
second time to turn the fog lights off. Fog
lights will not operate when high beams are on.
• A fog light symbol will illuminate in the cluster to indicate the fog lights are on.
Instrument Panel Dimmer
• Rotate the dimmer control to the extreme bottom position to fully dim the instrument panel lights and prevent the interior lights from illuminating when a door is opened.
• Rotate the dimmer control up to increase the brightness of the instrument panel when the parking lights or headlights are on.
• Rotate the dimmer control up to the next detent position to fully brighten the odometer and radio when the parking lights or headlights are on.
• Rotate the dimmer control up to the last detent position to turn on the interior lighting.
• If your vehicle is equipped with a touchscreen, the dimming is programmable through the Uconnect® system. Refer to “Uconnect® Settings ” in “Understanding Your Instru-
ment Panel” in the Owner's Manual on the DVD for further details.
Headlight Switch
1—Auto
2 — Rotate Headlight Switch
3 — Rotate Dimmer
4 — Rotate Ambient Light Control
OPERATING YOUR VEHICLE
27
Page 30 of 140
SPEED CONTROL
• The Speed Control switches are locatedon the steering wheel.
Cruise ON/OFF
• Push the ON/OFF button to activate theSpeed Control.
CRUISE
will appear on the instrument
cluster to indicate the Speed Control is on.
• Push the ON/OFF button a second time to turn the system off.
SET
• With the Speed Control on, push and re-lease the SET – button to set a desired
speed.
Accel/Decel
To Increase Speed
• When the Electronic Speed Control is set, you can increase speed by pushing the RES +
button.
The speed increment shown is dependant on the speed of U.S. (mph) or Metric (km/h) units:
U.S. Speed (mph)
• Pressing the RES +button once will result i n a 1 mph increase in set speed. Each
subsequent tap of the button results in an increase of 1 mph.
• If the button is continually pressed, the set speed will continue to increase until the button is released, then the new set speed will be established.
Metric Speed (km/h)
• Pressing the RES +button once will result i n a 2 km/h increase in set speed. Each
subsequent tap of the button results in an increase of 2 km/h.
• If the button is continually pressed, the set speed will continue to increase until the button is released, then the new set speed will be established.
OPERATING YOUR VEHICLE
28
Page 40 of 140
YOUR VEHICLE'S SOUND SYSTEM
1. Uconnect® Voice Command Button pg. 70
2. Uconnect® Phone Button pg. 65
3. Steering Wheel Audio Controls (Left) pg. 72
4. Steering Wheel Audio Controls (Right) pg. 72
ELECTRONICS
38
Page 42 of 140
Uconnect® 200
NOTE:
•
Your radio may not be equipped with the Uconnect® Voice Command and Uconnect® Phone
features. To determine if your radio has these features, locate and press the Uconnect®
Voice Command
and Uconnect® Phonebuttons on the steering wheel.
• Your radio has many features that add to the comfort and convenience of you and your passengers. Some of these radio features should not be used when driving because they
take your eyes from the road or your attention from driving.
Anti-Theft Protection
• This radio will not operate in any vehicle other than the vehicle in which it was delivered.The radio display will prompt you to enter an anti-theft code and the radio will not
function, if this radio is transferred to another vehicle. You must contact your authorized
dealer to get the anti-theft code to unlock the radio.
Clock Setting
• Press and hold the TIME button until the hours are highlighted.
• Adjust the hours by turning the right side TUNE/SCROLL control knob.
• After adjusting the hours, press the right side ENTER/BROWSE control knob to set theminutes. The minutes will highlight.
• Adjust the minutes using the right side TUNE/SCROLL control knob.
• To exit, press the TIME button or press the BACK button to return to the previous menu.
ELECTRONICS
40
Page 46 of 140
• When connected, the MP3 Player/compatible USB device can be controlled using theradio or Steering Wheel Audio Controls or Voice Commands to play, skip to the next or
previous track, browse, and list the contents.
• The MP3/WMA Player battery charges when plugged into the USB port (if supported by the specific device).
• To route the audio cable out of the center console, use the access cut out on the right side of the console.
NOTE:
• Your vehicle cannot be equipped with the USB Port without having the available Uconnect® Voice Command feature.
• When connecting your MP3/WMA Player device for the first time, the system may take several minutes to read your music, depending on the number of files. For example, the
system will take approximately five minutes for every 1000 songs loaded on the device.
However, music on the device will play while reading continues in the background. Also
during the reading process, the Shuffle and Browse functions will be disabled. This
process is needed to ensure the full use of your MP3/WMA Player features and only
happens the first time it is connected. After the first time, the reading process of your
iPod® will take considerably less time unless changes are made or new songs are added
to the playlist.
• The USB port supports certain Mini, Classic, Nano, Touch, and iPhone® devices. The USB port also supports playing music from compatible external USB Mass Storage Class
memory devices. Some iPod® software versions may not fully support the USB port
features. Please visit Apple’s website for iPod® software updates.
Uconnect® Phone – BLUETOOTH® HANDS FREE CALLING — If Equipped
• The Uconnect® Phone is a voice-activated, hands-free, in-vehicle communicationssystem with Voice Command Capability (see Voice Command section).
• The Uconnect® Phone allows you to dial a phone number with your mobile phone using simple voice commands.
• Refer to your vehicle Owner's Manual on the DVD for further details.
NOTE:
•
The Uconnect® Phone requires a mobile phone equipped with the Bluetooth® Hands-Free
Profile, Version 1.0 or higher. For Uconnect® customer support, call 1–877–855–8400 or
visit www.UconnectPhone.com. Canadian Residents: call 1-800-465–2001 (English) or
1-800-387-9983 (French) or visit www.UconnectPhone.com.
• Prior to starting the pairing procedure, ensure all additional Bluetooth® devices or phones within the vehicle have their Bluetooth® disabled.
Phone Pairing
• To use the Uconnect® Phone feature, you must first pair your Bluetooth® phone with theUconnect® system.
ELECTRONICS
44