warning light DODGE DART 2015 PF / 1.G User Guide
[x] Cancel search | Manufacturer: DODGE, Model Year: 2015, Model line: DART, Model: DODGE DART 2015 PF / 1.GPages: 664, PDF Size: 16.96 MB
Page 116 of 664
WARNING!(Continued)
•Always make sure that objects cannot fall into the
driver footwell while the vehicle is moving. Ob-
jects can become trapped under the brake pedal
and accelerator pedal causing a loss of vehicle
control.
•If required, mounting posts must be properly in-
stalled, if not equipped from the factory.
Failure to properly follow floor mat installation or
mounting can cause interference with the brake
pedal and accelerator pedal operation causing loss of
control of the vehicle.
Periodic Safety Checks You Should Make Outside
The Vehicle
Tires
Examine tires for excessive tread wear and uneven wear
patterns. Check for stones, nails, glass, or other objects
lodged in the tread or sidewall. Inspect the tread for cuts
and cracks. Inspect sidewalls for cuts, cracks and bulges.
Check the wheel nuts for tightness. Check the tires
(including spare) for proper cold inflation pressure.
Lights
Have someone observe the operation of brake lights and
exterior lights while you work the controls. Check turn
signal and high beam indicator lights on the instrument
panel.
Door Latches
Check for positive closing, latching, and locking.
Fluid Leaks
Check area under vehicle after overnight parking for fuel,
engine coolant, oil, or other fluid leaks. Also, if gasoline
fumes are detected or if fuel, power steering fluid (if
equipped), or brake fluid leaks are suspected, the cause
should be located and corrected immediately.
11 4 T H I N G S TO K N O W B E F O R E S TA R T I N G Y O U R V E H I C L E
Page 120 of 664
▫Headlights On With Wipers (Available With
Automatic Headlights Only).............249
▫Rain Sensing Wipers — If Equipped........249
!TILT/TELESCOPING STEERING COLUMN . . .251
!HEATED STEERING WHEEL — IF EQUIPPED . .252
!ELECTRONIC SPEED CONTROL —
IF EQUIPPED.........................253
▫To Activate..........................254
▫To Set A Desired Speed.................254
▫To Deactivate........................255
▫To Resume Speed.....................255
▫To Vary The Speed Setting...............255
▫To Accelerate For Passing................257
!PARKSENSE® REAR PARK ASSIST — IF
EQUIPPED...........................258
▫ParkSense® Sensors....................258
▫ParkSense® Warning Display.............258
▫ParkSense® Display....................259
▫Enabling And Disabling ParkSense®........266
▫Service The ParkSense® Rear Park Assist
System.............................266
▫Cleaning The ParkSense® System..........268
▫ParkSense® System Usage Precautions.......268
!PARKVIEW® REAR BACK UP CAMERA — IF
EQUIPPED...........................271
!OVERHEAD CONSOLE..................273
▫Front Map/Reading Lights..............274
11 8 U N D E R S TA N D I N G T H E F E AT U R E S O F Y O U R V E H I C L E
Page 125 of 664
WARNING!
Vehicles and other objects seen in the passenger side
convex mirror will look smaller and farther away
than they really are. Relying too much on your
passenger side convex mirror could cause you to
collide with another vehicle or other object. Use your
inside mirror when judging the size or distance of a
vehicle seen in the passenger side convex mirror.
Outside Mirrors Folding Feature — If Equipped
Some models have outside mirrors that are hinged. The
hinge allows the mirror to pivot forward and rearward to
resist damage. The hinge has three detent positions: full
forward, full rearward and normal.
Outside Mirrors With Turn Signal And Approach
Lighting — If Equipped
Driver and passenger outside mirrors with turn signal
and puddle lamp contain three LEDs.
Two of the LED’s are used as turn signal indicators,
which flash with the corresponding turn signal lights in
the front and rear of the vehicle. Turning on the Hazard
Warning flashers will also activate these LEDs.
The third LED supplies illuminated entry lighting, which
turns on in both mirrors when you use the Remote
Keyless Entry (RKE) transmitter or open any door. This
LED shines downward to illuminate the ground adjacent
to the Front and Rear Doors.
The Illuminated Entry lighting fades to off after about 30
seconds or it will fade to off immediately once the
ignition is placed into the RUN position.
3
UNDERSTANDING THE FEATURES OF YOUR VEHICLE 123
Page 128 of 664
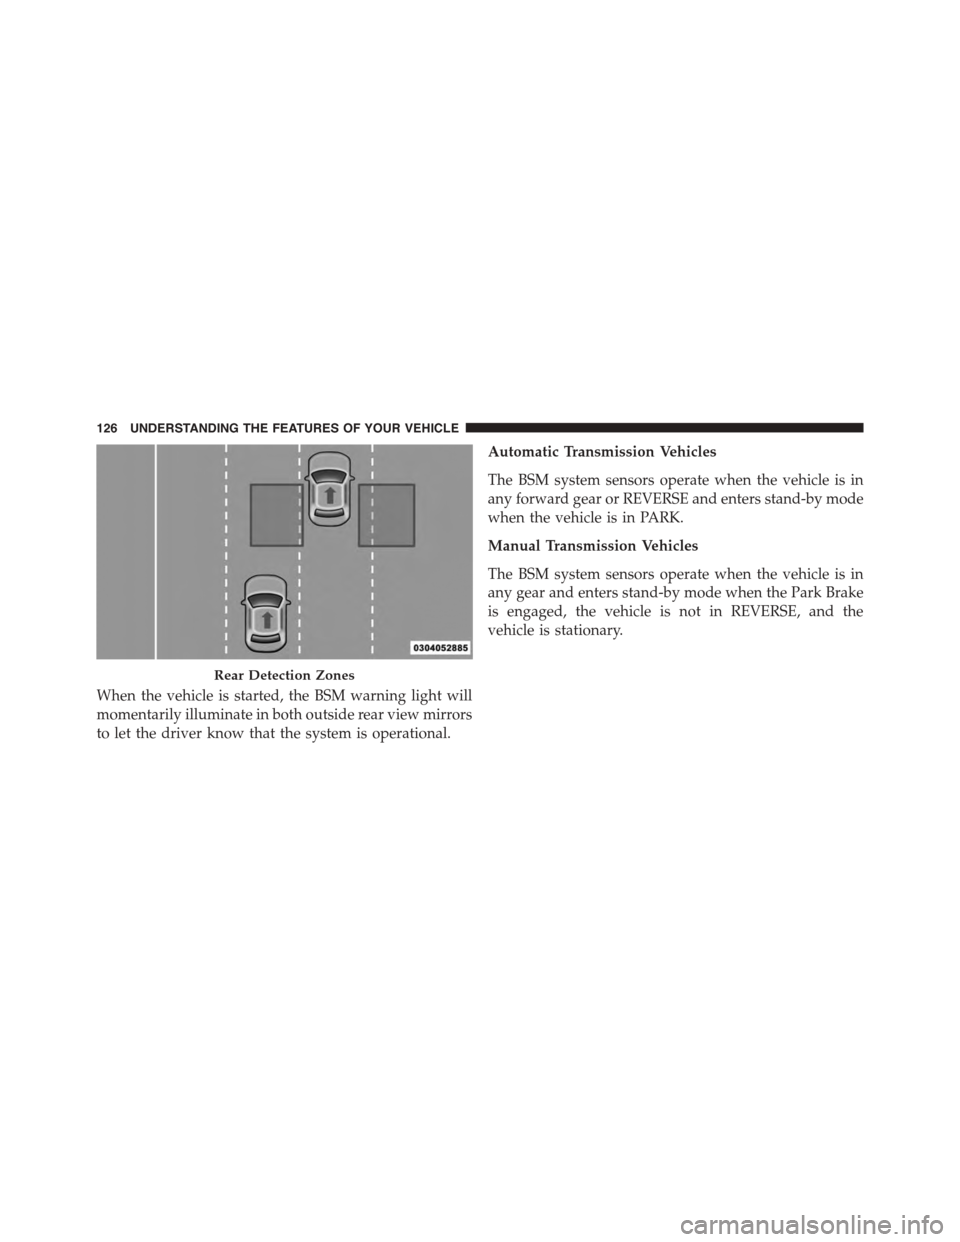
When the vehicle is started, the BSM warning light will
momentarily illuminate in both outside rear view mirrors
to let the driver know that the system is operational.
Automatic Transmission Vehicles
The BSM system sensors operate when the vehicle is in
any forward gear or REVERSE and enters stand-by mode
when the vehicle is in PARK.
Manual Transmission Vehicles
The BSM system sensors operate when the vehicle is in
any gear and enters stand-by mode when the Park Brake
is engaged, the vehicle is not in REVERSE, and the
vehicle is stationary.
Rear Detection Zones
126 UNDERSTANDING THE FEATURES OF YOUR VEHICLE
Page 129 of 664
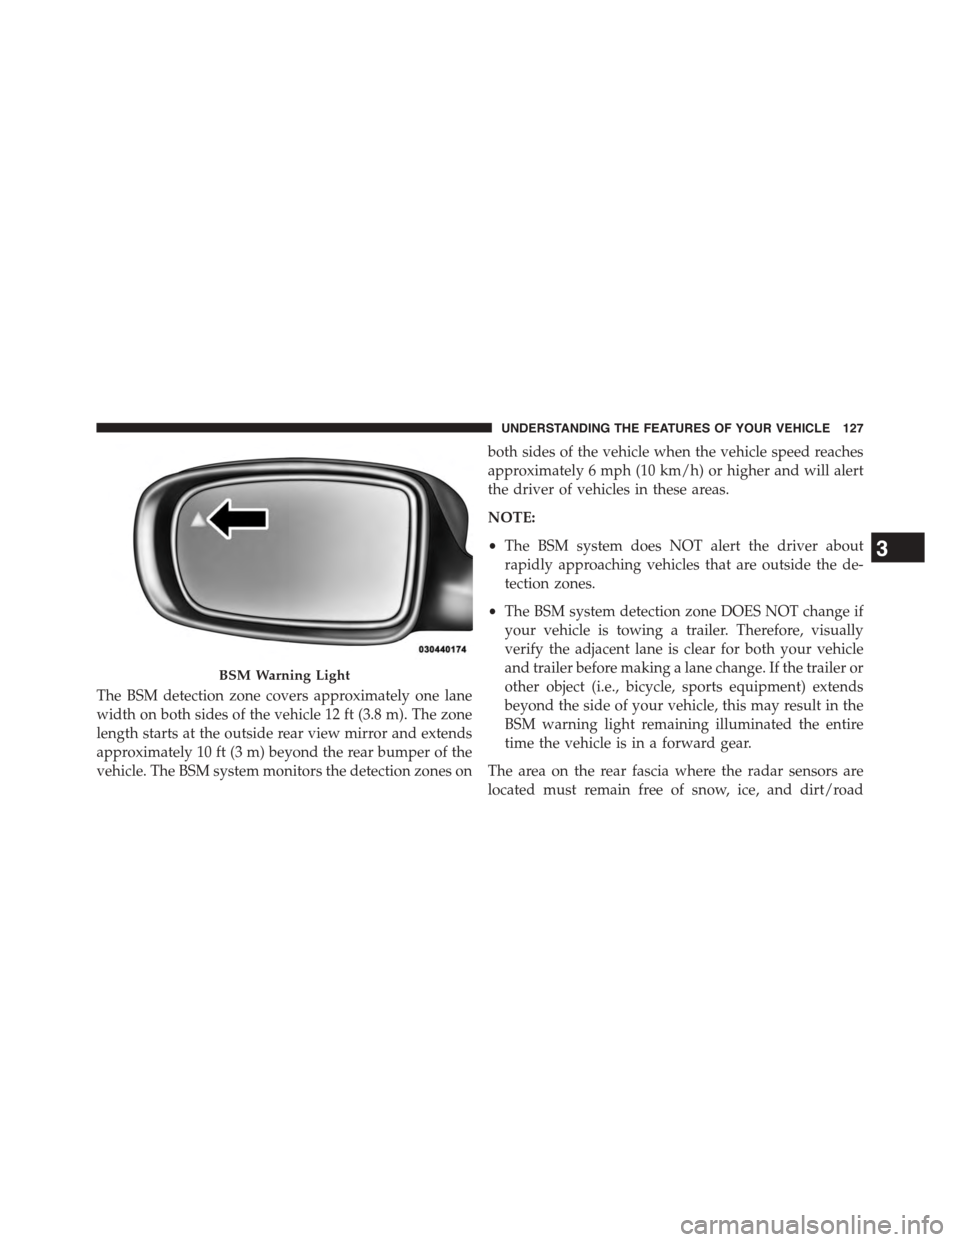
The BSM detection zone covers approximately one lane
width on both sides of the vehicle 12 ft (3.8 m). The zone
length starts at the outside rear view mirror and extends
approximately 10 ft (3 m) beyond the rear bumper of the
vehicle. The BSM system monitors the detection zones on
both sides of the vehicle when the vehicle speed reaches
approximately 6 mph (10 km/h) or higher and will alert
the driver of vehicles in these areas.
NOTE:
•The BSM system does NOT alert the driver about
rapidly approaching vehicles that are outside the de-
tection zones.
•The BSM system detection zone DOES NOT change if
your vehicle is towing a trailer. Therefore, visually
verify the adjacent lane is clear for both your vehicle
and trailer before making a lane change. If the trailer or
other object (i.e., bicycle, sports equipment) extends
beyond the side of your vehicle, this may result in the
BSM warning light remaining illuminated the entire
time the vehicle is in a forward gear.
The area on the rear fascia where the radar sensors are
located must remain free of snow, ice, and dirt/road
BSM Warning Light
3
UNDERSTANDING THE FEATURES OF YOUR VEHICLE 127
Page 130 of 664
contamination so that the BSM system can function
properly. Do not block the area of the rear fascia where
the radar sensors are located with foreign objects (bum-
per stickers, bicycle racks, etc.).
The BSM system notifies the driver of objects in the
detection zones by illuminating the BSM warning light
located in the outside mirrors in addition to sounding an
audible (chime) alert and reducing the radio volume.
Refer to “Modes Of Operation” for further information.
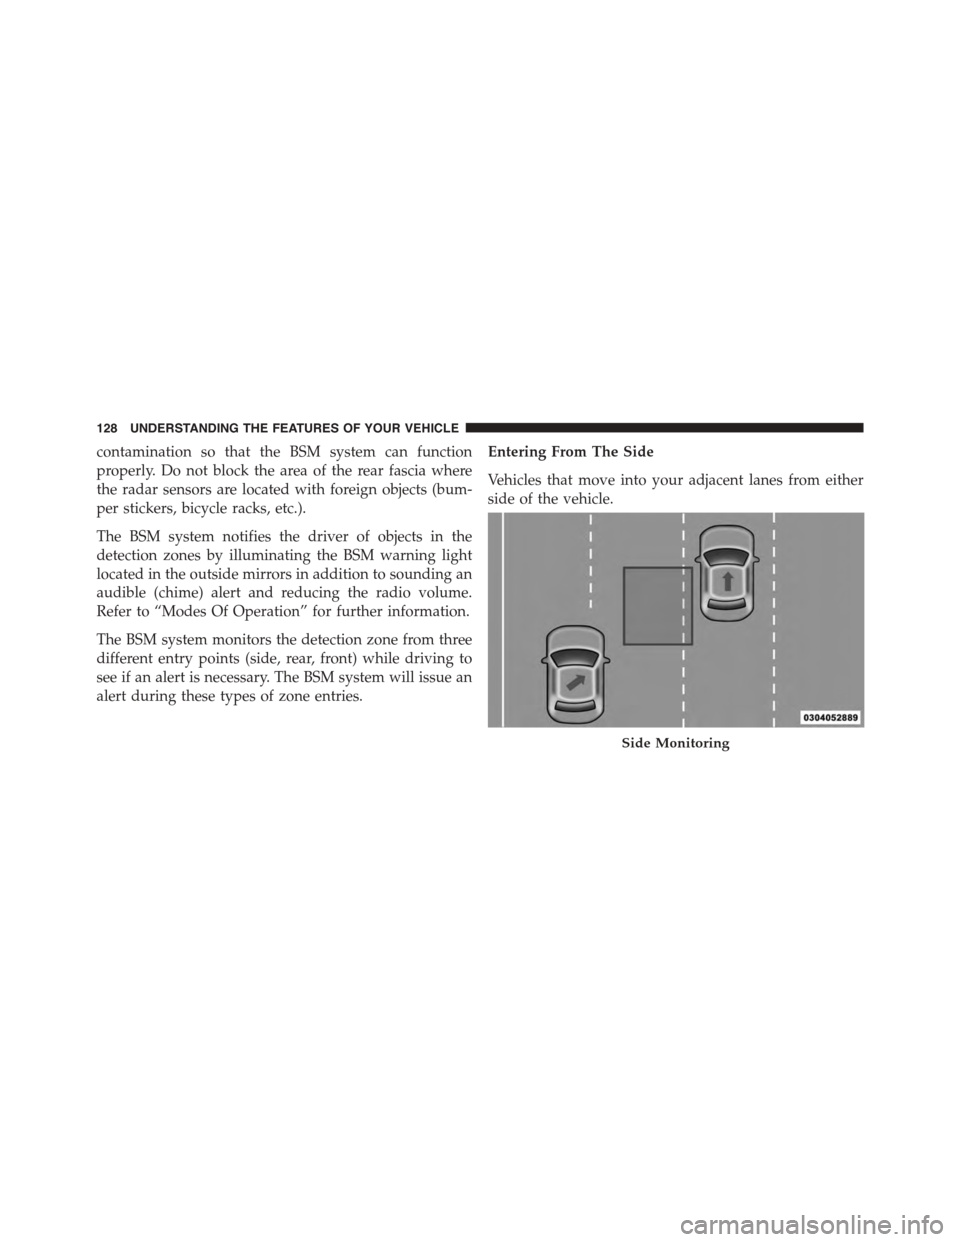
The BSM system monitors the detection zone from three
different entry points (side, rear, front) while driving to
see if an alert is necessary. The BSM system will issue an
alert during these types of zone entries.
Entering From The Side
Vehicles that move into your adjacent lanes from either
side of the vehicle.
Side Monitoring
128 UNDERSTANDING THE FEATURES OF YOUR VEHICLE
Page 131 of 664
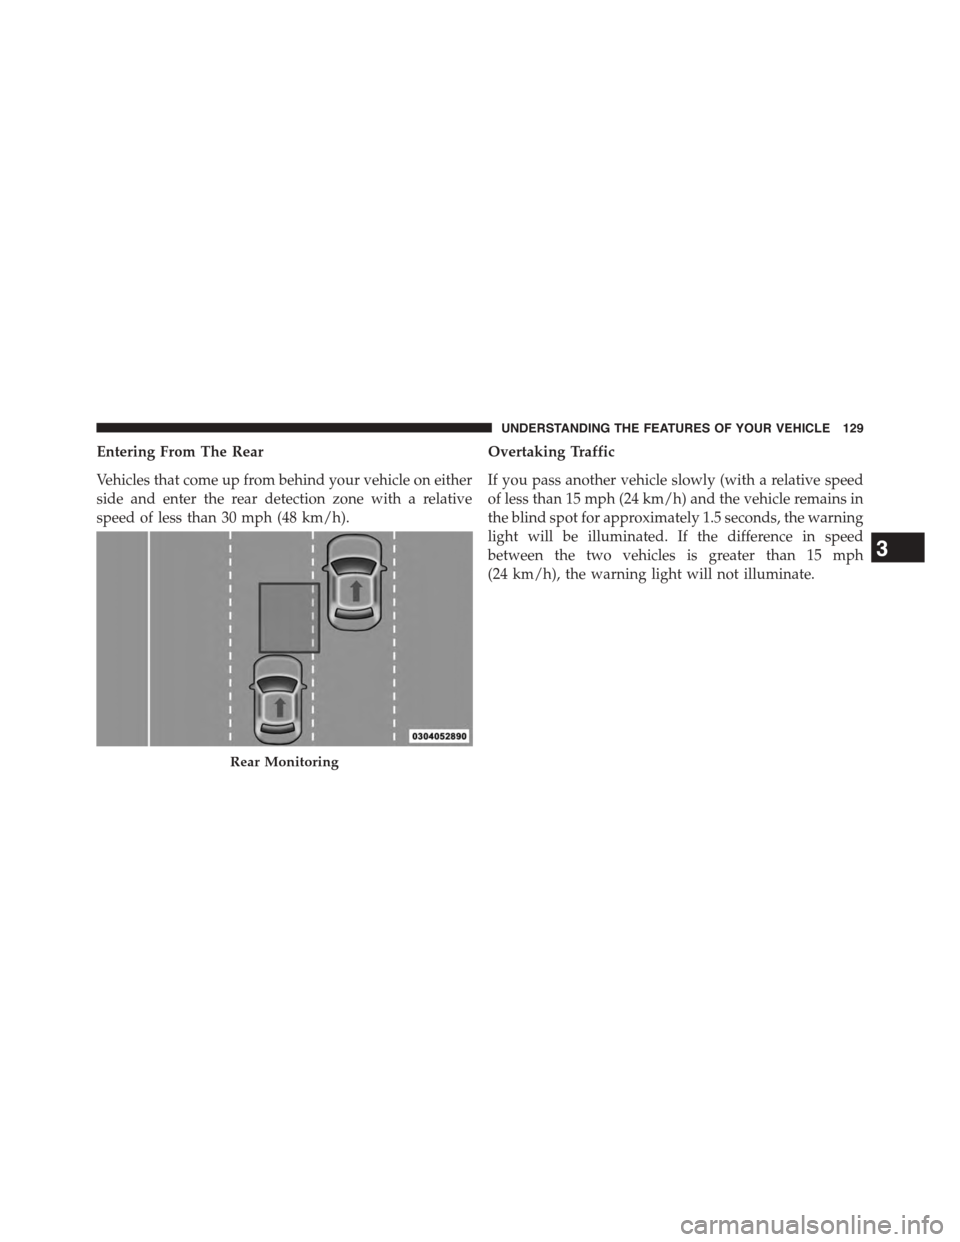
Entering From The Rear
Vehicles that come up from behind your vehicle on either
side and enter the rear detection zone with a relative
speed of less than 30 mph (48 km/h).
Overtaking Traffic
If you pass another vehicle slowly (with a relative speed
of less than 15 mph (24 km/h) and the vehicle remains in
the blind spot for approximately 1.5 seconds, the warning
light will be illuminated. If the difference in speed
between the two vehicles is greater than 15 mph
(24 km/h), the warning light will not illuminate.
Rear Monitoring
3
UNDERSTANDING THE FEATURES OF YOUR VEHICLE 129
Page 135 of 664
NOTE:In a parking lot situation, oncoming vehicles can
be obscured by vehicles parked on either side. If the
sensors are blocked by other structures or vehicles, the
system will not be able to alert the driver.
When RCP is on and the vehicle is in REVERSE, the
driver is alerted using both the visual and audible
alarms, including reducing the radio volume.
WARNING!
RCP is not a Back Up Aid system. It is intended to be
used to help a driver detect an oncoming vehicle in a
parking lot situation. Drivers must be careful when
backing up, even when using RCP. Always check
carefully behind your vehicle, look behind you, and
be sure to check for pedestrians, animals, other
vehicles, obstructions, and blind spots before back-
ing up. Failure to do so can result in serious injury or
death.
Modes Of Operation
Modes Of Operation With Uconnect® System — If
Equipped
Three selectable modes of operation are available in the
Uconnect® system screen. Refer to “Customer Program-
mable Features — Uconnect® Access settings ” in “Un-
derstanding Your Instrument Panel” for further informa-
tion.
Blind Spot Alert Lights Only
When operating in Blind Spot Alert mode, the BSM
system will provide a visual alert in the appropriate side
view mirror based on a detected object. However, when
the system is operating in Rear Cross Path mode, the
system will respond with both visual and audible alerts
when a detected object is present. Whenever an audible
alert is requested, the radio volume is reduced.
3
UNDERSTANDING THE FEATURES OF YOUR VEHICLE 133
Page 189 of 664
Uconnect® Phone Features
Emergency Assistance
If you are in an emergency and the mobile phone is
reachable:
•Pick up the phone and manually dial the emergency
number for your area.
If the phone is not reachable and the Uconnect® Phone is
operational, you may reach the emergency number as
follows:
1. Push the Phonebutton to begin.
2. After the “Listening” prompt and the following beep,
say “Dial Emergency” and the Uconnect® Phone will
instruct the paired mobile phone to call the emergency
number. This feature is supported in the U.S., Canada,
and Mexico.
NOTE:
•The Emergency call may also be initiated by using the
touchscreen.
•The emergency number dialed is based on the country
where the vehicle is purchased (911 for the U.S. and
Canada and 060 for Mexico). The number dialed may not
be applicable with the available mobile service and area.
•The Uconnect® Phone does slightly lower your
chances of successfully making a phone call as to that
for the mobile phone directly.
WARNING!
Your phone must be turned on and connected to the
Uconnect® Phone to allow use of this vehicle feature
in emergency situations, when the mobile phone has
network coverage and stays connected to the
Uconnect® Phone.
3
UNDERSTANDING THE FEATURES OF YOUR VEHICLE 187
Page 238 of 664
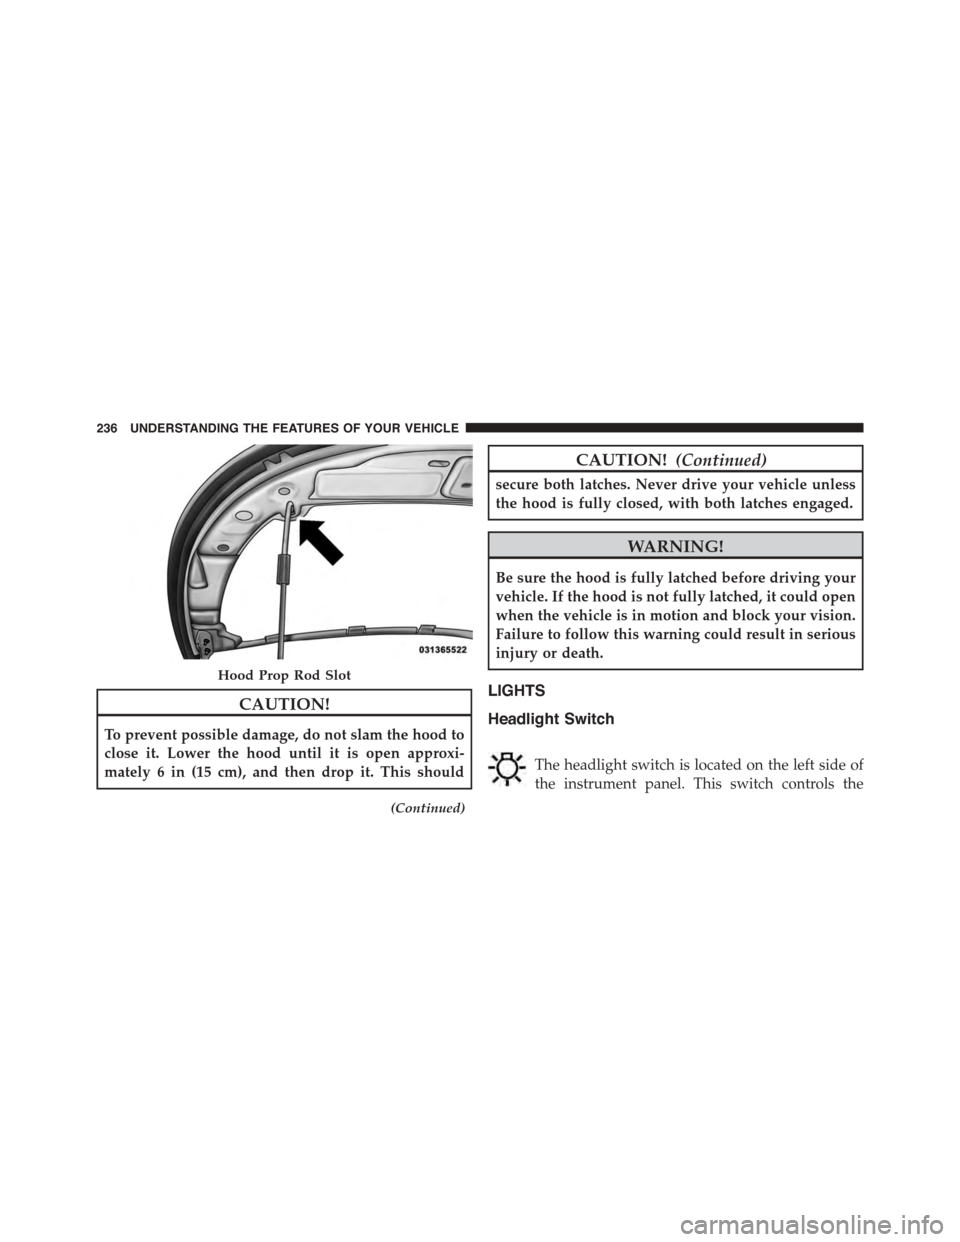
CAUTION!
To prevent possible damage, do not slam the hood to
close it. Lower the hood until it is open approxi-
mately 6 in (15 cm), and then drop it. This should
(Continued)
CAUTION!(Continued)
secure both latches. Never drive your vehicle unless
the hood is fully closed, with both latches engaged.
WARNING!
Be sure the hood is fully latched before driving your
vehicle. If the hood is not fully latched, it could open
when the vehicle is in motion and block your vision.
Failure to follow this warning could result in serious
injury or death.
LIGHTS
Headlight Switch
The headlight switch is located on the left side of
the instrument panel. This switch controls the
Hood Prop Rod Slot
236 UNDERSTANDING THE FEATURES OF YOUR VEHICLE