key DODGE DART 2015 PF / 1.G Service Manual
[x] Cancel search | Manufacturer: DODGE, Model Year: 2015, Model line: DART, Model: DODGE DART 2015 PF / 1.GPages: 664, PDF Size: 16.96 MB
Page 193 of 664
Dialing Using The Mobile Phone Keypad
WARNING!
Driving while distracted can result in loss of vehicle
control, accident and injury. It is strongly recom-
mended that you use extreme caution when using
any device or feature that may take your focus off the
road or your hands off the steering wheel. Your
primary responsibility is the safe operation of your
vehicle. We recommend against the use of any hand-
held device while driving, encourage the use of
voice-operated systems when possible and that you
become aware of applicable laws that may affect the
use of electronic devices while driving.
You can dial a phone number with your mobile phone
keypad and still use the Uconnect® Phone (while dialing
via the mobile phone keypad, the user must exercise
caution and take precautionary safety measures). By
dialing a number with your connected Bluetooth® mo-
bile phone, the audio will be played through your
vehicle’s audio system. The Uconnect® Phone will work
the same as if you dial the number using voice a
command.
NOTE:Certain brands of mobile phones do not send the
dial ring to the Uconnect® Phone to play it on the vehicle
audio system, so you will not hear it. Under this situa-
tion, after successfully dialing a number the user may feel
that the call did not go through even though the call is in
progress. Once your call is answered, you will hear the
audio.
3
UNDERSTANDING THE FEATURES OF YOUR VEHICLE 191
Page 201 of 664
11. See you in
12. Stuck in traffic.
13. Start without me.
14. Where are you?
15. Are you there yet?
16. I need directions.
17. I’m lost.
18. See you later.
Bluetooth® Communication Link
Mobile phones have been found to lose connection to the
Uconnect® Phone. When this happens, the connection
can generally be re-established by switching the mobile
phone OFF/ON. Your mobile phone is recommended to
remain in Bluetooth® ON mode.
Power-Up
After switching the ignition key from OFF to either the
ON or ACC position, or after a language change, you
must wait at least 15 seconds prior to using the system.
3
UNDERSTANDING THE FEATURES OF YOUR VEHICLE 199
Page 270 of 664
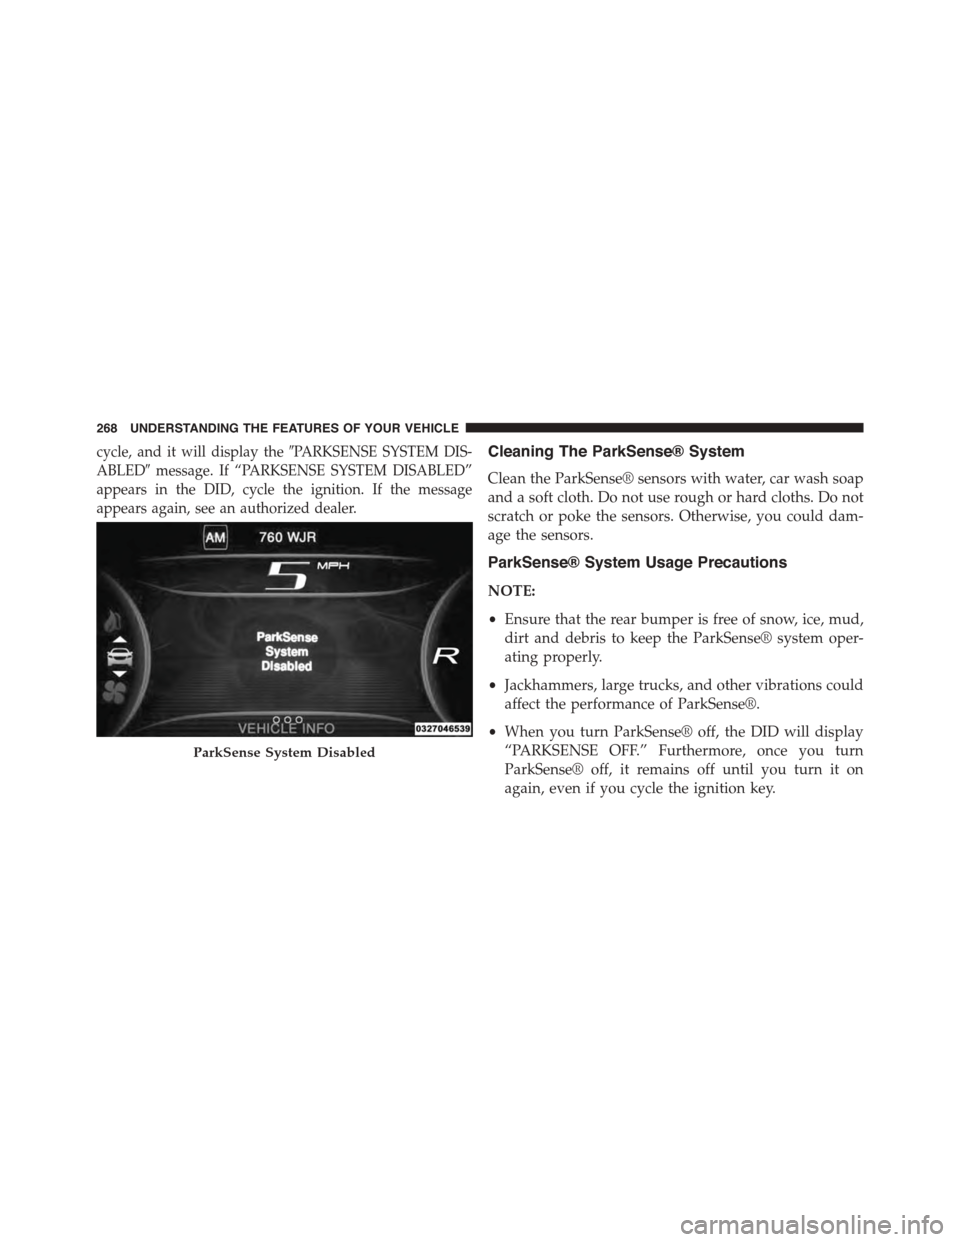
cycle, and it will display the#PARKSENSE SYSTEM DIS-
ABLED#message. If “PARKSENSE SYSTEM DISABLED”
appears in the DID, cycle the ignition. If the message
appears again, see an authorized dealer.
Cleaning The ParkSense® System
Clean the ParkSense® sensors with water, car wash soap
and a soft cloth. Do not use rough or hard cloths. Do not
scratch or poke the sensors. Otherwise, you could dam-
age the sensors.
ParkSense® System Usage Precautions
NOTE:
•Ensure that the rear bumper is free of snow, ice, mud,
dirt and debris to keep the ParkSense® system oper-
ating properly.
•Jackhammers, large trucks, and other vibrations could
affect the performance of ParkSense®.
•When you turn ParkSense® off, the DID will display
“PARKSENSE OFF.” Furthermore, once you turn
ParkSense® off, it remains off until you turn it on
again, even if you cycle the ignition key.
ParkSense System Disabled
268 UNDERSTANDING THE FEATURES OF YOUR VEHICLE
Page 281 of 664
2. Place the hand-held transmitter 1 to 3 inches (3 to 8
cm) away from the HomeLink® button you would like
to program while keeping the HomeLink® indicator
light in view.
3. Simultaneously push and hold both the HomeLink®
button you want to program and the hand-held trans-
mitter button.
4. Continue to hold both buttons and observe the indi-
cator light. HomeLink® indicator will flash slowly
and then rapidly after HomeLink® has received the
frequency signal from the hand-held transmitter. Re-
lease both buttons after the indicator light changes
from slow to rapid.
5. Push and hold the programmed HomeLink® button
and observe the indicator light.
•If the indicator light stays on constantly, program-
ming is complete and the garage door/device should
activate when the HomeLink® button is pressed.
•To program the remaining two HomeLink® buttons,
repeat each step for each remaining button. DO NOT
erase the channels.
Reprogramming A Single HomeLink® Button
(Non — Rolling Code)
To reprogram a channel that has been previously trained,
follow these steps:
1. Cycle the ignition to the ON/RUN position.
For vehicle’s equipped with Keyless Enter-N-Go™, place
the ignition in the RUN position with the Engine ON.
2. Push and hold the desired HomeLink® button until
the indicator light begins to flash after 20 seconds.Do
not release the button.
3.Without releasing the buttonproceed with “Program-
ming A Non-Rolling Code” step 2 and follow all
remaining steps.
3
UNDERSTANDING THE FEATURES OF YOUR VEHICLE 279
Page 286 of 664

POWER SUNROOF — IF EQUIPPED
The power sunroof switch is located between the sun
visors on the overhead console.
WARNING!
•Never leave children unattended in a vehicle, or
with access to an unlocked vehicle. Never leave the
Key Fob in or near the vehicle, or in a location
accessible to children. Do not leave the ignition of
a vehicle equipped with Keyless Enter-N-Go™ in
the ACC or ON/RUN mode. Occupants, particu-
larly unattended children, can become entrapped
by the power sunroof while operating the power
sunroof switch. Such entrapment may result in
serious injury or death.
•In a collision, there is a greater risk of being thrown
from a vehicle with an open sunroof. You could
also be seriously injured or killed. Always fasten
your seat belt properly and make sure all passen-
gers are also properly secured.
(Continued)
Power Sunroof Switch
284 UNDERSTANDING THE FEATURES OF YOUR VEHICLE
Page 316 of 664
The light also will turn on when the parking brake is
applied with the ignition is placed in the ON/RUN
position.
NOTE:This light shows only that the parking brake is
applied. It does not show the degree of brake application.
11. Electronic Stability Control (ESC) OFF Indicator
Light — If Equipped
This light indicates the Electronic Stability Con-
trol (ESC) is off.
12. Fuel Gauge
The pointer shows the level of fuel in the fuel tank when
the ignition is in the ON/RUN position.
13. Speedometer
Indicates vehicle speed.
14. Power Steering System Warning
This light is used to manage the electrical
warning of the EPS (Power Steering System).
Refer to “Power Steering” in “Starting and
Operating” for further information.
15. Electronic Throttle Control (ETC) Light
This light informs you of a problem with the
Electronic Throttle Control (ETC) system. If a
problem is detected, the light will come on
while the engine is running. Cycle the ignition
key when the vehicle has completely stopped and the
shift lever is placed in the NEUTRAL position. The light
should turn off. If the light remains lit with the engine
running, your vehicle will usually be drivable; however,
see an authorized dealer for service as soon as possible. If
the light is flashing when the engine is running, imme-
diate service is required and you may experience reduced
performance, an elevated/rough idle or engine stall and
314 UNDERSTANDING YOUR INSTRUMENT PANEL
Page 320 of 664
25. Anti-Lock Brake (ABS) Light
This light monitors the Anti-Lock Brake System
(ABS). The light will turn on when the ignition
switch is turned to the ON/RUN position and
may stay on for as long as four seconds.
If the ABS light remains on or turns on while driving, it
indicates that the Anti-Lock portion of the brake system
is not functioning and that service is required. However,
the conventional brake system will continue to operate
normally if the BRAKE warning light is not on.
If the ABS light is on, the brake system should be serviced
as soon as possible to restore the benefits of Anti-Lock
brakes. If the ABS light does not turn on when the
ignition switch is placed in the ON/RUN position, have
the light inspected by an authorized dealer.
26. Malfunction Indicator Light (MIL)
The Malfunction Indicator Light (MIL) is part of
an Onboard Diagnostic system, called OBD, that
monitors engine and automatic transmission con-
trol systems. The light will illuminate when placing the
ignition in ON/RUN from the OFF position, before
engine start. If the bulb does not come on when turning
the key from OFF to ON/RUN, have the condition
checked promptly.
Certain conditions, such as poor fuel quality, etc., may
illuminate the MIL after engine start. The vehicle should
be serviced if the light stays on through several of your
typical driving cycles. In most situations, the vehicle will
drive normally and will not require towing.
318 UNDERSTANDING YOUR INSTRUMENT PANEL
Page 326 of 664
•UP Arrow Button
Push and release the UP arrow button to scroll
upward through the main menus (Odometer,
Digital Vehicle Speed, Trip Info, Range To
Empty, Average Fuel Economy, Current Fuel
Economy, Stored Messages, Settings).
•RIGHT Arrow Button
Push and release the RIGHT arrow button to
access the sub-menu screens of a main menu
item. Push and hold the RIGHT arrow button
for two seconds to reset displayed/selected
features that can be reset.
Electronic Vehicle Information Center (EVIC)
Messages
•Key Fob Battery Low
•Wrong Key Fob
•Key Fob Damaged
•Key In Ignition
•Left Turn Signal Out
•Right Turn Signal Out
•Turn Signal On
•Lights On
•Low Beam Headlight Out
•High Beam Headlight Out
•License Plate Light Out
•Backup Light Out
•Brake Light Out
•Parking Light Out
•Service Air Bag System
324 UNDERSTANDING YOUR INSTRUMENT PANEL
Page 328 of 664
•Cruise Set To XXX km/h
•Driver Seatbelt Unbuckled
•Passenger Seatbelt Unbuckled
•Front Seatbelts Unbuckled
•Door Open
•Doors Open
•Trunk Open
•Remote Start Aborted Fuel Low
•Remote Start Disabled Start To Reset
•Remote Start Active Key To Run
•Remote Start Aborted Door Open
•Remote Start Aborted Hood Open
•Remote Start Aborted Time Expired
•Remote Start Aborted Too Cold
•Remote Start Active Push Start Button
EVIC Main Menu
To step to each main menu feature push and release the
UP button once for each step. A step from the last item in
the list will cause the first item in the feature list to be
displayed. The following features are in the main menu:
•Odometer
•Digital Vehicle Speed
•Trip
•Range To Empty
•Average Fuel Economy
•Current Fuel Economy
•Stored Messages
326 UNDERSTANDING YOUR INSTRUMENT PANEL
Page 332 of 664
Oil Change Indicator
•Your vehicle is equipped with an engine oil change
indicator system. The “Oil Change Due” message will
display in the EVIC display for approximately 10
seconds after a single chime has sounded, to indicate
the next scheduled oil change interval. The engine oil
change indicator system is duty cycle based, which
means the engine oil change interval may fluctuate,
dependent upon your personal driving style.
•Unless reset, this message will continue to display
each time you turn the ignition switch to the ON/RUN
position or cycle the ignition to the ON/RUN position
if equipped with Keyless Enter-N-Go™. To turn off the
message temporarily, push and release the MENU
button. To reset the oil change indicator system (after
performing the scheduled maintenance) refer to the
following procedure.
Vehicles Equipped With Keyless Enter-N-Go™
1. Without pushing the brake pedal, cycle the ignition to
the ON/RUN position (do not start the engine).
2. Push the accelerator pedal fully, slowly, three times
within 10 seconds.
3. Cycle the ignition to the OFF/LOCK position.
Vehicles Not Equipped With Keyless Enter-N-Go™
1. Turn the ignition switch to the ON/RUN position (do
not start the engine).
2. Push the accelerator pedal fully, slowly, three times
within 10 seconds.
3. Turn the ignition switch to the OFF/LOCK position.
330 UNDERSTANDING YOUR INSTRUMENT PANEL