check engine light DODGE DART 2016 PF / 1.G Owners Manual
[x] Cancel search | Manufacturer: DODGE, Model Year: 2016, Model line: DART, Model: DODGE DART 2016 PF / 1.GPages: 671, PDF Size: 4.75 MB
Page 20 of 671

NOTE:Changes or modifications not expressly approved
by the party responsible for compliance could void the
user ’s authority to operate the equipment.
SENTRY KEY
The Sentry Key Immobilizer system prevents unauthor-
ized vehicle operation by disabling the engine. The
system does not need to be armed or activated. Operation
is automatic, regardless of whether the vehicle is locked
or unlocked.
The system uses a Key or Key Fob with Remote Keyless
Entry (RKE) transmitter, an RF receiver, and either an
Ignition Node Module (IGNM) or a Keyless Push Button
Ignition to prevent unauthorized vehicle operation.
Therefore, only Keys or Key Fobs that are programmed to
the vehicle can be used to start and operate the vehicle.
After placing the ignition in the ON/RUN position, the
Vehicle Security Light will turn on for three seconds for a bulb check. If the light remains on after the bulb check, it
indicates that there is a problem with the electronics. In
addition, if the light begins to flash after the bulb check,
it indicates that someone used an invalid Key Fob to start
the engine. Either of these conditions will result in the
engine being shut off after two seconds.
If the Vehicle Security Light turns on during normal
vehicle operation (vehicle running for longer than 10
seconds), it indicates that there is a fault in the electron-
ics. Should this occur, have the vehicle serviced as soon
as possible by an authorized dealer.
CAUTION!
The Sentry Key Immobilizer system is not compat-
ible with some aftermarket remote starting systems.
Use of these systems may result in vehicle starting
problems and loss of security protection.
18 THINGS TO KNOW BEFORE STARTING YOUR VEHICLE
Page 86 of 671

Enhanced Accident Response System Reset
Procedure
In order to reset the Enhanced Accident Response System
functions after an event, the ignition switch must be
changed from ignition START or ON/RUN to ignition
OFF. Carefully check the vehicle for fuel leaks in the
engine compartment and on the ground near the engine
compartment and fuel tank before resetting the system
and starting the engine.
Air Bag Warning Light
The air bags must be ready to inflate for your protectionin a collision. The Occupant Restraint Control-
ler (ORC) monitors the internal circuits and
interconnecting wiring associated with air bag
system electrical components.
The ORC monitors the readiness of the electronic parts of
the air bag system whenever the ignition switch is in the
START or ON/RUN position. If the ignition switch is in the OFF position or in the ACC position, the air bag
system is not on and the air bags will not inflate.
The ORC contains a backup power supply system that
may deploy the air bags even if the battery loses power or
it becomes disconnected prior to deployment.
The ORC turns on the Air Bag Warning Light in the
instrument panel for approximately four to eight seconds
for a self-check when the ignition switch is first turned to
the ON/RUN position. After the self-check, the Air Bag
Warning Light will turn off. If the ORC detects a mal-
function in any part of the system, it turns on the Air Bag
Warning Light, either momentarily or continuously. A
single chime will sound to alert you if the light comes on
again after initial startup.
The ORC also includes diagnostics that will illuminate
the instrument panel Air Bag Warning Light if a malfunc-
tion is detected that could affect the air bag system. The
diagnostics also record the nature of the malfunction.
84 THINGS TO KNOW BEFORE STARTING YOUR VEHICLE
Page 87 of 671

While the air bag system is designed to be maintenance
free, if any of the following occurs, have an authorized
dealer service the air bag system immediately.
•The Air Bag Warning Light does not come on during
the four to eight seconds when the ignition switch is
first turned to the ON/RUN position.
• The Air Bag Warning Light remains on after the four to
eight-second interval.
• The Air Bag Warning Light comes on intermittently or
remains on while driving.
NOTE: If the speedometer, tachometer, or any engine
related gauges are not working, the Occupant Restraint
Controller (ORC) may also be disabled. In this condition
the air bags may not be ready to inflate for your protec-
tion. Have an authorized dealer service the air bag
system immediately.WARNING!
Ignoring the Air Bag Warning Light in your instrument
panel could mean you won’t have the air bags to
protect you in a collision. If the light does not come on
as a bulb check when the ignition is first placed in the
on position, and stays on after you start the vehicle, or
if it comes on as you drive, have an authorized dealer
service the air bag system immediately.
Maintaining Your Air Bag System
WARNING!
•Modifications to any part of the air bag system could
cause it to fail when you need it. You could be
injured if the air bag system is not there to protect
you. Do not modify the components or wiring,
(Continued)
2
THINGS TO KNOW BEFORE STARTING YOUR VEHICLE 85
Page 115 of 671

Lights
Have someone observe the operation of brake lights and
exterior lights while you work the controls. Check turn
signal and high beam indicator lights on the instrument
panel.
Door Latches
Check for proper closing, latching, and locking.
Fluid Leaks
Check area under vehicle after overnight parking for fuel,
engine coolant, oil, or other fluid leaks. Also, if gasoline
fumes are detected or if fuel, power steering fluid (if
equipped), or brake fluid leaks are suspected. The cause
should be located and corrected immediately.
2
THINGS TO KNOW BEFORE STARTING YOUR VEHICLE 113
Page 307 of 671

1. Tachometer•Indicates the engine speed in revolutions per minute
(RPM x 1000).
2. Digital Speedometer •Indicates vehicle speed.
3. Fuel Gauge •The pointer shows the level of fuel in the fuel tank
when the ignition switch is in the ON/RUN position.
WARNING AND INDICATOR LIGHTS
IMPORTANT: The warning / indicator light switches on
in the instrument panel together with a dedicated mes-
sage and/or acoustic signal when applicable. These indications are indicative and precautionary and as such
must not be considered as exhaustive and/or alternative
to the information contained in the Owner Manual,
which you are advised to read carefully in all cases.
Always refer to the information in this chapter in the
event of a failure indication.
All active telltales will display first if applicable. The
system check menu may appear different based upon
equipment options and current vehicle status. Some
telltales are optional and may not appear.
4
UNDERSTANDING YOUR INSTRUMENT PANEL 305
Page 315 of 671

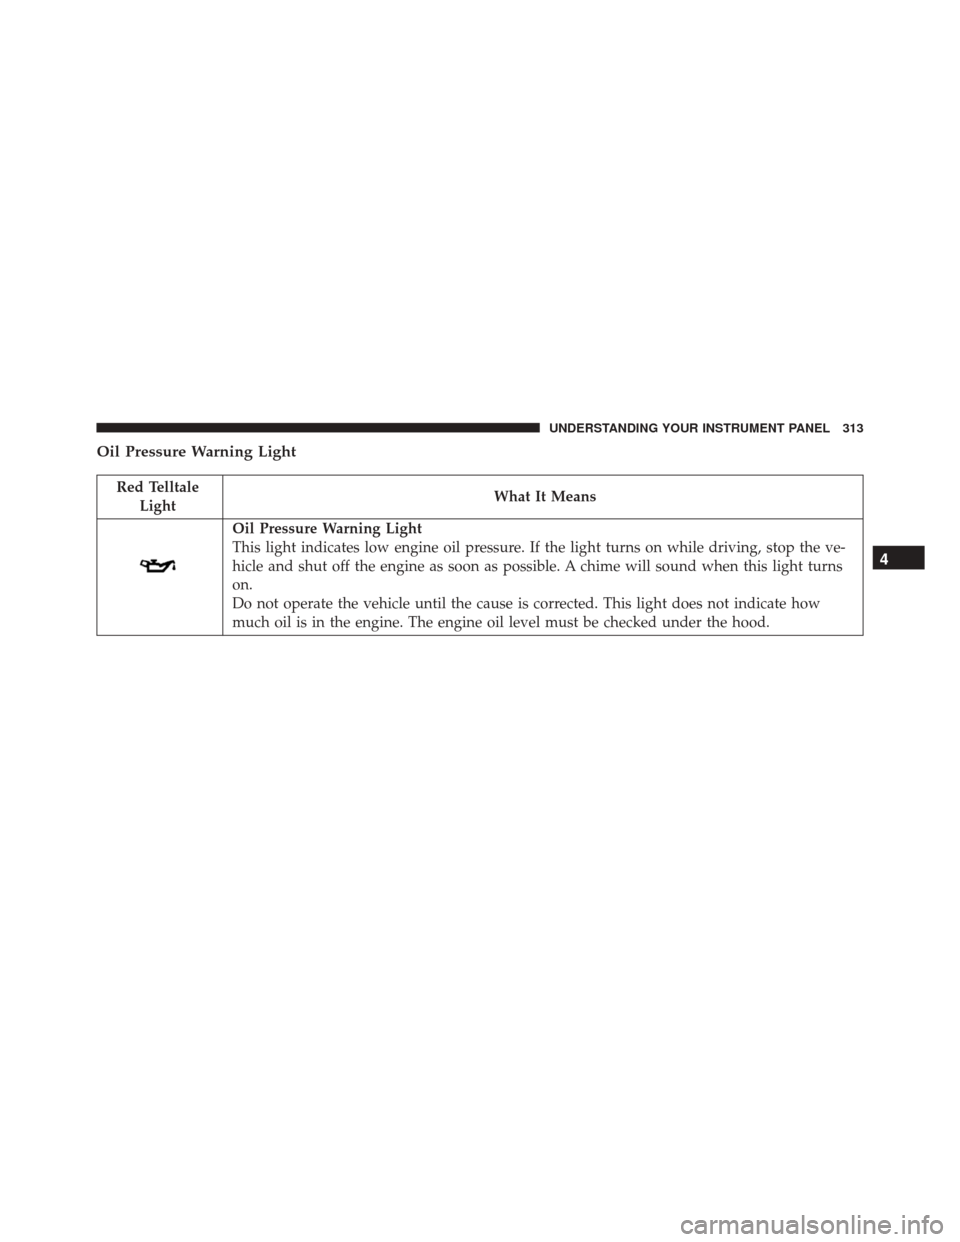
Oil Pressure Warning Light
Red TelltaleLight What It Means
Oil Pressure Warning Light
This light indicates low engine oil pressure. If the light turns on while driving, stop the ve-
hicle and shut off the engine as soon as possible. A chime will sound when this light turns
on.
Do not operate the vehicle until the cause is corrected. This light does not indicate how
much oil is in the engine. The engine oil level must be checked under the hood.
4
UNDERSTANDING YOUR INSTRUMENT PANEL 313
Page 316 of 671

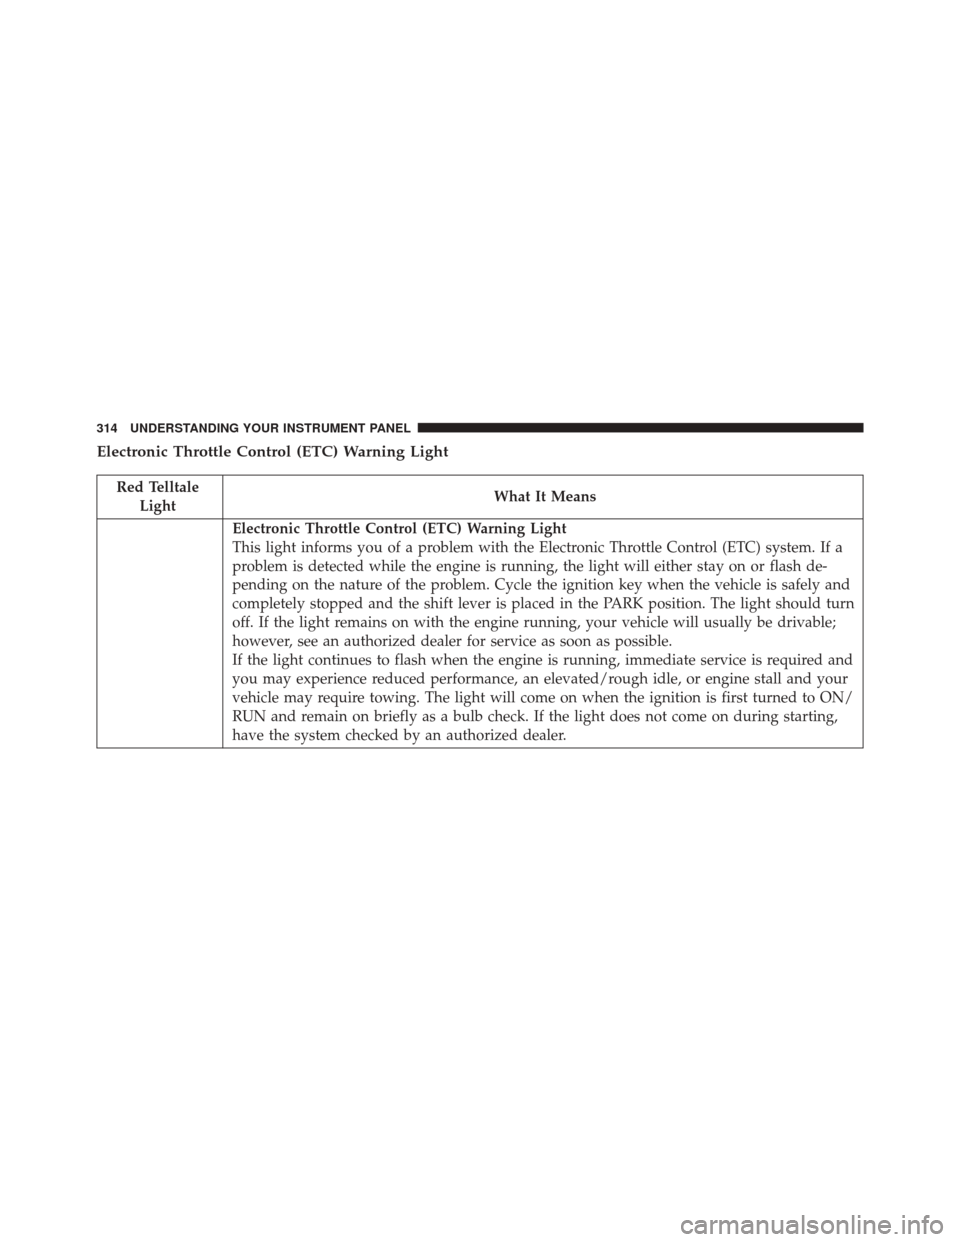
Electronic Throttle Control (ETC) Warning Light
Red TelltaleLight What It Means
Electronic Throttle Control (ETC) Warning Light
This light informs you of a problem with the Electronic Throttle Control (ETC) system. If a
problem is detected while the engine is running, the light will either stay on or flash de-
pending on the nature of the problem. Cycle the ignition key when the vehicle is safely and
completely stopped and the shift lever is placed in the PARK position. The light should turn
off. If the light remains on with the engine running, your vehicle will usually be drivable;
however, see an authorized dealer for service as soon as possible.
If the light continues to flash when the engine is running, immediate service is required and
you may experience reduced performance, an elevated/rough idle, or engine stall and your
vehicle may require towing. The light will come on when the ignition is first turned to ON/
RUN and remain on briefly as a bulb check. If the light does not come on during starting,
have the system checked by an authorized dealer.
314 UNDERSTANDING YOUR INSTRUMENT PANEL
Page 318 of 671

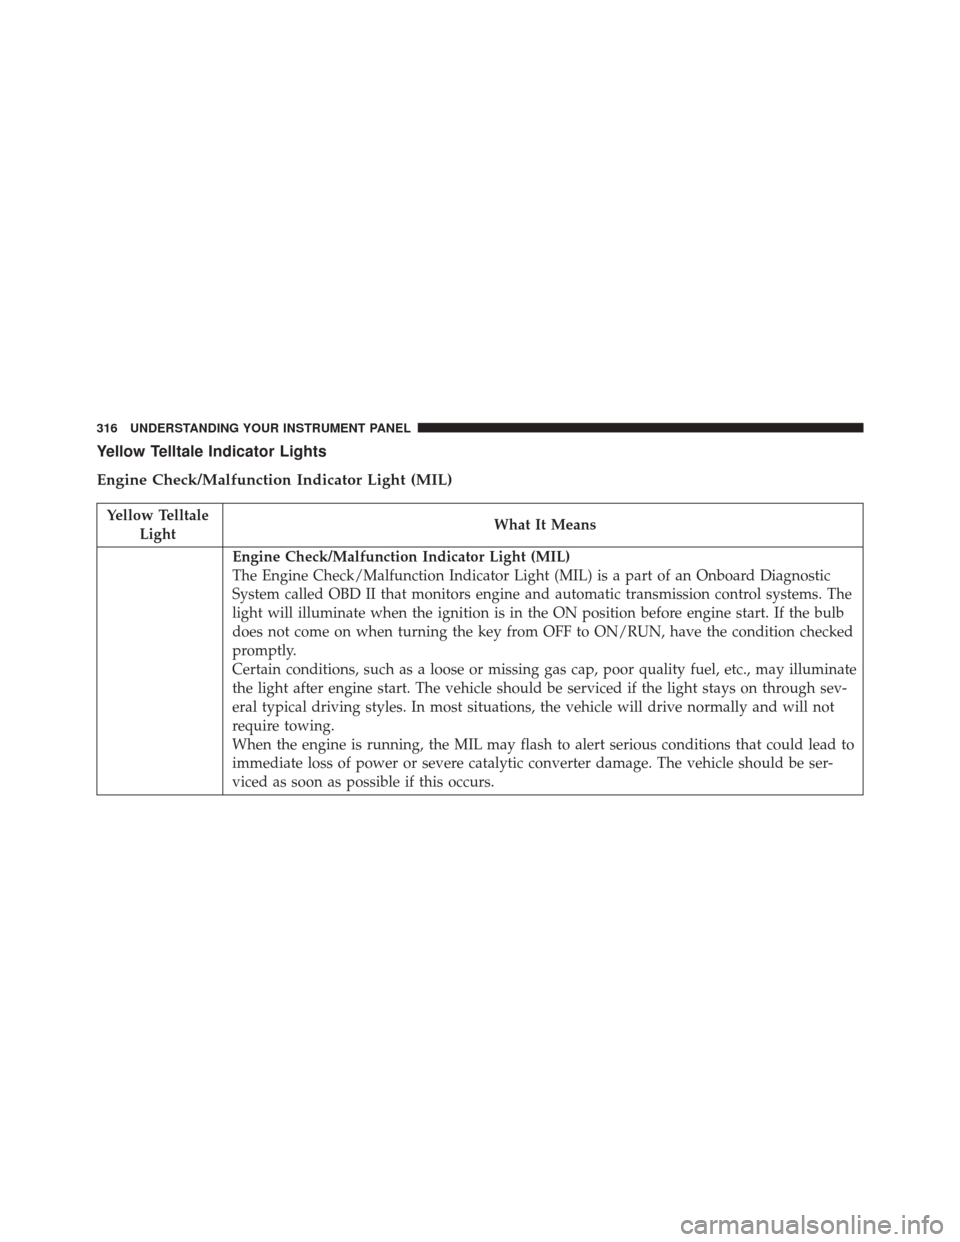
Yellow Telltale Indicator Lights
Engine Check/Malfunction Indicator Light (MIL)
Yellow TelltaleLight What It Means
Engine Check/Malfunction Indicator Light (MIL)
The Engine Check/Malfunction Indicator Light (MIL) is a part of an Onboard Diagnostic
System called OBD II that monitors engine and automatic transmission control systems. The
light will illuminate when the ignition is in the ON position before engine start. If the bulb
does not come on when turning the key from OFF to ON/RUN, have the condition checked
promptly.
Certain conditions, such as a loose or missing gas cap, poor quality fuel, etc., may illuminate
the light after engine start. The vehicle should be serviced if the light stays on through sev-
eral typical driving styles. In most situations, the vehicle will drive normally and will not
require towing.
When the engine is running, the MIL may flash to alert serious conditions that could lead to
immediate loss of power or severe catalytic converter damage. The vehicle should be ser-
viced as soon as possible if this occurs.
316 UNDERSTANDING YOUR INSTRUMENT PANEL
Page 358 of 671

Buttons On The Touchscreen
Buttons on the touchscreen are accessible on the
Uconnect Touchscreen.
CAUTION!
Do not attach any object to touchscreen, doing so can
result in damage to the touchscreen.
Customer Programmable Features — Uconnect
System 8.4 Settings
Press the More button on the touchscreen, then press the
Settings button on the touchscreen to display the menu
setting screen. In this mode the Uconnect system allows
you to access programmable features that may be
equipped such as Display, Clock, Safety & Driving Assis-
tance, Lights, Doors & Locks, Auto-On Comfort & Re-
mote Start, Engine Off Operation, Compass Settings,
Audio, Phone/Bluetooth and SIRIUS Setup.NOTE:
Only one touchscreen area may be selected at a
time.
When making a selection, press the button on the touch-
screen to enter the desired mode. Once in the desired
mode press and release the preferred setting until a
check-mark appears next to the setting, showing that
setting has been selected.
Once the setting is complete press the Back Arrow button
on the touchscreen to return to the previous menu or
press the X button on the touchscreen to close out of the
settings screen. Pressing the Up or Down Arrow buttons
on the touchscreens on the right side of the screen will
allow you to toggle up or down through the available
settings.
Display
After pressing the Display button on the touchscreen the
following settings will be available.
356 UNDERSTANDING YOUR INSTRUMENT PANEL
Page 364 of 671

make your selection, press the Interior Accent Lighting
button on the touchscreen, until a check-mark appears
next to setting, showing that setting has been selected.
Press the back arrow button on the touchscreen to return
to the previous menu.
•Headlight Off Delay
When this feature is selected, it allows the adjustment of
the amount of time the headlights remain on after the
engine is shut off. To change the Headlights Off Delay
setting, press the “Headlight Off Delay” button on the
touchscreen, and choose either “0 sec,” “30 sec,” “60 sec”
or “90 seconds.” A check-mark appears next to setting
indicating that the setting has been selected. Press the
back arrow button on the touchscreen to return to the
previous menu.
• Headlight Illumination On Approach
When this feature is selected, the headlights will activate
and remain on for 0, 30, 60, or 90 seconds when the doors are unlocked with the Remote Keyless Entry (RKE)
transmitter. To change the Illuminated Approach status,
press the + or - button on the touchscreen to select your
desired time interval. Press the back arrow button on the
touchscreen to return to the previous menu.
•
Headlights With Wipers — If Equipped
When this feature is selected, and the headlight switch is
in the AUTO position, the headlights will turn on ap-
proximately 10 seconds after the wipers are turned on.
The headlights will also turn off when the wipers are
turned off if they were turned on by this feature. To make
your selection, press the Headlights With Wipers button
on the touchscreen, until a check-mark appears next to
setting, showing that setting has been selected. Press the
back arrow button on the touchscreen to return to the
previous menu.
362 UNDERSTANDING YOUR INSTRUMENT PANEL