remote start DODGE DURANGO 2011 3.G Owner's Manual
[x] Cancel search | Manufacturer: DODGE, Model Year: 2011, Model line: DURANGO, Model: DODGE DURANGO 2011 3.GPages: 576, PDF Size: 3.57 MB
Page 130 of 576
Vehicles Equipped With Remote Start
On models that are equipped with remote start, the driver ’s
heated and heated steering wheel seat can be programmed
to come on during a remote start. Refer to “Remote Starting
System — If Equipped” in “Things To Know Before Starting
Your Vehicle” for further information.
Front Heated Seats
There are two heated seat switches that allow the driver
and passenger to operate the seats independently. The
controls for each heater are located near the bottom
center of the instrument panel (below the climate con-
trols).
You can choose from HIGH, LOW or OFF heat settings.
Amber indicator lights in each switch indicate the level of
heat in use. Two indicator lights will illuminate for
HIGH, one for LOW and none for OFF.Press the switch once to select HIGH-level
heating. Press the switch a second time to select
LOW-level heating. Press the switch a third
time to shut the heating elements OFF.
NOTE: Once a heat setting is selected, heat will be felt
within two to five minutes.
When the HIGH-level setting is selected, the heater will
provide a boosted heat level during the first four minutes
of operation. Then, the heat output will drop to the
normal HIGH-level. If the HIGH-level setting is selected,
the system will automatically switch to LOW-level after a
maximum of 55 minutes of continuous operation. At that
time, the number of illuminated LEDs changes from two
to one, indicating the change. The LOW-level setting will
turn OFF automatically after a maximum of 45 minutes.
128 UNDERSTANDING THE FEATURES OF YOUR VEHICLE
Page 132 of 576
to one, indicating the change. The LOW-level setting will
turn OFF automatically after a maximum of 45 minutes.
Ventilated Seats — If Equipped
On some models, both the driver and passenger seats are
ventilated. Located in the seat cushion and seatback are
small fans that draw the air from the passenger compart-
ment and blow air through fine perforations in the seat
cover to help keep the driver and front passenger cooler
in higher ambient temperatures.
There are two ventilated seat switches that allow the
driver and passenger to operate the seats independently.
The ventilated seat switches are located on the switch
bank in the center stack of the instrument panel, just
below the climate controls.The ventilated seat switches are used
to control the speed of the fans located
in the seat. Press the switch once to
choose HIGH, press it a second time to
choose LOW. Pressing the switch a
third time will turn the ventilated seat
OFF. When HIGH speed is selected
both lights on the switch will be illuminated. When LOW
speed is selected one light will be illuminated.
NOTE: The engine must be running for the ventilated
seats to operate.
Vehicles Equipped With Remote Start
On models that are equipped with remote start, the
driver’s ventilated seat can be programmed to come on
during a remote start. Refer to “Remote Starting System
— If Equipped” in “Things to Know Before Starting Your
Vehicle” for further information.
130 UNDERSTANDING THE FEATURES OF YOUR VEHICLE
Page 164 of 576
HEATED STEERING WHEEL — IF EQUIPPED
The steering wheel contains a heating element that helps
warm your hands in cold weather. The heated steering
wheel has only one temperature setting. Once the heated
steering wheel has been turned on it will operate for
approximately 58 to 70 minutes before automatically
shutting off. The heated steering wheel can shut off early
or may not turn on when the steering wheel is already
warm.
The heated steering wheel switch is located on the switch
bank below the climate controls.Press the switch to turn on the heated
steering wheel. The light on the switch
will illuminate to indicate the steering
wheel heater is on. Pressing the switch
a second time will turn off the heated
steering wheel and light indicator. NOTE:
The engine must be running for the heated
steering wheel to operate.
Vehicles Equipped With Remote Start
On models that are equipped with remote start, the
heated steering wheel and seat can be programmed to
come on during a remote start. Refer to “Remote Starting
System — If Equipped” in “Things to Know Before
Starting Your Vehicle” for further information.
WARNING!
•Persons who are unable to feel pain to the skin
because of advanced age, chronic illness, diabetes,
spinal cord injury, medication, alcohol use, ex-
haustion, or other physical conditions must exer-
cise care when using the steering wheel heater. It
may cause burns even at low temperatures, espe-
cially if used for long periods.
(Continued)
162 UNDERSTANDING THE FEATURES OF YOUR VEHICLE
Page 261 of 576
•Ignition or Accessory On Lights On
•Oil temp high Speed may be limited
•Oil temp high Speed limited
•Turn signal on
•Park assist on
•Warning object detected
•Remote start aborted — Door ajar
•Remote start aborted — Hood ajar
•Remote start aborted — L/Gate ajar
•Remote start aborted — Fuel low
•Remote start disabled — Start Vehicle to Reset
•Remote start active — Push Start Button
•Remote start active — Insert Key and Turn to Run
•Memory 1 profile set
•Memory 2 profile set
•Memory system unavailable — Not in Park
•Memory system unavailable — Seatbelt buckled
•Memory 1 profile recall
•Memory 2 profile recall
•Wrong Key
•Damaged Key
•Key not programmed
•Park Assist Disabled
•Automatic high beams on
•Automatic high beams off
•Service All Wheel Drive System
4
UNDERSTANDING YOUR INSTRUMENT PANEL 259
Page 278 of 576

button a check-mark appears next to the feature showing
the system has been activated or the check-mark is
removed showing the system has been deactivated. Refer
to “Driver Memory Seat” in “Understanding The Fea-
tures Of Your Vehicle.”
Remote Start Comfort Sys.
When this feature is selected and the remote start is
activated, the heated steering wheel and driver heated
seat features will automatically turn on in cold weather.
In warm weather, the driver vented seat feature will
automatically turn on when the remote start is activated.
These features will stay on through the duration of
remote start or until the key is turned to RUN. To make
your selection, press and release the SELECT button until
a check-mark appears next to the feature showing the
system has been activated or the check-mark is removed
showing the system has been deactivated.
Horn With Remote Lock
When this feature is selected, a short horn sound will
occur when the RKE transmitter LOCK button is pressed.
This feature may be selected with or without the “Flash
Lamps with Lock” feature. To make your selection, press
and release the SELECT button until a check-mark ap-
pears next to the feature showing the system has been
activated or the check-mark is removed showing the
system has been deactivated.
Horn With Remote Start
When this feature is selected, a short horn sound will
occur when the RKE transmitter REMOTE START button
is pressed. To make your selection, press and release the
SELECT button until a check-mark appears next to the
feature showing the system has been activated or the
check-mark is removed showing the system has been
deactivated.
276 UNDERSTANDING YOUR INSTRUMENT PANEL
Page 339 of 576
Do notpress the accelerator. Use the Fob with Integrated
Key to briefly turn the ignition switch to the START
position and release it as soon as the starter engages. The
starter motor will continue to run, and it will disengage
automatically when the engine is running. If the engine
fails to start, the starter will disengage automatically in
10 seconds. If this occurs, turn the ignition switch to the
LOCK position, wait 10 to 15 seconds, then repeat the
“Normal Starting” procedure.
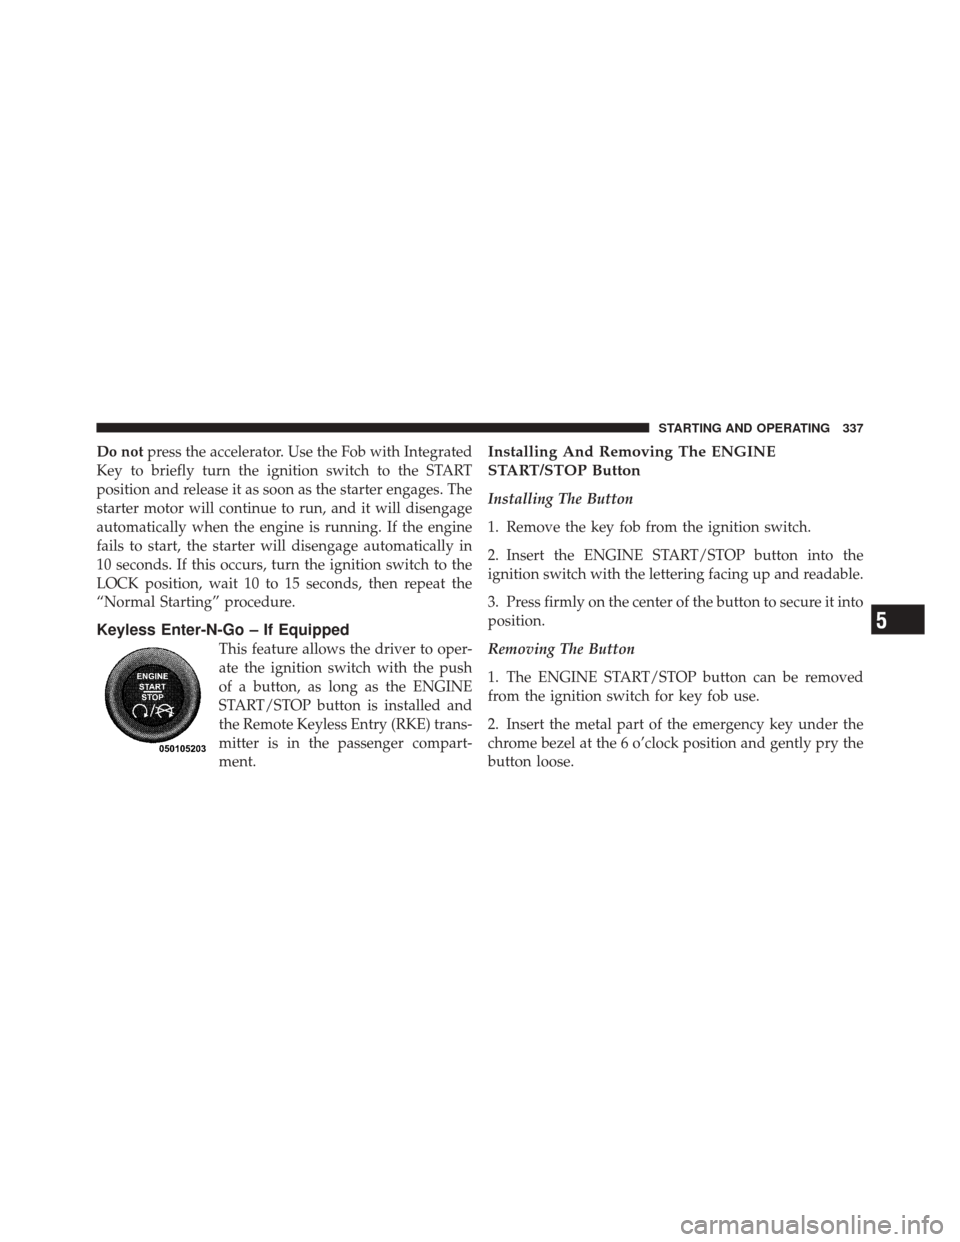
Keyless Enter-N-Go – If Equipped
This feature allows the driver to oper-
ate the ignition switch with the push
of a button, as long as the ENGINE
START/STOP button is installed and
the Remote Keyless Entry (RKE) trans-
mitter is in the passenger compart-
ment.
Installing And Removing The ENGINE
START/STOP Button
Installing The Button
1. Remove the key fob from the ignition switch.
2. Insert the ENGINE START/STOP button into the
ignition switch with the lettering facing up and readable.
3. Press firmly on the center of the button to secure it into
position.
Removing The Button
1. The ENGINE START/STOP button can be removed
from the ignition switch for key fob use.
2. Insert the metal part of the emergency key under the
chrome bezel at the 6 o’clock position and gently pry the
button loose.
5
STARTING AND OPERATING 337
Page 466 of 576
CAUTION!
Do not use a portable battery booster pack or any
other booster source with a system voltage greater
than 12 Volts or damage to the battery, starter motor,
alternator or electrical system may occur.
WARNING!
Do not attempt jump-starting if the battery is frozen.
It could rupture or explode and cause personal injury.
Preparations For Jump-Start
The battery in your vehicle is located under the passen-
ger’s front seat. There are remote locations located under
the hood to assist in jump-starting.
Remote Battery Posts
1 — Remote Positive(+) Post (covered with protective cap)
2 — Remote Negative (-) Post
464 WHAT TO DO IN EMERGENCIES
Page 467 of 576
WARNING!
•Take care to avoid the radiator cooling fan when-
ever the hood is raised. It can start anytime the
ignition switch is on. You can be injured by
moving fan blades.
•Remove any metal jewelry such as watch bands or
bracelets that might make an inadvertent electrical
contact. You could be seriously injured.
•Batteries contain sulfuric acid that can burn your
skin or eyes and generate hydrogen gas which is
flammable and explosive. Keep open flames or
sparks away from the battery.
1. Set the parking brake, shift the automatic transmission
into PARK and turn the ignition to LOCK.
2. Turn off the heater, radio, and all unnecessary electri-
cal accessories. 3. Remove the protective cover over the remote positive
(+)
battery post. Pull upward on the cover to remove it.
4. If using another vehicle to jump-start the battery, park
the vehicle within the jumper cables reach, set the
parking brake and make sure the ignition is OFF.
WARNING!
Do not allow vehicles to touch each other as this
could establish a ground connection and personal
injury could result.
Jump-Starting Procedure
WARNING!
Failure to follow this procedure could result in per-
sonal injury or property damage due to battery ex-
plosion.
6
WHAT TO DO IN EMERGENCIES 465
Page 468 of 576
CAUTION!
Failure to follow these procedures could result in
damage to the charging system of the booster vehicle
or the discharged vehicle.
1. Connect the positive (+)end of the jumper cable to the
remote positive (+)post of the discharged vehicle.
2. Connect the opposite end of the positive (+)jumper
cable to the positive (+)post of the booster battery.
3. Connect the negative end (-)of the jumper cable to the
negative (-)post of the booster battery.
4. Connect the opposite end of the negative (-)jumper
cable to the remote negative (-)post of the vehicle with
the discharged battery.
WARNING!
Do not connect the cable to the negative post (-) of the
discharged battery. The resulting electrical spark
could cause the battery to explode and could result in
personal injury.
5. Start the engine in the vehicle that has the booster
battery, let the engine idle a few minutes, and then start
the engine in the vehicle with the discharged battery.
Once the engine is started, remove the jumper cables in
the reverse sequence:
6. Disconnect the negative (-)jumper cable from the
remote negative (-)post of the discharged vehicle.
7. Disconnect the negative end (-)of the jumper cable
from the negative (-)post of the booster battery.
466 WHAT TO DO IN EMERGENCIES
Page 469 of 576
8. Disconnect the opposite end of the positive(+)jumper
cable from the positive (+)post of the booster battery.
9. Disconnect the positive (+)end of the jumper cable
from the remote positive (+)post of the discharged
vehicle.
10. Reinstall the protective cover over the remote posi-
tive (+)battery post of the discharged vehicle.
If frequent jump-starting is required to start your vehicle
you should have the battery and charging system in-
spected at your authorized dealer.CAUTION!
Accessories that can be plugged into the vehicle
power outlets draw power from the vehicle’s battery,
even when not in use (i.e., cellular phones, etc.).
Eventually, if plugged in long enough, the vehicle’s
battery will discharge sufficiently to degrade battery
life and/or prevent the engine from starting.
EMERGENCY TOW HOOKS — IF EQUIPPED
If your vehicle is equipped with tow hooks, there will be
one in the rear and two mounted on the front of the
vehicle. The rear hook will be located on the driver’s side
of the vehicle.
NOTE: For off-road recovery, it is recommended to use
both of the front tow hooks to minimize the risk of
damage to the vehicle.6
WHAT TO DO IN EMERGENCIES 467