tire type DODGE DURANGO 2011 3.G Owners Manual
[x] Cancel search | Manufacturer: DODGE, Model Year: 2011, Model line: DURANGO, Model: DODGE DURANGO 2011 3.GPages: 576, PDF Size: 3.57 MB
Page 93 of 576
a Child Restraint System (CRS). These types of seat belts
are designed to keep the lap portion of the seat belt tight
around the child restraint so that it is not necessary to use
a locking clip. The ALR will make a ratcheting noise if
you extract the entire belt from the retractor and then
allow the belt to retract into the retractor. For additional
information on ALR, refer to “Automatic Locking Mode”
description under “Seat Belts In Passenger Seating Posi-
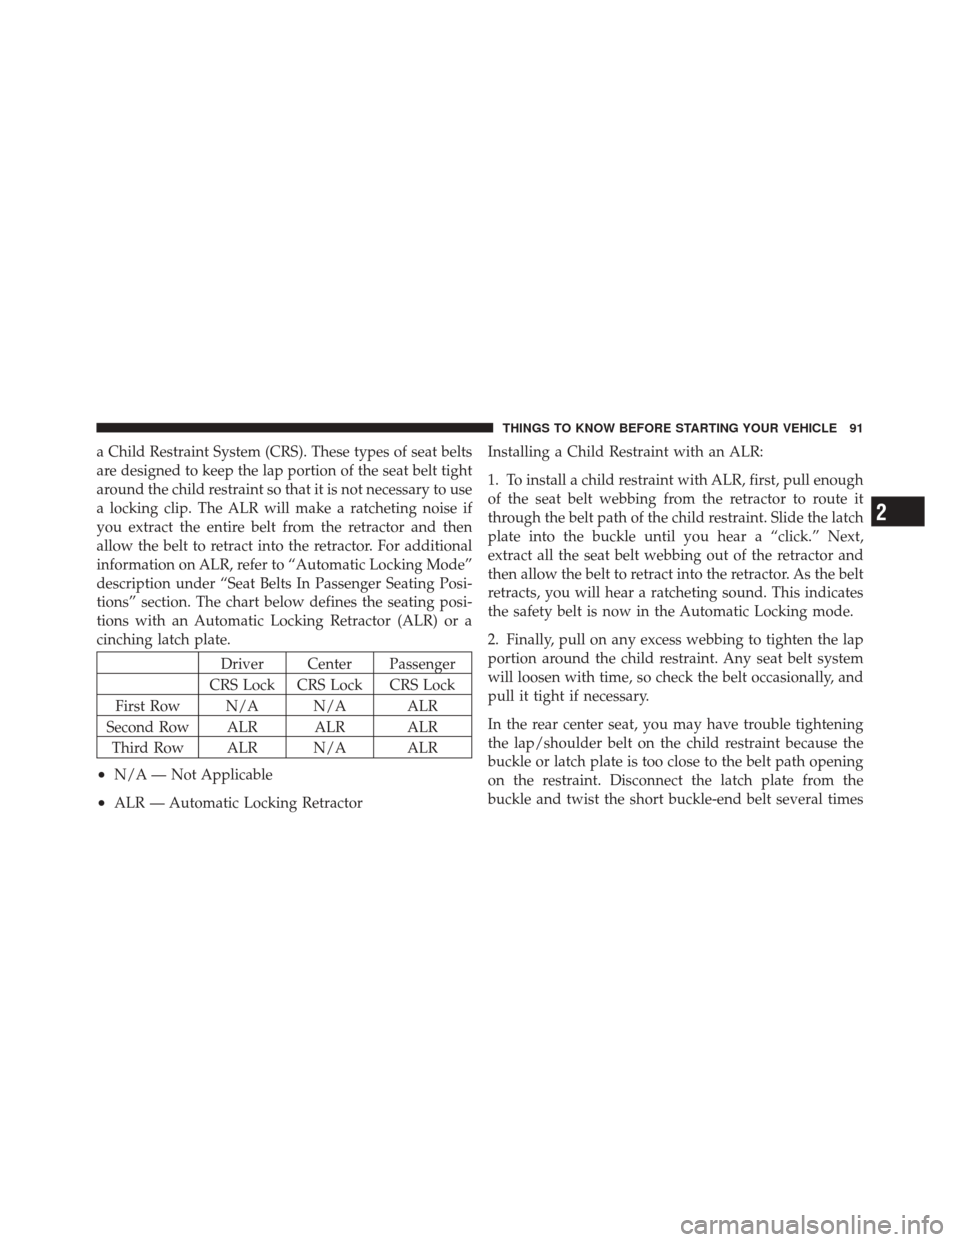
tions” section. The chart below defines the seating posi-
tions with an Automatic Locking Retractor (ALR) or a
cinching latch plate.
Driver Center Passenger
CRS Lock CRS Lock CRS Lock
First Row N/A N/A ALR
Second Row ALR ALR ALR Third Row ALR N/A ALR
•N/A — Not Applicable
•ALR — Automatic Locking Retractor Installing a Child Restraint with an ALR:
1. To install a child restraint with ALR, first, pull enough
of the seat belt webbing from the retractor to route it
through the belt path of the child restraint. Slide the latch
plate into the buckle until you hear a “click.” Next,
extract all the seat belt webbing out of the retractor and
then allow the belt to retract into the retractor. As the belt
retracts, you will hear a ratcheting sound. This indicates
the safety belt is now in the Automatic Locking mode.
2. Finally, pull on any excess webbing to tighten the lap
portion around the child restraint. Any seat belt system
will loosen with time, so check the belt occasionally, and
pull it tight if necessary.
In the rear center seat, you may have trouble tightening
the lap/shoulder belt on the child restraint because the
buckle or latch plate is too close to the belt path opening
on the restraint. Disconnect the latch plate from the
buckle and twist the short buckle-end belt several times
2
THINGS TO KNOW BEFORE STARTING YOUR VEHICLE 91
Page 247 of 576
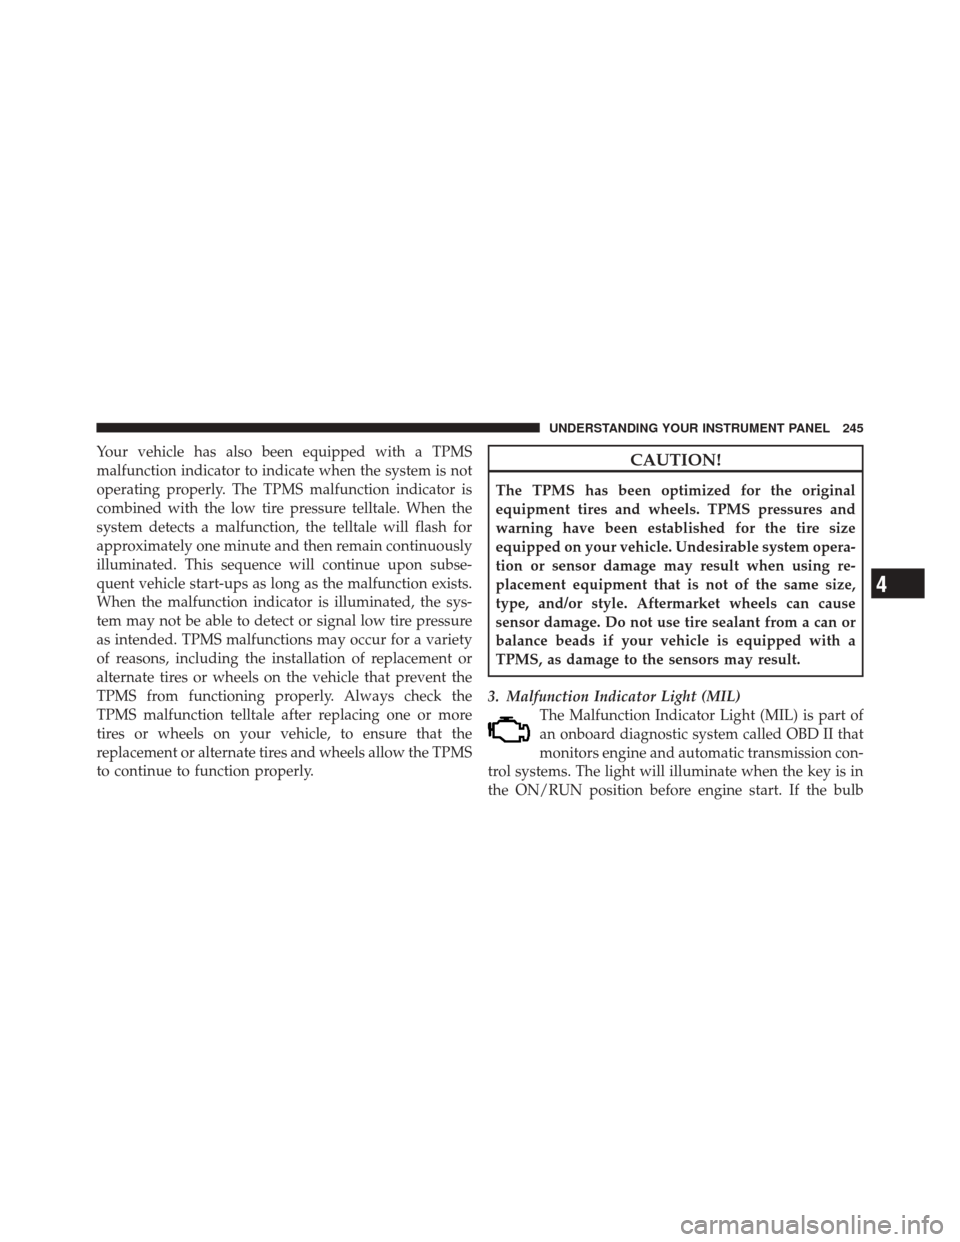
Your vehicle has also been equipped with a TPMS
malfunction indicator to indicate when the system is not
operating properly. The TPMS malfunction indicator is
combined with the low tire pressure telltale. When the
system detects a malfunction, the telltale will flash for
approximately one minute and then remain continuously
illuminated. This sequence will continue upon subse-
quent vehicle start-ups as long as the malfunction exists.
When the malfunction indicator is illuminated, the sys-
tem may not be able to detect or signal low tire pressure
as intended. TPMS malfunctions may occur for a variety
of reasons, including the installation of replacement or
alternate tires or wheels on the vehicle that prevent the
TPMS from functioning properly. Always check the
TPMS malfunction telltale after replacing one or more
tires or wheels on your vehicle, to ensure that the
replacement or alternate tires and wheels allow the TPMS
to continue to function properly.CAUTION!
The TPMS has been optimized for the original
equipment tires and wheels. TPMS pressures and
warning have been established for the tire size
equipped on your vehicle. Undesirable system opera-
tion or sensor damage may result when using re-
placement equipment that is not of the same size,
type, and/or style. Aftermarket wheels can cause
sensor damage. Do not use tire sealant from a can or
balance beads if your vehicle is equipped with a
TPMS, as damage to the sensors may result.
3. Malfunction Indicator Light (MIL) The Malfunction Indicator Light (MIL) is part of
an onboard diagnostic system called OBD II that
monitors engine and automatic transmission con-
trol systems. The light will illuminate when the key is in
the ON/RUN position before engine start. If the bulb
4
UNDERSTANDING YOUR INSTRUMENT PANEL 245
Page 356 of 576
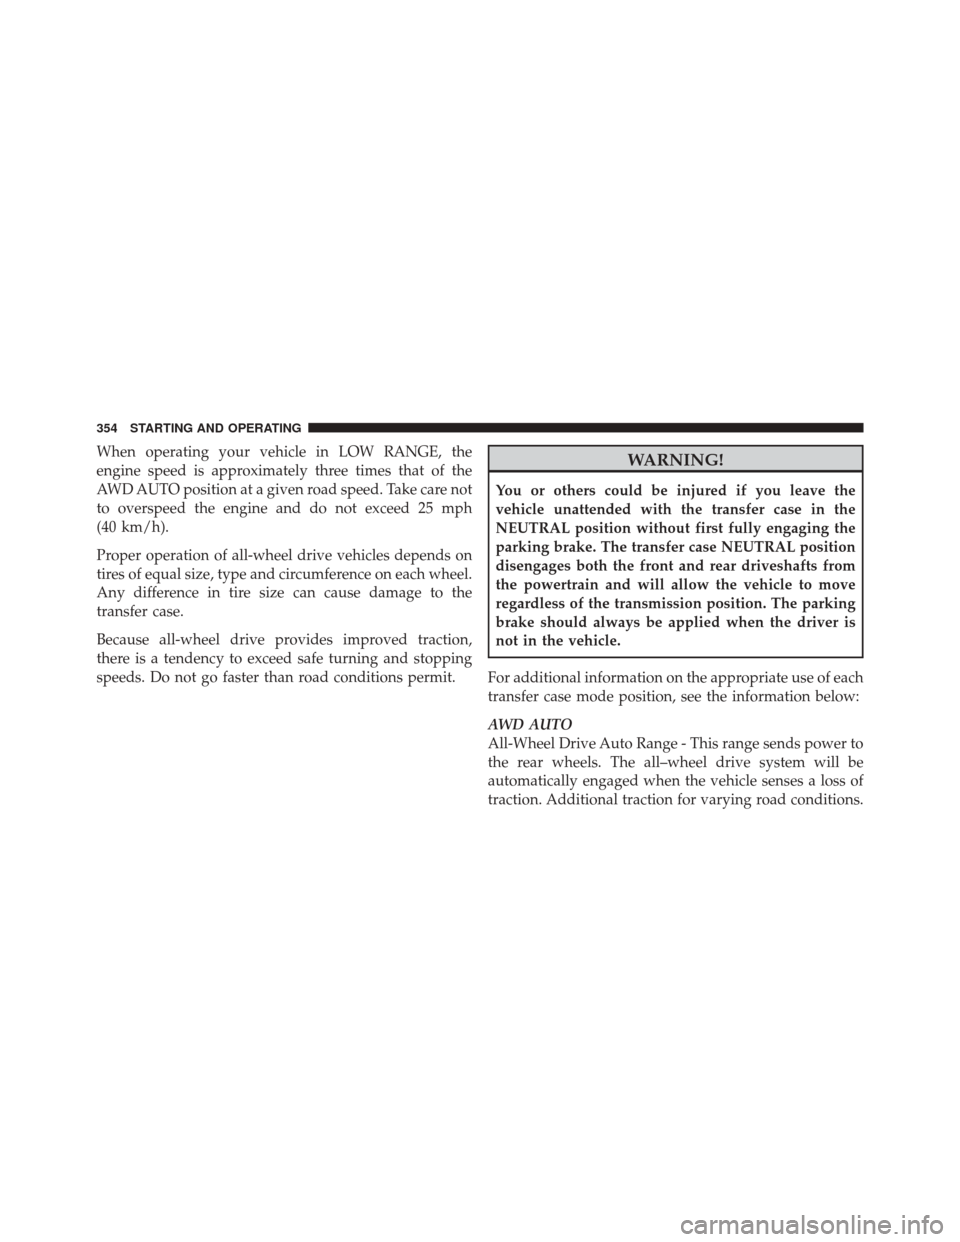
When operating your vehicle in LOW RANGE, the
engine speed is approximately three times that of the
AWD AUTO position at a given road speed. Take care not
to overspeed the engine and do not exceed 25 mph
(40 km/h).
Proper operation of all-wheel drive vehicles depends on
tires of equal size, type and circumference on each wheel.
Any difference in tire size can cause damage to the
transfer case.
Because all-wheel drive provides improved traction,
there is a tendency to exceed safe turning and stopping
speeds. Do not go faster than road conditions permit.WARNING!
You or others could be injured if you leave the
vehicle unattended with the transfer case in the
NEUTRAL position without first fully engaging the
parking brake. The transfer case NEUTRAL position
disengages both the front and rear driveshafts from
the powertrain and will allow the vehicle to move
regardless of the transmission position. The parking
brake should always be applied when the driver is
not in the vehicle.
For additional information on the appropriate use of each
transfer case mode position, see the information below:
AWD AUTO
All-Wheel Drive Auto Range - This range sends power to
the rear wheels. The all–wheel drive system will be
automatically engaged when the vehicle senses a loss of
traction. Additional traction for varying road conditions.
354 STARTING AND OPERATING
Page 391 of 576
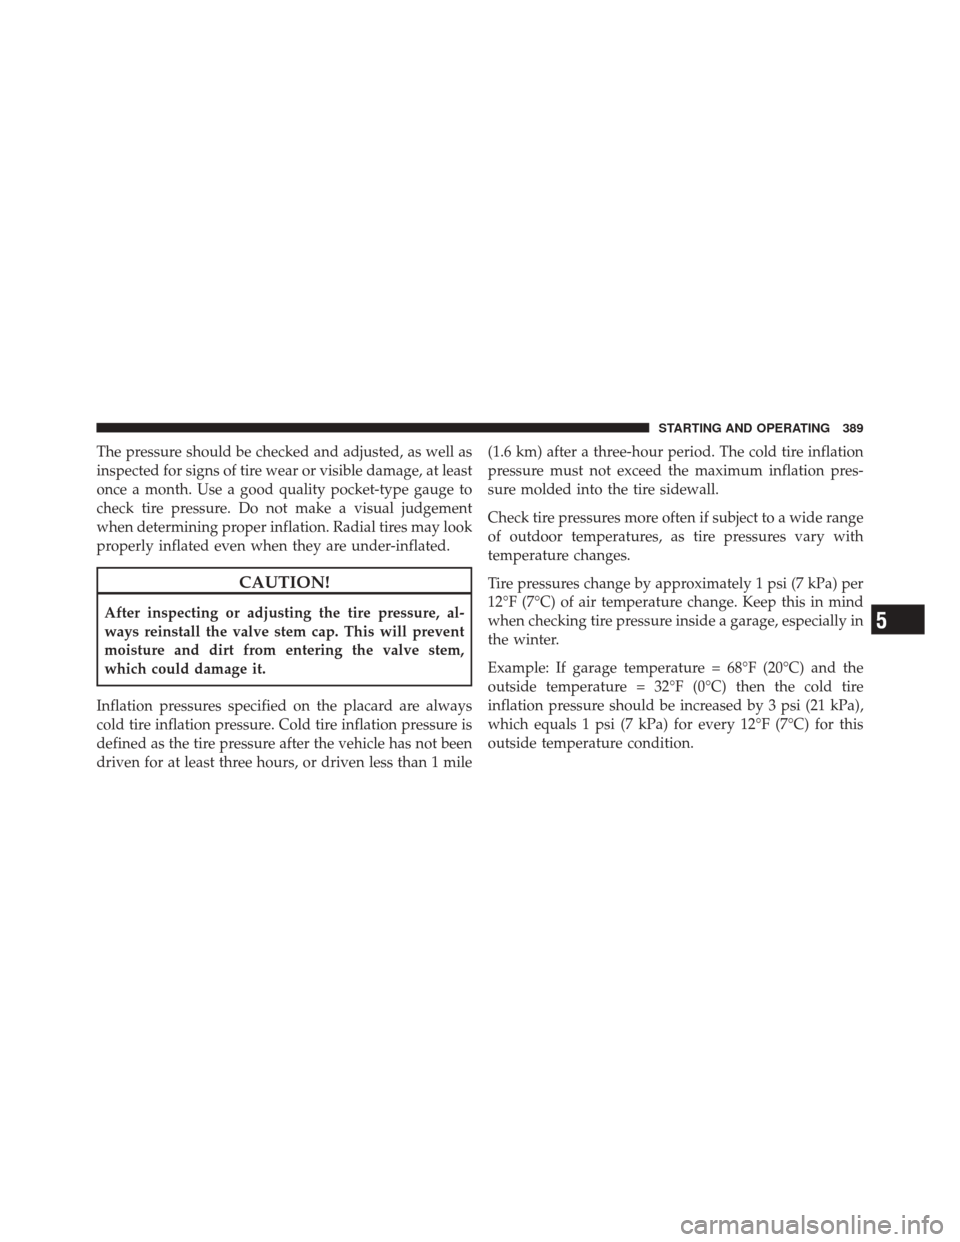
The pressure should be checked and adjusted, as well as
inspected for signs of tire wear or visible damage, at least
once a month. Use a good quality pocket-type gauge to
check tire pressure. Do not make a visual judgement
when determining proper inflation. Radial tires may look
properly inflated even when they are under-inflated.
CAUTION!
After inspecting or adjusting the tire pressure, al-
ways reinstall the valve stem cap. This will prevent
moisture and dirt from entering the valve stem,
which could damage it.
Inflation pressures specified on the placard are always
cold tire inflation pressure. Cold tire inflation pressure is
defined as the tire pressure after the vehicle has not been
driven for at least three hours, or driven less than 1 mile (1.6 km) after a three-hour period. The cold tire inflation
pressure must not exceed the maximum inflation pres-
sure molded into the tire sidewall.
Check tire pressures more often if subject to a wide range
of outdoor temperatures, as tire pressures vary with
temperature changes.
Tire pressures change by approximately 1 psi (7 kPa) per
12°F (7°C) of air temperature change. Keep this in mind
when checking tire pressure inside a garage, especially in
the winter.
Example: If garage temperature = 68°F (20°C) and the
outside temperature = 32°F (0°C) then the cold tire
inflation pressure should be increased by 3 psi (21 kPa),
which equals 1 psi (7 kPa) for every 12°F (7°C) for this
outside temperature condition.5
STARTING AND OPERATING 389
Page 392 of 576
Tire pressure may increase from 2 to 6 psi (13 to 40 kPa)
during operation. DO NOT reduce this normal pressure
build-up, or your tire pressure will be too low.
Tire Pressures For High Speed Operation
The manufacturer advocates driving at safe speeds
within posted speed limits. Where speed limits or condi-
tions are such that the vehicle can be driven at high
speeds, maintaining correct tire inflation pressure is very
important. Increased tire pressure and reduced vehicle
loading may be required for high-speed vehicle opera-
tion. Refer to original equipment or an authorized tire
dealer for recommended safe operating speeds, loading
and cold tire inflation pressures.
WARNING!
High speed driving with your vehicle at or above
maximum load is dangerous. The added strain on
your tires could cause them to fail. You could have a
serious collision. Do not drive a vehicle loaded to the
maximum capacity at continuous speeds above
75 mph (120 km/h).
Radial-Ply Tires
WARNING!
Combining radial ply tires with other types of tires
on your vehicle will cause your vehicle to handle
poorly. The instability could cause a collision. Al-
ways use radial tires in sets of four. Never combine
them with other types of tires.
390 STARTING AND OPERATING
Page 393 of 576
Cuts and punctures in radial tires are repairable only in
the tread area because of sidewall flexing. Consult your
authorized dealer for radial tire repairs.
Spare Tire Matching Original Equipped Tire And
Wheel – If Equipped
Your vehicle may be equivalent with a spare tire and
wheel in look and function as the original equipment tire
and wheel found on the front or rear axle of your vehicle.
This spare tire may be used in the tire rotation for your
vehicle. If your vehicle has this option refer to an
authorized tire dealer for the recommended tire rotation
pattern.
If your vehicle is not equipped with an original equip-
ment tire and wheel as a spare, a non-matching tempo-
rary emergency use spare may be equipped with your
vehicle. Temporary use spares are engineered to be used
only with your vehicle. Your vehicle may be equippedwith one of the following types of non-matching tempo-
rary use spares; compact, full size, or limited-use. Do not
install more than one non-matching temporary use spare
tire/wheel on the vehicle at any given time.CAUTION!
Because of the reduced ground clearance, do not take
your vehicle through an automatic car wash with a
compact, full size or limited-use temporary spare
installed. Damage to the vehicle may result.
Compact Spare Tire – If Equipped
The compact spare is for temporary emergency use only.
You can identify if your vehicle is equipped with a
compact spare by looking at the spare tire description on
the Tire and Loading Information Placard located on the
driver ’s side door opening or on the sidewall of the tire.
5
STARTING AND OPERATING 391
Page 399 of 576
TIRE CHAINS (TRACTION DEVICES)
Use of traction devices require sufficient tire-to-body
clearance. Follow these recommendations to guard
against damage.
•Install on Rear Tires Only
•Due to limited clearance, use SAE class “S” low profile
cables or traction devices only. Security Chain Com-
pany (SCC) Super Z6 #SZ 441 cables or equivalent are
recommended.
WARNING!
Using tires of different size and type (M+S, Snow)
between front and rear axles can cause unpredictable
handling. You could lose control and have a collision.
CAUTION!
To avoid damage to your vehicle or tires, observe the
following precautions:
•Because of restricted traction device clearance be-
tween tires and other suspension components, it is
important that only traction devices in good con-
dition are used. Broken devices can cause serious
damage. Stop the vehicle immediately if noise
occurs that could indicate device breakage. Re-
move the damaged parts of the device before
further use.
•Install device as tightly as possible and then
retighten after driving about1�2mile (0.8 km).
•Do not exceed 30 mph (48 km/h).
•Drive cautiously and avoid severe turns and large
bumps, especially with a loaded vehicle.(Continued)
5
STARTING AND OPERATING 397
Page 400 of 576
CAUTION! (Continued)
•Do not drive for prolonged period on dry pave-
ment.
•Observe the traction device manufacturer ’s in-
structions on the method of installation, operating
speed, and conditions for use. Always use the
suggested operating speed of the device manufac-
turer ’s if it is less than 30 mph (48 km/h).
•Do not use traction devices on a compact spare tire.
SNOW TIRES
Some areas of the country require the use of snow tires
during the winter. All season tires can be identified by the
M+S designation on the tire sidewall.
If you need snow tires, select tires equivalent in size and
type to the original equipment tires. Use snow tires only
in sets of four; failure to do so may adversely affect the
safety and handling of your vehicle.Snow tires generally have lower speed ratings than what
was originally equipped with your vehicle and should
not be operated at sustained speeds over 75 mph
(120 km/h). For speeds above 75 mph (120 km/h) refer to
original equipment or an authorized tire dealer for
recommended safe operating speeds, loading and cold
tire inflation pressures.
While studded tires improve performance on ice, skid
and traction capability on wet or dry surfaces may be
poorer than that of non-studded tires. Some states pro-
hibit studded tires; therefore, local laws should be
checked before using these tire types.
TIRE ROTATION RECOMMENDATIONS
The tires on the front and rear of your vehicle operate at
different loads and perform different steering, handling,
and braking functions. For these reasons, they wear at
unequal rates.
398 STARTING AND OPERATING
Page 401 of 576
These effects can be reduced by timely rotation of tires.
The benefits of rotation are especially worthwhile with
aggressive tread designs such as those on On/Off-Road
type tires. Rotation will increase tread life, help to main-
tain mud, snow, and wet traction levels, and contribute to
a smooth, quiet ride.
Refer to the “Maintenance Schedule” for the proper
maintenance intervals. More frequent rotation is permis-
sible if desired. The reasons for any rapid or unusual
wear should be corrected prior to rotation being per-
formed.
NOTE:The premium Tire Pressure Monitor System will
automatically locate the pressure values displayed in the
correct vehicle position following a tire rotation.
The suggested rotation method is the “forward-cross”
shown in the following diagram.
TIRE PRESSURE MONITOR SYSTEM (TPMS)
The Tire Pressure Monitoring System (TPMS) will warn
the driver of a low tire pressure based on the vehicle
recommended cold tire pressure.
The tire pressure will vary with temperature by about
1 psi (7 kPa) for every 12°F (6.5°C). This means that when
Tire Rotation
5
STARTING AND OPERATING 399
Page 403 of 576
be ON. In this situation, the “Tire Pressure Monitoring
Telltale Light” will turn OFF only after the tires have been
inflated to the vehicle’s recommended cold tire pressure
value.
CAUTION!
•The TPMS has been optimized for the original
equipment tires and wheels. TPMS pressures have
been established for the tire size equipped on your
vehicle. Undesirable system operation or sensor
damage may result when using replacement
equipment that is not of the same size, type, and/or
style. Aftermarket wheels can cause sensor dam-
age. Do not use aftermarket tire sealants or balance
beads if your vehicle is equipped with a TPMS, as
damage to the sensors may result.(Continued)
CAUTION! (Continued)
•After inspecting or adjusting the tire pressure
always reinstall the valve stem cap. This will
prevent moisture and dirt from entering the valve
stem, which could damage the Tire Pressure Moni-
toring Sensor.
NOTE:
•The TPMS is not intended to replace normal tire care
and maintenance, or to provide warning of a tire
failure or condition.
•The TPMS should not be used as a tire pressure gauge
while adjusting your tire pressure.
•Driving on a significantly under-inflated tire causes
the tire to overheat and can lead to tire failure.
Under-inflation also reduces fuel efficiency and tire
tread life, and may affect the vehicle’s handling and
stopping ability.
5
STARTING AND OPERATING 401