pairing phone DODGE DURANGO 2011 3.G User Guide
[x] Cancel search | Manufacturer: DODGE, Model Year: 2011, Model line: DURANGO, Model: DODGE DURANGO 2011 3.GPages: 108, PDF Size: 5.96 MB
Page 49 of 108

Uconnect™ Phone
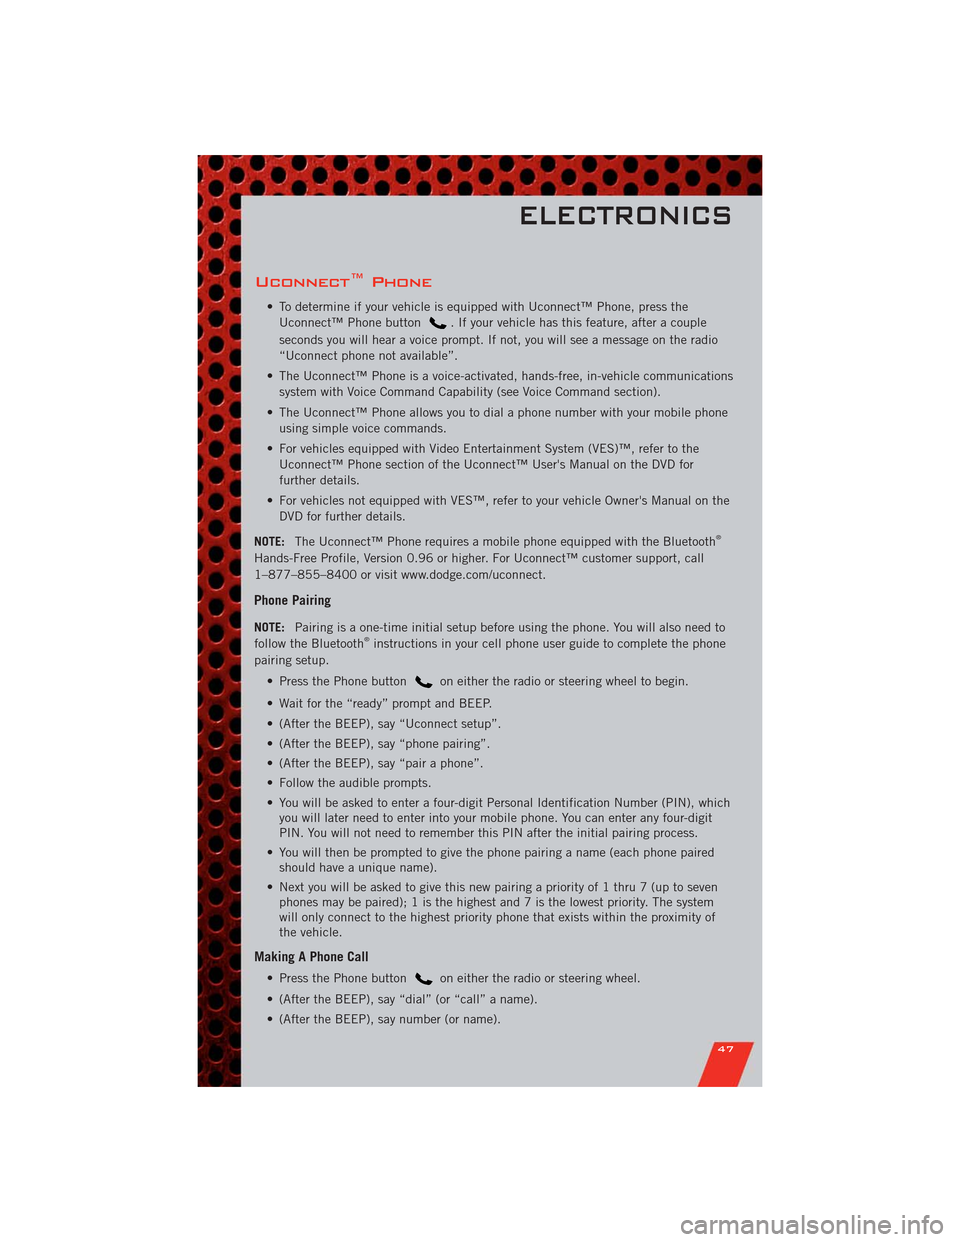
• To determine if your vehicle is equipped with Uconnect™ Phone, press the
Uconnect™ Phone button
. If your vehicle has this feature, after a couple
seconds you will hear a voice prompt. If not, you will see a message on the radio
“Uconnect phone not available”.
• The Uconnect™ Phone is a voice-activated, hands-free, in-vehicle communications
system with Voice Command Capability (see Voice Command section).
• The Uconnect™ Phone allows you to dial a phone number with your mobile phone
using simple voice commands.
• For vehicles equipped with Video Entertainment System (VES)™, refer to the
Uconnect™ Phone section of the Uconnect™ User's Manual on the DVD for
further details.
• For vehicles not equipped with VES™, refer to your vehicle Owner's Manual on the
DVD for further details.
NOTE:The Uconnect™ Phone requires a mobile phone equipped with the Bluetooth
®
Hands-Free Profile, Version 0.96 or higher. For Uconnect™ customer support, call
1–877–855–8400 or visit www.dodge.com/uconnect.
Phone Pairing
NOTE:Pairing is a one-time initial setup before using the phone. You will also need to
follow the Bluetooth®instructions in your cell phone user guide to complete the phone
pairing setup.
• Press the Phone button
on either the radio or steering wheel to begin.
• Wait for the “ready” prompt and BEEP.
• (After the BEEP), say “Uconnect setup”.
• (After the BEEP), say “phone pairing”.
• (After the BEEP), say “pair a phone”.
• Follow the audible prompts.
• You will be asked to enter a four-digit Personal Identification Number (PIN), which
you will later need to enter into your mobile phone. You can enter any four-digit
PIN. You will not need to remember this PIN after the initial pairing process.
• You will then be prompted to give the phone pairing a name (each phone paired
should have a unique name).
• Next you will be asked to give this new pairing a priority of 1 thru 7 (up to seven
phones may be paired); 1 is the highest and 7 is the lowest priority. The system
will only connect to the highest priority phone that exists within the proximity of
the vehicle.
Making A Phone Call
• Press the Phone buttonon either the radio or steering wheel.
• (After the BEEP), say “dial” (or “call” a name).
• (After the BEEP), say number (or name).
ELECTRONICS
47
Page 53 of 108

Bluetooth®Streaming Audio (Media Center 430/430N/230/130 only)
• If equipped with Uconnect™ Voice Command, your bluetooth-equipped iPod®
devices, cellphones or other media players, may also be able to stream music to
your vehicle's speakers. Your connected device must be bluetooth-compatible, and
paired with your Media Center radio (see Uconnect™ Phone for pairing
instructions). Press the AUX button on the radio faceplate until "BT" is displayed
on the radio screen.
WARNING!
Do not plug in or remove the iPod®or external device while driving. Failure to
follow this warning could result in a collision.
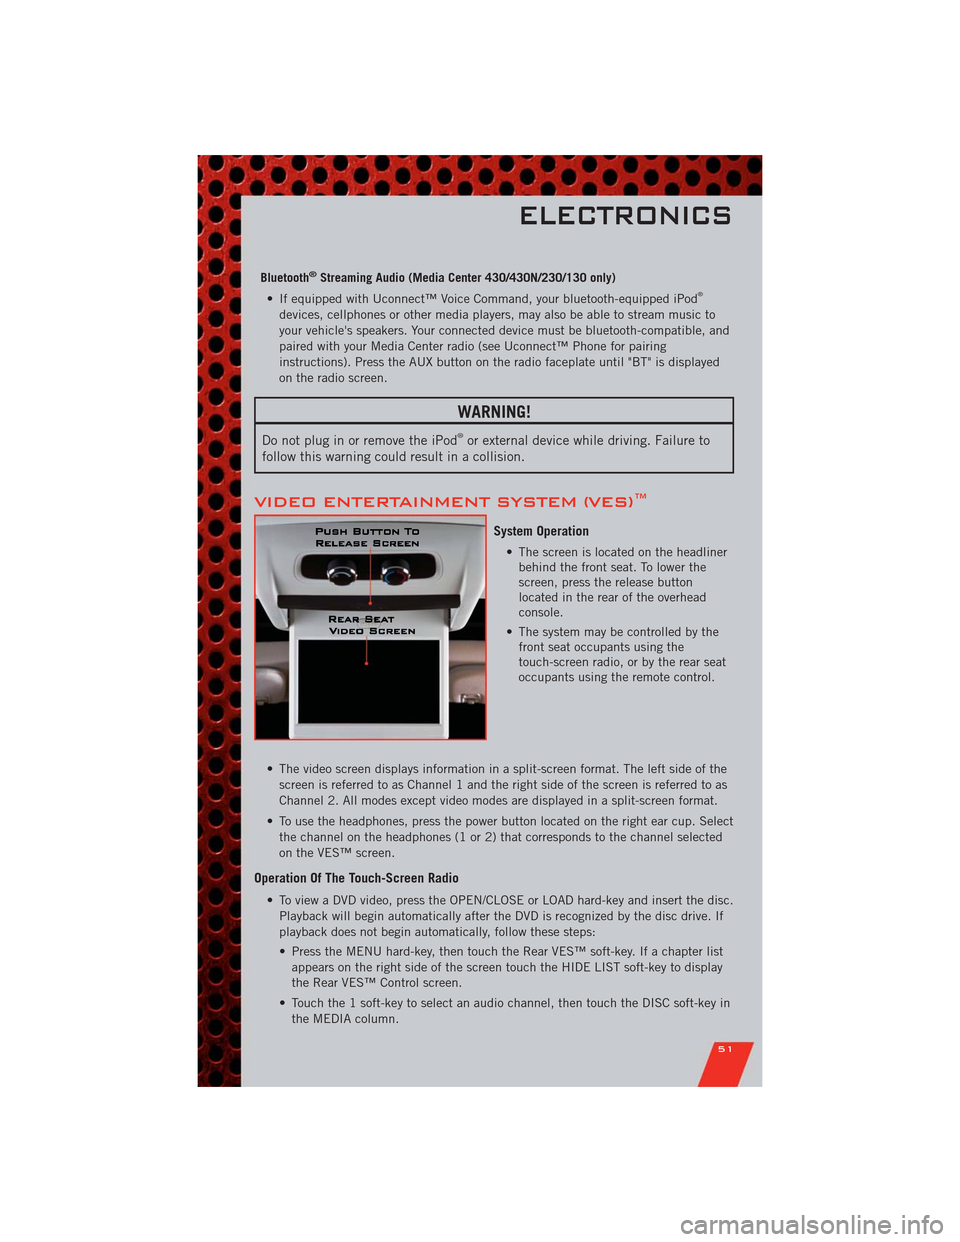
VIDEO ENTERTAINMENT SYSTEM (VES)™
System Operation
• The screen is located on the headliner
behind the front seat. To lower the
screen, press the release button
located in the rear of the overhead
console.
• The system may be controlled by the
front seat occupants using the
touch-screen radio, or by the rear seat
occupants using the remote control.
• The video screen displays information in a split-screen format. The left side of the
screen is referred to as Channel 1 and the right side of the screen is referred to as
Channel 2. All modes except video modes are displayed in a split-screen format.
• To use the headphones, press the power button located on the right ear cup. Select
the channel on the headphones (1 or 2) that corresponds to the channel selected
on the VES™ screen.
Operation Of The Touch-Screen Radio
• To view a DVD video, press the OPEN/CLOSE or LOAD hard-key and insert the disc.
Playback will begin automatically after the DVD is recognized by the disc drive. If
playback does not begin automatically, follow these steps:
• Press the MENU hard-key, then touch the Rear VES™ soft-key. If a chapter list
appears on the right side of the screen touch the HIDE LIST soft-key to display
the Rear VES™ Control screen.
• Touch the 1 soft-key to select an audio channel, then touch the DISC soft-key in
the MEDIA column.
ELECTRONICS
51
Page 98 of 108

FoldingRearSeat ......... 19,20
Four Wheel Drive............ 58
Operation............... 58
Systems................ 58
Four Wheel Drive Operation...... 58
Front Heated Seats........... 21
Fuel
Filler Cap (Gas Cap)......... 67
Filler Door (Gas Cap)........ 78
Filler Door Emergency Release . . . 79
Specifications............ 82
Fuses .................. 87
Garage Door Opener (HomeLink
®)..54
Gas Cap (Fuel Filler Cap)....... 67
Hard Disk Drive............. 42
Head Restraints
Power Folding Third Row...... 20
Headlights............... 24
Automatic .............. 24
Dimmer Switch........... 24
HighBeam .............. 26
High Beam/Low Beam Select
Switch ................ 26
Heated Seats.............. 21
Heated Steering Wheel........ 22
High Beam/Low Beam Select
(Dimmer) Switch............ 26
HomeLink
®(Garage Door Opener)
Transmitter............... 54
Hood Release.............. 78
Instrument Cluster............ 6
Indicators............... 7
Instrument Cluster Warning Lights. . 6,64
Integrated Power Module (Fuses) . . . 87
Intermittent Wipers (Delay Wipers) . . 25
Introduction............... 2
Inverter Outlet (115V)......... 56
Inverter, Power............. 56
iPod
®/USB/MP3 Control........ 50
Jack Location.............. 69
Jump Starting.............. 72KeyFob .................. 8
Keyless Enter-N-Go.......... 10
Lock/Unlock........... 10,11
Starting/Stopping.......... 11
Lane Change Assist.......... 25
LATCH (Lower Anchors and Tether
forCHildren) .............. 14
Liftgate, Power.............. 8
LightBulbs ............... 91
Lights
Warning
(Instrument Cluster Description) . . 6
Luggage Rack (Roof Rack)...... 60
Maintenance Record.......... 86
MaintenanceSchedule ........ 84
Malfunction Indicator Light
(CheckEngine) ............. 65
MediaCenterRadio ........ 38,40
MemorySeat .............. 17
Mirrors
Automatic Dimming......... 26
MOPAR
®Accessories......... 94
Navigation.............. 43,44
Non-Touch-Screen Radio....... 38
Oil Change Indicator.......... 67
Oil Change Indicator, Reset...... 67
Oil Pressure Light........... 66
Oil, Engine
Capacity............... 82
Outlet
Power ................. 57
Overheating, Engine.......... 67
Panic Alarm............... 8
Park Sense Sensors, Cleaning.... 31
Park Sense System, Rear....... 31
Phone (Pairing)............. 47
Phone (Uconnect)........... 47
Pinch Protection Feature....... 33
Power
Folding Third Row Head
Restraints............... 20
Glass Sunroof............ 33
INDEX
96