buttons DODGE DURANGO 2014 3.G User Guide
[x] Cancel search | Manufacturer: DODGE, Model Year: 2014, Model line: DURANGO, Model: DODGE DURANGO 2014 3.GPages: 188, PDF Size: 3.8 MB
Page 13 of 188
REMOTE START
• Press the REMOTE START buttonx2on the Key Fob twice within five seconds. Pressing
the REMOTE START button a third time shuts the engine off.
• To drive the vehicle, with a valid Keyless Enter-N-Go™ Key Fob within 5 ft (1.5m) of the driver's side of the vehicle, grab the front driver door handle to unlock the driver's door
automatically, then press the Start/Stop switch. Or press the UNLOCK button, insert the
Key Fob in the ignition and turn to the ON/RUN position.
• With remote start, the engine will only run for 15 minutes (timeout) unless the ignition is placed in the ON/RUN position.
• The vehicle must be started with the Key Fob after two consecutive timeouts.
WARNING!
• Do not start or run an engine in a closed garage or confined area. Exhaust gas contains Carbon Monoxide (CO) which is odorless and colorless. Carbon Monoxide is
poisonous and can cause you or others to be severely injured or killed when inhaled.
• Keep Key Fob transmitters away from children. Operation of the Remote Start
System, windows, door locks or other controls could cause you and others to be
severely injured or killed.
KEYLESS ENTER-N-GO™
The Keyless Enter-N-Go™ system is an enhancement to the vehicle's Key Fob. This feature
allows you to lock and unlock the vehicle's door(s) and liftgate without having to press the
Key Fob lock or unlock buttons, as well as starting and stopping the vehicle with the press of
a button.
To Unlock From The Driver Or Passenger Side
• With a valid Keyless Enter-N-Go™ Key Foblocated outside the vehicle and within 5 ft
(1.5m) of the driver or passenger side door
handle, grab either front door handle to
unlock the door automatically.
GETTING STARTED
11
Page 14 of 188
To Lock The Vehicle
• Both front door handles have LOCK buttons located on the outside of the handle. Withone of the vehicle's Keyless Enter-N-Go™ Key Fobs located outside the vehicle and within
5 ft (1.5m) of the driver's or passenger front door handle, press the door handle LOCK
button to lock all four doors and liftgate.
• DO NOT grab the door handle, when pressing the door handle lock button. This could unlock the door(s).
NOTE:
• If “Unlock All Doors 1st Press” is programmed all doors will unlock when you grab hold of the front driver's door handle. To select between “Unlock Driver Door 1st Press” and
“Unlock All Doors 1st Press”, refer to the “Customer Programmable Features ” in your
vehicle's Owner's Manual on the DVD.
• If “Unlock All Doors 1st Press” is programmed all doors and liftgate will unlock when you press the liftgate button. If “Unlock Driver Door 1st Press” is programmed only the liftgate
will unlock when you press the liftgate button. To select between “Unlock Driver Door 1st
Press” and “Unlock All Doors 1st Press”, refer to the “Customer Programmable Features ”
in your vehicle's Owner's Manual on the DVD.
• If a Key Fob is detected in the vehicle when locking the vehicle using the power door lock switch, the doors and liftgate will unlock and the horn will chirp three times. On the third
attempt, your Key Fob can be locked inside the vehicle.
• After pressing the Keyless Enter-N-Go™ LOCK button, you must wait two seconds before you can lock or unlock the vehicle using the door handle. This is done to allow you to
check if the vehicle is locked by pulling the door handle, without the vehicle reacting and
unlocking.
• If a Keyless Enter-N-Go™ door handle has not been used for 72 hours, the Keyless Enter-N-Go™ feature for that handle may time out. Pulling the deactivated front door
handle will reactivate the door handle's Keyless Enter-N-Go™ feature.
GETTING STARTED
12
Page 23 of 188
FRONT SEATS
Power Seats
The power recline switch, located on the out-
board side of the seat, controls seatback
adjustment.
The power seat switch controls forward/
back, up/down and tilt adjustment.
Power Lumbar
• Push the switch forward to increase thelumbar support. Push the switch rearward
to decrease the lumbar support.
• Pushing upward or downward on the switch will raise and lower the position of
the support.
Memory Seat
The memory seat feature allows you to set two
different driver seating positions (excluding
lumbar position), outside mirrors, radio sta-
tion preset settings and tilt/telescoping
steering column position (if equipped). The
memory seat buttons are located on the driv-
er's door panel.
To set a memory position:
1. Cycle the vehicles ignition to the ONposition.
2. Adjust all memory profile settings.
3. Press and release the S (SET) button.
4. Press and release the 1 or 2 button within five seconds.
GETTING STARTED
21
Page 28 of 188
POWER FOLDING THIRD ROW HEAD RESTRAINTS
For improved visibility when in reverse, the third row head restraints can be power folded.
The power fold third row head restraints control is located in the touchscreen.
• Press the headrest fold button
on the touch screen to power fold the third row head
restraints.
NOTE:
The head restraints can only be folded downward using the headrest fold button. The head
restraints must be raised manually when occupying the third row.
HEATED/VENTILATED SEATS
Front Heated Seats
The front heated seats control buttons are located within the climate or controls screen of
the touchscreen.
• Press the heated seat button
once to turn the High setting On.
• Press the heated seat button
a second time to turn the Low setting On.
• Press the heated seat button
a third time to turn the heating elements Off.
If the High-level setting is selected, the system will automatically switch to Low-level after
approximately 60 minutes. The Low-level setting will turn Off automatically after approxi-
mately 45 minutes.
NOTE:
Vehicle Equipped With Remote Start
On models that are equipped with remote start, this feature can be programmed to come on
during a remote start through the Uconnect® system. Refer to “Uconnect® Settings” in
“Understanding Your Instrument Panel” in the Owner's Manual on the DVD.
Front Ventilated Seats
Located in the seat cushion and seatback are small fans that draw the air from the
passenger compartment and pull air through fine perforations in the seat cover to help keep
the driver and front passenger cooler in higher ambient temperatures.
There are two ventilated seat control buttons located in the touchscreen that allow the
driver and passenger to operate the seats independently.
The ventilated seat buttons are used to control the speed of the fans located in the seat.
To operate the system, press the “Controls” button on touchscreen located on the bottom
of the Uconnect® display.
• Press the ventilated seat button
once to choose HIGH.
• Press the ventilated seat button
a second time to choose LOW.
• Press the ventilated seat button
a third time to turn the ventilated seat OFF.
GETTING STARTED
26
Page 45 of 188
• Press the AUTO button or AUTO soft-key.
• Select the desired temperature by pushing the up or down temperature buttons for thedriver or passenger.
• The system will maintain the set temperature automatically.
Air Conditioning (A/C)
• If the air conditioning button is pressed while in AUTO mode, the system will exit AUTO mode and stay in A/C. The mode and blower will be set at the closest mode and blower
position that the system was operating in AUTO.
MAX A/C
• MAX A/C sets the control for maximum cooling performance.
• Touch and release to toggle between MAX A/C and the prior settings. The soft-key illuminates when MAX A/C is ON.
• In MAX A/C, the blower level and mode position can be adjusted to desired user settings. Pressing other settings will cause the MAX A/C operation to switch to the prior settings
and the MAX A/C indicator will turn off.
SYNC Temperature Soft-Key
• Touch the “SYNC” soft-key on the Uconnect® radio to control the driver and passengertemperatures simultaneously. Touch the “SYNC” soft-key a second time to control the
temperatures individually.
Air Recirculation
• Use Recirculation for maximum A/C operation.
• For window defogging, turn the Recirculation button off.
• If the Recirculation button is pressed while in front defrost mode, the indicator will flashthree times to indicate that recirculation state is not allowed in front defrost mode.
Heated Mirrors
The mirrors are heated to melt frost or ice. This feature is activated whenever you turn on
the rear window defroster.
OPERATING YOUR VEHICLE
43
Page 54 of 188
• Search for places to eat, shop, relax and play with Yelp®, using your voice or on-screenmenu. Then navigate to them (navigation standard on Uconnect® 8.4AN, optional on
Uconnect® 8.4A).
• Get operator assistance using the Assist button on your mirror.
Before you drive, familiarize yourself with the easy-to-use Uconnect® System.
1. The ASSIST and 9-1-1 buttons are located on your rearview mirror. The ASSIST Button is used for contacting Roadside Assistance, Vehicle Care and Uconnect® Care. The 9-1-1
Button connects you to emergency services.
NOTE:
Vehicles sold in Canada and Mexico DO NOT have 9-1-1 Call system capabilities. 9-1-1 or
other emergency line operators in Canada and Mexico may not answer or respond to 9-1-1
system calls.
2. The Uconnect® “Apps” button on the menu bar at the bottom right corner of the radio touchscreen. This is where you can begin your registration process, manage your Apps
and purchase WiFi on demand.
3. The Uconnect® Voice Command and Uconnect® Phone buttons are located on the left side of your steering wheel. These buttons let you use your voice to give commands,
make phone calls, send and receive text messages hands-free, enter navigation desti-
nations, and control your radio and media devices.
Included Trial Period For New Vehicles
Your new vehicle may come with an included trial period for use of the Uconnect® Access
Services starting at the date of vehicle purchase (date based on vehicle sales notification
from your dealer). To activate the trial, you must first register with Uconnect® Access .
After the trial period, if you wish to continue your Uconnect® Access Services you can
choose to purchase a subscription.
Features And Packages
•
After the trial period, you can subscribe to continue your service by visiting the Uconnect®
Store located within the Mopar Owner Connect website (moparownerconnect.com). If you
need assistance, U.S. residents can call Uconnect® Care at 855-792-4241.
• For the latest information on packages and pricing information: U.S. residents visit DriveUconnect.com.
ELECTRONICS
52
Page 69 of 188
Equalizer
• Touch the “Equalizer” soft-key to adjust the Bass, Mid and Treble. Use the + or - soft-keyto adjust the equalizer to your desired settings. Press the “Back Arrow” soft-key when
done.
Balance/Fade
• Touch the “Balance/Fade” soft-key to adjust the sound from the speakers. Use the arrow soft-key to adjust the sound level from the front and rear or right and left side speakers.
Touch the Center “C” soft-key to reset the balance and fade to the factory setting. Press
the “Back Arrow” arrow soft-key when done.
Speed Adjusted Volume
• Touch the “Speed Adjusted Volume” soft-key to select between OFF, 1, 2 or 3. This will decrease the radio volume relative to a decrease in vehicle speed. Press the “Back Arrow”
soft-key when done.
Loudness
• Touch the “Loudness” soft-key to select the Loudness feature. When this feature is activated it improves sound quality at lower volumes.
Surround Sound
• Touch the “Surround Sound” soft-key, select On or Off followed by pressing the “Back Arrow” soft-key. When this feature is activated, it provides simulated surround sound
mode.
Radio Operation
Seek Up/Down Buttons
• Press to seek through radio stations in AM, FM or SXM bands.
• Hold either button to bypass stations without stopping.
Store Radio Presets
• When you are receiving a station that you wish to commit into memory, press and holdthe desired numbered soft-key for more than two seconds, or until you hear a confirma-
tion beep.
• The Radio stores up to 12 presets in each of the Radio modes. Four presets are visible at the top of the radio screen. Touching the “all” soft-key on the radio home screen will
display all of the preset stations for that mode.
ELECTRONICS
67
Page 70 of 188
SiriusXM Premier Over 160 Channels
•Get every channel available on your satellite radio, and enjoy all you want, all in one place.
Hear commercial-free music plus sports, news, talk and entertainment. Get all the premium
programming, including Howard Stern, every NFL game, Oprah Radio®, every MLB® and
NHL® game, every NASCAR® race, Martha Stewart and more. And get 20+ extra channels,
including SiriusXM Latino, offering 20 channels of commercial free music, news, talk,
comedy, sports and more dedicated to Spanish language programming.
• To access SiriusXM Satellite Radio, press the RADIO hard-key and then the “SXM” soft-key.
• SiriusXM services require subscriptions, sold separately after the 12-month trial in- cluded with the new vehicle purchase. If you decide to continue your service at the end
of your trial subscription, the plan you choose will automatically renew and bill at
then-current rates until you call SiriusXM at 1-866-635-2349 for U.S. residents and
1-888-539-7474 for Canadian residents to cancel. See SiriusXM Customer Agreement
for complete terms at www.siriusxm.com for U.S. residents and www.siriusxm.ca for
Canadian residents. All fees and programming subject to change. Our satellite service is
available only to those at least 18 and older in the 48 contiguous USA and D.C. Our Sirius
satellite service is also available in PR (with coverage limitations). Our Internet radio
service is available throughout our satellite service area and in AK and HI. ©2014 Sirius
XM Radio Inc. Sirius, XM and all related marks and logos are trademarks of Sirius XM
Radio Inc.
Disc Operation
• Your vehicle may have a remote CD player located in the lower center console storage bin.
• CD/Disc Mode is entered by either inserting a CD/Disc or by touching the “Media” button located on the side of the display. Once in Media Mode, select “Disc”.
• Gently insert one CD into the CD player with the CD label facing as indicated on the illustration located on the Disc player.
Seek Up/Down Buttons
• Press to seek through Disc tracks.
• Hold either button to bypass tracks without stopping.
Browse
• Touch the “Browse” soft-key to scroll through and select a desired track on the Disc. Touch the “Exit” soft-key if you wish to cancel the browse function.
ELECTRONICS
68
Page 71 of 188
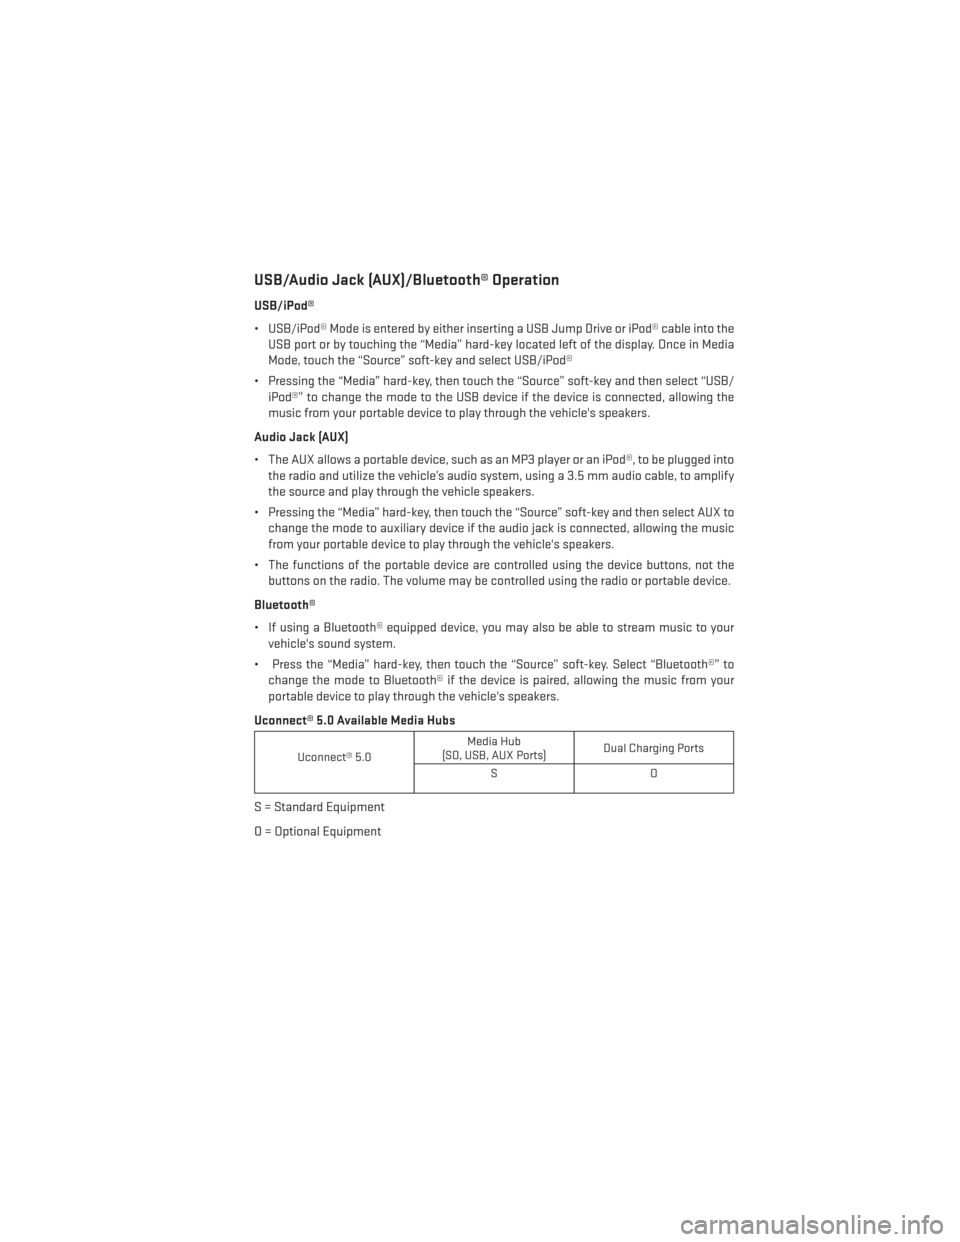
USB/Audio Jack (AUX)/Bluetooth® Operation
USB/iPod®
• USB/iPod® Mode is entered by either inserting a USB Jump Drive or iPod® cable into theUSB port or by touching the “Media” hard-key located left of the display. Once in Media
Mode, touch the “Source” soft-key and select USB/iPod®
• Pressing the “Media” hard-key, then touch the “Source” soft-key and then select “USB/ iPod®” to change the mode to the USB device if the device is connected, allowing the
music from your portable device to play through the vehicle's speakers.
Audio Jack (AUX)
• The AUX allows a portable device, such as an MP3 player or an iPod®, to be plugged into the radio and utilize the vehicle’s audio system, using a 3.5 mm audio cable, to amplify
the source and play through the vehicle speakers.
• Pressing the “Media” hard-key, then touch the “Source” soft-key and then select AUX to change the mode to auxiliary device if the audio jack is connected, allowing the music
from your portable device to play through the vehicle's speakers.
• The functions of the portable device are controlled using the device buttons, not the buttons on the radio. The volume may be controlled using the radio or portable device.
Bluetooth®
• If using a Bluetooth® equipped device, you may also be able to stream music to your vehicle's sound system.
• Press the “Media” hard-key, then touch the “Source” soft-key. Select “Bluetooth®” to change the mode to Bluetooth® if the device is paired, allowing the music from your
portable device to play through the vehicle's speakers.
Uconnect® 5.0 Available Media Hubs
Uconnect® 5.0 Media Hub
(SD, USB, AUX Ports) Dual Charging Ports
SO
S = Standard Equipment
O = Optional Equipment
ELECTRONICS
69
Page 73 of 188
NOTE:
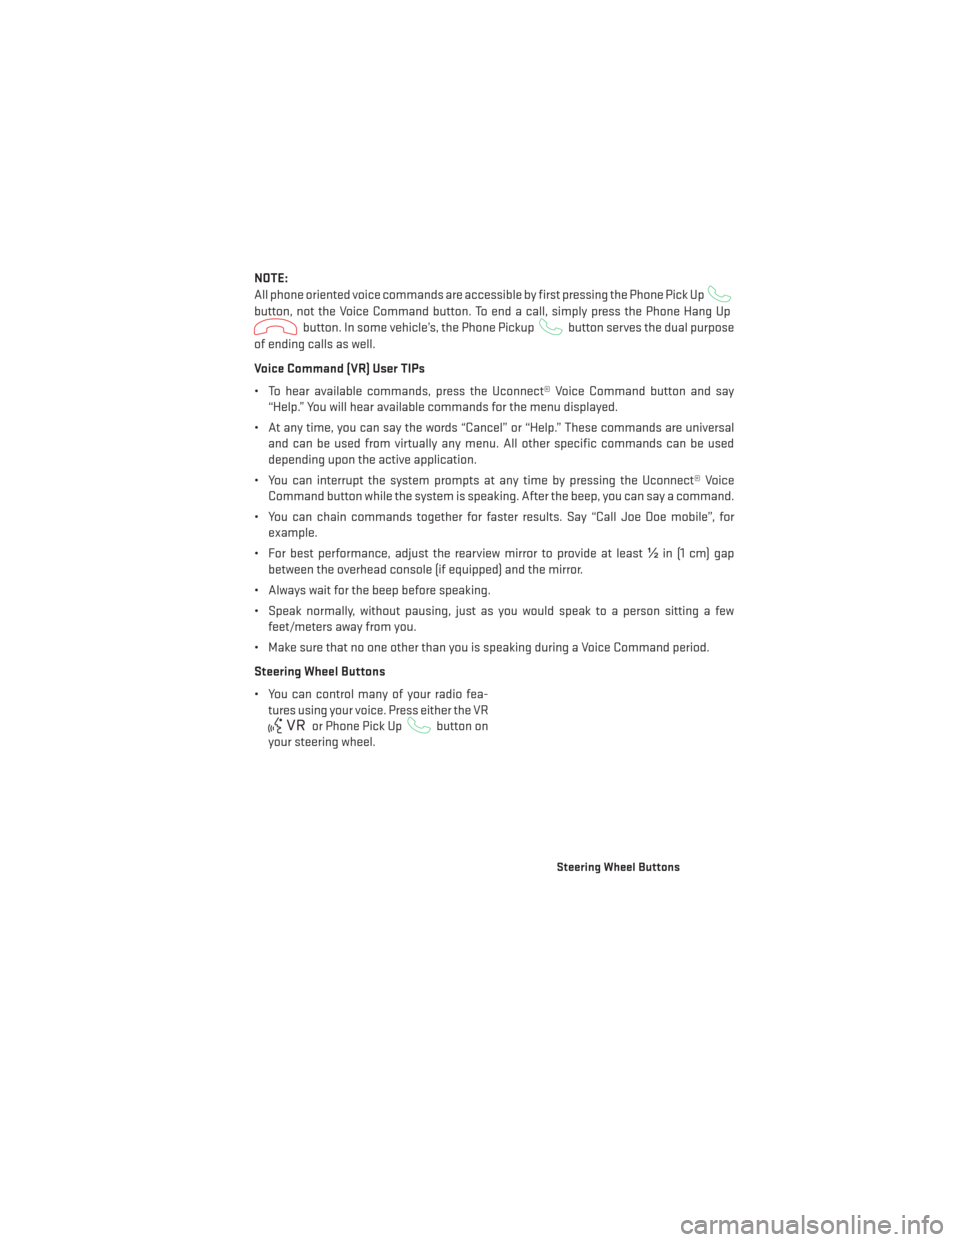
All phone oriented voice commands are accessible by first pressing the Phone Pick Up
button, not the Voice Command button. To end a call, simply press the Phone Hang Up
button. In some vehicle’s, the Phone Pickupbutton serves the dual purpose
of ending calls as well.
Voice Command (VR) User TIPs
• To hear available commands, press the Uconnect® Voice Command button and say “Help.” You will hear available commands for the menu displayed.
• At any time, you can say the words “Cancel” or “Help.” These commands are universal and can be used from virtually any menu. All other specific commands can be used
depending upon the active application.
• You can interrupt the system prompts at any time by pressing the Uconnect® Voice Command button while the system is speaking. After the beep, you can say a command.
• You can chain commands together for faster results. Say “Call Joe Doe mobile”, for example.
• For best performance, adjust the rearview mirror to provide at least ½in (1 cm) gap
between the overhead console (if equipped) and the mirror.
• Always wait for the beep before speaking.
• Speak normally, without pausing, just as you would speak to a person sitting a few feet/meters away from you.
• Make sure that no one other than you is speaking during a Voice Command period.
Steering Wheel Buttons
• You can control many of your radio fea- tures using your voice. Press either the VR
or Phone Pick Upbutton on
your steering wheel.
Steering Wheel Buttons
ELECTRONICS
71