check engine light DODGE DURANGO 2014 3.G User Guide
[x] Cancel search | Manufacturer: DODGE, Model Year: 2014, Model line: DURANGO, Model: DODGE DURANGO 2014 3.GPages: 188, PDF Size: 3.8 MB
Page 118 of 188
Compass Calibration
This compass is self-calibrating, which eliminates the need to set the compass manually.
When the vehicle is new, the compass may appear erratic and the EVIC will display “CAL”
until the compass is calibrated.
You may also calibrate the compass by completing one or more 360 degree turns (in an area
free from large metal or metallic objects) until the “CAL” message displayed in the EVIC
turns off. The compass will now function normally.
ECO
The ECO message will appear in your EVIC display whenever you are driving in a fuel
efficient manner.
This feature allows you to monitor when you are driving in a fuel efficient manner, and it can
be used to modify driving habits in order to increase fuel economy.
PROGRAMMABLE FEATURES
EVIC Programmable Features
The EVIC can be used to view the following main menu items:
NOTE:
Depending on the vehicles options, feature settings may vary.
• Speedometer• Trip
• MPH to km/h • Audio
• Vehicle Info • Stored Messages
• Driver Assist • Screen Setup
• Fuel Economy • Speed Warning - If Equipped
NOTE:
Refer to your Owner's Manual on the DVD for further information.
Uconnect® Customer Programmable Features
The Uconnect® system allows you to access Customer Programmable feature settings
such as Display, Clock, Safety/Assistance, Lights, Doors & Locks, Auto-On Comfort &
Remote Start, Engine Off Operation, Compass Settings, Audio, Trailer Brake, Phone/
Bluetooth®, Suspension and SiriusXM Setup and System Information through soft-keys.
• Press the SETTINGS button (Uconnect® 5.0), or press the “Apps” button (Uconnect® 8.4)
located near the bottom of the touchscreen, then press the “Settings” button on the
touchscreen to access the Settings screen. When making a selection, scroll up or down
until the preferred setting is highlighted, then press and release the preferred setting
until a check-mark appears next to the setting, showing that setting has been selected.
ELECTRONICS
116
Page 132 of 188
Shifting Out Of NEUTRAL (N)
Use the following procedure to prepare your vehicle for normal usage:
1. Bring the vehicle to a complete stop, leaving it connected to the tow vehicle.
2. Firmly apply the parking brake.
3. Start the engine.
4. Press and hold the brake pedal.
5. Shift the transmission into NEUTRAL.
6. Using a ballpoint pen or similar object, press and hold the recessed transfer caseNEUTRAL (N) button (located by the selector switch) for one second.
7. When the NEUTRAL (N) indicator light turns off, release the NEUTRAL (N) button.
8. After the NEUTRAL (N) button has been released, the transfer case will shift to the position indicated by the selector switch.
9. Shift the transmission into PARK and turn the engine OFF.
10. Release the brake pedal.
11. Disconnect vehicle from the tow vehicle.
12. Start the engine.
13. Press and hold the brake pedal.
14. Release the parking brake.
15. Shift the transmission into DRIVE, release the brake pedal, and check that the vehicle operates normally.
NOTE:
• Steps 1 through 5 are requirements that must be met before pressing the NEUTRAL (N) button, and must continue to be met until the shift has been completed. If any of these
requirements are not met before pressing the NEUTRAL (N) button or are no longer met
during the shift, the NEUTRAL (N) indicator light will flash continuously until all require-
ments are met or until the NEUTRAL (N) button is released.
• The ignition switch must be in the ON/RUN position for a shift to take place and for the position indicator lights to be operable. If the ignition switch is not in the ON/RUN
position, the shift will not take place and no position indicator lights will be on or flashing.
• A flashing NEUTRAL (N) position indicator light indicates that shift requirements have not been met.
UTILITY
130
Page 135 of 188
Operation of the Brake Warning Light can be checked by turning the ignition switch from the
OFF position to the ON/RUN position. The light should illuminate for approximately two
seconds. The light should then turn off unless the parking brake is applied or a brake fault
is detected. If the light does not illuminate, have the light inspected by an authorized dealer.
The light also will turn on when the parking brake is applied with the ignition switch in the
ON/RUN position.
NOTE:
This light shows only that the parking brake is applied. It does not show the degree of brake
application.
WARNING!
Driving a vehicle with the red brake light on is dangerous. Part of the brake system may
have failed. It will take longer to stop the vehicle. You could have a collision. Have the
vehicle checked immediately.
- Malfunction Indicator Light (MIL)
The Malfunction Indicator Light (MIL) is part of an onboard diagnostic system called OBD II
that monitors engine and automatic transmission control systems. The light will illuminate
when the key is in the ON/RUN position before engine start. If the bulb does not come on
when turning the key from OFF to ON/RUN, have the condition checked promptly.
Certain conditions, poor fuel quality, etc., may illuminate the light after engine start. The
vehicle should be serviced if the light stays on through several of your typical driving cycles.
In most situations, the vehicle will drive normally and will not require towing.
CAUTION!
Prolonged driving with the Malfunction Indicator Light (MIL) on could cause damage to
the engine control system. It also could affect fuel economy and driveability. If the MIL is
flashing, severe catalytic converter damage and power loss will soon occur. Immediate
service is required.
WARNING!
A malfunctioning catalytic converter, as referenced above, can reach higher tempera-
tures than in normal operating conditions. This can cause a fire if you drive slowly or park
over flammable substances such as dry plants, wood, cardboard, etc. This could result in
death or serious injury to the driver, occupants or others.
WHAT TO DO IN EMERGENCIES
133
Page 137 of 188
- Anti-Lock Brake (ABS) Light
This light monitors the Anti-Lock Brake System (ABS). The light will turn on when the ignition
switch is turned to the ON/RUN position and may stay on for as long as four seconds.
If the ABS light remains on or turns on while driving, it indicates that the Anti-Lock portion
of the brake system is not functioning and that service is required. However, the conven-
tional brake system will continue to operate normally if the BRAKE warning light is not on.
If the ABS light is on, the brake system should be serviced as soon as possible to restore the
benefits of Anti-Lock brakes. If the ABS light does not turn on when the ignition switch is
turned to the ON/RUN position, have the light inspected by an authorized dealer.
- Electronic Throttle Control (ETC) Light
This light informs you of a problem with the Electronic Throttle Control (ETC) system.
If a problem is detected, the light will come on while the engine is running. Cycle the ignition
key when the vehicle has completely stopped and the shift lever/gear selector is placed in
the PARK position; the light should turn off.
If the light remains lit with the engine running, your vehicle will usually be drivable; however,
see an authorized service center immediately. If the light is flashing when the engine is
running, immediate service is required and you may experience reduced performance, an
elevated/rough idle or engine stall and your vehicle may require towing.
- Air Bag Warning Light
This light will turn on for four to eight seconds as a bulb check when the ignition switch is
first turned to the ON/RUN position. If the light is either not on during starting, stays on, or
turns on while driving, have the system inspected at an authorized dealer as soon as
possible. Refer to “Occupant Restraints” in “Things To Know Before Starting Your Vehicle” of
your Owner’s Manual for further information.
NOTE:
The Air Bag System is designed to be maintenance free.
WHAT TO DO IN EMERGENCIES
135
Page 163 of 188
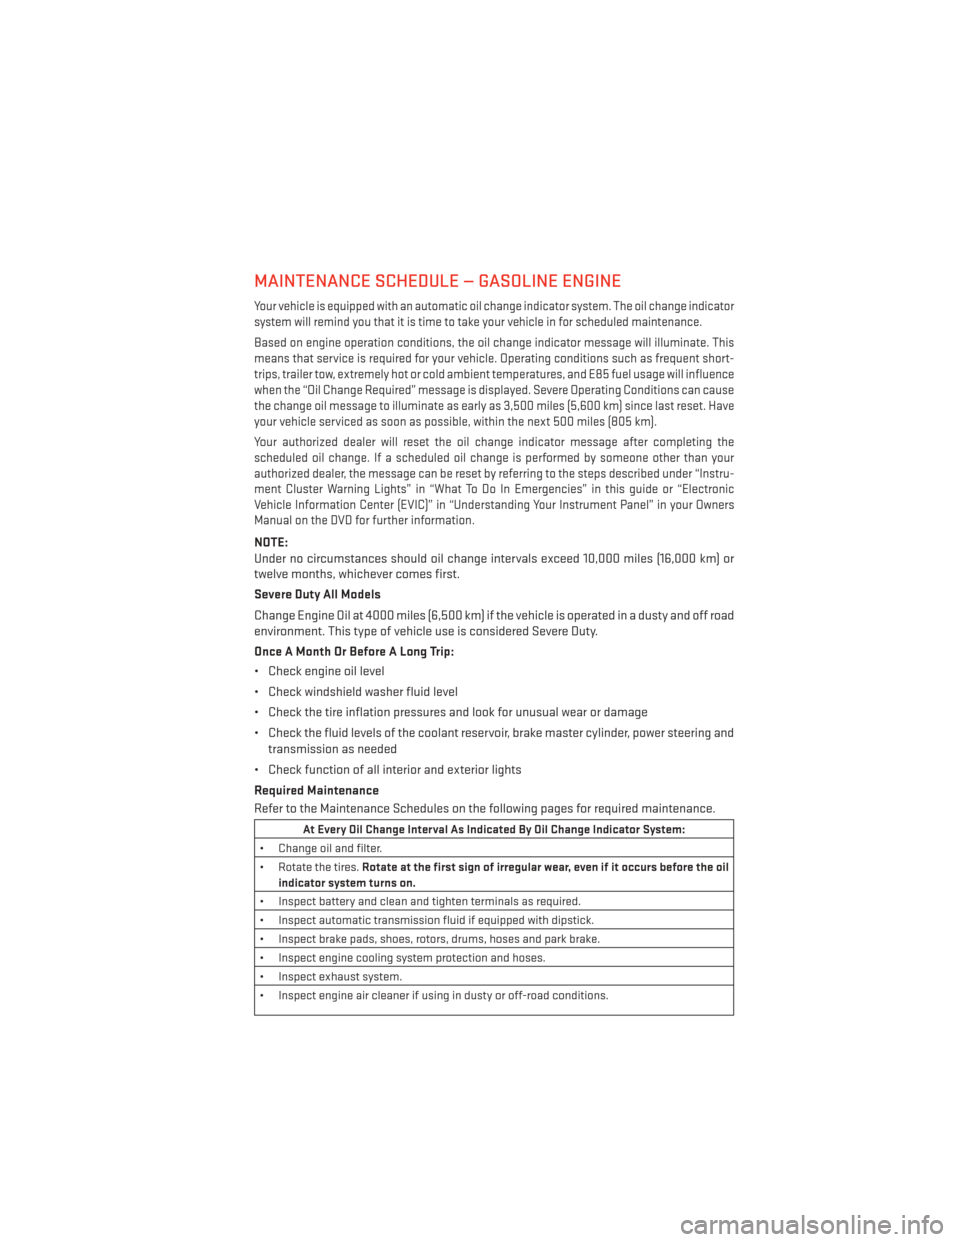
MAINTENANCE SCHEDULE — GASOLINE ENGINE
Your vehicle is equipped with an automatic oil change indicator system. The oil change indicator
system will remind you that it is time to take your vehicle in for scheduled maintenance.
Based on engine operation conditions, the oil change indicator message will illuminate. This
means that service is required for your vehicle. Operating conditions such as frequent short-
trips, trailer tow, extremely hot or cold ambient temperatures, and E85 fuel usage will influence
when the “Oil Change Required” message is displayed. Severe Operating Conditions can cause
the change oil message to illuminate as early as 3,500 miles (5,600 km) since last reset. Have
your vehicle serviced as soon as possible, within the next 500 miles (805 km).
Your authorized dealer will reset the oil change indicator message after completing the
scheduled oil change. If a scheduled oil change is performed by someone other than your
authorized dealer, the message can be reset by referring to the steps described under “Instru-
ment Cluster Warning Lights” in “What To Do In Emergencies” in this guide or “Electronic
Vehicle Information Center (EVIC)” in “Understanding Your Instrument Panel” in your Owners
Manual on the DVD for further information.
NOTE:
Under no circumstances should oil change intervals exceed 10,000 miles (16,000 km) or
twelve months, whichever comes first.
Severe Duty All Models
Change Engine Oil at 4000 miles (6,500 km) if the vehicle is operated in a dusty and off road
environment. This type of vehicle use is considered Severe Duty.
Once A Month Or Before A Long Trip:
• Check engine oil level
• Check windshield washer fluid level
• Check the tire inflation pressures and look for unusual wear or damage
• Check the fluid levels of the coolant reservoir, brake master cylinder, power steering andtransmission as needed
• Check function of all interior and exterior lights
Required Maintenance
Refer to the Maintenance Schedules on the following pages for required maintenance.
At Every Oil Change Interval As Indicated By Oil Change Indicator System:
• Change oil and filter.
• Rotate the tires. Rotate at the first sign of irregular wear, even if it occurs before the oil
indicator system turns on.
• Inspect battery and clean and tighten terminals as required.
• Inspect automatic transmission fluid if equipped with dipstick.
• Inspect brake pads, shoes, rotors, drums, hoses and park brake.
• Inspect engine cooling system protection and hoses.
• Inspect exhaust system.
• Inspect engine air cleaner if using in dusty or off-road conditions.
MAINTAINING YOUR VEHICLE
161
Page 177 of 188
Adaptive Cruise Control (ACC)(Cruise Control) ............35
AddingFuel ...............155
Airbag...................16
Air Bag AdvanceFrontAirBag ........16
AirBags................16
AirBagWarningLight ......16,135
Driver Knee Air Bag ..........16
FrontAirBag .............16
Rollover ................16
Side Impacts .............16
Air Conditioning ...........42,43
Alarm Arm The System ...........14
Disarm The System ..........15
Vehicle Security Alarm ........14
Alarm (Security Alarm) ..........14
AllWheelDrive(AWD)..........123
Anti-Lock Brake System (ABS) .....135
Arming System (Security Alarm) .....14
Assistance Towing ............131
Automatic Dimming Mirror ........33
Automatic Headlights ..........30
Automatic High Beams ..........31
Automatic Temperature Control (ATC)...42
SYNC Temperature Button ......44
Automatic Transmission Fluid Type ..............159
AxleFluid..............159,160
Back-UpCamera.............45
Battery ..................147
Charging System Light .......134
Blind Spot Monitoring ...........46
BrakeFluid.............159,160
Brake System WarningLight ............132
Break-In Recommendations, New Vehicle ..............30
BulbReplacement............169
Calibration, Compass ..........116
Caps, Filler Fuel .................153 Cargo Compartment
Luggage Carrier ...........125
Change Oil Indicator ...........136
ChangingAFlatTire...........138
Charging System Light .........134
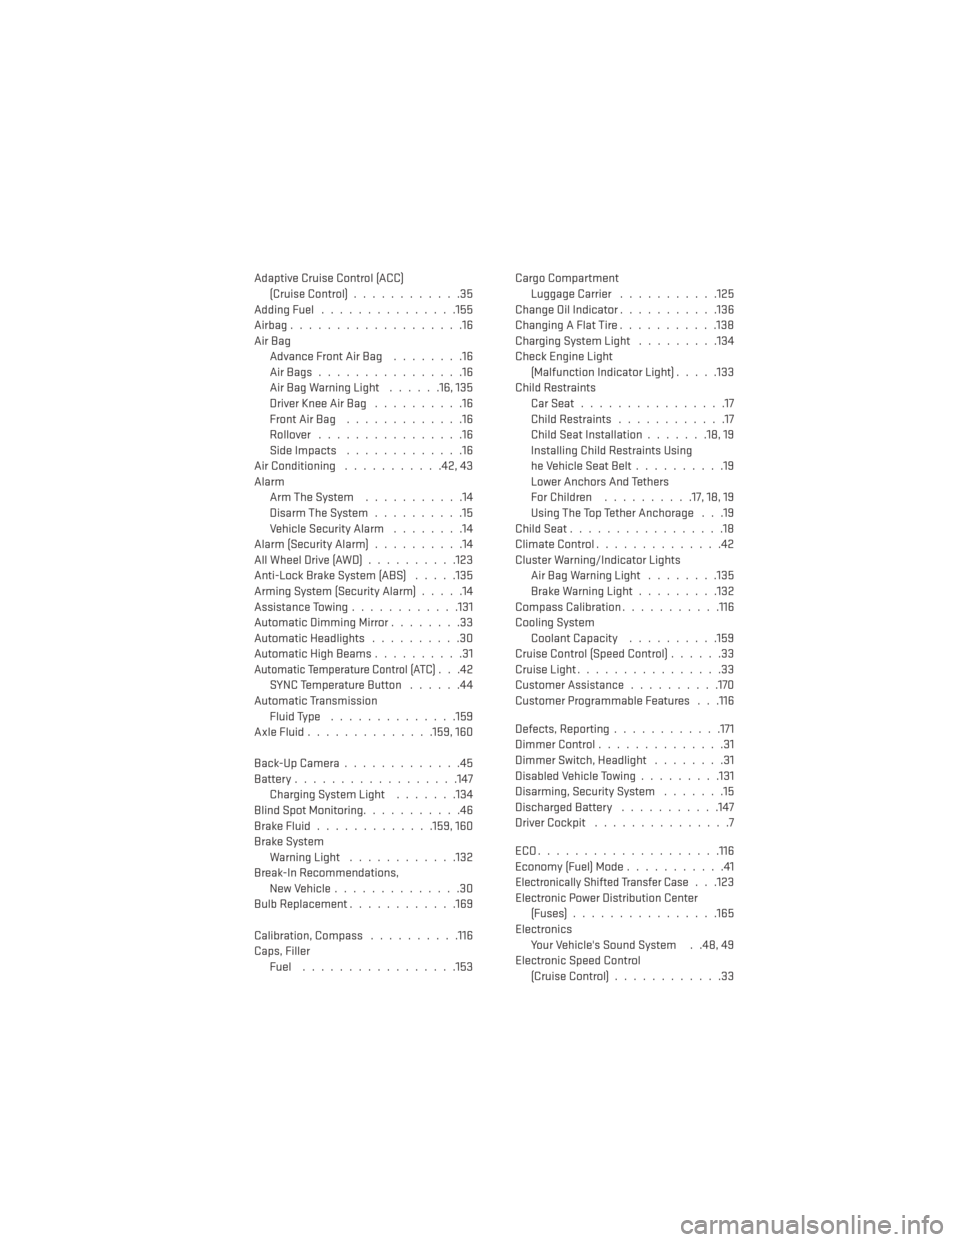
Check Engine Light (Malfunction Indicator Light) .....133
Child Restraints CarSeat................17
Child Restraints ............17
Child Seat Installation .......18,19
Installing Child Restraints Using
he Vehicle Seat Belt ..........19
Lower Anchors And Tethers
For Children ..........17, 18, 19
Using The Top Tether Anchorage . . .19
ChildSeat.................18
Climate Control ..............42
Cluster Warning/Indicator Lights AirBagWarningLight ........135
Brake Warning Light .........132
Compass Calibration ...........116
Cooling System Coolant Capacity ..........159
Cruise Control (Speed Control) ......33
Cruise Light ................33
Customer Assistance ..........170
Customer Programmable Features . . .116
Defects, Reporting ............171
DimmerControl..............31
Dimmer Switch, Headlight ........31
Disabled Vehicle Towing .........131
Disarming, Security System .......15
Discharged Battery ...........147
Driver Cockpit ...............7
ECO....................116
Economy (Fuel) Mode ...........41
Electronically Shifted Transfer Case. . .123
Electronic Power Distribution Center (Fuses) ................165
Electronics Your Vehicle's Sound System . .48, 49
Electronic Speed Control (Cruise Control) ............33
INDEX
175
Page 178 of 188
Electronic Stability Control (ESC) . . . .134
Electronic Throttle Control WarningLight .................135
Electronic Vehicle Information Center Programmable Features .......116
Electronic Vehicle Information Center(EVIC)...........115, 116
Language (Selecting The Language). .116
Units (Set Units) ...........116
Emergency, In Case of Jacking ...............138
Overheating .............137
Towing ................131
Engine Break-In Recommendations .....30
Compartment ............157
Coolant (Antifreeze) .........159
Malfunction Indicator
(CheckEngine) ...........133
Oil ..................159
Oil Filter ...............159
Oil Selection .............159
Overheating .............137
Starting ................13
Stopping ...............13
EventDataRecorder...........153
Exterior Lights ..............169
Fluid Capacities .............159
Fluids ..................159
Fog Lights ................30
Folding Front Passenger Seat ......23
Folding Power Third Row Head Restraints ...............26
Folding Rear Seat ...........24,25
Forward Collision Warning ........37
Four Wheel Drive .............123
Operation ..............123
Systems ...............123
Four Wheel Drive Operation .......123
Freeing A Stuck Vehicle .........152
Fuel Economy Mode ............41
Filler Door Emergency Release . . .156
Specifications .........159,160
Fuses ..................165 Headlights
Automatic ..............30
Dimmer Switch ............31
HighBeam ..............32
High Beam/Low Beam Select
Switch ................32
Head Restraints Power Folding Third Row .......26
Heated Mirrors ..............43
Heated Seats ...............26
Heated Steering Wheel ..........28
High Beam/Low Beam Select (Dimmer) Switch ............32
HomeLink® (Garage Door Opener) . . . .118
Hood Release ..............154
Identifying Your Radio ..........50
Instrument Cluster .............9
Indicators ...............9
Instrument Cluster Warning Lights ....8
Interior and Instrument Lights .......7
Intermittent Wipers (Delay Wipers) ....32
Introduction ................2
Inverter Outlet (115V) ...........
120
Inverter,Power............. .120
Jacking Instructions ...........141
Jack Location ..............138
Jack Operation ...........138,141
Jump Starting ..............147
KeyFob..................10 ArmTheAlarm ............14
Disarm The Alarm ...........15
LockTheDoors ............10
Unlock The Doors ...........10
Keyless Enter-N-Go ............10
Lock/Unlock ..........11, 12, 13
Starting/Stopping ..........13
Lane Change Assist ............31
LATCH (Lower Anchors and Tether forCHildren)..............17
Liftgate ..................10
Liftgate, Power ..............10
Light Bulbs ................169
INDEX
176
Page 179 of 188
LightsHeadlights ..............30
Warning (Instrument Cluster
Description) ..............8
Locks Liftgate, Tailgate ...........10
Luggage Rack (Roof Rack) ........125
Maintenance Record ...........164
Maintenance Schedule ..........161
Malfunction Indicator Light (CheckEngine)............133
MemorySeat...............21
Mirrors AutomaticDimming .........33
Heated ................43
MOPAR® Accessories ..........172
Navigation ..............82,102
New Vehicle Break-In Period .......30
OilChangeIndicator...........136
Oil Change Indicator, Reset .......136
Oil, Engine Capacity...............159
Outlet Power ................121
Overheating, Engine ...........137
PanicAlarm................10
ParkSense® System, Rear ........45
Phone (Pairing)............85,106
Placard, Tire and Loading Information. .168
Power
Folding Third Row Head Restraints. .26
GlassSunroof ............46
Inverter ...............120
Lift Gate ...............10
Outlet (Auxiliary Electrical Outlet) . .121
Seats .................21
Steering ............159,160
Preparation for Jacking .........141
Programmable Electronic Features . . .116
Rain Sensitive Wiper System .......32
RearCamera...............45 RearCrossPath..............46
Rear Heated Seats
............27
Rear ParkSense System .........45
Rear Seat, Folding ............24
Reclining Front Seats ...........23
Recreational Towing ...........126
Shifting into Transfer Case
Neutral (N) ..............128
Shifting out of Transfer Case
Neutral (N) ..............130
Remote Keyless Entry (RKE) Arm The Alarm ............14
Disarm The Alarm ...........15
LockTheDoors ............10
Remote Keyless Entry (RKE) .....10
Unlock The Doors ...........10
Remote Starting System ........10,11
Replacement Bulbs ...........169
Reporting Safety Defects .........171
Roll Over Warning .............4
Roof Rack (Luggage Rack) ........125
Schedule, Maintenance .........161
Seat Belt
Automatic Locking Retractor (ALR). .15
Child Restraints ..........15, 17
Energy Management Feature .....15
Engage The Automatic
Locking Mode .............19
Lap/Shoulder Belts ..........15
Seat Belt Pretensioner ........15
Seat Belt Reminder ..........15
Seats .................21,22 Adjustment ..............22
Folding Front Passenger .......23
Heated ................26
Manual ................22
Memory ................21
Power .................21
Rear Folding ...........24,25
Ventilated ..............26
Security Alarm Arm The System ...........14
Disarm The System ..........15
Security Alarm ............14
Signals, Turn ...............31
INDEX
177