trailer DODGE DURANGO 2014 3.G User Guide
[x] Cancel search | Manufacturer: DODGE, Model Year: 2014, Model line: DURANGO, Model: DODGE DURANGO 2014 3.GPages: 188, PDF Size: 3.8 MB
Page 3 of 188
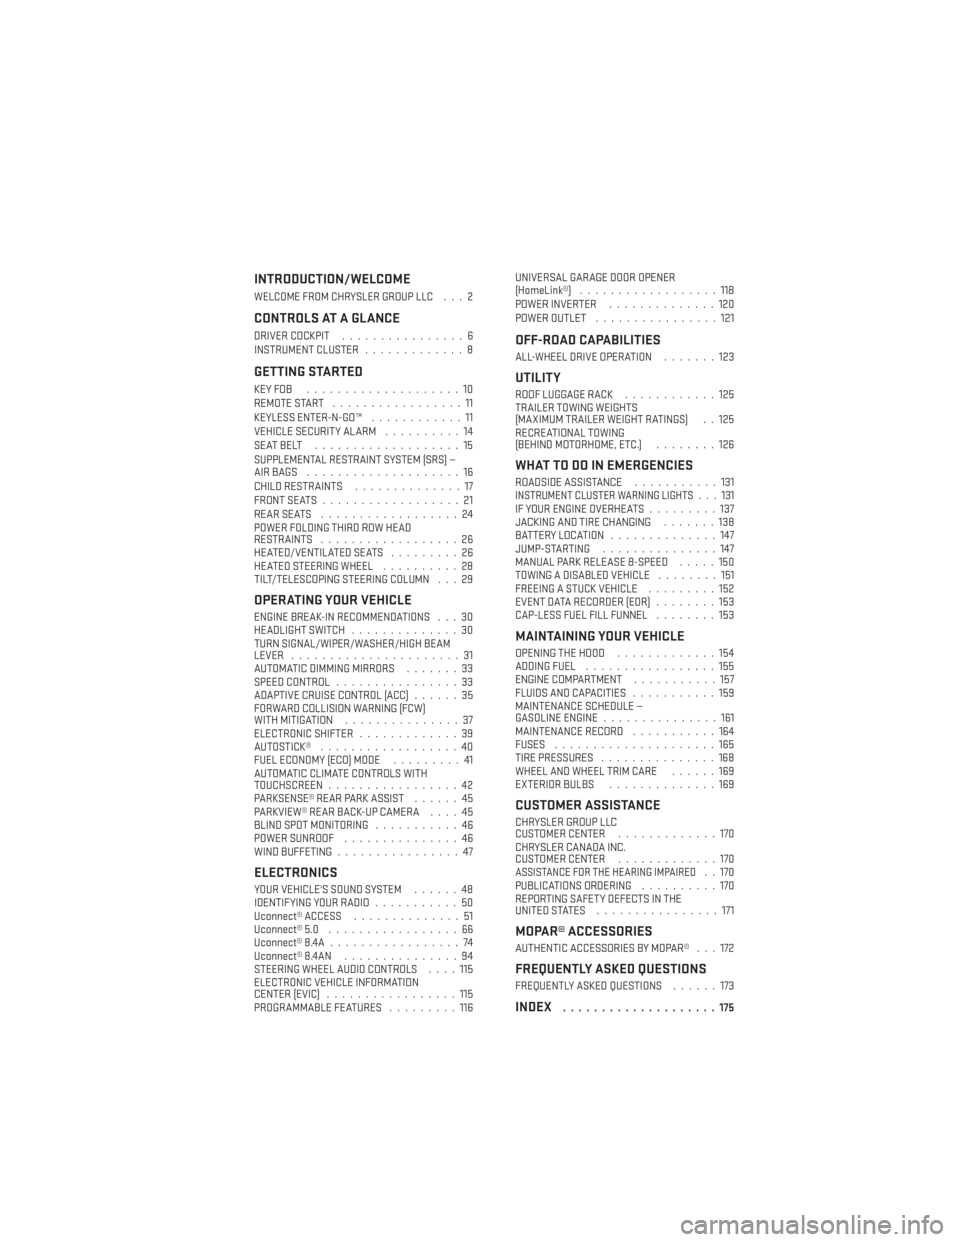
INTRODUCTION/WELCOME
WELCOME FROM CHRYSLER GROUP LLC . . . 2
CONTROLS AT A GLANCE
DRIVER COCKPIT................6
INSTRUMENT CLUSTER .............8
GETTING STARTED
KEYFOB ....................10
REMOTE START.................11
KEYLESS ENTER-N-GO™ ............11
VEHICLE SECURITY ALARM ..........14
SEATBELT ...................15
SUPPLEMENTAL RESTRAINT SYSTEM (SRS) —
AIRBAGS ....................16
CHILD RESTRAINTS ..............17
FRONT SEATS ..................21
REARSEATS ..................24
POWER FOLDING THIRD ROW HEAD
RESTRAINTS ..................26
HEATED/VENTILATED SEATS .........26
HEATED STEERING WHEEL ..........28
TILT/TELESCOPING STEERING COLUMN . . . 29
OPERATING YOUR VEHICLE
ENGINE BREAK-IN RECOMMENDATIONS . . . 30
HEADLIGHT SWITCH ..............30
TURN SIGNAL/WIPER/WASHER/HIGH BEAM
LEVER ......................31
AUTOMATIC DIMMING MIRRORS .......33
SPEED CONTROL ................33
ADAPTIVE CRUISE CONTROL (ACC) ......35
FORWARD COLLISION WARNING (FCW)
WITHMITIGATION ...............37
ELECTRONIC SHIFTER .............39
AUTOSTICK® ..................40
FUEL ECONOMY (ECO) MODE .........41
AUTOMATIC CLIMATE CONTROLS WITH
TOUCHSCREEN .................42
PARKSENSE® REAR PARK ASSIST ......45
PARKVIEW® REAR BACK-UP CAMERA ....45
BLIND SPOT MONITORING ...........46
POWER SUNROOF ...............46
WIND BUFFETING ................47
ELECTRONICS
YOUR VEHICLE'S SOUND SYSTEM ......48
IDENTIFYING YOUR RADIO ...........50
Uconnect® ACCESS ..............51
Uconnect® 5.0 .................66
Uconnect® 8.4A .................74
Uconnect® 8.4AN ...............94
STEERING WHEEL AUDIO CONTROLS ....115
ELECTRONIC VEHICLE INFORMATION
CENTER (EVIC) .................115
PROGRAMMABLE FEATURES .........116UNIVERSAL GARAGE DOOR OPENER
(HomeLink®)
..................118
POWER INVERTER ..............120
POWER OUTLET ................121
OFF-ROAD CAPABILITIES
ALL-WHEEL DRIVE OPERATION .......123
UTILITY
ROOF LUGGAGE RACK............125
TRAILER TOWING WEIGHTS
(MAXIMUM TRAILER WEIGHT RATINGS) . . 125
RECREATIONAL TOWING
(BEHIND MOTORHOME, ETC.) ........126
WHAT TO DO IN EMERGENCIES
ROADSIDE ASSISTANCE...........131INSTRUMENT CLUSTER WARNING LIGHTS . . . 131IF YOUR ENGINE OVERHEATS .........137
JACKING AND TIRE CHANGING .......138
BATTERY LOCATION ..............147
JUMP-STARTING ...............147
MANUAL PARK RELEASE 8-SPEED .....150
TOWING A DISABLED VEHICLE ........151
FREEING A STUCK VEHICLE .........152
EVENT DATA RECORDER (EDR) ........153
CAP-LESS FUEL FILL FUNNEL ........153
MAINTAINING YOUR VEHICLE
OPENING THE HOOD.............154
ADDING FUEL .................155
ENGINE COMPARTMENT ...........157
FLUIDS AND CAPACITIES ...........159
MAINTENANCE SCHEDULE —
GASOLINE ENGINE ...............161
MAINTENANCE RECORD ...........164
FUSES .....................165
TIRE PRESSURES ...............168
WHEEL AND WHEEL TRIM CARE ......169
EXTERIOR BULBS ..............169
CUSTOMER ASSISTANCE
CHRYSLER GROUP LLC
CUSTOMER CENTER .............170
CHRYSLER CANADA INC.
CUSTOMER CENTER .............170
ASSISTANCE FOR THE HEARING IMPAIRED..170
PUBLICATIONS ORDERING ..........170
REPORTING SAFETY DEFECTS IN THE
UNITEDSTATES ................171
MOPAR® ACCESSORIES
AUTHENTIC ACCESSORIES BY MOPAR® . . . 172
FREQUENTLY ASKED QUESTIONS
FREQUENTLY ASKED QUESTIONS ......173
INDEX....................175
TABLE OF CONTENTS
Page 38 of 188
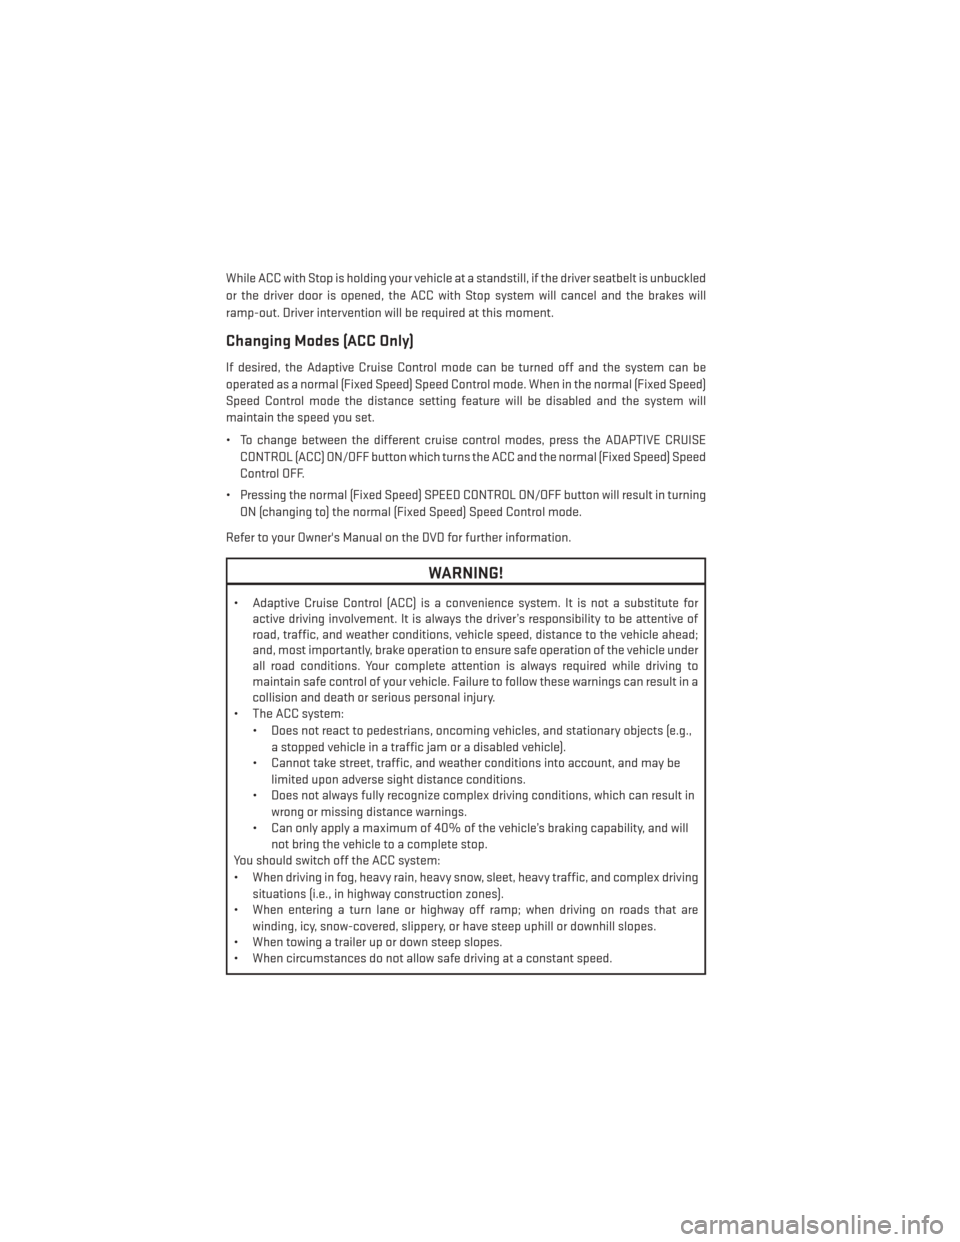
While ACC with Stop is holding your vehicle at a standstill, if the driver seatbelt is unbuckled
or the driver door is opened, the ACC with Stop system will cancel and the brakes will
ramp-out. Driver intervention will be required at this moment.
Changing Modes (ACC Only)
If desired, the Adaptive Cruise Control mode can be turned off and the system can be
operated as a normal (Fixed Speed) Speed Control mode. When in the normal (Fixed Speed)
Speed Control mode the distance setting feature will be disabled and the system will
maintain the speed you set.
• To change between the different cruise control modes, press the ADAPTIVE CRUISECONTROL (ACC) ON/OFF button which turns the ACC and the normal (Fixed Speed) Speed
Control OFF.
• Pressing the normal (Fixed Speed) SPEED CONTROL ON/OFF button will result in turning ON (changing to) the normal (Fixed Speed) Speed Control mode.
Refer to your Owner's Manual on the DVD for further information.
WARNING!
• Adaptive Cruise Control (ACC) is a convenience system. It is not a substitute for active driving involvement. It is always the driver’s responsibility to be attentive of
road, traffic, and weather conditions, vehicle speed, distance to the vehicle ahead;
and, most importantly, brake operation to ensure safe operation of the vehicle under
all road conditions. Your complete attention is always required while driving to
maintain safe control of your vehicle. Failure to follow these warnings can result in a
collision and death or serious personal injury.
• The ACC system:
• Does not react to pedestrians, oncoming vehicles, and stationary objects (e.g.,a stopped vehicle in a traffic jam or a disabled vehicle).
• Cannot take street, traffic, and weather conditions into account, and may be
limited upon adverse sight distance conditions.
• Does not always fully recognize complex driving conditions, which can result in
wrong or missing distance warnings.
• Can only apply a maximum of 40% of the vehicle’s braking capability, and will
not bring the vehicle to a complete stop.
You should switch off the ACC system:
• When driving in fog, heavy rain, heavy snow, sleet, heavy traffic, and complex driving
situations (i.e., in highway construction zones).
• When entering a turn lane or highway off ramp; when driving on roads that are
winding, icy, snow-covered, slippery, or have steep uphill or downhill slopes.
• When towing a trailer up or down steep slopes.
• When circumstances do not allow safe driving at a constant speed.
OPERATING YOUR VEHICLE
36
Page 42 of 188
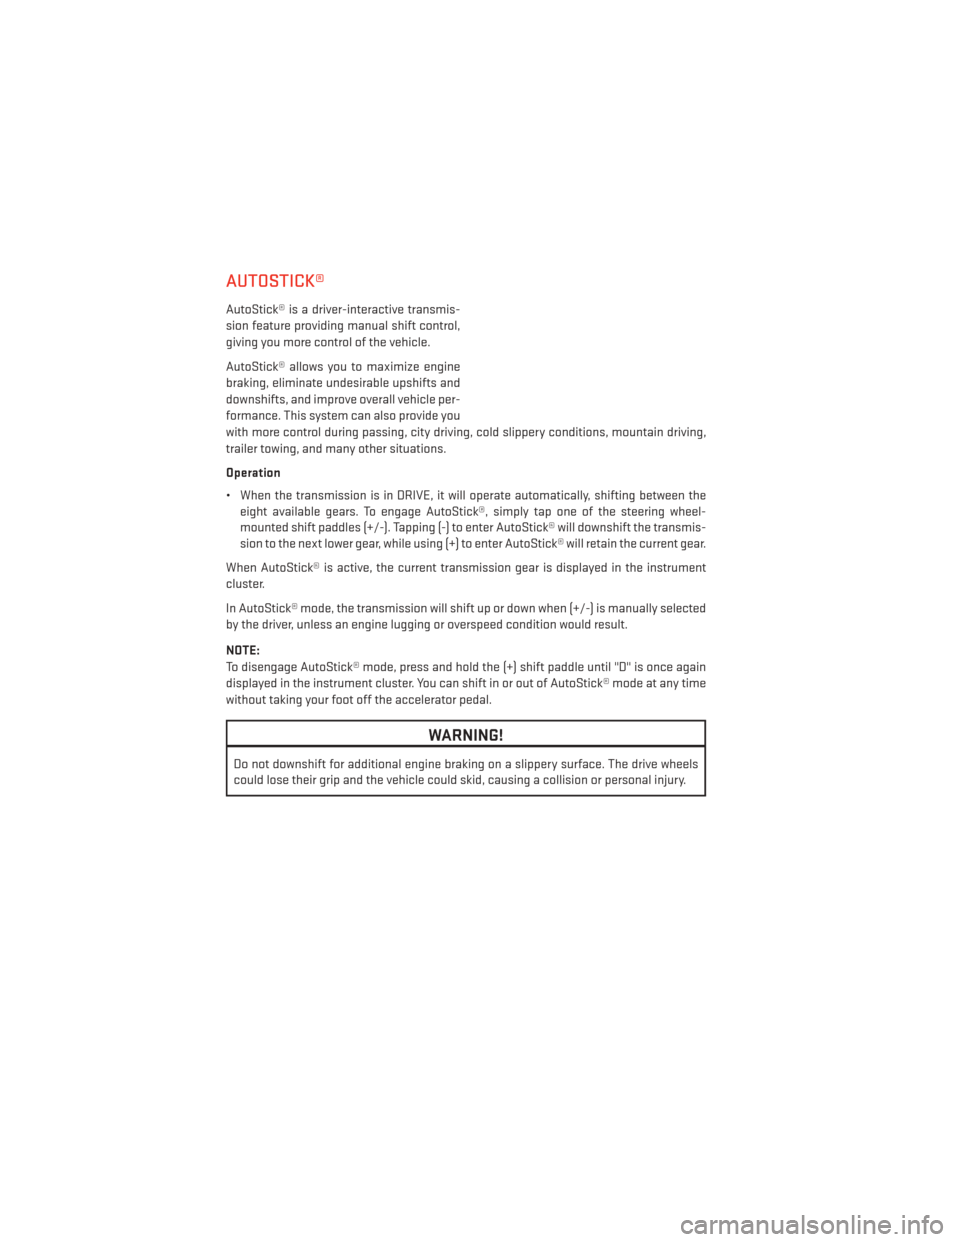
AUTOSTICK®
AutoStick® is a driver-interactive transmis-
sion feature providing manual shift control,
giving you more control of the vehicle.
AutoStick® allows you to maximize engine
braking, eliminate undesirable upshifts and
downshifts, and improve overall vehicle per-
formance. This system can also provide you
with more control during passing, city driving, cold slippery conditions, mountain driving,
trailer towing, and many other situations.
Operation
• When the transmission is in DRIVE, it will operate automatically, shifting between theeight available gears. To engage AutoStick®, simply tap one of the steering wheel-
mounted shift paddles (+/-). Tapping (-) to enter AutoStick® will downshift the transmis-
sion to the next lower gear, while using (+) to enter AutoStick® will retain the current gear.
When AutoStick® is active, the current transmission gear is displayed in the instrument
cluster.
In AutoStick® mode, the transmission will shift up or down when (+/-) is manually selected
by the driver, unless an engine lugging or overspeed condition would result.
NOTE:
To disengage AutoStick® mode, press and hold the (+) shift paddle until "D" is once again
displayed in the instrument cluster. You can shift in or out of AutoStick® mode at any time
without taking your foot off the accelerator pedal.
WARNING!
Do not downshift for additional engine braking on a slippery surface. The drive wheels
could lose their grip and the vehicle could skid, causing a collision or personal injury.
OPERATING YOUR VEHICLE
40
Page 118 of 188
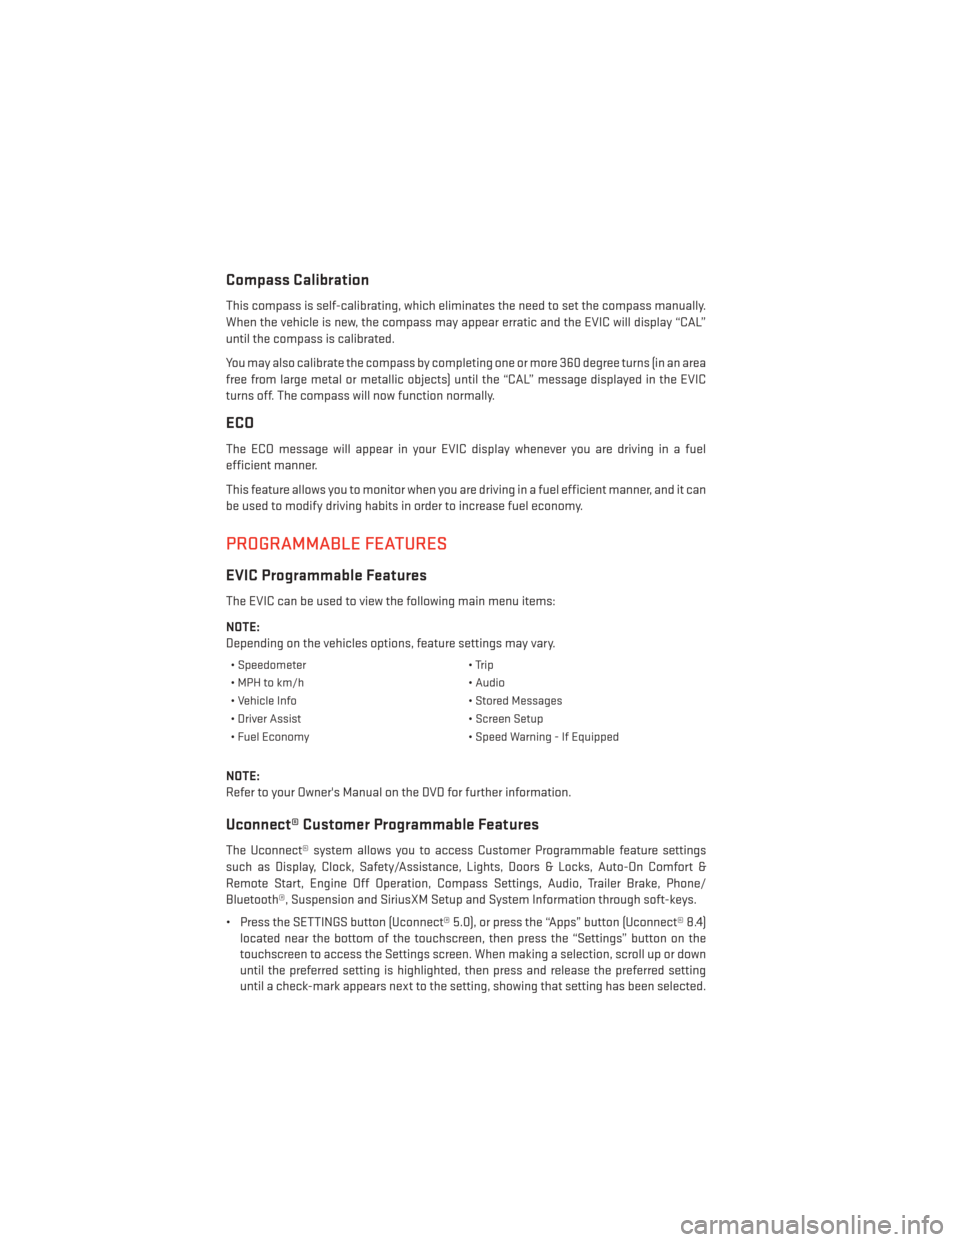
Compass Calibration
This compass is self-calibrating, which eliminates the need to set the compass manually.
When the vehicle is new, the compass may appear erratic and the EVIC will display “CAL”
until the compass is calibrated.
You may also calibrate the compass by completing one or more 360 degree turns (in an area
free from large metal or metallic objects) until the “CAL” message displayed in the EVIC
turns off. The compass will now function normally.
ECO
The ECO message will appear in your EVIC display whenever you are driving in a fuel
efficient manner.
This feature allows you to monitor when you are driving in a fuel efficient manner, and it can
be used to modify driving habits in order to increase fuel economy.
PROGRAMMABLE FEATURES
EVIC Programmable Features
The EVIC can be used to view the following main menu items:
NOTE:
Depending on the vehicles options, feature settings may vary.
• Speedometer• Trip
• MPH to km/h • Audio
• Vehicle Info • Stored Messages
• Driver Assist • Screen Setup
• Fuel Economy • Speed Warning - If Equipped
NOTE:
Refer to your Owner's Manual on the DVD for further information.
Uconnect® Customer Programmable Features
The Uconnect® system allows you to access Customer Programmable feature settings
such as Display, Clock, Safety/Assistance, Lights, Doors & Locks, Auto-On Comfort &
Remote Start, Engine Off Operation, Compass Settings, Audio, Trailer Brake, Phone/
Bluetooth®, Suspension and SiriusXM Setup and System Information through soft-keys.
• Press the SETTINGS button (Uconnect® 5.0), or press the “Apps” button (Uconnect® 8.4)
located near the bottom of the touchscreen, then press the “Settings” button on the
touchscreen to access the Settings screen. When making a selection, scroll up or down
until the preferred setting is highlighted, then press and release the preferred setting
until a check-mark appears next to the setting, showing that setting has been selected.
ELECTRONICS
116
Page 119 of 188
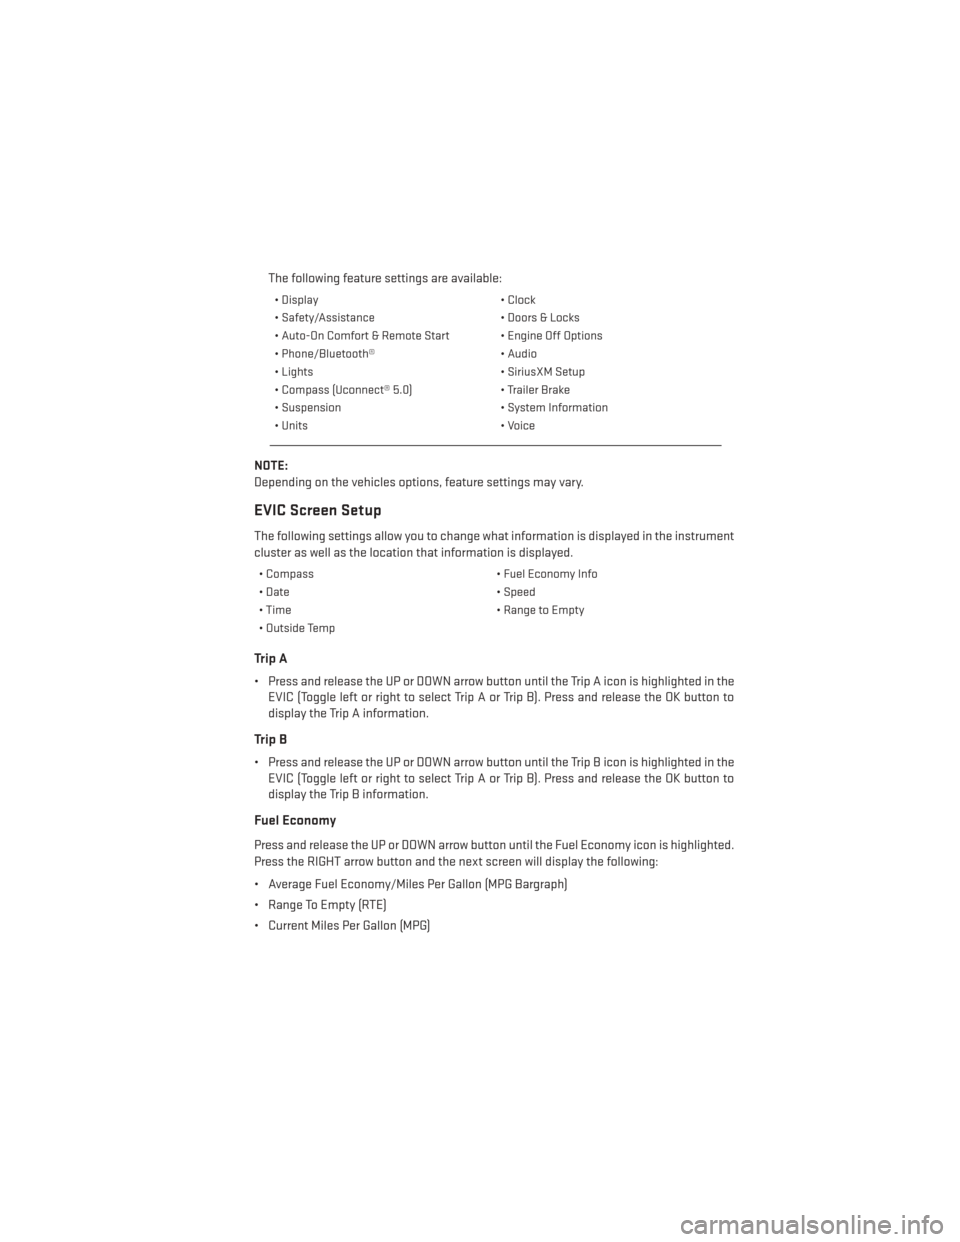
The following feature settings are available:
• Display• Clock
• Safety/Assistance • Doors & Locks
• Auto-On Comfort & Remote Start • Engine Off Options
• Phone/Bluetooth® • Audio
• Lights • SiriusXM Setup
• Compass (Uconnect® 5.0) • Trailer Brake
• Suspension • System Information
• Units • Voice
NOTE:
Depending on the vehicles options, feature settings may vary.
EVIC Screen Setup
The following settings allow you to change what information is displayed in the instrument
cluster as well as the location that information is displayed.
• Compass • Fuel Economy Info
• Date • Speed
• Time • Range to Empty
• Outside Temp
Trip A
• Press and release the UP or DOWN arrow button until the Trip A icon is highlighted in the EVIC (Toggle left or right to select Trip A or Trip B). Press and release the OK button to
display the Trip A information.
Trip B
• Press and release the UP or DOWN arrow button until the Trip B icon is highlighted in theEVIC (Toggle left or right to select Trip A or Trip B). Press and release the OK button to
display the Trip B information.
Fuel Economy
Press and release the UP or DOWN arrow button until the Fuel Economy icon is highlighted.
Press the RIGHT arrow button and the next screen will display the following:
• Average Fuel Economy/Miles Per Gallon (MPG Bargraph)
• Range To Empty (RTE)
• Current Miles Per Gallon (MPG)
ELECTRONICS
117
Page 127 of 188
ROOF LUGGAGE RACK
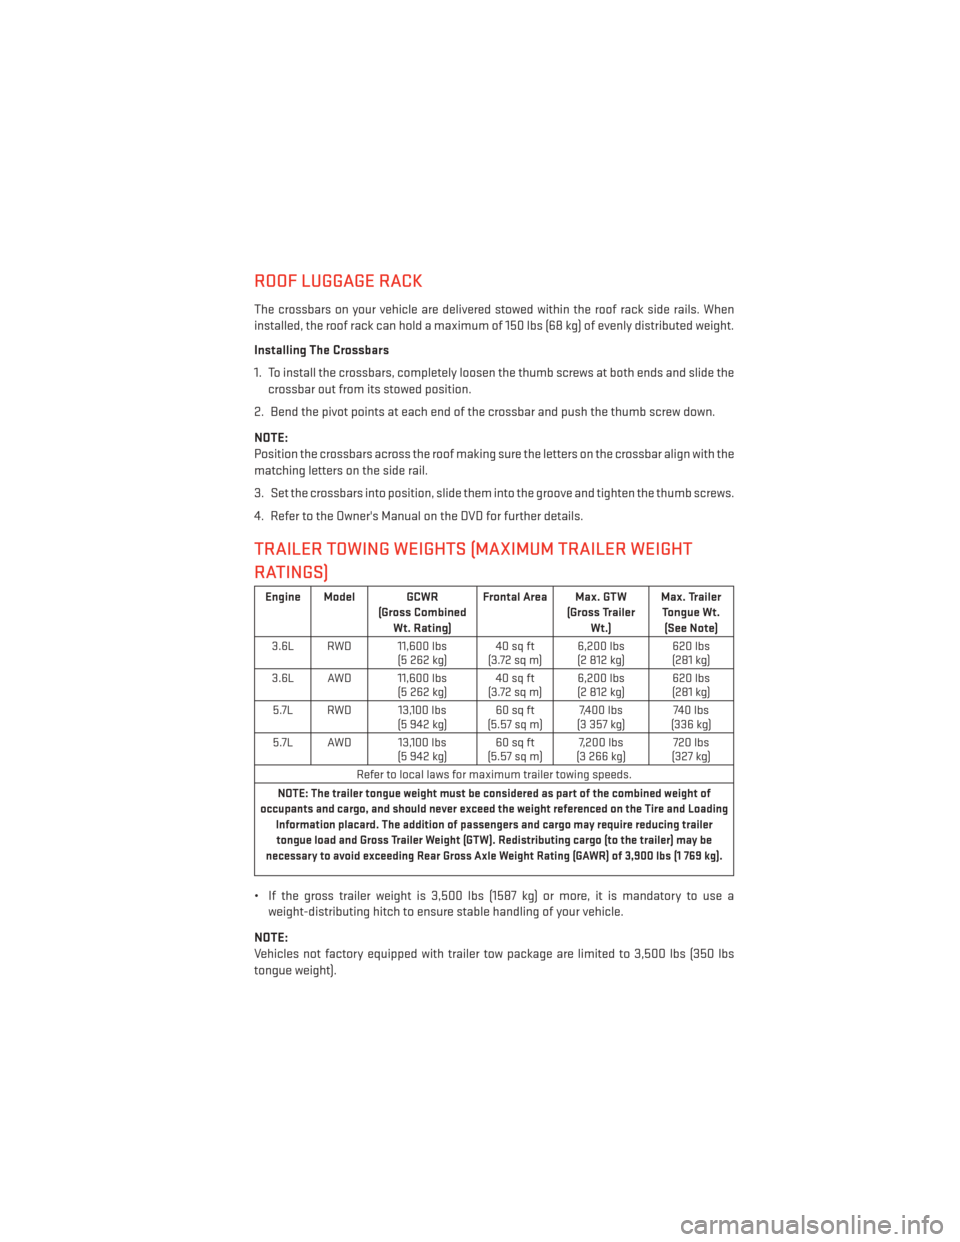
The crossbars on your vehicle are delivered stowed within the roof rack side rails. When
installed, the roof rack can hold a maximum of 150 lbs (68 kg) of evenly distributed weight.
Installing The Crossbars
1. To install the crossbars, completely loosen the thumb screws at both ends and slide thecrossbar out from its stowed position.
2. Bend the pivot points at each end of the crossbar and push the thumb screw down.
NOTE:
Position the crossbars across the roof making sure the letters on the crossbar align with the
matching letters on the side rail.
3. Set the crossbars into position, slide them into the groove and tighten the thumb screws.
4. Refer to the Owner's Manual on the DVD for further details.
TRAILER TOWING WEIGHTS (MAXIMUM TRAILER WEIGHT
RATINGS)
Engine Model GCWR (Gross CombinedWt. Rating) Frontal Area Max. GTW
(Gross TrailerWt.) Max. Trailer
Tongue Wt. (See Note)
3.6L RWD 11,600 lbs (5 262 kg)40 sq ft
(3.72sqm) 6,200 lbs
(2 812 kg) 620 lbs
(281 kg)
3.6L AWD 11,600 lbs (5 262 kg)40 sq ft
(3.72sqm) 6,200 lbs
(2 812 kg) 620 lbs
(281 kg)
5.7L RWD 13,100 lbs (5 942 kg)60 sq ft
(5.57 sq m) 7,400 lbs
(3 357 kg) 740 lbs
(336 kg)
5.7L AWD 13,100 lbs (5 942 kg)60 sq ft
(5.57 sq m) 7,200 lbs
(3 266 kg) 720 lbs
(327 kg)
Refer to local laws for maximum trailer towing speeds.
NOTE: The trailer tongue weight must be considered as part of the combined weight of
occupants and cargo, and should never exceed the weight referenced on the Tire and Loading Information placard. The addition of passengers and cargo may require reducing trailertongue load and Gross Trailer Weight (GTW). Redistributing cargo (to the trailer) may be
necessary to avoid exceeding Rear Gross Axle Weight Rating (GAWR) of 3,900 lbs (1 769 kg).
• If the gross trailer weight is 3,500 lbs (1587 kg) or more, it is mandatory to use a weight-distributing hitch to ensure stable handling of your vehicle.
NOTE:
Vehicles not factory equipped with trailer tow package are limited to 3,500 lbs (350 lbs
tongue weight).
UTILITY
125
Page 128 of 188
RECREATIONAL TOWING (BEHIND MOTORHOME, ETC.)
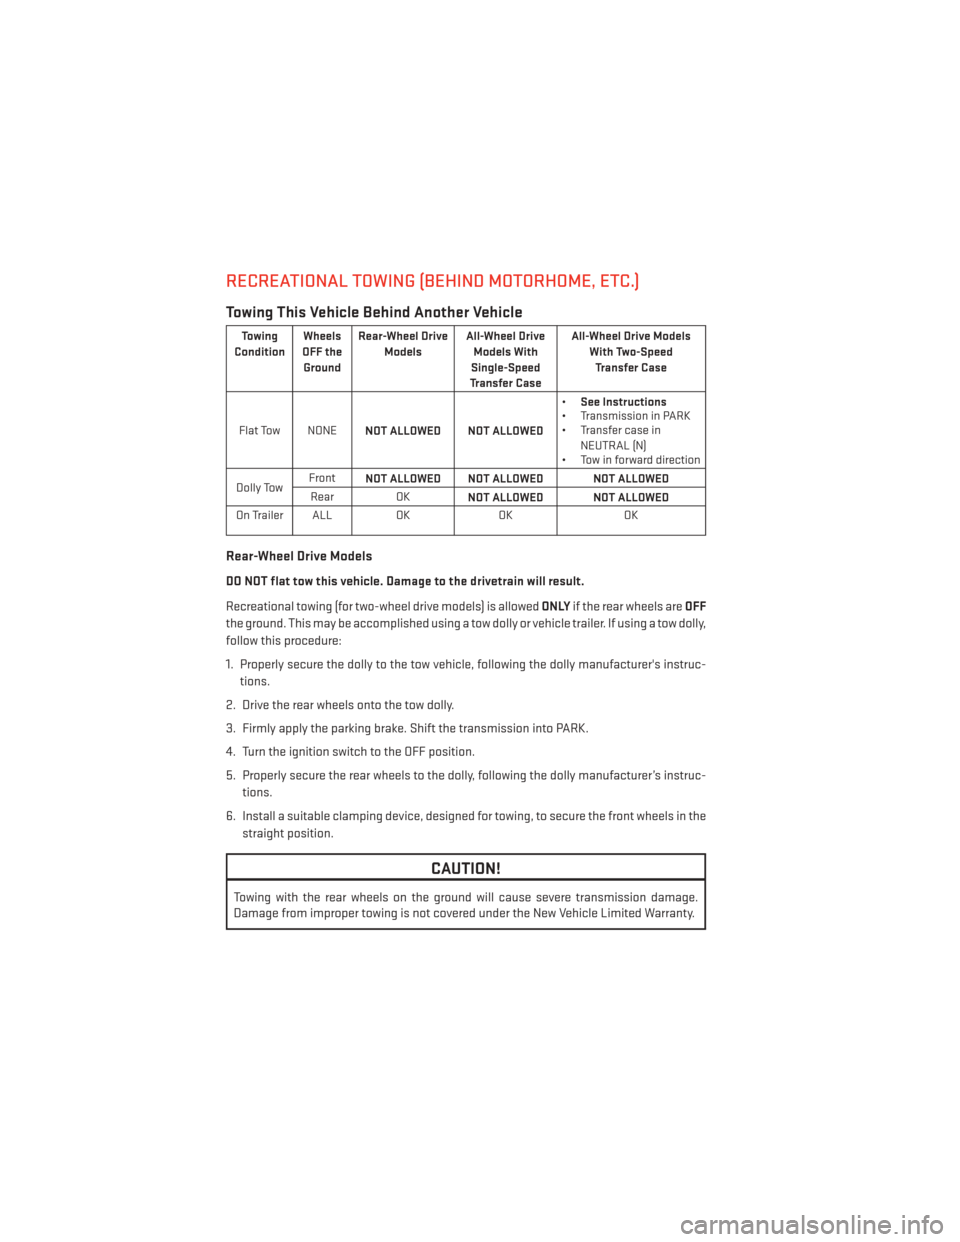
Towing This Vehicle Behind Another Vehicle
Towing
Condition Wheels
OFF the Ground Rear-Wheel Drive
Models All-Wheel Drive
Models With
Single-Speed
Transfer Case All-Wheel Drive Models
With Two-SpeedTransfer Case
Flat Tow NONE NOT ALLOWED NOT ALLOWED •
See Instructions
• Transmission in PARK
• Transfer case in
NEUTRAL (N)
• Tow in forward direction
Dolly Tow Front
NOT ALLOWED NOT ALLOWED NOT ALLOWED
Rear OK NOT ALLOWED NOT ALLOWED
On Trailer ALL OKOK OK
Rear-Wheel Drive Models
DO NOT flat tow this vehicle. Damage to the drivetrain will result.
Recreational towing (for two-wheel drive models) is allowed ONLYif the rear wheels are OFF
the ground. This may be accomplished using a tow dolly or vehicle trailer. If using a tow dolly,
follow this procedure:
1. Properly secure the dolly to the tow vehicle, following the dolly manufacturer's instruc- tions.
2. Drive the rear wheels onto the tow dolly.
3. Firmly apply the parking brake. Shift the transmission into PARK.
4. Turn the ignition switch to the OFF position.
5. Properly secure the rear wheels to the dolly, following the dolly manufacturer’s instruc- tions.
6. Install a suitable clamping device, designed for towing, to secure the front wheels in the straight position.
CAUTION!
Towing with the rear wheels on the ground will cause severe transmission damage.
Damage from improper towing is not covered under the New Vehicle Limited Warranty.
UTILITY
126
Page 129 of 188
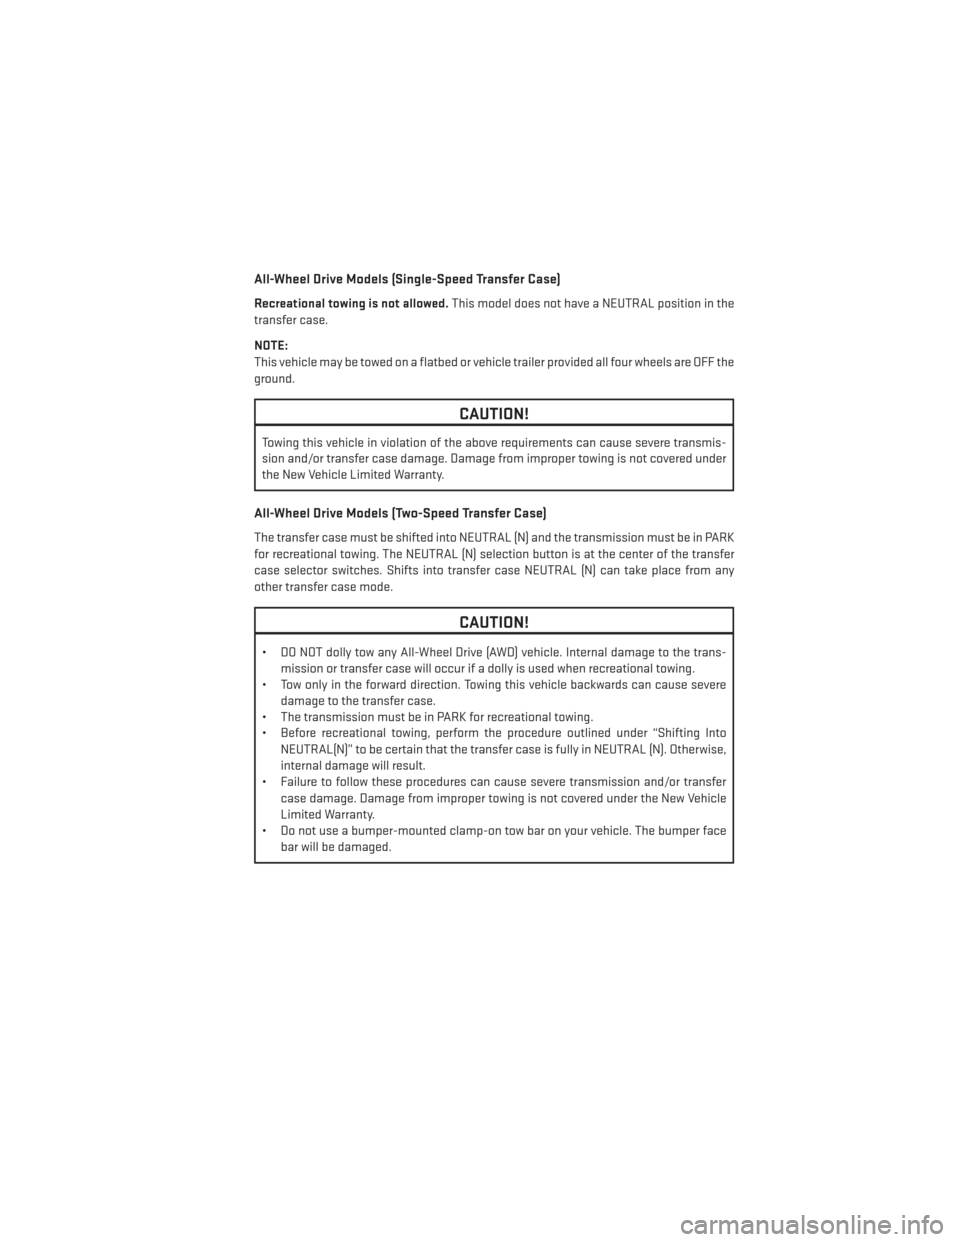
All-Wheel Drive Models (Single-Speed Transfer Case)
Recreational towing is not allowed.This model does not have a NEUTRAL position in the
transfer case.
NOTE:
This vehicle may be towed on a flatbed or vehicle trailer provided all four wheels are OFF the
ground.
CAUTION!
Towing this vehicle in violation of the above requirements can cause severe transmis-
sion and/or transfer case damage. Damage from improper towing is not covered under
the New Vehicle Limited Warranty.
All-Wheel Drive Models (Two-Speed Transfer Case)
The transfer case must be shifted into NEUTRAL (N) and the transmission must be in PARK
for recreational towing. The NEUTRAL (N) selection button is at the center of the transfer
case selector switches. Shifts into transfer case NEUTRAL (N) can take place from any
other transfer case mode.
CAUTION!
• DO NOT dolly tow any All-Wheel Drive (AWD) vehicle. Internal damage to the trans- mission or transfer case will occur if a dolly is used when recreational towing.
• Tow only in the forward direction. Towing this vehicle backwards can cause severe
damage to the transfer case.
• The transmission must be in PARK for recreational towing.
• Before recreational towing, perform the procedure outlined under “Shifting Into
NEUTRAL(N)” to be certain that the transfer case is fully in NEUTRAL (N). Otherwise,
internal damage will result.
• Failure to follow these procedures can cause severe transmission and/or transfer
case damage. Damage from improper towing is not covered under the New Vehicle
Limited Warranty.
• Do not use a bumper-mounted clamp-on tow bar on your vehicle. The bumper face
bar will be damaged.
UTILITY
127
Page 161 of 188
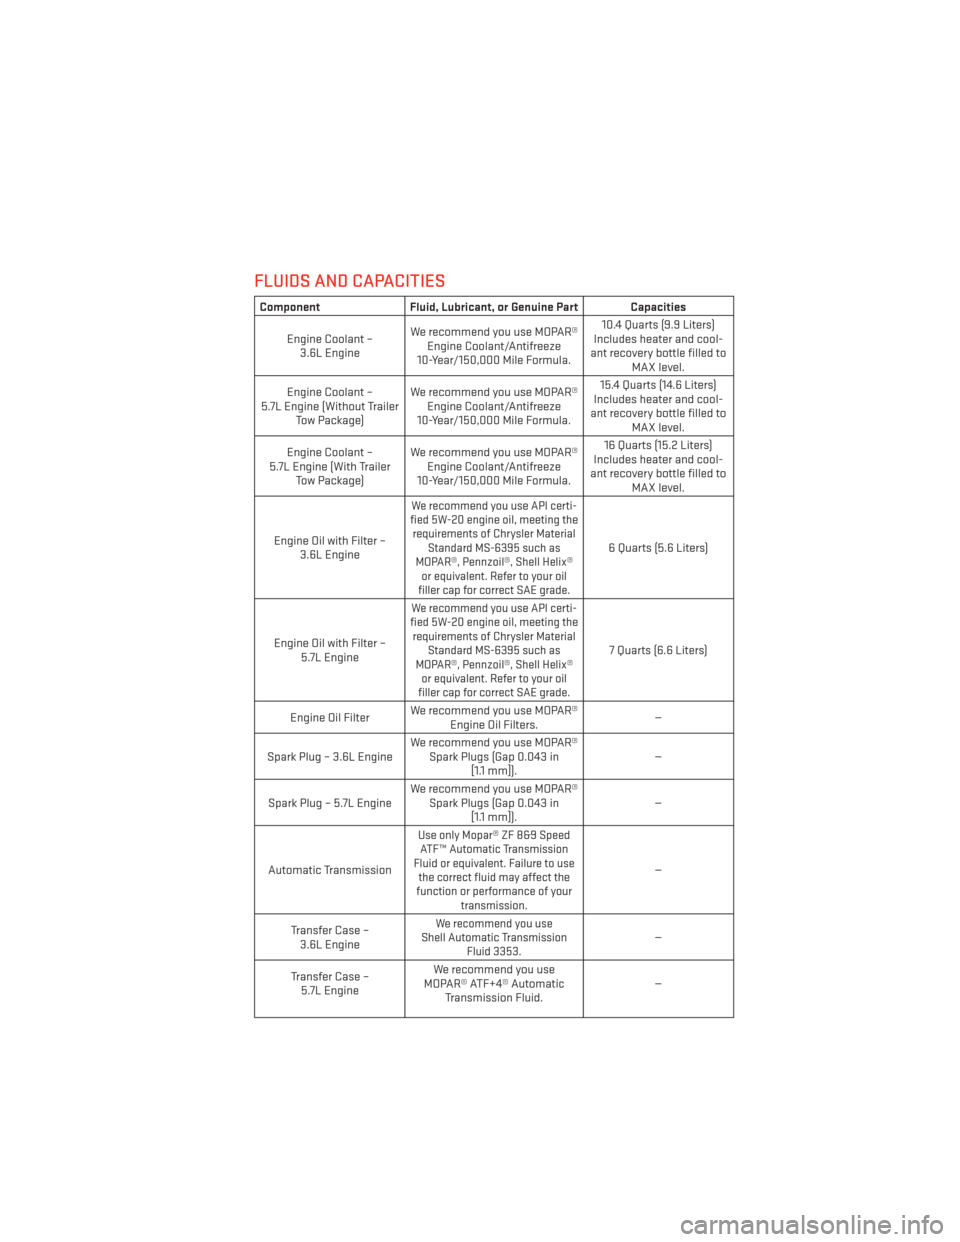
FLUIDS AND CAPACITIES
ComponentFluid, Lubricant, or Genuine Part Capacities
Engine Coolant – 3.6L Engine We recommend you use MOPAR®
Engine Coolant/Antifreeze
10-Year/150,000 Mile Formula. 10.4 Quarts (9.9 Liters)
Includes heater and cool-
ant recovery bottle filled to MAX level.
Engine Coolant –
5.7L Engine (Without Trailer Tow Package) We recommend you use MOPAR®
Engine Coolant/Antifreeze
10-Year/150,000 Mile Formula. 15.4 Quarts (14.6 Liters)
Includes heater and cool-
ant recovery bottle filled to MAX level.
Engine Coolant –
5.7L Engine (With Trailer Tow Package) We recommend you use MOPAR®
Engine Coolant/Antifreeze
10-Year/150,000 Mile Formula. 16 Quarts (15.2 Liters)
Includes heater and cool-
ant recovery bottle filled to MAX level.
Engine Oil with Filter – 3.6L Engine
We recommend you use API certi-
fied 5W-20 engine oil, meeting the requirements of Chrysler Material Standard MS-6395 such as
MOPAR®, Pennzoil®, Shell Helix® or equivalent. Refer to your oil
filler cap for correct SAE grade.
6 Quarts (5.6 Liters)
Engine Oil with Filter – 5.7L Engine
We recommend you use API certi-
fied 5W-20 engine oil, meeting the requirements of Chrysler Material Standard MS-6395 such as
MOPAR®, Pennzoil®, Shell Helix® or equivalent. Refer to your oil
filler cap for correct SAE grade.
7 Quarts (6.6 Liters)
Engine Oil Filter We recommend you use MOPAR®
Engine Oil Filters. —
Spark Plug – 3.6L Engine We recommend you use MOPAR®
Spark Plugs (Gap 0.043 in [1.1 mm]). —
Spark Plug – 5.7L Engine We recommend you use MOPAR®
Spark Plugs (Gap 0.043 in [1.1 mm]). —
Automatic Transmission
Use only Mopar® ZF 8&9 Speed ATF™ Automatic Transmission
Fluid or equivalent. Failure to use the correct fluid may affect the
function or performance of your transmission.
—
Transfer Case – 3.6L Engine
We recommend you use
Shell Automatic Transmission Fluid 3353.—
Transfer Case – 5.7L Engine We recommend you use
MOPAR® ATF+4® Automatic Transmission Fluid. —
MAINTAINING YOUR VEHICLE
159
Page 163 of 188
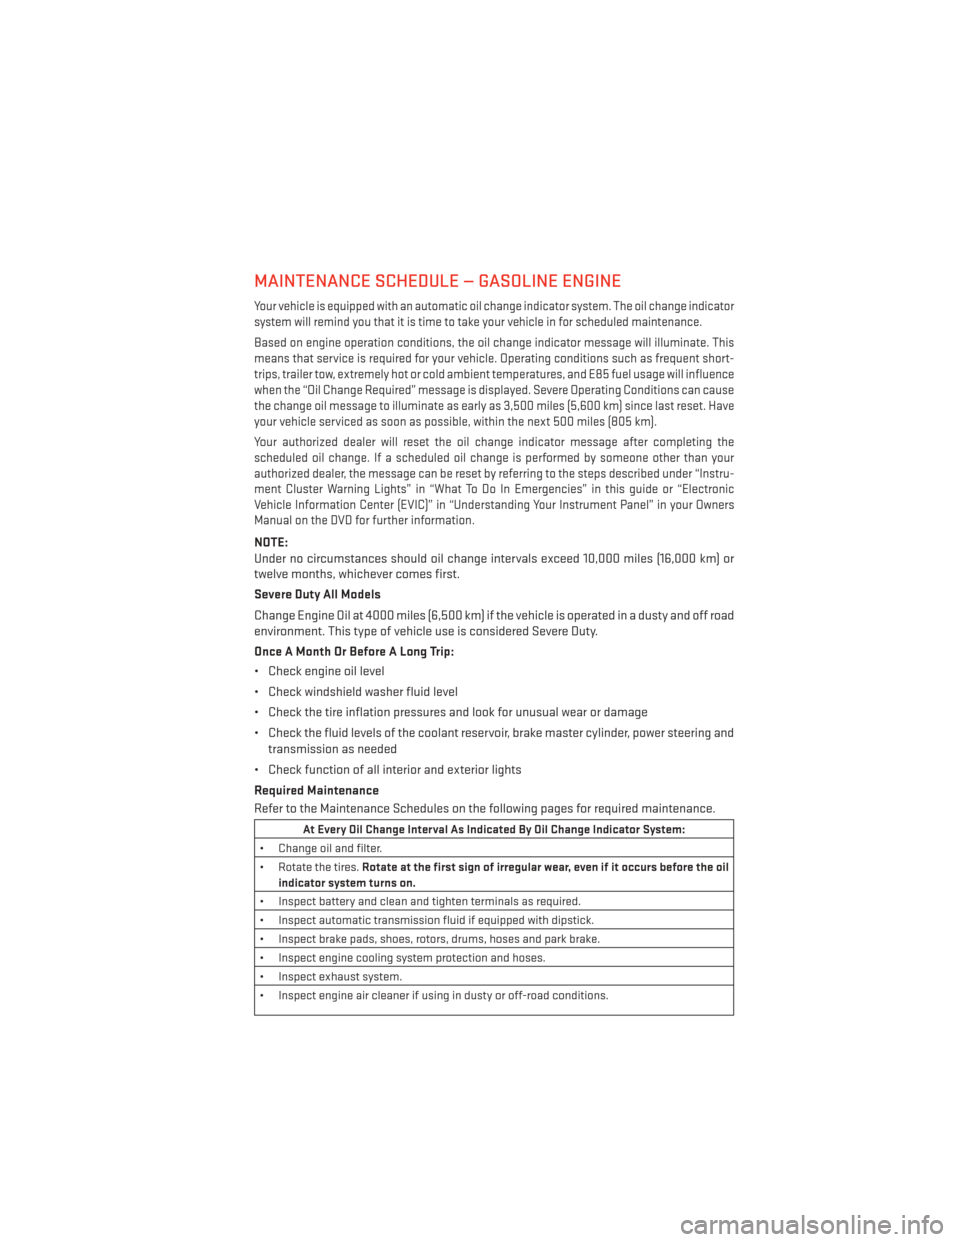
MAINTENANCE SCHEDULE — GASOLINE ENGINE
Your vehicle is equipped with an automatic oil change indicator system. The oil change indicator
system will remind you that it is time to take your vehicle in for scheduled maintenance.
Based on engine operation conditions, the oil change indicator message will illuminate. This
means that service is required for your vehicle. Operating conditions such as frequent short-
trips, trailer tow, extremely hot or cold ambient temperatures, and E85 fuel usage will influence
when the “Oil Change Required” message is displayed. Severe Operating Conditions can cause
the change oil message to illuminate as early as 3,500 miles (5,600 km) since last reset. Have
your vehicle serviced as soon as possible, within the next 500 miles (805 km).
Your authorized dealer will reset the oil change indicator message after completing the
scheduled oil change. If a scheduled oil change is performed by someone other than your
authorized dealer, the message can be reset by referring to the steps described under “Instru-
ment Cluster Warning Lights” in “What To Do In Emergencies” in this guide or “Electronic
Vehicle Information Center (EVIC)” in “Understanding Your Instrument Panel” in your Owners
Manual on the DVD for further information.
NOTE:
Under no circumstances should oil change intervals exceed 10,000 miles (16,000 km) or
twelve months, whichever comes first.
Severe Duty All Models
Change Engine Oil at 4000 miles (6,500 km) if the vehicle is operated in a dusty and off road
environment. This type of vehicle use is considered Severe Duty.
Once A Month Or Before A Long Trip:
• Check engine oil level
• Check windshield washer fluid level
• Check the tire inflation pressures and look for unusual wear or damage
• Check the fluid levels of the coolant reservoir, brake master cylinder, power steering andtransmission as needed
• Check function of all interior and exterior lights
Required Maintenance
Refer to the Maintenance Schedules on the following pages for required maintenance.
At Every Oil Change Interval As Indicated By Oil Change Indicator System:
• Change oil and filter.
• Rotate the tires. Rotate at the first sign of irregular wear, even if it occurs before the oil
indicator system turns on.
• Inspect battery and clean and tighten terminals as required.
• Inspect automatic transmission fluid if equipped with dipstick.
• Inspect brake pads, shoes, rotors, drums, hoses and park brake.
• Inspect engine cooling system protection and hoses.
• Inspect exhaust system.
• Inspect engine air cleaner if using in dusty or off-road conditions.
MAINTAINING YOUR VEHICLE
161