transmission DODGE DURANGO 2014 3.G User Guide
[x] Cancel search | Manufacturer: DODGE, Model Year: 2014, Model line: DURANGO, Model: DODGE DURANGO 2014 3.GPages: 188, PDF Size: 3.8 MB
Page 10 of 188
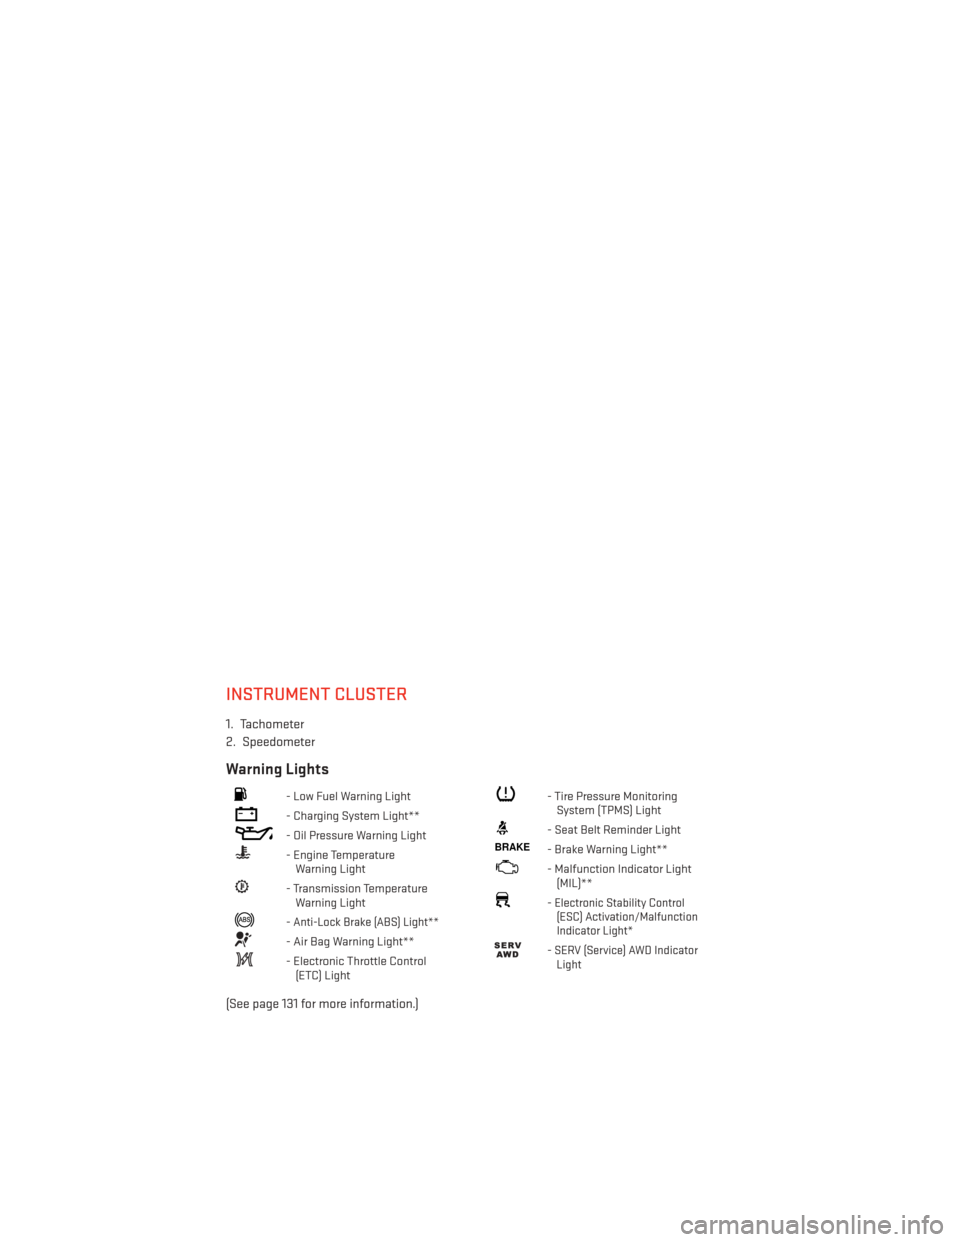
INSTRUMENT CLUSTER
1. Tachometer
2. Speedometer
Warning Lights
- Low Fuel Warning Light
- Charging System Light**
- Oil Pressure Warning Light
- Engine TemperatureWarning Light
- Transmission TemperatureWarning Light
-Anti-Lock Brake (ABS) Light**
- Air Bag Warning Light**
- Electronic Throttle Control(ETC) Light
- Tire Pressure MonitoringSystem (TPMS) Light
- Seat Belt Reminder Light
BRAKE- Brake Warning Light**
- Malfunction Indicator Light(MIL)**
-Electronic Stability Control(ESC) Activation/Malfunction
Indicator Light*
-SERV (Service) AWD Indicator Light
(See page 131 for more information.)
CONTROLS AT A GLANCE
8
Page 15 of 188
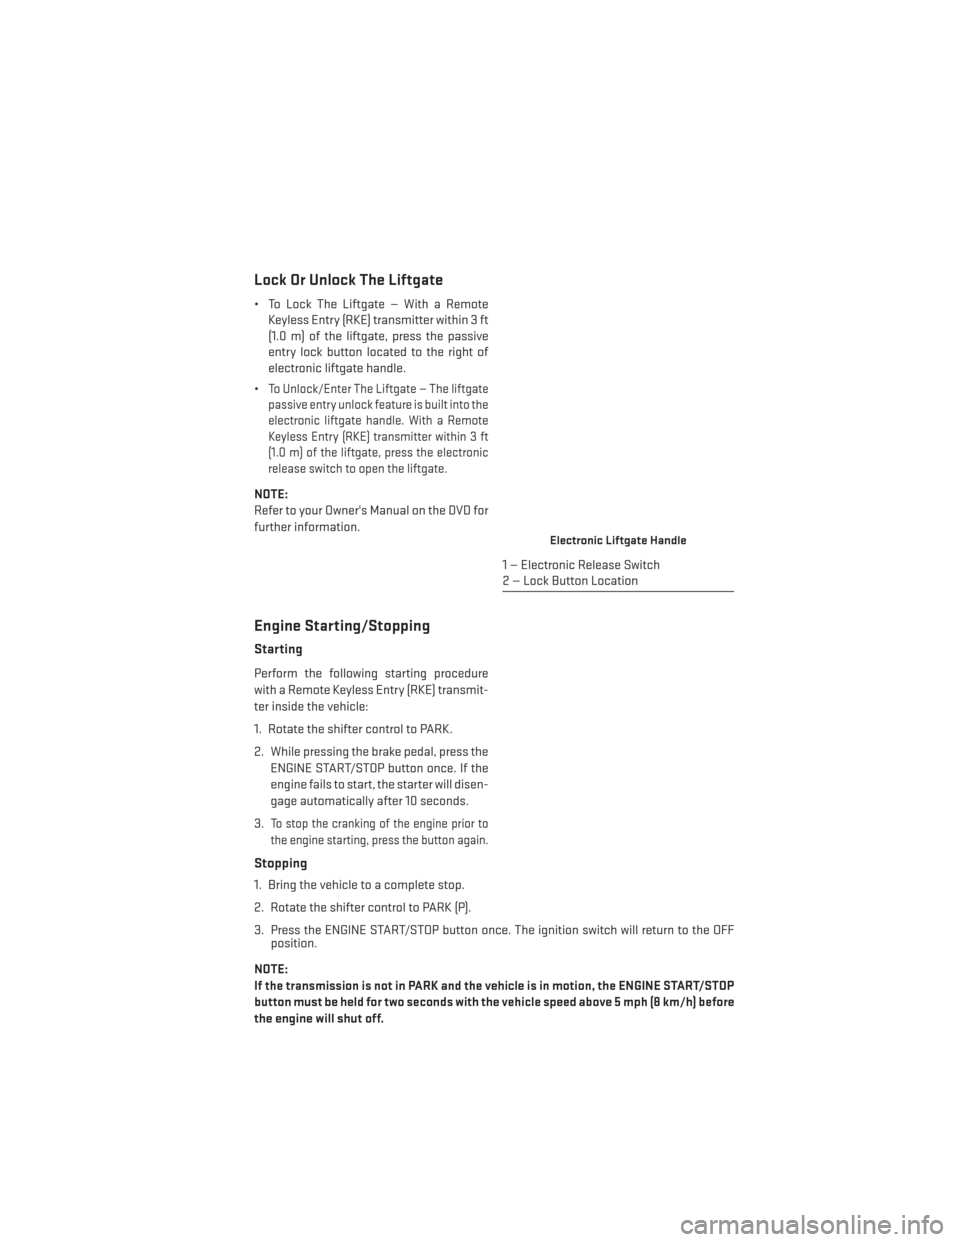
Lock Or Unlock The Liftgate
• To Lock The Liftgate — With a RemoteKeyless Entry (RKE) transmitter within 3 ft
(1.0 m) of the liftgate, press the passive
entry lock button located to the right of
electronic liftgate handle.
•
To Unlock/Enter The Liftgate — The liftgate
passive entry unlock feature is built into the
electronic liftgate handle. With a Remote
Keyless Entry (RKE) transmitter within 3 ft
(1.0 m) of the liftgate, press the electronic
release switch to open the liftgate.
NOTE:
Refer to your Owner's Manual on the DVD for
further information.
Engine Starting/Stopping
Starting
Perform the following starting procedure
with a Remote Keyless Entry (RKE) transmit-
ter inside the vehicle:
1. Rotate the shifter control to PARK.
2. While pressing the brake pedal, press the
ENGINE START/STOP button once. If the
engine fails to start, the starter will disen-
gage automatically after 10 seconds.
3.
To stop the cranking of the engine prior to
the engine starting, press the button again.
Stopping
1. Bring the vehicle to a complete stop.
2. Rotate the shifter control to PARK (P).
3. Press the ENGINE START/STOP button once. The ignition switch will return to the OFF position.
NOTE:
If the transmission is not in PARK and the vehicle is in motion, the ENGINE START/STOP
button must be held for two seconds with the vehicle speed above 5 mph (8 km/h) before
the engine will shut off.
Electronic Liftgate Handle
1 — Electronic Release Switch
2 — Lock Button Location
GETTING STARTED
13
Page 16 of 188
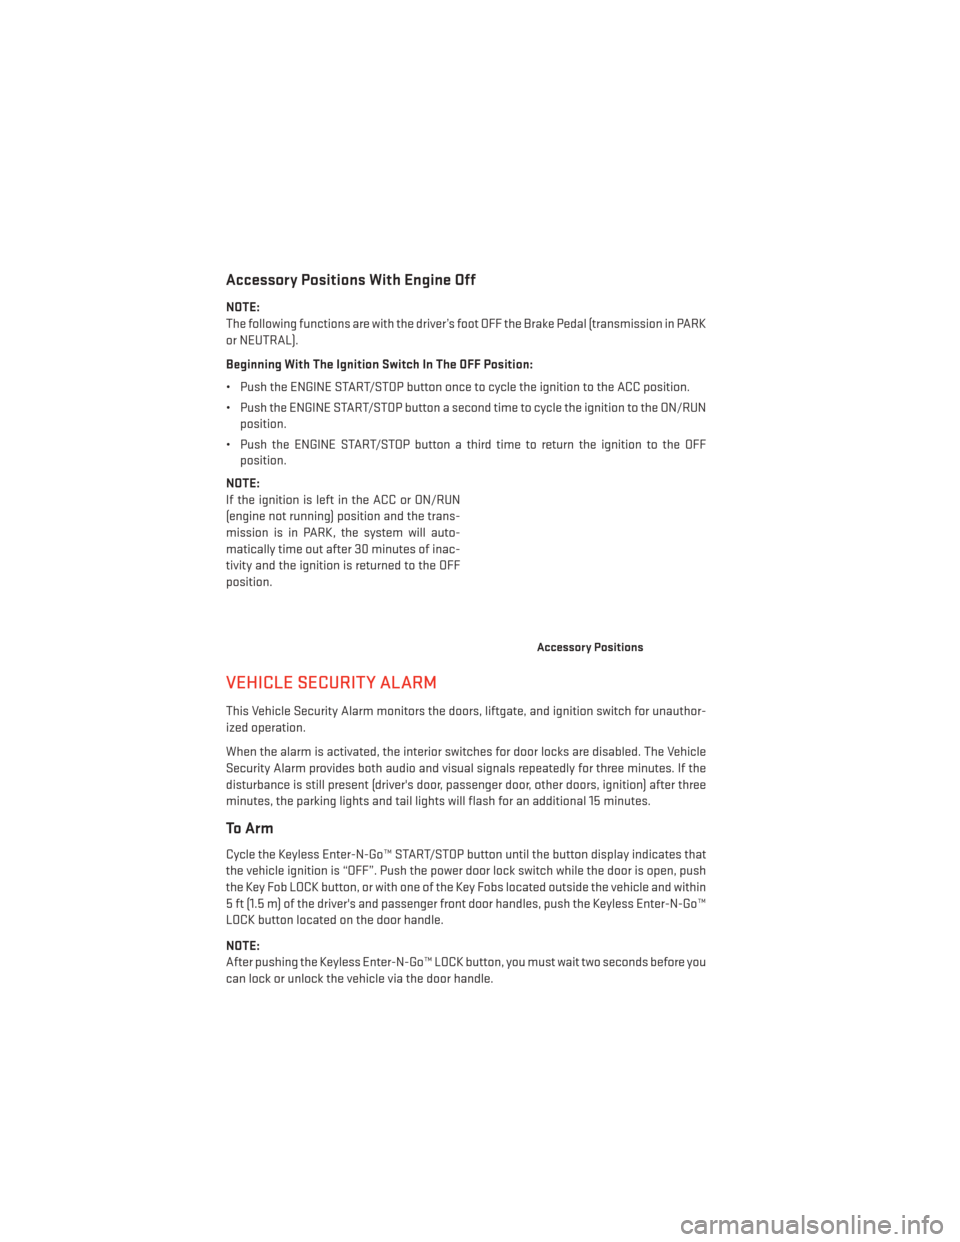
Accessory Positions With Engine Off
NOTE:
The following functions are with the driver’s foot OFF the Brake Pedal (transmission in PARK
or NEUTRAL).
Beginning With The Ignition Switch In The OFF Position:
• Push the ENGINE START/STOP button once to cycle the ignition to the ACC position.
• Push the ENGINE START/STOP button a second time to cycle the ignition to the ON/RUNposition.
• Push the ENGINE START/STOP button a third time to return the ignition to the OFF position.
NOTE:
If the ignition is left in the ACC or ON/RUN
(engine not running) position and the trans-
mission is in PARK, the system will auto-
matically time out after 30 minutes of inac-
tivity and the ignition is returned to the OFF
position.
VEHICLE SECURITY ALARM
This Vehicle Security Alarm monitors the doors, liftgate, and ignition switch for unauthor-
ized operation.
When the alarm is activated, the interior switches for door locks are disabled. The Vehicle
Security Alarm provides both audio and visual signals repeatedly for three minutes. If the
disturbance is still present (driver's door, passenger door, other doors, ignition) after three
minutes, the parking lights and tail lights will flash for an additional 15 minutes.
To Arm
Cycle the Keyless Enter-N-Go™ START/STOP button until the button display indicates that
the vehicle ignition is “OFF”. Push the power door lock switch while the door is open, push
the Key Fob LOCK button, or with one of the Key Fobs located outside the vehicle and within
5 ft (1.5 m) of the driver's and passenger front door handles, push the Keyless Enter-N-Go™
LOCK button located on the door handle.
NOTE:
After pushing the Keyless Enter-N-Go™ LOCK button, you must wait two seconds before you
can lock or unlock the vehicle via the door handle.
Accessory Positions
GETTING STARTED
14
Page 32 of 188
ENGINE BREAK-IN RECOMMENDATIONS
A long break-in period is not required for the engine and drivetrain (transmission and axle)
in your vehicle.
Drive moderately during the first 300 miles (500 km). After the initial 60 miles (100 km),
speeds up to 50 or 55 mph (80 or 90 km/h) are desirable.
While cruising, brief full-throttle acceleration within the limits of local traffic laws contrib-
utes to a good break-in. Wide-open throttle acceleration in low gear can be detrimental and
should be avoided.
The engine oil installed in the engine at the factory is a high-quality energy conserving type
lubricant. Oil changes should be consistent with anticipated climate conditions under
which vehicle operations will occur. For the recommended viscosity and quality grades,
refer to “Maintaining Your Vehicle.”
NOTE:
A new engine may consume some oil during its first few thousand miles (kilometers) of
operation. This should be considered a normal part of the break-in and not interpreted as an
indication of an engine problem or malfunction.
CAUTION!
Never use Non-Detergent Oil or Straight Mineral Oil in the engine or damage may result.
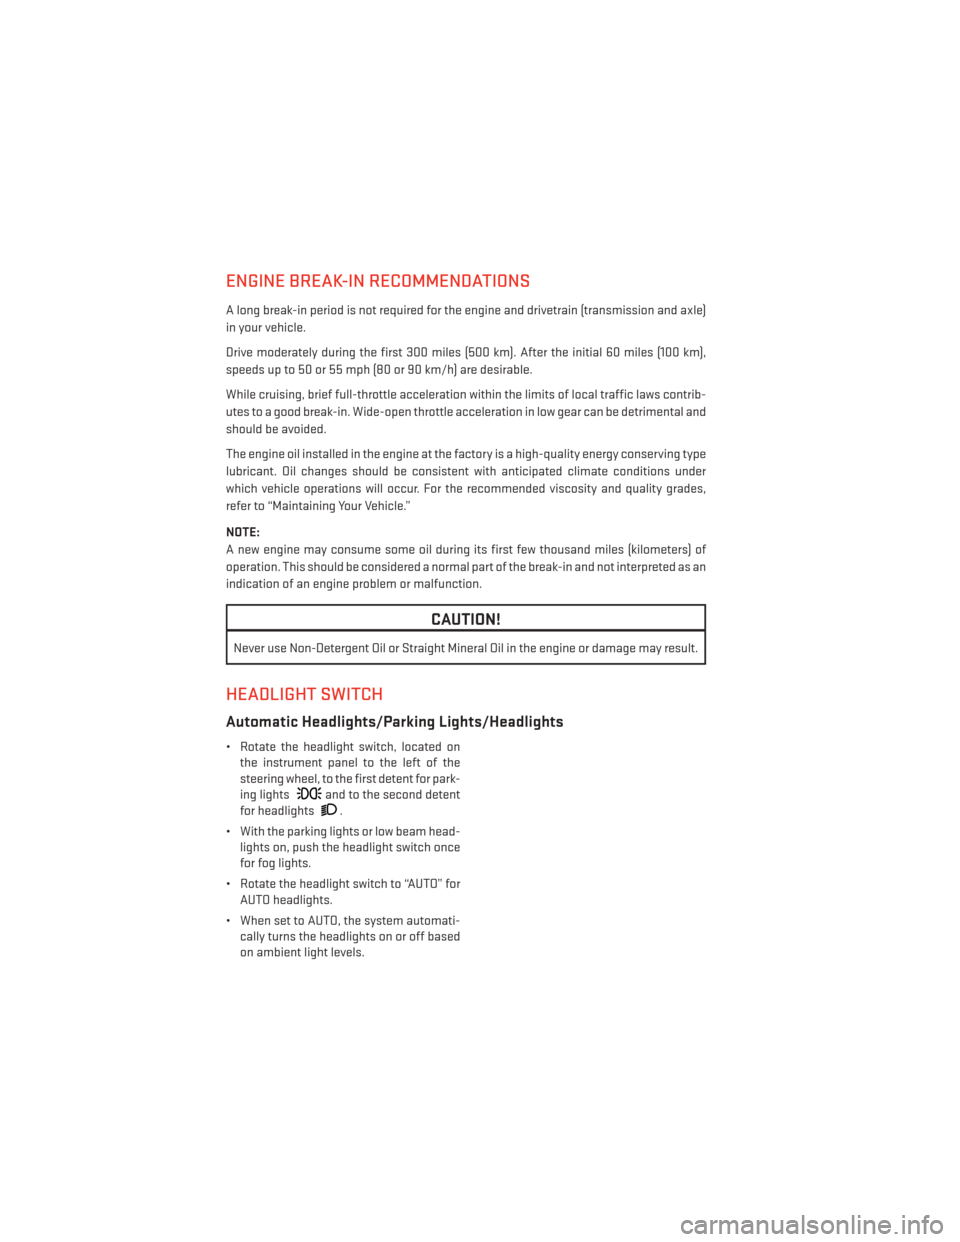
HEADLIGHT SWITCH
Automatic Headlights/Parking Lights/Headlights
• Rotate the headlight switch, located onthe instrument panel to the left of the
steering wheel, to the first detent for park-
ing lights
and to the second detent
for headlights
.
• With the parking lights or low beam head- lights on, push the headlight switch once
for fog lights.
• Rotate the headlight switch to “AUTO” for AUTO headlights.
• When set to AUTO, the system automati- cally turns the headlights on or off based
on ambient light levels.
OPERATING YOUR VEHICLE
30
Page 41 of 188
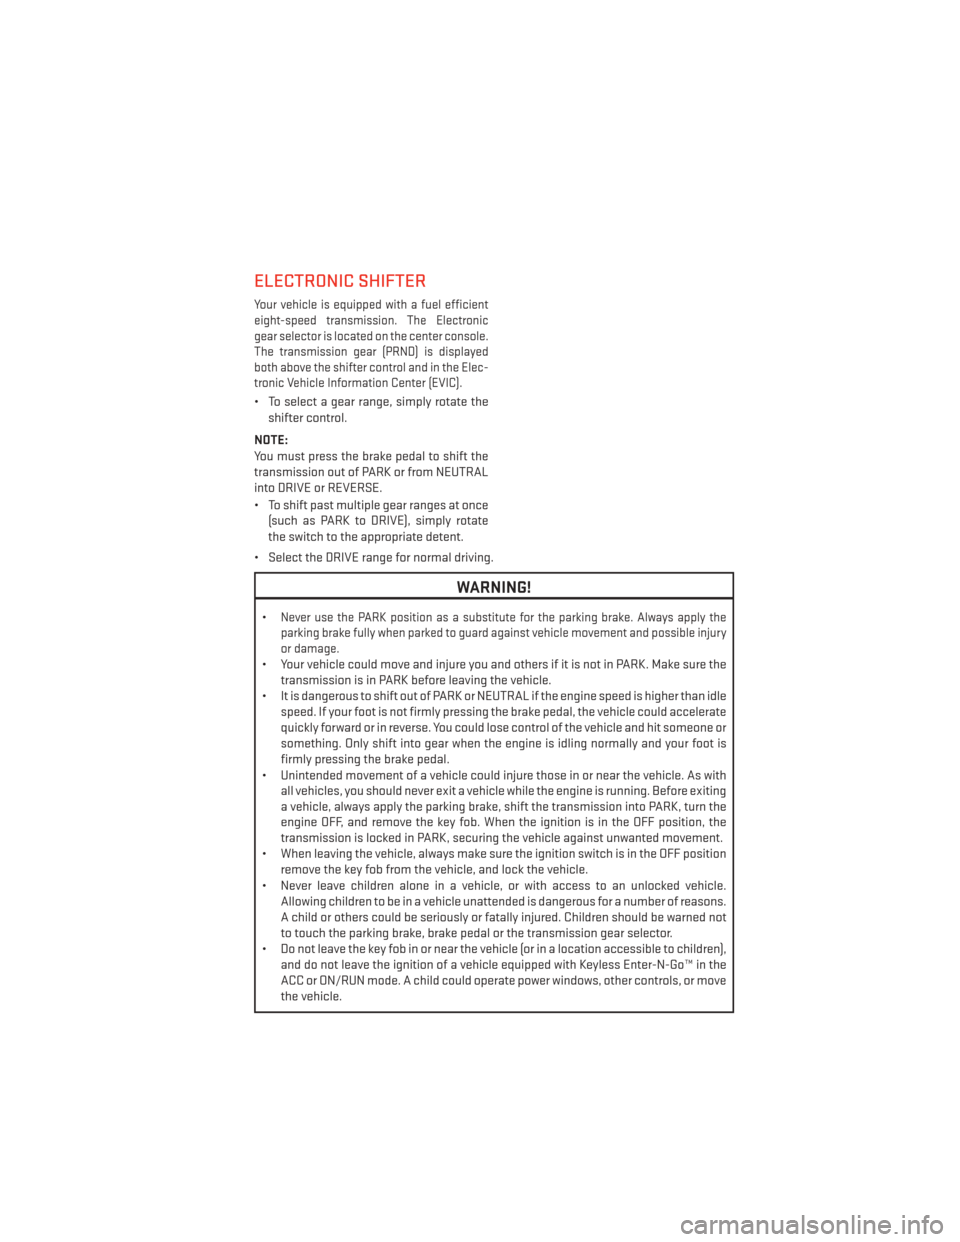
ELECTRONIC SHIFTER
Your vehicle is equipped with a fuel efficient
eight-speed transmission. The Electronic
gear selector is located on the center console.
The transmission gear (PRND) is displayed
both above the shifter control and in the Elec-
tronic Vehicle Information Center (EVIC).
• To select a gear range, simply rotate theshifter control.
NOTE:
You must press the brake pedal to shift the
transmission out of PARK or from NEUTRAL
into DRIVE or REVERSE.
• To shift past multiple gear ranges at once (such as PARK to DRIVE), simply rotate
the switch to the appropriate detent.
• Select the DRIVE range for normal driving.
WARNING!
•Never use the PARK position as a substitute for the parking brake. Always apply the
parking brake fully when parked to guard against vehicle movement and possible injury
or damage.
• Your vehicle could move and injure you and others if it is not in PARK. Make sure the transmission is in PARK before leaving the vehicle.
• It is dangerous to shift out of PARK or NEUTRAL if the engine speed is higher than idle speed. If your foot is not firmly pressing the brake pedal, the vehicle could accelerate
quickly forward or in reverse. You could lose control of the vehicle and hit someone or
something. Only shift into gear when the engine is idling normally and your foot is
firmly pressing the brake pedal.
• Unintended movement of a vehicle could injure those in or near the vehicle. As with all vehicles, you should never exit a vehicle while the engine is running. Before exiting
a vehicle, always apply the parking brake, shift the transmission into PARK, turn the
engine OFF, and remove the key fob. When the ignition is in the OFF position, the
transmission is locked in PARK, securing the vehicle against unwanted movement.
• When leaving the vehicle, always make sure the ignition switch is in the OFF position remove the key fob from the vehicle, and lock the vehicle.
• Never leave children alone in a vehicle, or with access to an unlocked vehicle. Allowing children to be in a vehicle unattended is dangerous for a number of reasons.
A child or others could be seriously or fatally injured. Children should be warned not
to touch the parking brake, brake pedal or the transmission gear selector.
• Do not leave the key fob in or near the vehicle (or in a location accessible to children), and do not leave the ignition of a vehicle equipped with Keyless Enter-N-Go™ in the
ACC or ON/RUN mode. A child could operate power windows, other controls, or move
the vehicle.
OPERATING YOUR VEHICLE
39
Page 42 of 188
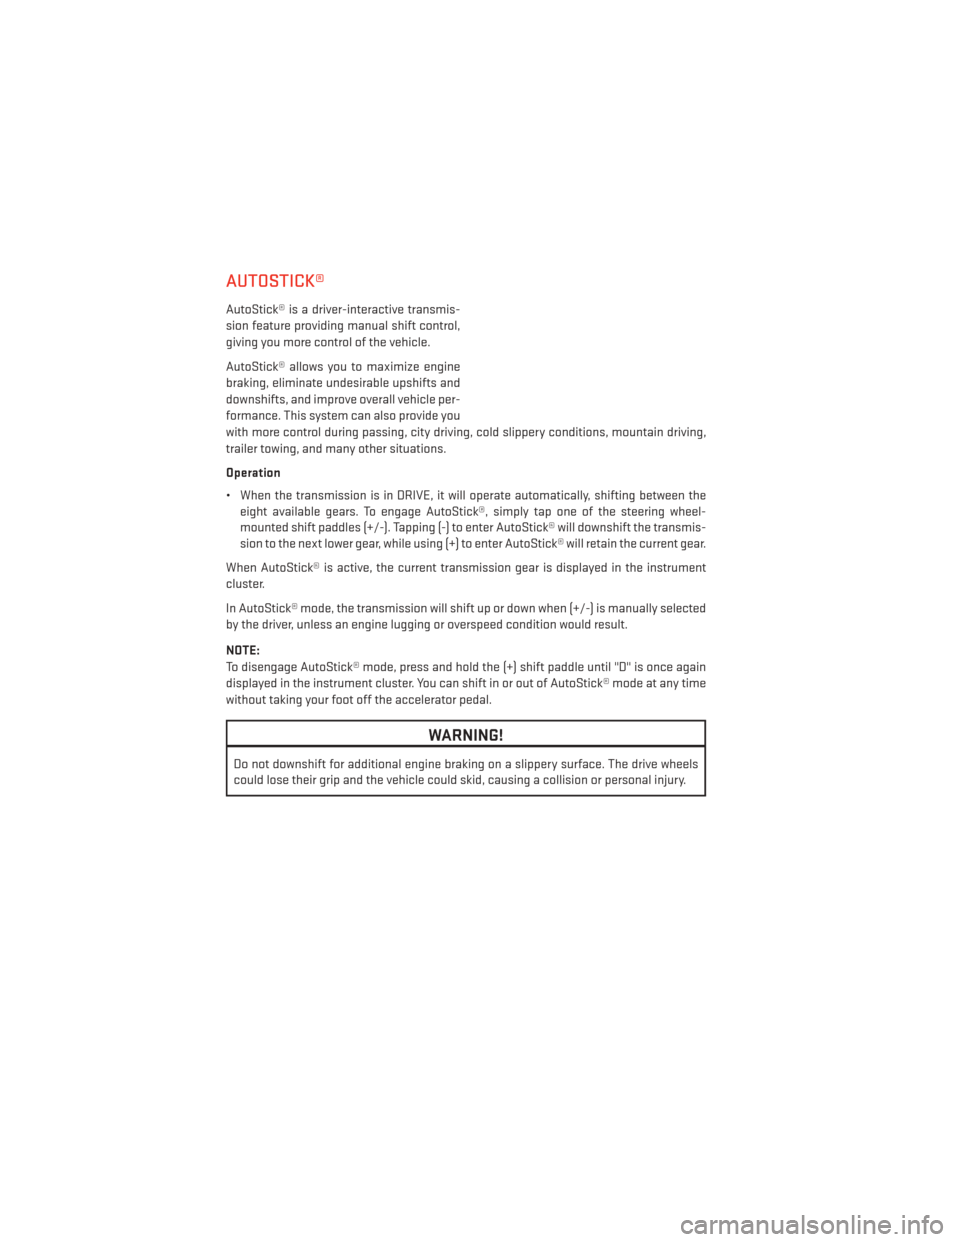
AUTOSTICK®
AutoStick® is a driver-interactive transmis-
sion feature providing manual shift control,
giving you more control of the vehicle.
AutoStick® allows you to maximize engine
braking, eliminate undesirable upshifts and
downshifts, and improve overall vehicle per-
formance. This system can also provide you
with more control during passing, city driving, cold slippery conditions, mountain driving,
trailer towing, and many other situations.
Operation
• When the transmission is in DRIVE, it will operate automatically, shifting between theeight available gears. To engage AutoStick®, simply tap one of the steering wheel-
mounted shift paddles (+/-). Tapping (-) to enter AutoStick® will downshift the transmis-
sion to the next lower gear, while using (+) to enter AutoStick® will retain the current gear.
When AutoStick® is active, the current transmission gear is displayed in the instrument
cluster.
In AutoStick® mode, the transmission will shift up or down when (+/-) is manually selected
by the driver, unless an engine lugging or overspeed condition would result.
NOTE:
To disengage AutoStick® mode, press and hold the (+) shift paddle until "D" is once again
displayed in the instrument cluster. You can shift in or out of AutoStick® mode at any time
without taking your foot off the accelerator pedal.
WARNING!
Do not downshift for additional engine braking on a slippery surface. The drive wheels
could lose their grip and the vehicle could skid, causing a collision or personal injury.
OPERATING YOUR VEHICLE
40
Page 43 of 188
FUEL ECONOMY (ECO) MODE
The Fuel Economy (ECO) mode can improve
the vehicle’s overall fuel economy during
normal driving conditions.
Each time the vehicle is started ECO mode is
engaged and a amber light in the center stack
of the instrument panel will be illuminated.
• To disable ECO mode, press the “ECO”switch in the center stack of the instru-
ment panel and the amber light will go out
indicating ECO mode is disabled.
When the Fuel Economy (ECO) Mode is en-
gaged, the vehicle control systems will be
able to change the following:
• The transmission will upshift sooner and downshift later.
• The overall driving performance will be more conservative.
• Some ECO mode functions may be temporarily inhibited based on temperature and other factors.
OPERATING YOUR VEHICLE
41
Page 120 of 188
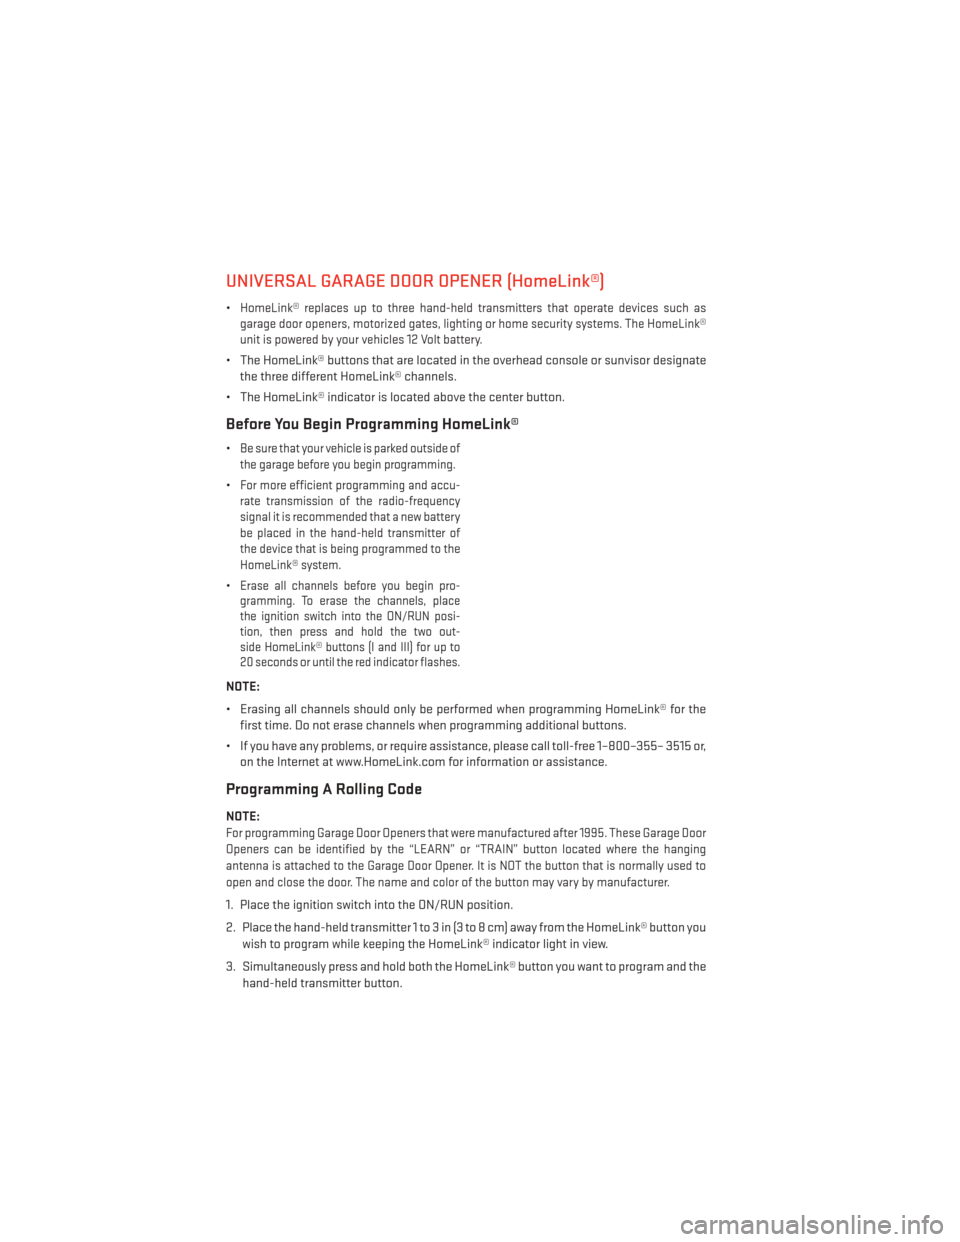
UNIVERSAL GARAGE DOOR OPENER (HomeLink®)
•HomeLink® replaces up to three hand-held transmitters that operate devices such as
garage door openers, motorized gates, lighting or home security systems. The HomeLink®
unit is powered by your vehicles 12 Volt battery.
• The HomeLink® buttons that are located in the overhead console or sunvisor designate the three different HomeLink® channels.
• The HomeLink® indicator is located above the center button.
Before You Begin Programming HomeLink®
•Be sure that your vehicle is parked outside of
the garage before you begin programming.
•For more efficient programming and accu-
rate transmission of the radio-frequency
signal it is recommended that a new battery
be placed in the hand-held transmitter of
the device that is being programmed to the
HomeLink® system.
•Erase all channels before you begin pro-
gramming. To erase the channels, place
the ignition switch into the ON/RUN posi-
tion, then press and hold the two out-
side HomeLink® buttons (I and III) for up to
20 seconds or until the red indicator flashes.
NOTE:
• Erasing all channels should only be performed when programming HomeLink® for the
first time. Do not erase channels when programming additional buttons.
• If you have any problems, or require assistance, please call toll-free 1–800–355– 3515 or, on the Internet at www.HomeLink.com for information or assistance.
Programming A Rolling Code
NOTE:
For programming Garage Door Openers that were manufactured after 1995. These Garage Door
Openers can be identified by the “LEARN” or “TRAIN” button located where the hanging
antenna is attached to the Garage Door Opener. It is NOT the button that is normally used to
open and close the door. The name and color of the button may vary by manufacturer.
1. Place the ignition switch into the ON/RUN position.
2. Place the hand-held transmitter 1 to 3 in (3 to 8 cm) away from the HomeLink® button you
wish to program while keeping the HomeLink® indicator light in view.
3. Simultaneously press and hold both the HomeLink® button you want to program and the hand-held transmitter button.
ELECTRONICS
118
Page 126 of 188
Shifting Procedures
AWD Auto To Low Range
NOTE:
When shifting into or out of LOW RANGE some gear noise may be heard. This noise is
normal and is not detrimental to the vehicle or occupants.
• Shifting can be performed with the vehicle rolling 2 to 3 mph (3 to 5 km/h) or completelystopped. Use either of the following procedures:
Preferred Procedure
1. With the engine running, slow the vehicle to 2 to 3 mph (3 to 5 km/h).
2. Shift the transmission into NEUTRAL.
3. While still rolling, rotate the transfer case control switch to the desired position.
4. After the desired position indicator light is ON (not flashing), shift the transmission back into gear.
Alternate Procedure
1. Bring the vehicle to complete stop.
2. With the ignition switch in the ON position and the engine either OFF or running, shift the transmission into NEUTRAL.
3. Rotate the transfer case control switch to the desired position.
4. After the desired position indicator light is ON (not flashing), shift the transmission back into gear.
NOTE:
• If Steps 1 or 2 of either the Preferred or Alternate Procedure are not satisfied prior to attempting the shift or if they no longer are being met while the shift attempt is in
process, the desired position indicator light will flash continuously while the original
position indicator light is ON, until all requirements have been met.
• The ignition switch must be in the ON position for a shift to take place and for the position indicator lights to be operable. If the ignition switch is not in the ON position, then the
shift will not take place and no position indicator lights will be on or flashing.
WARNING!
• Always engage the parking brake when powering down the vehicle if the “SERV AWD
Warning Light” is illuminated. Not engaging the parking brake may allow the vehicle
to roll which may cause personal injury.
•
You or others could be injured if you leave the vehicle unattended with the transfer case
in the NEUTRAL position without first fully engaging the parking brake. The transfer case
NEUTRAL position disengages both the front and rear driveshafts from the powertrain
and will allow the vehicle to move regardless of the transmission position. The parking
brake should always be applied when the driver is not in the vehicle.
OFF-ROAD CAPABILITIES
124
Page 128 of 188
RECREATIONAL TOWING (BEHIND MOTORHOME, ETC.)
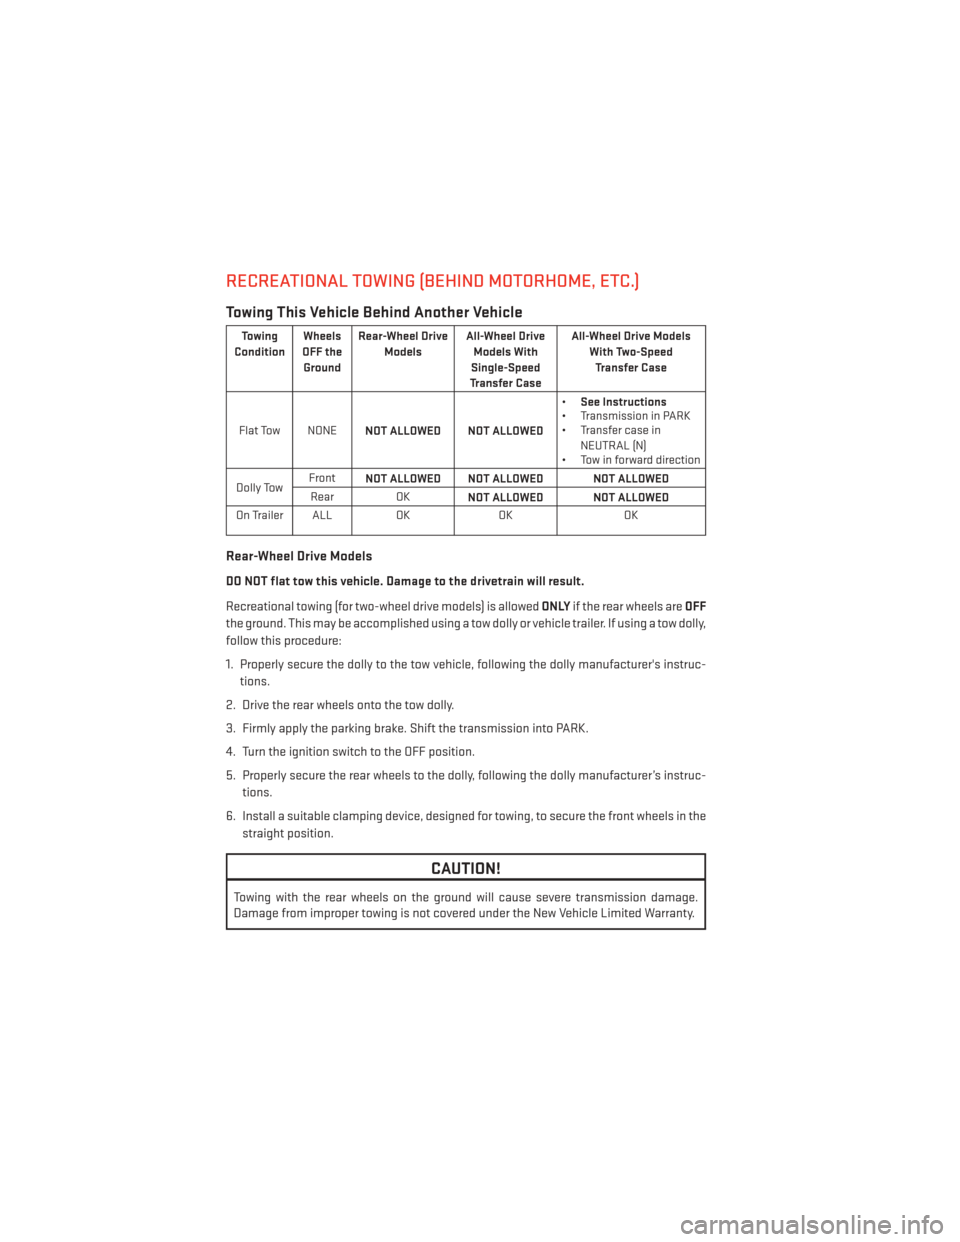
Towing This Vehicle Behind Another Vehicle
Towing
Condition Wheels
OFF the Ground Rear-Wheel Drive
Models All-Wheel Drive
Models With
Single-Speed
Transfer Case All-Wheel Drive Models
With Two-SpeedTransfer Case
Flat Tow NONE NOT ALLOWED NOT ALLOWED •
See Instructions
• Transmission in PARK
• Transfer case in
NEUTRAL (N)
• Tow in forward direction
Dolly Tow Front
NOT ALLOWED NOT ALLOWED NOT ALLOWED
Rear OK NOT ALLOWED NOT ALLOWED
On Trailer ALL OKOK OK
Rear-Wheel Drive Models
DO NOT flat tow this vehicle. Damage to the drivetrain will result.
Recreational towing (for two-wheel drive models) is allowed ONLYif the rear wheels are OFF
the ground. This may be accomplished using a tow dolly or vehicle trailer. If using a tow dolly,
follow this procedure:
1. Properly secure the dolly to the tow vehicle, following the dolly manufacturer's instruc- tions.
2. Drive the rear wheels onto the tow dolly.
3. Firmly apply the parking brake. Shift the transmission into PARK.
4. Turn the ignition switch to the OFF position.
5. Properly secure the rear wheels to the dolly, following the dolly manufacturer’s instruc- tions.
6. Install a suitable clamping device, designed for towing, to secure the front wheels in the straight position.
CAUTION!
Towing with the rear wheels on the ground will cause severe transmission damage.
Damage from improper towing is not covered under the New Vehicle Limited Warranty.
UTILITY
126