DODGE DURANGO 2015 3.G Owners Manual
Manufacturer: DODGE, Model Year: 2015, Model line: DURANGO, Model: DODGE DURANGO 2015 3.GPages: 689, PDF Size: 20.05 MB
Page 311 of 689
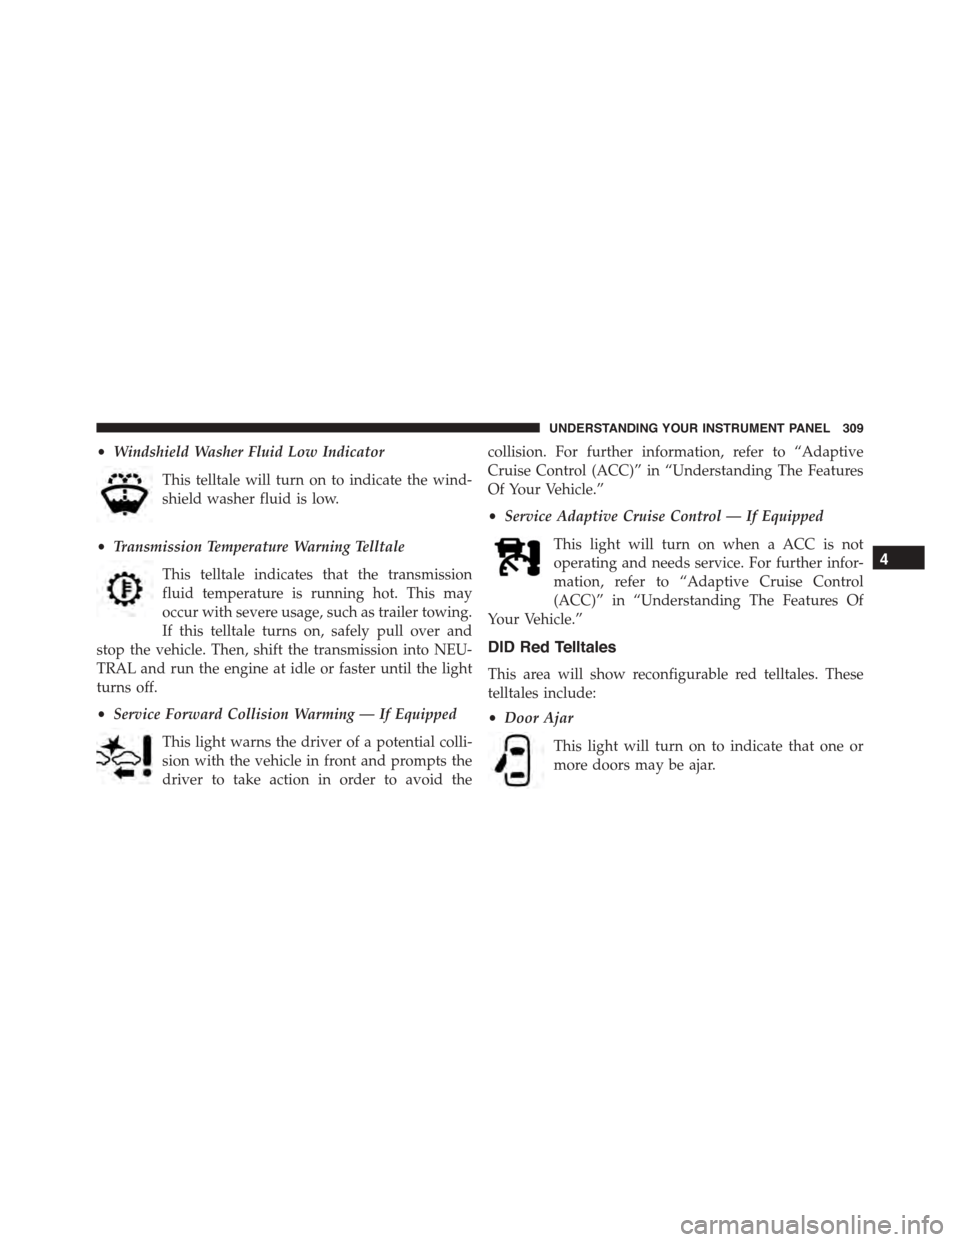
•Windshield Washer Fluid Low Indicator
This telltale will turn on to indicate the wind-
shield washer fluid is low.
•Transmission Temperature Warning Telltale
This telltale indicates that the transmission
fluid temperature is running hot. This may
occur with severe usage, such as trailer towing.
If this telltale turns on, safely pull over and
stop the vehicle. Then, shift the transmission into NEU-
TRAL and run the engine at idle or faster until the light
turns off.
•Service Forward Collision Warming — If Equipped
This light warns the driver of a potential colli-
sion with the vehicle in front and prompts the
driver to take action in order to avoid the
collision. For further information, refer to “Adaptive
Cruise Control (ACC)” in “Understanding The Features
Of Your Vehicle.”
•Service Adaptive Cruise Control — If Equipped
This light will turn on when a ACC is not
operating and needs service. For further infor-
mation, refer to “Adaptive Cruise Control
(ACC)” in “Understanding The Features Of
Your Vehicle.”
DID Red Telltales
This area will show reconfigurable red telltales. These
telltales include:
•Door Ajar
This light will turn on to indicate that one or
more doors may be ajar.
4
UNDERSTANDING YOUR INSTRUMENT PANEL 309
Page 312 of 689
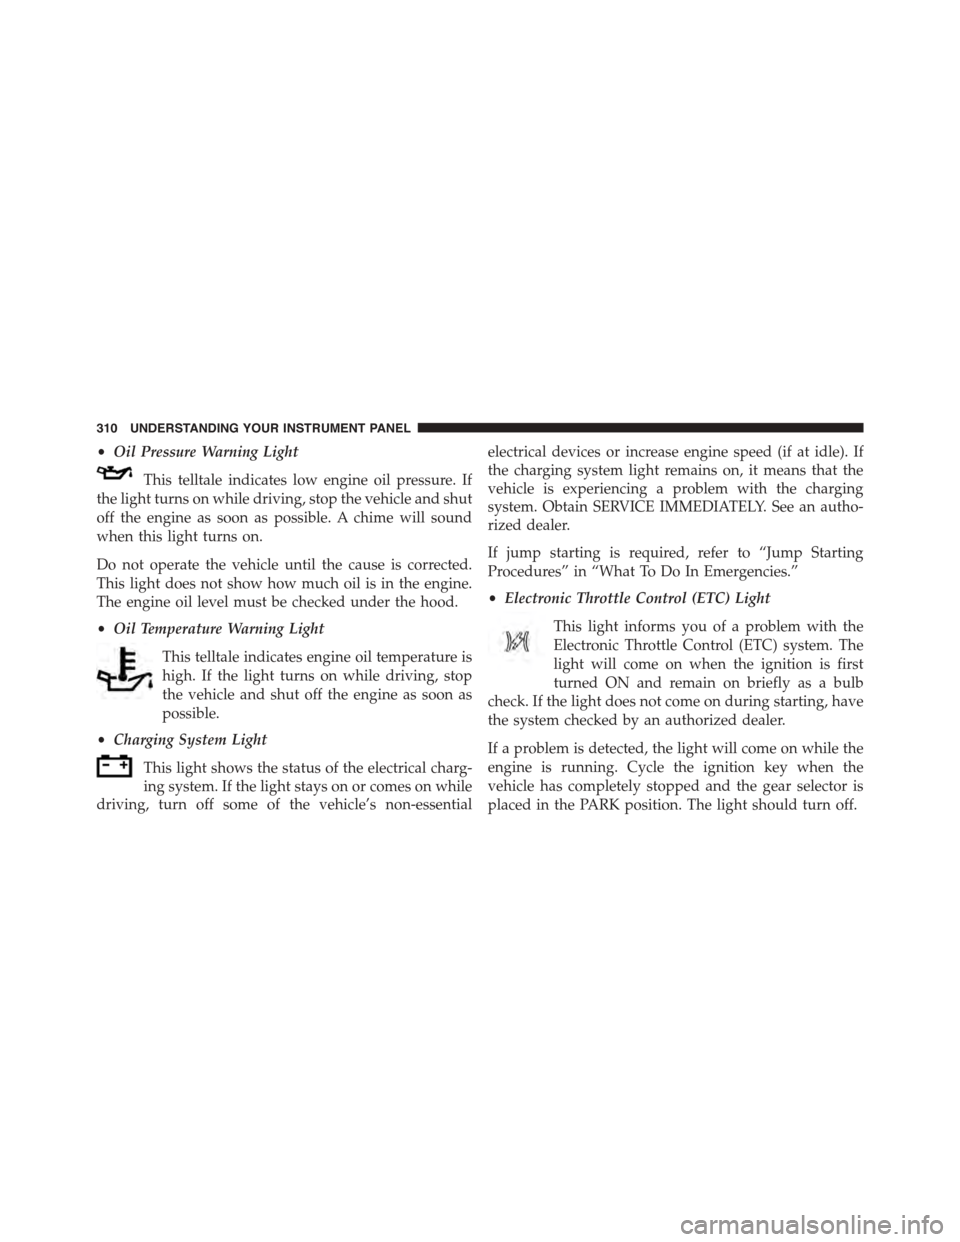
•Oil Pressure Warning Light
This telltale indicates low engine oil pressure. If
the light turns on while driving, stop the vehicle and shut
off the engine as soon as possible. A chime will sound
when this light turns on.
Do not operate the vehicle until the cause is corrected.
This light does not show how much oil is in the engine.
The engine oil level must be checked under the hood.
•Oil Temperature Warning Light
This telltale indicates engine oil temperature is
high. If the light turns on while driving, stop
the vehicle and shut off the engine as soon as
possible.
•Charging System Light
This light shows the status of the electrical charg-
ing system. If the light stays on or comes on while
driving, turn off some of the vehicle’s non-essential
electrical devices or increase engine speed (if at idle). If
the charging system light remains on, it means that the
vehicle is experiencing a problem with the charging
system. Obtain SERVICE IMMEDIATELY. See an autho-
rized dealer.
If jump starting is required, refer to “Jump Starting
Procedures” in “What To Do In Emergencies.”
•Electronic Throttle Control (ETC) Light
This light informs you of a problem with the
Electronic Throttle Control (ETC) system. The
light will come on when the ignition is first
turned ON and remain on briefly as a bulb
check. If the light does not come on during starting, have
the system checked by an authorized dealer.
If a problem is detected, the light will come on while the
engine is running. Cycle the ignition key when the
vehicle has completely stopped and the gear selector is
placed in the PARK position. The light should turn off.
310 UNDERSTANDING YOUR INSTRUMENT PANEL
Page 313 of 689
If the light remains lit with the engine running, your
vehicle will usually be drivable. However, see an autho-
rized dealer for service as soon as possible. If the light is
flashing when the engine is running, immediate service is
required. You may experience reduced performance, an
elevated/rough idle or engine stall and your vehicle may
require towing.
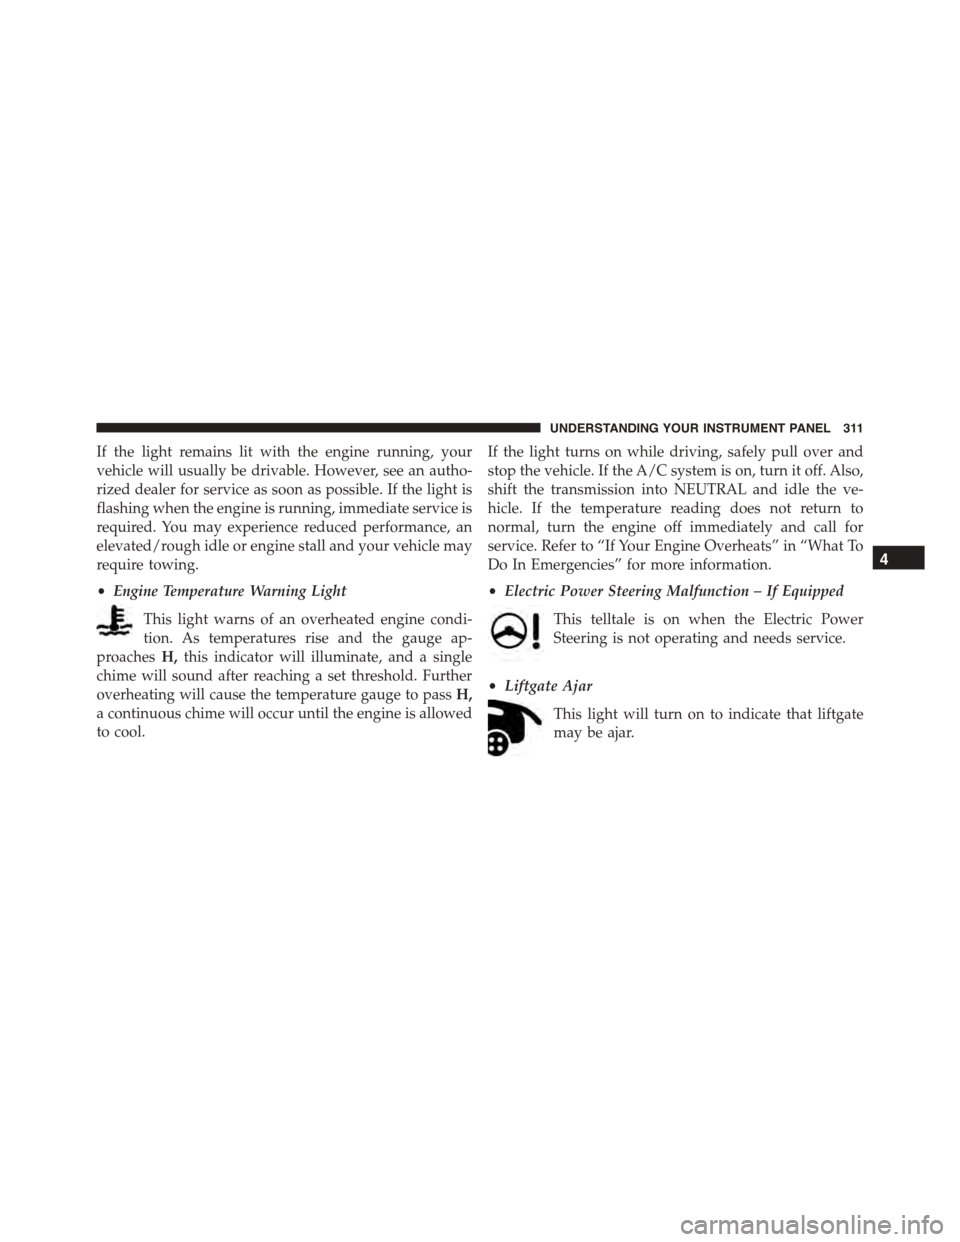
•Engine Temperature Warning Light
This light warns of an overheated engine condi-
tion. As temperatures rise and the gauge ap-
proachesH,this indicator will illuminate, and a single
chime will sound after reaching a set threshold. Further
overheating will cause the temperature gauge to passH,
a continuous chime will occur until the engine is allowed
to cool.
If the light turns on while driving, safely pull over and
stop the vehicle. If the A/C system is on, turn it off. Also,
shift the transmission into NEUTRAL and idle the ve-
hicle. If the temperature reading does not return to
normal, turn the engine off immediately and call for
service. Refer to “If Your Engine Overheats” in “What To
Do In Emergencies” for more information.
•Electric Power Steering Malfunction – If Equipped
This telltale is on when the Electric Power
Steering is not operating and needs service.
•Liftgate Ajar
This light will turn on to indicate that liftgate
may be ajar.
4
UNDERSTANDING YOUR INSTRUMENT PANEL 311
Page 314 of 689
DID Green Telltales
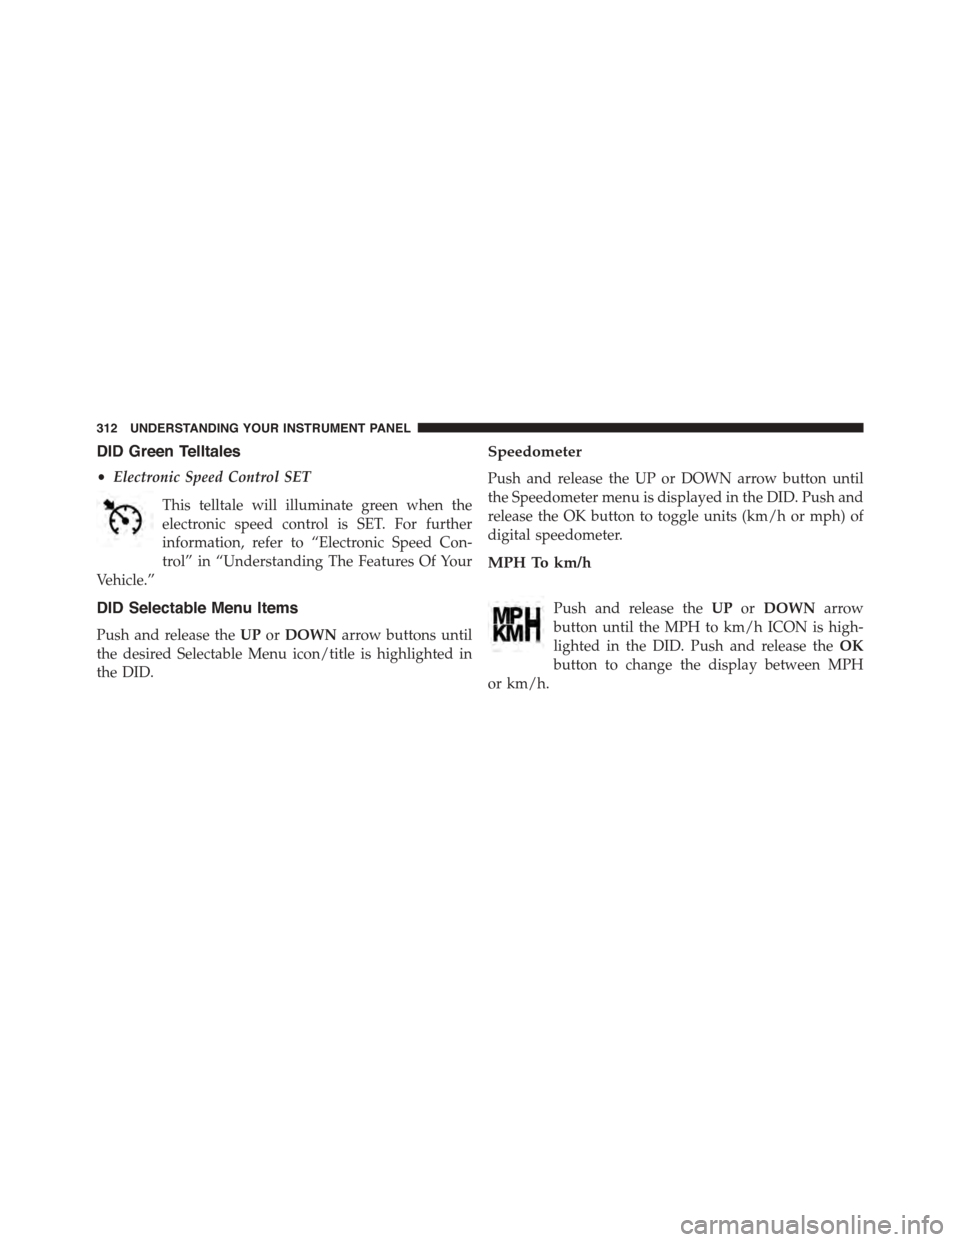
•Electronic Speed Control SET
This telltale will illuminate green when the
electronic speed control is SET. For further
information, refer to “Electronic Speed Con-
trol” in “Understanding The Features Of Your
Vehicle.”
DID Selectable Menu Items
Push and release theUPorDOWNarrow buttons until
the desired Selectable Menu icon/title is highlighted in
the DID.
Speedometer
Push and release the UP or DOWN arrow button until
the Speedometer menu is displayed in the DID. Push and
release the OK button to toggle units (km/h or mph) of
digital speedometer.
MPH To km/h
Push and release theUPorDOWNarrow
button until the MPH to km/h ICON is high-
lighted in the DID. Push and release theOK
button to change the display between MPH
or km/h.
312 UNDERSTANDING YOUR INSTRUMENT PANEL
Page 315 of 689
Vehicle Info
Push and release the UP or DOWN arrow
button until the Vehicle Info icon/title is high-
lighted in the DID. Push and release the RIGHT
arrow button and Coolant Temp will be dis-
played. Push the LEFT or RIGHT arrow button to scroll
through the information submenus and push the OK
button to select or reset the following resettable sub-
menus:
Tire Pressure Monitor System
Push and release the Left or Right arrow button until
“Tire Pressure” is highlighted in the DID.
•If tire pressure is OK for all tires a vehicle ICON is
displayed with tire pressure values in each corner of
the ICON.
•If one or more tires have low pressure, “Inflate Tire To
XX” is displayed with the vehicle ICON and the tire
pressure values in each corner of the ICON with the
pressure value of the low tire are displayed in a
different color than the other tire pressure value.
•If the Tire Pressure system requires service, “Service
Tire Pressure System” is displayed.
Tire PSI is an information only function and cannot be
reset.
Refer to “Tire Pressure Monitoring System (TPMS)”
under “Starting and Operating” for further information.
Transmission Temperature
•Displays the actual transmission temperature.
Oil Temperature
•Displays the actual oil temperature.
4
UNDERSTANDING YOUR INSTRUMENT PANEL 313
Page 316 of 689
Oil Pressure
•Displays the actual oil pressure.
Oil Life
Battery Voltage
Driver Assist — If Equipped
Push and release the UP or DOWN arrow
button until the Driver Assist display icon/title
is highlighted in the DID. For further informa-
tion, refer to “Adaptive Cruise Control (ACC)
— If Equipped” in “Understanding The Features Of Your
Vehicle.”
Fuel Economy
Push and release theUPorDOWNarrow
button until the Fuel Economy Menu icon/title
is highlighted. Push and hold the OK button to
reset feature.
•Range
•Current MPG or L/100 km
•Average MPG or L/100 km
Trip
Push and release the UP or DOWN arrow
button until the Trip icon/title is highlighted in
the DID, then toggle left or right to select Trip
A or Trip B.
314 UNDERSTANDING YOUR INSTRUMENT PANEL
Page 317 of 689
The Trip A and Trip B information will display the
following:
•Distance mi
•Average Fuel Economy
•Elapsed Time
Hold the OK button to reset all the information.
Audio
Push and release the UP or DOWN arrow
button until the Audio Menu icon/title is high-
lighted in the DID.
Stored Messages
Push and release the UP or DOWN arrow
button until the Messages Menu icon/title is
highlighted in the DID. This feature shows the
number of stored warning messages. Pushing
the RIGHT arrow button will allow you to see what the
stored messages are.
Screen Setup
Push and release the UP or DOWN arrow
button until the Screen Setup Menu icon/title
is highlighted in the DID. Push and release the
OK button to enter the submenus and follow
the prompts on the screen as needed. The Screen Setup
feature allows you to change what information is dis-
played in the instrument cluster as well as the location
that information is displayed.
4
UNDERSTANDING YOUR INSTRUMENT PANEL 315
Page 318 of 689
Screen Setup Driver Selectable Items
Current Gear
•On
•Off
Upper Left
•None
•Compass
•Outside Temp (default setting)
•Time
•Range To Empty (RTE)
•Fuel Economy Average
•Fuel Economy Current
•Trip A
•Trip B
Upper Right
•None
•Compass (default setting)
•Outside Temp
•Time
•Range To Empty (RTE)
•Fuel Economy Average
•Fuel Economy Current
•Trip A
•Trip B
Restore To Defaults (Restores All Settings To Default
Settings)
•Cancel
•Okay
316 UNDERSTANDING YOUR INSTRUMENT PANEL
Page 319 of 689
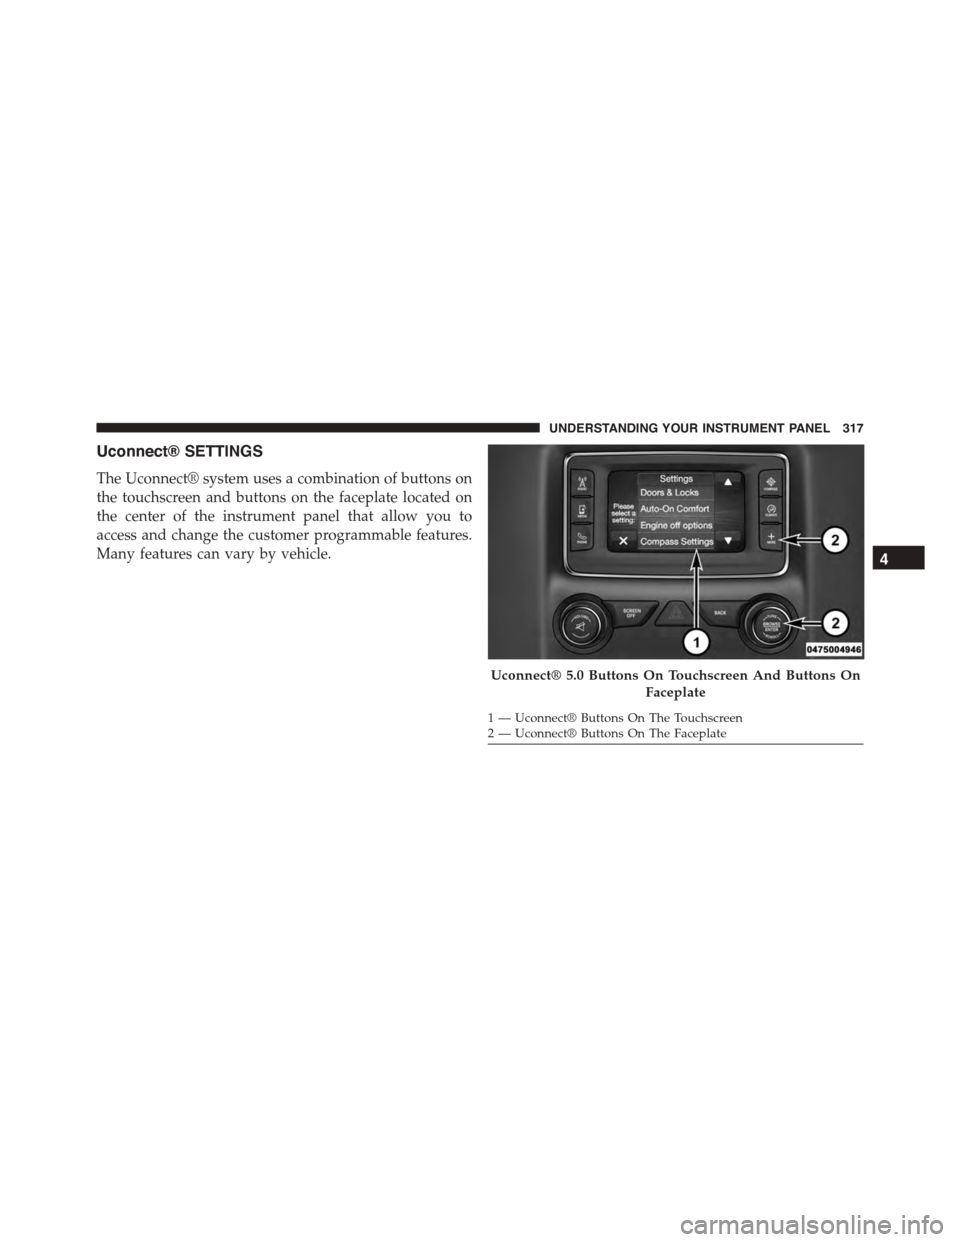
Uconnect® SETTINGS
The Uconnect® system uses a combination of buttons on
the touchscreen and buttons on the faceplate located on
the center of the instrument panel that allow you to
access and change the customer programmable features.
Many features can vary by vehicle.
Uconnect® 5.0 Buttons On Touchscreen And Buttons On
Faceplate
1—Uconnect®ButtonsOnTheTouchscreen2—Uconnect®ButtonsOnTheFaceplate
4
UNDERSTANDING YOUR INSTRUMENT PANEL 317
Page 320 of 689
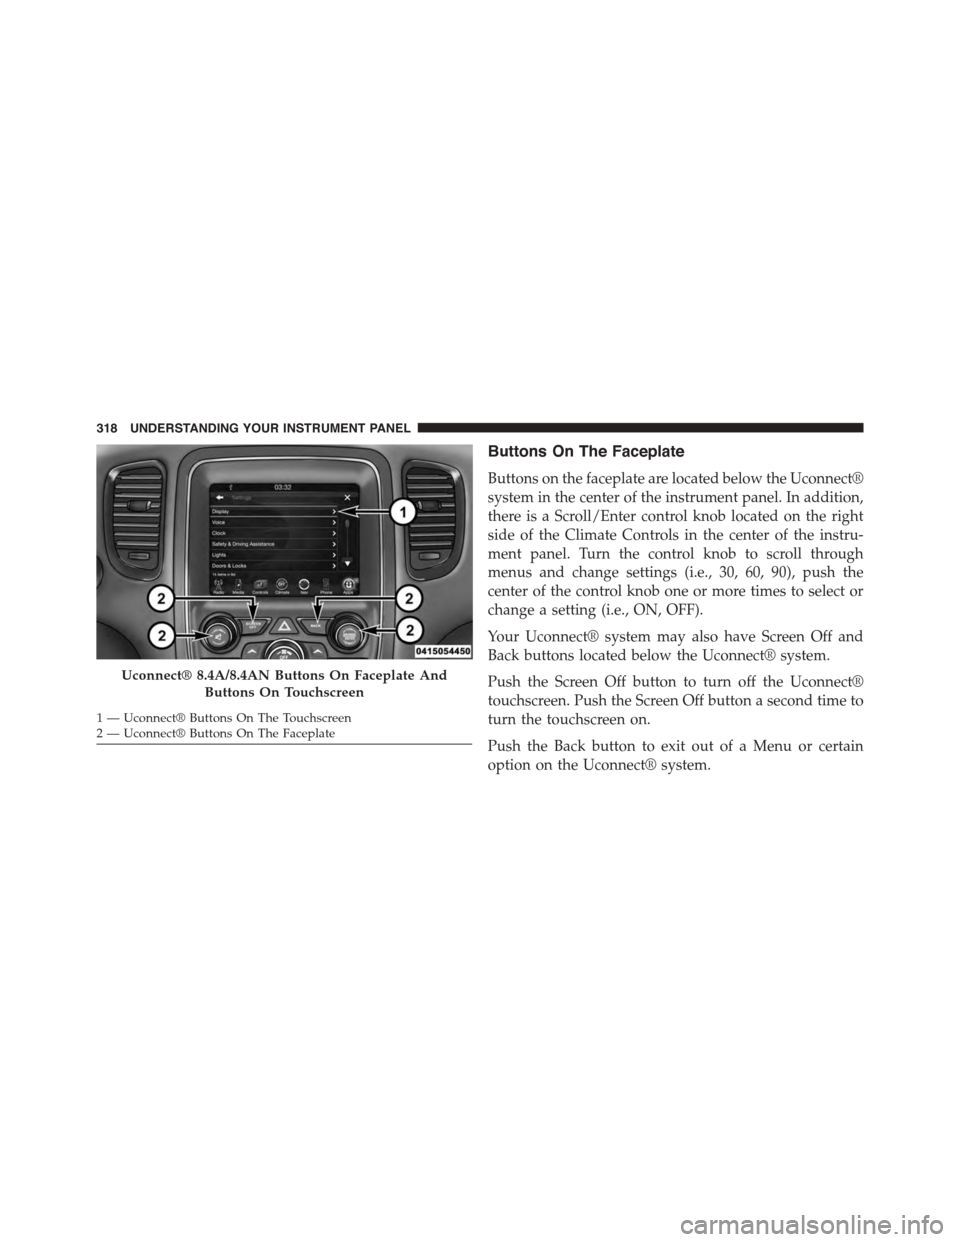
Buttons On The Faceplate
Buttons on the faceplate are located below the Uconnect®
system in the center of the instrument panel. In addition,
there is a Scroll/Enter control knob located on the right
side of the Climate Controls in the center of the instru-
ment panel. Turn the control knob to scroll through
menus and change settings (i.e., 30, 60, 90), push the
center of the control knob one or more times to select or
change a setting (i.e., ON, OFF).
Your Uconnect® system may also have Screen Off and
Back buttons located below the Uconnect® system.
Push the Screen Off button to turn off the Uconnect®
touchscreen. Push the Screen Off button a second time to
turn the touchscreen on.
Push the Back button to exit out of a Menu or certain
option on the Uconnect® system.
Uconnect® 8.4A/8.4AN Buttons On Faceplate And
Buttons On Touchscreen
1—Uconnect®ButtonsOnTheTouchscreen2—Uconnect®ButtonsOnTheFaceplate
318 UNDERSTANDING YOUR INSTRUMENT PANEL