ECO mode DODGE DURANGO 2017 3.G Owner's Manual
[x] Cancel search | Manufacturer: DODGE, Model Year: 2017, Model line: DURANGO, Model: DODGE DURANGO 2017 3.GPages: 584, PDF Size: 5.14 MB
Page 205 of 584
POWER SUNROOF — IF EQUIPPED
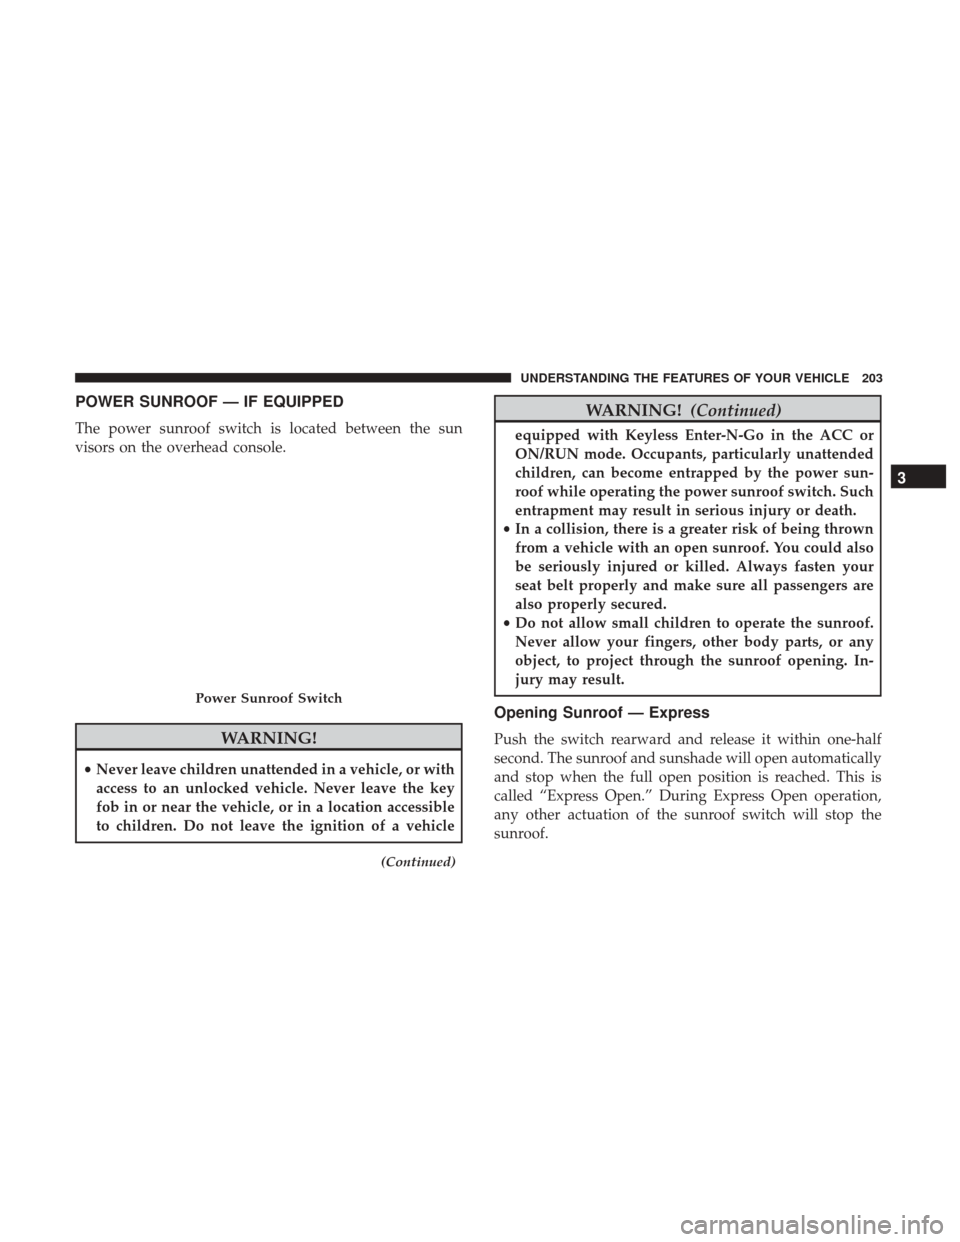
The power sunroof switch is located between the sun
visors on the overhead console.
WARNING!
•Never leave children unattended in a vehicle, or with
access to an unlocked vehicle. Never leave the key
fob in or near the vehicle, or in a location accessible
to children. Do not leave the ignition of a vehicle
(Continued)
WARNING! (Continued)
equipped with Keyless Enter-N-Go in the ACC or
ON/RUN mode. Occupants, particularly unattended
children, can become entrapped by the power sun-
roof while operating the power sunroof switch. Such
entrapment may result in serious injury or death.
• In a collision, there is a greater risk of being thrown
from a vehicle with an open sunroof. You could also
be seriously injured or killed. Always fasten your
seat belt properly and make sure all passengers are
also properly secured.
• Do not allow small children to operate the sunroof.
Never allow your fingers, other body parts, or any
object, to project through the sunroof opening. In-
jury may result.
Opening Sunroof — Express
Push the switch rearward and release it within one-half
second. The sunroof and sunshade will open automatically
and stop when the full open position is reached. This is
called “Express Open.” During Express Open operation,
any other actuation of the sunroof switch will stop the
sunroof.
Power Sunroof Switch
3
UNDERSTANDING THE FEATURES OF YOUR VEHICLE 203
Page 206 of 584
Opening Sunroof — Manual Mode
To open the sunroof, push and hold the switch rearward.
Sunroof will move rearward and automatically stop at full
open position. Any release of the switch will stop the
movement. The sunroof and sunshade will remain in a
partially opened condition until the sunroof switch is
pushed again.
Closing Sunroof — Express
Push the switch forward and release it within one-half
second and the sunroof will close automatically from any
position. The sunroof will close fully and stop automati-
cally. This is called “Express Close.” During Express Close
operation, any other actuation of the switch will stop the
sunroof.
Closing Sunroof — Manual Mode
To close the sunroof, push and hold the switch forward.
Sunroof will move forward and automatically stop at full
closed position. Any release of the switch will stop the
movement and the sunroof will remain in a partially closed
condition until the sunroof switch is pushed again.
Pinch Protect Feature
This feature will detect an obstruction in the opening of the
sunroof during Express Close operation. If an obstruction
in the path of the sunroof is detected, the sunroof will
automatically retract. Remove the obstruction if this oc-
curs.
NOTE:If three consecutive sunroof close attempts result in
Pinch Protect reversals, Pinch Protect will disable and the
sunroof must be closed in Manual Mode.
Venting Sunroof — Express
Push and release the Vent button within one half second
and the sunroof will open to the vent position. This is
called “Express Vent”, and it will occur regardless of
sunroof position. During Express Vent operation, any other
actuation of the switch will stop the sunroof.
Sunshade Operation
The sunshade can be opened manually. However, the
sunshade will open automatically as the sunroof opens.
NOTE: The sunshade cannot be closed if the sunroof is
open.
204 UNDERSTANDING THE FEATURES OF YOUR VEHICLE
Page 271 of 584
Upper Left
•None
• Compass (default setting)
• Outside Temp
• Time
• Range To Empty (RTE)
• Fuel Economy Average
• Fuel Economy Current
• Trip A
• Trip B
Upper Right
• None
• Compass
• Outside Temp (default setting)
• Time
• Range To Empty (RTE)
• Fuel Economy Average •
Fuel Economy Current
• Trip A
• Trip B
Defaults (Restores All Settings To Default Settings)
• Restore
• Cancel
Battery Saver On/Battery Saver Mode Message —
Electrical Load Reduction Actions — If Equipped
This vehicle is equipped with an Intelligent Battery Sensor
(IBS) to perform additional monitoring of the electrical
system and status of the vehicle battery.
In cases when the IBS detects charging system failure, or
the vehicle battery conditions are deteriorating, electrical
load reduction actions will take place to extend the driving
time and distance of the vehicle. This is done by reducing
power to or turning off non-essential electrical loads.
Load reduction is only active when the engine is running.
It will display a message if there is a risk of battery
depletion to the point where the vehicle may stall due to
lack of electrical supply, or will not restart after the current
drive cycle.
4
UNDERSTANDING YOUR INSTRUMENT PANEL 269
Page 276 of 584
change settings (i.e., 30, 60, 90), push the center of the
control knob one or more times to select or change a setting
(i.e., ON, OFF).
Your Uconnect system may also have Screen Off and Back
buttons located below the Uconnect system.
Push the Screen Off button to turn off the Uconnect
touchscreen. Push the Screen Off button a second time to
turn the touchscreen on.
Push the Back button to exit out of a Menu or certain
option on the Uconnect system.
Buttons On The Touchscreen
Buttons on the touchscreen are accessible on the Uconnect
display.
Customer Programmable Features — Uconnect 5.0
Personal Settings
Push the MORE button on the faceplate to display the
menu setting screen. In this mode the Uconnect system
allows you to access programmable features that may be
equipped such as Display, Voice, Clock & Date, Safety &Assistance, Lights, Doors & Locks, Auto-On Comfort,
Engine Off Options, Compass Settings, Audio, Phone/
Bluetooth, Sirius Setup, Restore Settings, Clear Personal
Data, and System Information.
NOTE:
Only one touchscreen area may be selected at a
time.
When making a selection, press the button on the touch-
screen to enter the desired mode. Once in the desired
mode, press and release the preferred setting and make
your selection. Once the setting is complete, either press
the Back Arrow/Done button on the touchscreen or the
Back button on the faceplate to return to the previous menu
or press the “X” button on the touchscreen to close out of
the settings screen. Pressing the “Up” or “Down” Arrow
buttons on the right side of the screen will allow you to
toggle up or down through the available settings.
NOTE: All settings should be changed with the ignition in
the RUN position.
274 UNDERSTANDING YOUR INSTRUMENT PANEL
Page 320 of 584
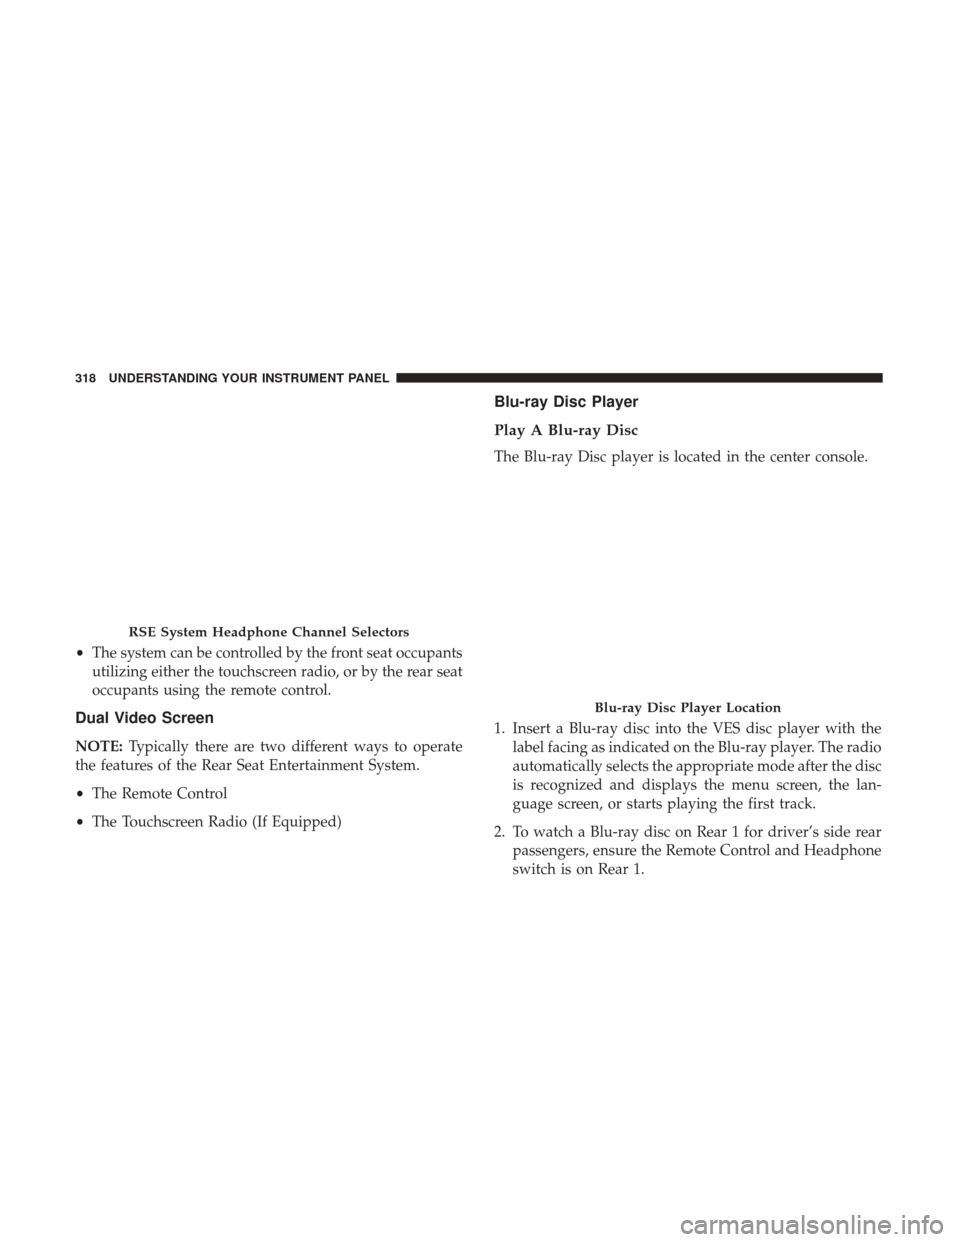
•The system can be controlled by the front seat occupants
utilizing either the touchscreen radio, or by the rear seat
occupants using the remote control.
Dual Video Screen
NOTE: Typically there are two different ways to operate
the features of the Rear Seat Entertainment System.
• The Remote Control
• The Touchscreen Radio (If Equipped)
Blu-ray Disc Player
Play A Blu-ray Disc
The Blu-ray Disc player is located in the center console.
1. Insert a Blu-ray disc into the VES disc player with the
label facing as indicated on the Blu-ray player. The radio
automatically selects the appropriate mode after the disc
is recognized and displays the menu screen, the lan-
guage screen, or starts playing the first track.
2. To watch a Blu-ray disc on Rear 1 for driver’s side rear passengers, ensure the Remote Control and Headphone
switch is on Rear 1.
RSE System Headphone Channel Selectors
Blu-ray Disc Player Location
318 UNDERSTANDING YOUR INSTRUMENT PANEL
Page 323 of 584
When connecting an external source to the AUX/HDMI
input, ensure to follow the standard color coding for the
audio/video jacks:
1. HDMI Input.
2. Right audio in (red).
3. Left audio in (white).
4. Video in (yellow).
NOTE:Certain high-end video games consoles may exceed
the power limit of the vehicle’s Power Inverter.
Play A DVD/Blu-ray Disc Using The Touchscreen
Radio
1. Insert the DVD/Blu-ray Disc with the label facing as indicated on the DVD/Blu-ray Disc player. The radio
automatically selects the appropriate mode after the disc
is recognized and displays the menu screen or starts
playing the first track.
2. To watch a DVD/Blu-ray Disc on Rear 1 (driver ’s side rear passenger), ensure the Remote Control and Head-
phone channel selector switch is on Rear 1. 3. To watch a DVD/Blu-ray Disc on Rear 2 (passenger ’s
side rear passenger), ensure the Remote Control and
Headphone channel selector switch is on Rear 2.
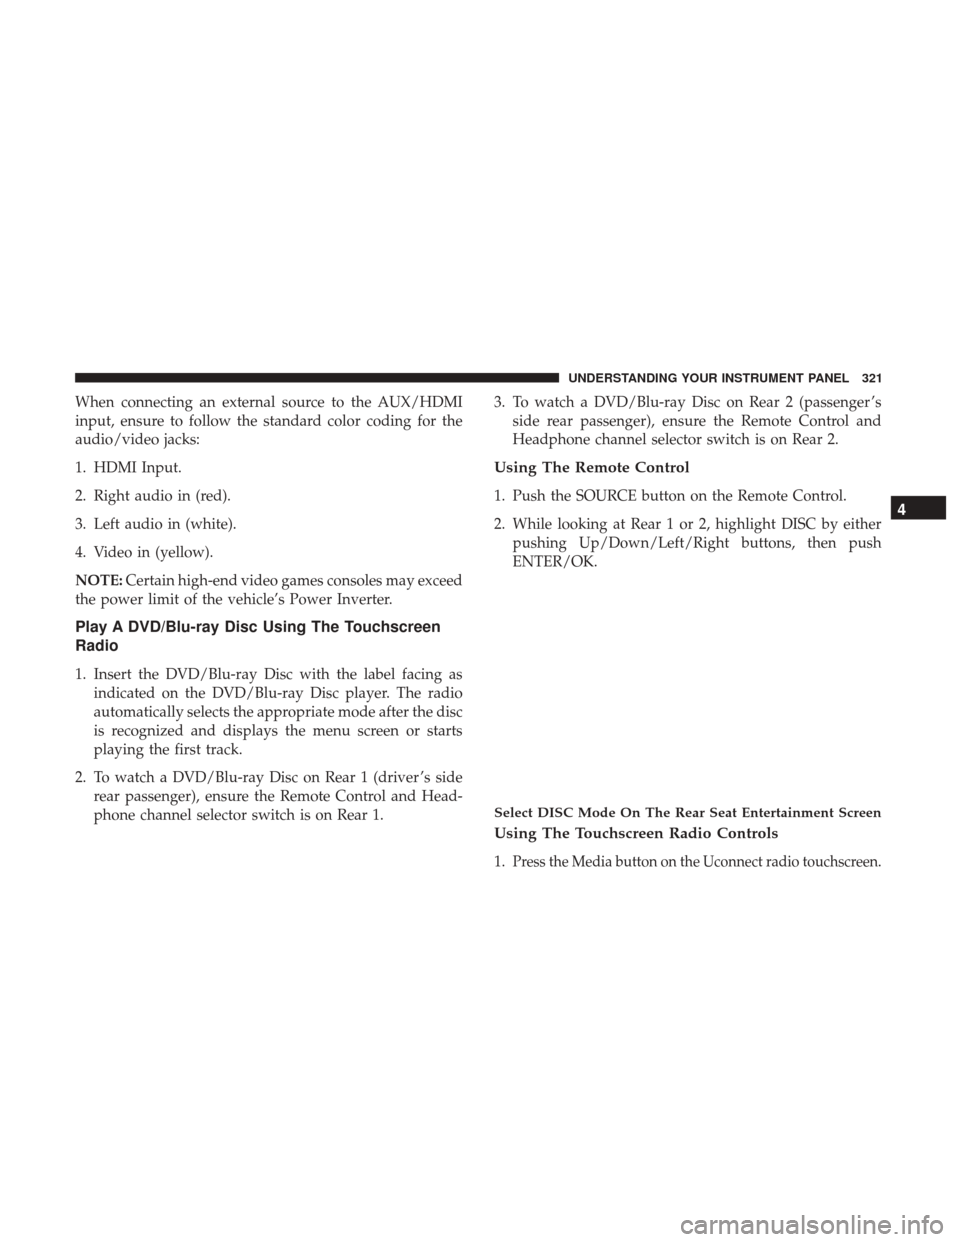
Using The Remote Control
1. Push the SOURCE button on the Remote Control.
2. While looking at Rear 1 or 2, highlight DISC by eitherpushing Up/Down/Left/Right buttons, then push
ENTER/OK.
Using The Touchscreen Radio Controls
1.Press the Media button on the Uconnect radio touchscreen.
Select DISC Mode On The Rear Seat Entertainment Screen
4
UNDERSTANDING YOUR INSTRUMENT PANEL 321
Page 332 of 584
DVD Audio Support
When a DVD-Audio disc is inserted in the Blu-ray Disc
player, the DVD-Audio title on the disc is played by default
(most DVD-Audio discs also have a Video title, but the
Video title is ignored). All multi-channel program material
is automatically mixed down to two channels, which may
result in a lowered apparent volume level. If you increase
the volume level to account for this change in level,
remember to lower the volume before changing the disc or
to another mode.
Recorded Discs
The Blu-ray Disc player will play CD-R and CD-RW discs
recorded in CD-Audio or Video-CD format, or as a CD-
ROM containing MP3 or WMA files. The player will also
play DVD-Video content recorded to a DVD-R or DVD-RW
disc. DVD-ROM discs (either pressed or recorded) are not
supported.
If you record a disc using a personal computer, there may
be cases where the Blu-ray Disc player may not be able to
play some or the entire disc, even if it is recorded in a
compatible format and is playable on other players. To help
avoid playback problems, use the following guidelines
when recording discs.•
Open sessions are ignored. Only sessions that are closed
are playable.
• For multi-session CDs that contain only multiple CD-
Audio sessions, the player will renumber the tracks so
each track number is unique.
• For CD Data (or CD-ROM) discs, always use the ISO-
9660 (Level 1 or Level 2), Joliet, or Romeo format. Other
formats (such as UDF, HFS, or others) are not supported.
• The player recognizes a maximum of 512 files and 99
folders per CD-R and CD-RW disc.
• Mixed media recordable DVD formats will only play the
Video_TS portion of the disc.
If you are still having trouble writing a disc that is playable
in the Blu-ray Disc player, check with the disc recording
software publisher for more information about burning
playable discs.
The recommended method for labeling recordable discs
(CD-R, CD-RW, and DVD-R) is with a permanent marker.
Do not use adhesive labels as they may separate from the
disc, become stuck, and cause permanent damage to the
DVD player.
330 UNDERSTANDING YOUR INSTRUMENT PANEL
Page 335 of 584
Pushing the center button will make the radio switch
between the various modes available (AM/FM/SXM/CD/
AUX/VES, etc.).
The left-hand control is a rocker-type switch with a push-
button in the center. The function of the left-hand control is
different depending on which mode you are in.
The following describes the left-hand control operation in
each mode.
Radio Operation
Pushing the top of the switch will “Seek” up for the next
listenable station and pushing the bottom of the switch will
“Seek” down for the next listenable station.
The button located in the center of the left-hand control
will tune to the next preset station that you have pro-
grammed in the radio preset button.
CD Player
Pushing the top of the switch once will go to the next track
on the CD. Pushing the bottom of the switch once will go
to the beginning of the current track, or to the beginning of
the previous track if it is within one second after the
current track begins to play.
If you push the switch up or down twice, it plays the second
track; three times, it will play the third, etc.
CD/DVD/BLU-RAY DISC MAINTENANCE
To keep a CD/DVD/Blu-ray Disc in good condition, take
the following precautions:
1. Handle the disc by its edge; avoid touching the surface.
2. If the disc is stained, clean the surface with a soft cloth,wiping from center to edge.
3.
Do not apply paper or tape to the disc; avoid scratching the
disc.
4. Do not use solvents such as benzene, thinner, cleaners, or anti-static sprays.
5. Store the disc in its case after playing.
6. Do not expose the disc to direct sunlight.
7.
Do not store the disc where temperatures may become too
high.
NOTE: If you experience difficulty in playing a particular
disc, it may be damaged (i.e., scratched, reflective coating
removed, a hair, moisture or dew on the disc) oversized, or
have protection encoding. Try a known good disc before
considering disc player service.
4
UNDERSTANDING YOUR INSTRUMENT PANEL 333
Page 340 of 584
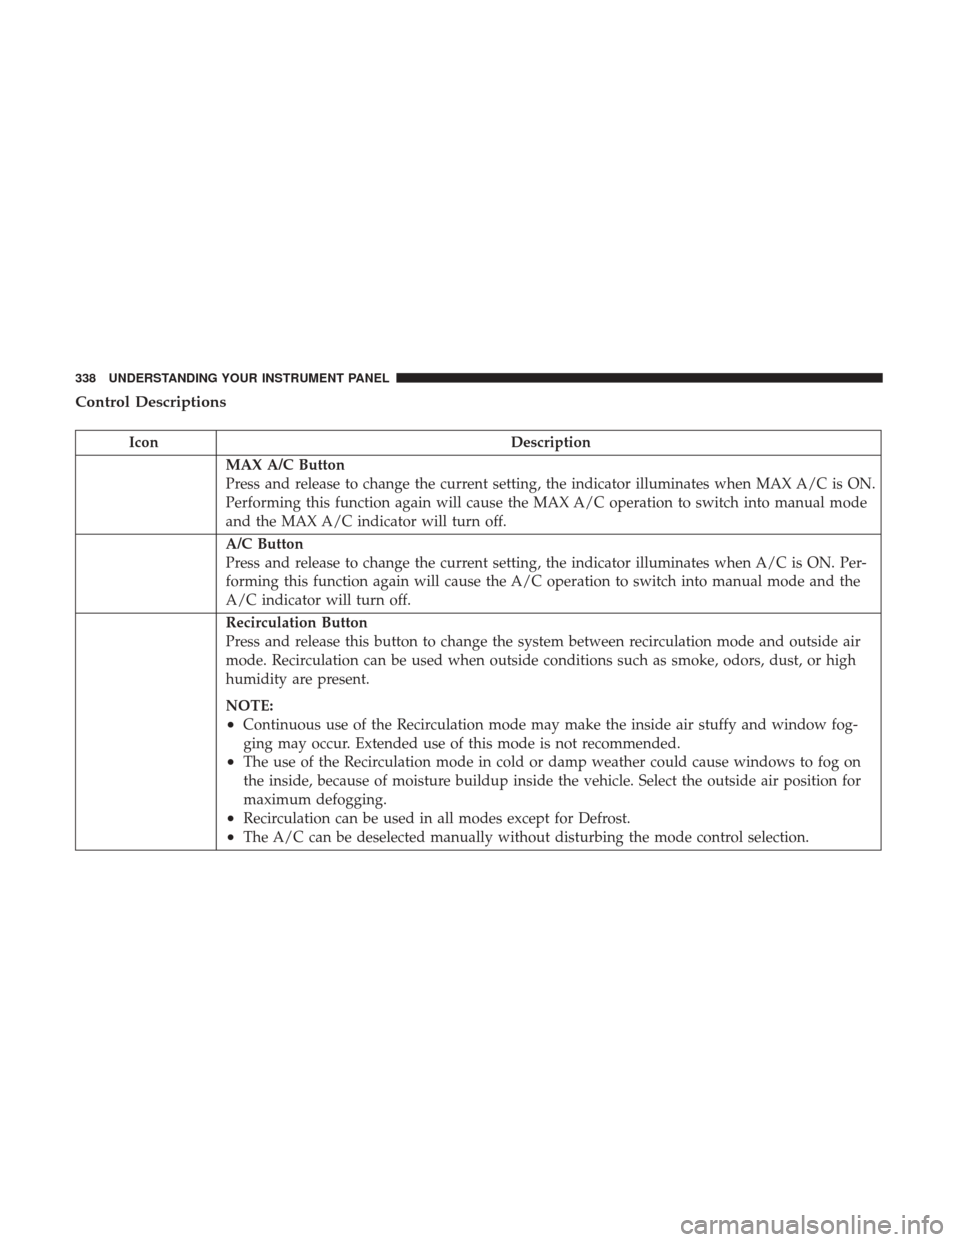
Control Descriptions
IconDescription
MAX A/C Button
Press and release to change the current setting, the indicator illuminates when MAX A/C is ON.
Performing this function again will cause the MAX A/C operation to switch into manual mode
and the MAX A/C indicator will turn off.
A/C Button
Press and release to change the current setting, the indicator illuminates when A/C is ON. Per-
forming this function again will cause the A/C operation to switch into manual mode and the
A/C indicator will turn off.
Recirculation Button
Press and release this button to change the system between recirculation mode and outside air
mode. Recirculation can be used when outside conditions such as smoke, odors, dust, or high
humidity are present.
NOTE:
•Continuous use of the Recirculation mode may make the inside air stuffy and window fog-
ging may occur. Extended use of this mode is not recommended.
•The use of the Recirculation mode in cold or damp weather could cause windows to fog on
the inside, because of moisture buildup inside the vehicle. Select the outside air position for
maximum defogging.
•Recirculation can be used in all modes except for Defrost.
•The A/C can be deselected manually without disturbing the mode control selection.
338 UNDERSTANDING YOUR INSTRUMENT PANEL
Page 347 of 584
IconDescription
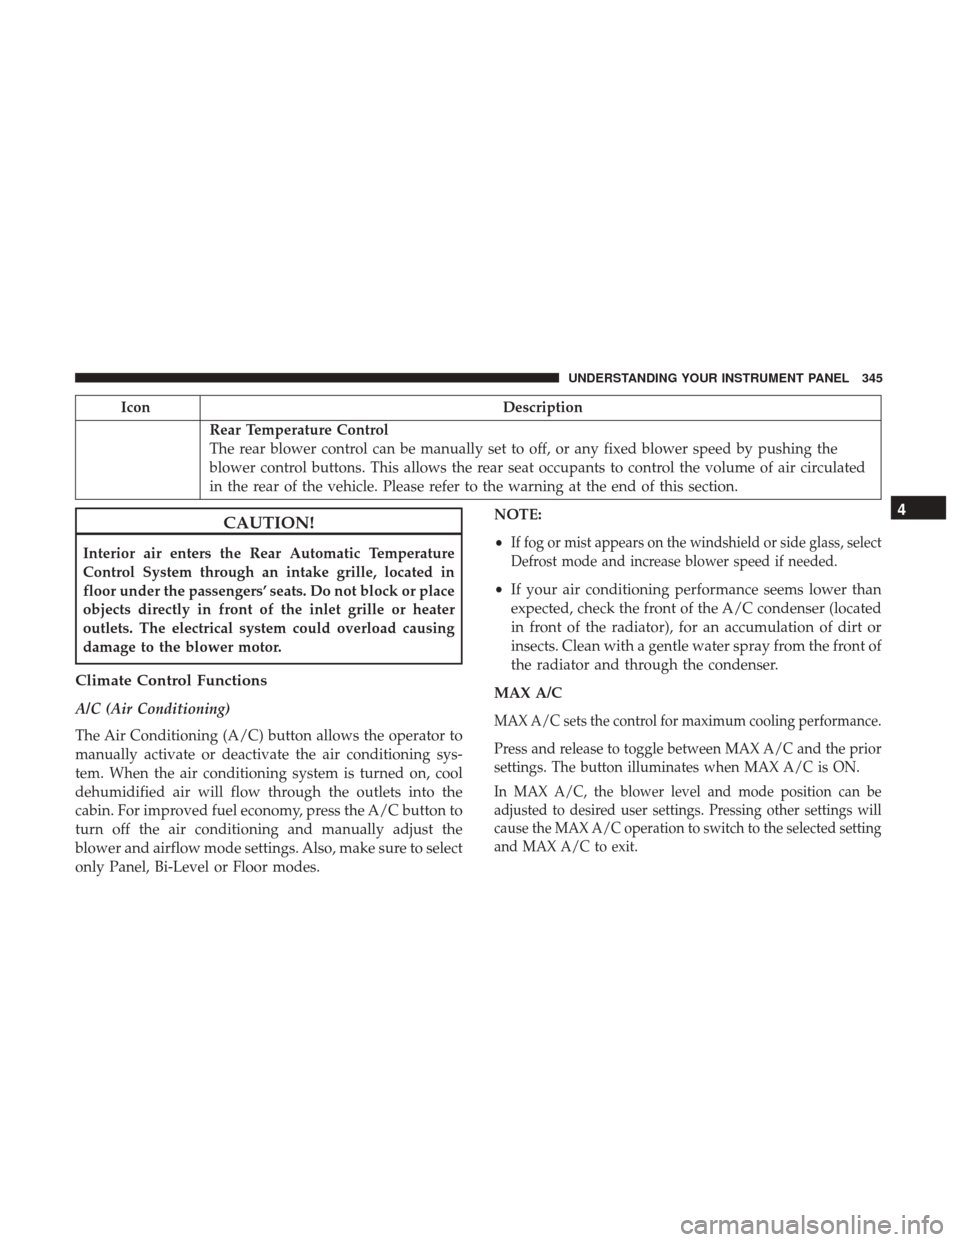
Rear Temperature Control
The rear blower control can be manually set to off, or any fixed blower speed by pushing the
blower control buttons. This allows the rear seat occupants to control the volume of air circulated
in the rear of the vehicle. Please refer to the warning at the end of this section.
CAUTION!
Interior air enters the Rear Automatic Temperature
Control System through an intake grille, located in
floor under the passengers’ seats. Do not block or place
objects directly in front of the inlet grille or heater
outlets. The electrical system could overload causing
damage to the blower motor.
Climate Control Functions
A/C (Air Conditioning)
The Air Conditioning (A/C) button allows the operator to
manually activate or deactivate the air conditioning sys-
tem. When the air conditioning system is turned on, cool
dehumidified air will flow through the outlets into the
cabin. For improved fuel economy, press the A/C button to
turn off the air conditioning and manually adjust the
blower and airflow mode settings. Also, make sure to select
only Panel, Bi-Level or Floor modes. NOTE:
•
If fog or mist appears on the windshield or side glass, select
Defrost mode and increase blower speed if needed.
• If your air conditioning performance seems lower than
expected, check the front of the A/C condenser (located
in front of the radiator), for an accumulation of dirt or
insects. Clean with a gentle water spray from the front of
the radiator and through the condenser.
MAX A/C
MAX A/C sets the control for maximum cooling performance.
Press and release to toggle between MAX A/C and the prior
settings. The button illuminates when MAX A/C is ON.
In MAX A/C, the blower level and mode position can be
adjusted to desired user settings. Pressing other settings will
cause the MAX A/C operation to switch to the selected setting
and MAX A/C to exit.
4
UNDERSTANDING YOUR INSTRUMENT PANEL 345