mirror controls DODGE DURANGO 2020 Owners Manual
[x] Cancel search | Manufacturer: DODGE, Model Year: 2020, Model line: DURANGO, Model: DODGE DURANGO 2020Pages: 464, PDF Size: 22.14 MB
Page 49 of 464
GETTING TO KNOW YOUR VEHICLE47
HEATED STEERING WHEEL — IF
E
QUIPPED
The steering wheel contains a heating element
that helps warm your hands in cold weather.
The heated steering wheel has only one
temperature setting. Once the heated steering
wheel has been turned on, it will stay on until
the operator turns it off. The heated steering
wheel may not turn on when it is already warm. The heated steering wheel control button is
located on the center of the instrument panel
below the touchscreen and within the climate or
controls screen of the touchscreen.
Push the heated steering wheel button
once to turn the heating element on.
Push the heated steering wheel button a
second time to turn the heating element off.
NOTE:
The engine must be running for the heated
steering wheel to operate.
Vehicles Equipped With Remote Start
On models that are equipped with remote start,
the heated steering wheel can be programmed
to come on during a remote start.
This feature can be programmed through the
Uconnect system. Refer to “Uconnect Settings”
in “Multimedia” for further information.
MIRRORS
INSIDE DAY/NIGHT MIRROR — IF
E
QUIPPED
The mirror head can be adjusted up, down, left,
and right for various drivers. The mirror should
be adjusted to center on the view through the
rear window.
WARNING!
Do not adjust the steering column while
driving. Adjusting the steering column while
driving or driving with the steering column
unlocked, could cause the driver to lose
control of the vehicle. Failure to follow this
warning may result in serious injury or death.
WARNING!
Persons who are unable to feel pain to the
skin because of advanced age, chronic
illness, diabetes, spinal cord injury, medica -
tion, alcohol use, exhaustion, or other phys -
ical conditions must exercise care when
using the steering wheel heater. It may
cause burns even at low temperatures,
especially if used for long periods.
Do not place anything on the steering wheel
that insulates against heat, such as a
blanket or steering wheel covers of any type
and material. This may cause the steering
wheel heater to overheat.
2
20_WD_OM_EN_USC_t.book Page 47
Page 51 of 464
GETTING TO KNOW YOUR VEHICLE49
OUTSIDE AUTOMATIC DIMMING
M
IRRORS — IF EQUIPPED
The outside mirrors will automatically adjust for
glare from vehicles behind you. This feature is
controlled by the inside Automatic Dimming
Mirror. The mirrors will automatically adjust for
headlight glare when the inside mirror adjusts.
POWER MIRRORS
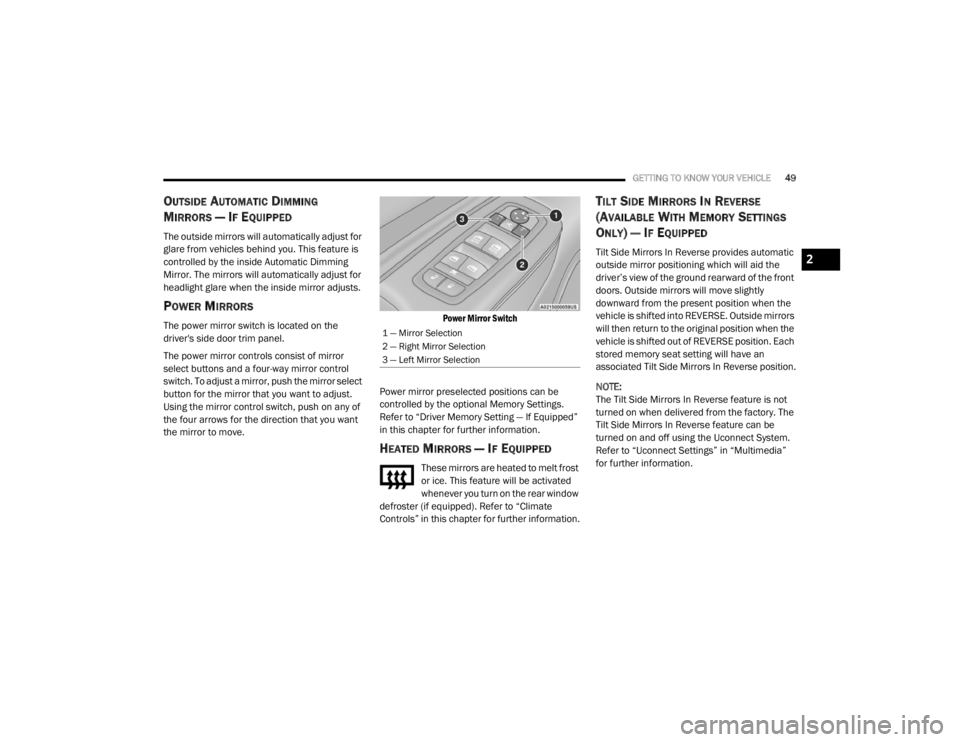
The power mirror switch is located on the
driver's side door trim panel.
The power mirror controls consist of mirror
select buttons and a four-way mirror control
switch. To adjust a mirror, push the mirror select
button for the mirror that you want to adjust.
Using the mirror control switch, push on any of
the four arrows for the direction that you want
the mirror to move.
Power Mirror Switch
Power mirror preselected positions can be
controlled by the optional Memory Settings.
Refer to “Driver Memory Setting — If Equipped”
in this chapter for further information.
HEATED MIRRORS — IF EQUIPPED
These mirrors are heated to melt frost
or ice. This feature will be activated
whenever you turn on the rear window
defroster (if equipped). Refer to “Climate
Controls” in this chapter for further information.
TILT SIDE MIRRORS IN REVERSE
(A
VAILABLE WITH MEMORY SETTINGS
O
NLY) — IF EQUIPPED
Tilt Side Mirrors In Reverse provides automatic
outside mirror positioning which will aid the
driver’s view of the ground rearward of the front
doors. Outside mirrors will move slightly
downward from the present position when the
vehicle is shifted into REVERSE. Outside mirrors
will then return to the original position when the
vehicle is shifted out of REVERSE position. Each
stored memory seat setting will have an
associated Tilt Side Mirrors In Reverse position.
NOTE:
The Tilt Side Mirrors In Reverse feature is not
turned on when delivered from the factory. The
Tilt Side Mirrors In Reverse feature can be
turned on and off using the Uconnect System.
Refer to “Uconnect Settings” in “Multimedia”
for further information.
1 — Mirror Selection
2 — Right Mirror Selection
3 — Left Mirror Selection
2
20_WD_OM_EN_USC_t.book Page 49
Page 52 of 464
50GETTING TO KNOW YOUR VEHICLE
ILLUMINATED VANITY MIRRORS
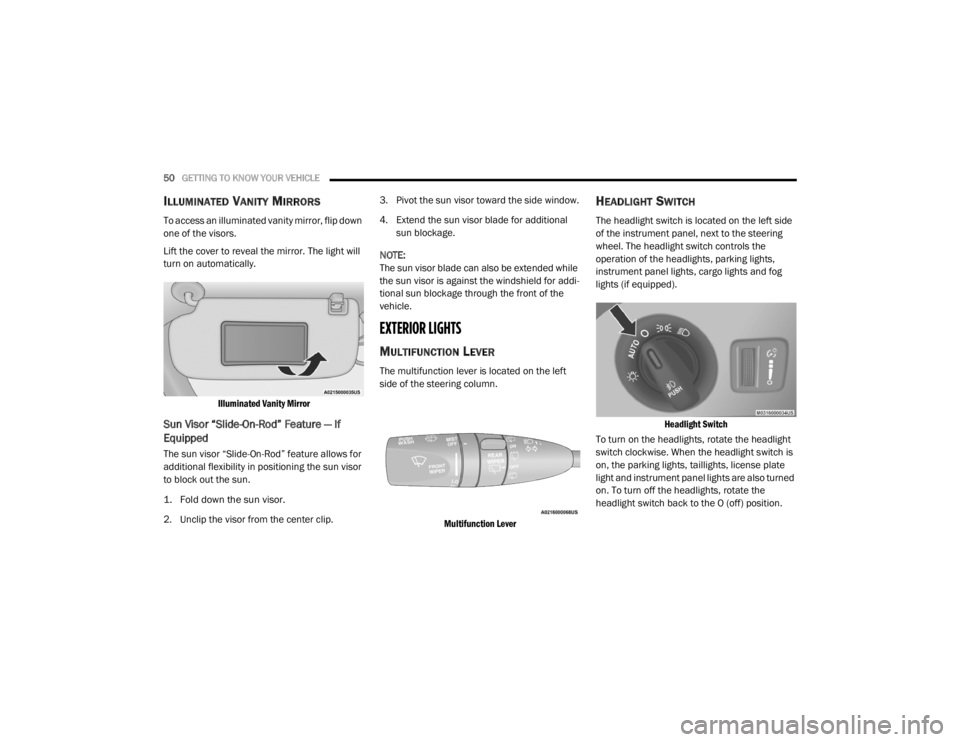
To access an illuminated vanity mirror, flip down
one of the visors.
Lift the cover to reveal the mirror. The light will
turn on automatically.
Illuminated Vanity Mirror
Sun Visor “Slide-On-Rod” Feature — If
Equipped
The sun visor “Slide-On-Rod” feature allows for
additional flexibility in positioning the sun visor
to block out the sun.
1. Fold down the sun visor.
2. Unclip the visor from the center clip. 3. Pivot the sun visor toward the side window.
4. Extend the sun visor blade for additional
sun blockage.
NOTE:
The sun visor blade can also be extended while
the sun visor is against the windshield for addi -
tional sun blockage through the front of the
vehicle.
EXTERIOR LIGHTS
MULTIFUNCTION LEVER
The multifunction lever is located on the left
side of the steering column.
Multifunction Lever
HEADLIGHT SWITCH
The headlight switch is located on the left side
of the instrument panel, next to the steering
wheel. The headlight switch controls the
operation of the headlights, parking lights,
instrument panel lights, cargo lights and fog
lights (if equipped).
Headlight Switch
To turn on the headlights, rotate the headlight
switch clockwise. When the headlight switch is
on, the parking lights, taillights, license plate
light and instrument panel lights are also turned
on. To turn off the headlights, rotate the
headlight switch back to the O (off) position.
20_WD_OM_EN_USC_t.book Page 50
Page 62 of 464
60GETTING TO KNOW YOUR VEHICLE
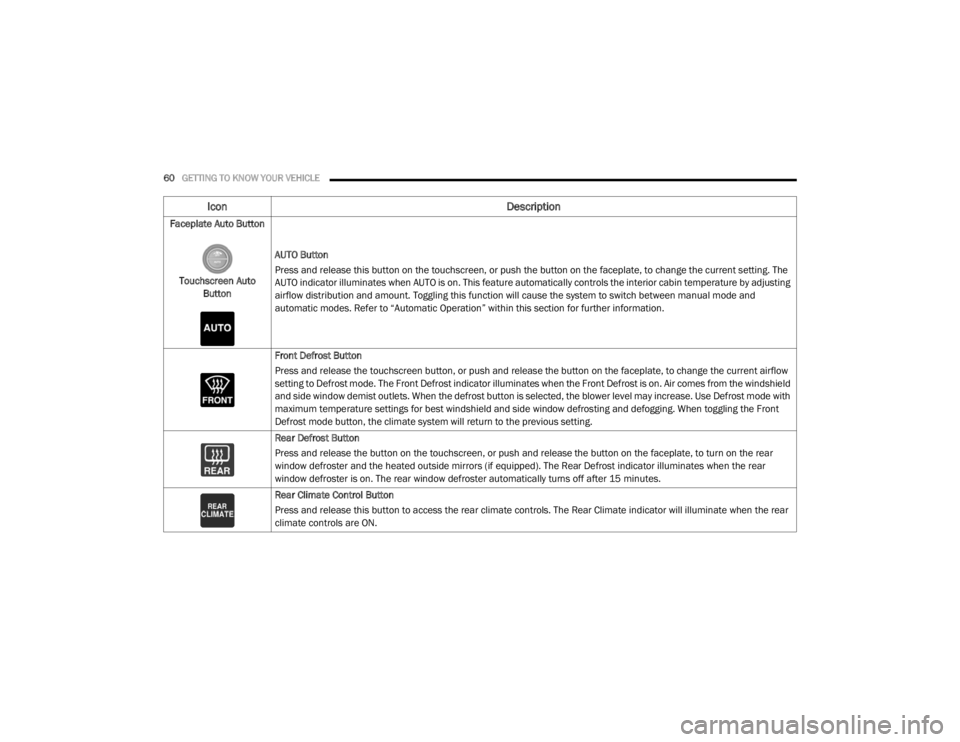
Faceplate Auto Button
Touchscreen Auto Button AUTO Button
Press and release this button on the touchscreen, or push the button on the faceplate, to change the current setting. The
AUTO indicator illuminates when AUTO is on. This feature automatically controls the interior cabin temperature by adjusting
airflow distribution and amount. Toggling this function will cause the system to switch between manual mode and
automatic modes. Refer to “Automatic Operation” within this section for further information.
Front Defrost Button
Press and release the touchscreen button, or push and release the button on the faceplate, to change the current airflow
setting to Defrost mode. The Front Defrost indicator illuminates when the Front Defrost is on. Air comes from the windshield
and side window demist outlets. When the defrost button is selected, the blower level may increase. Use Defrost mode with
maximum temperature settings for best windshield and side window defrosting and defogging. When toggling the Front
Defrost mode button, the climate system will return to the previous setting.
Rear Defrost Button
Press and release the button on the touchscreen, or push and release the button on the faceplate, to turn on the rear
window defroster and the heated outside mirrors (if equipped). The Rear Defrost indicator illuminates when the rear
window defroster is on. The rear window defroster automatically turns off after 15 minutes.
Rear Climate Control Button
Press and release this button to access the rear climate controls. The Rear Climate indicator will illuminate when the rear
climate controls are ON.
Icon
Description
20_WD_OM_EN_USC_t.book Page 60
Page 186 of 464
184 (Continued)
(Continued)
STARTING AND OPERATING
STARTING THE ENGINE
Before starting your vehicle, adjust your seat,
adjust the inside and outside mirrors, fasten
your seat belt, and if present, instruct all other
occupants to buckle their seat belts.
AUTOMATIC TRANSMISSION
The gear selector must be in the NEUTRAL (N) or
PARK (P) position before you can start the
engine. Apply the brakes before shifting into any
driving gear.
KEYLESS ENTER-N-GO — IGNITION
This feature allows the driver to operate the
ignition switch with the push of a button, as long
as the Remote Start/Keyless Enter-N-Go key
fob is in the passenger compartment.
WARNING!
Before exiting a vehicle, always come to a
complete stop, then shift the automatic
transmission into PARK and apply the
parking brake.
Always make sure the keyless ignition node
is in the OFF mode, key fob is removed from
the vehicle and vehicle is locked.
Never leave children alone in a vehicle, or
with access to an unlocked vehicle. Leaving
children in a vehicle unattended is
dangerous for a number of reasons. A child
or others could be seriously or fatally
injured. Children should be warned not to
touch the parking brake, brake pedal or the
gear selector.
Do not leave the key fob in or near the
vehicle, or in a location accessible to chil-
dren, and do not leave the ignition of a
vehicle equipped with Keyless Enter-N-Go
in the ACC or ON/RUN mode. A child could
operate power windows, other controls, or
move the vehicle.
Do not leave children or animals inside
parked vehicles in hot weather. Interior
heat build-up may cause serious injury or
death.
CAUTION!
Damage to the transmission may occur if the
following precautions are not observed:
WARNING!
(Continued)
Do not shift from REVERSE (R), PARK, or
NEUTRAL into any forward gear when the
engine is above idle speed.
Shift into PARK only after the vehicle has
come to a complete stop.
Shift into or out of REVERSE only after the
vehicle has come to a complete stop and
the engine is at idle speed.
Before shifting into any gear, make sure
your foot is firmly on the brake pedal.
CAUTION! (Continued)
20_WD_OM_EN_USC_t.book Page 184
Page 263 of 464
261
IN CASE OF EMERGENCY
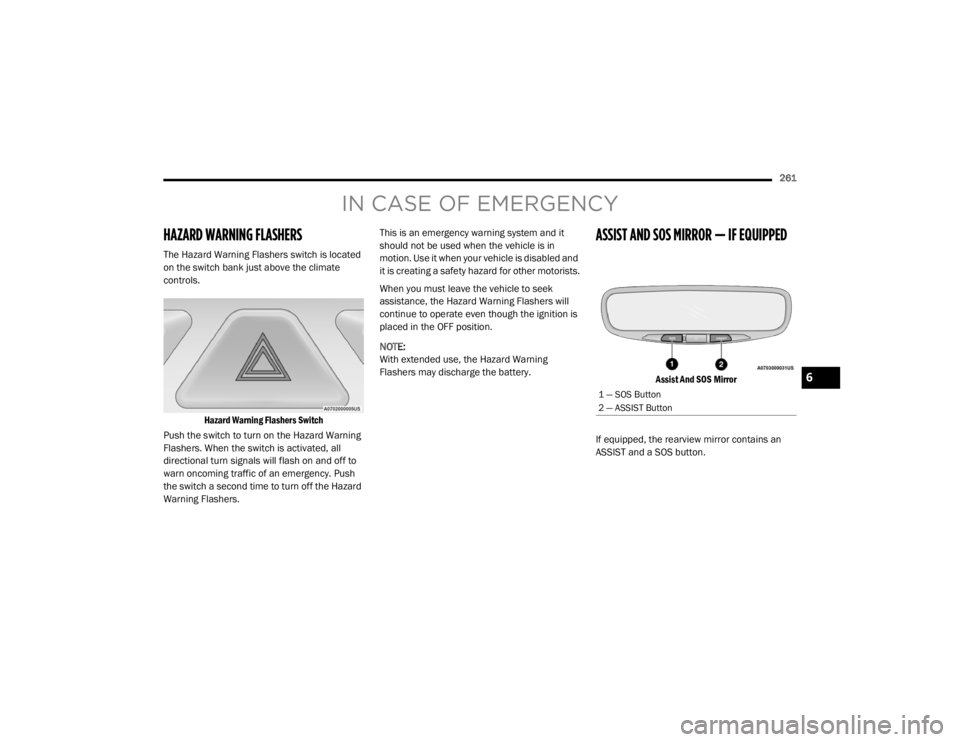
HAZARD WARNING FLASHERS
The Hazard Warning Flashers switch is located
on the switch bank just above the climate
controls.
Hazard Warning Flashers Switch
Push the switch to turn on the Hazard Warning
Flashers. When the switch is activated, all
directional turn signals will flash on and off to
warn oncoming traffic of an emergency. Push
the switch a second time to turn off the Hazard
Warning Flashers. This is an emergency warning system and it
should not be used when the vehicle is in
motion. Use it when your vehicle is disabled and
it is creating a safety hazard for other motorists.
When you must leave the vehicle to seek
assistance, the Hazard Warning Flashers will
continue to operate even though the ignition is
placed in the OFF position.
NOTE:
With extended use, the Hazard Warning
Flashers may discharge the battery.
ASSIST AND SOS MIRROR — IF EQUIPPED
Assist And SOS Mirror
If equipped, the rearview mirror contains an
ASSIST and a SOS button.
1 — SOS Button
2 — ASSIST Button
6
20_WD_OM_EN_USC_t.book Page 261