stop start DODGE GRAND CARAVAN 2004 User Guide
[x] Cancel search | Manufacturer: DODGE, Model Year: 2004, Model line: GRAND CARAVAN, Model: DODGE GRAND CARAVAN 2004Pages: 397, PDF Size: 7.59 MB
Page 152 of 397
NOTE: The light may flash momentarily during sharp
cornering maneuvers which change fluid level condi-
tions. The vehicle should have service performed.
If brake failure is indicated, immediate repair is neces-
sary.
WARNING!Driving a vehicle with the brake light on is danger-
ous. Part of the brake system may have failed. It will
take longer to stop the vehicle. You could have an
accident. Have the vehicle checked immediately.
Vehicles equipped with Anti-Lock brakes (ABS), are also
equipped with Electronic Brake Force Distribution (EBD).
In the event of an EBD failure, the Brake Warning Light
will turn on along with the ABS Light. Immediate repair
to the ABS system is required. The operation of the Brake Warning Light can be checked
by turning the ignition switch from the OFF position to
the ON position. The light should illuminate for approxi-
mately four seconds. The light should then turn off
unless the parking brake is applied or a brake fault is
detected. If the light does not illuminate, have the light
inspected by an authorized dealer.
The light also will turn on when the parking brake is
applied with the ignition switch in the ON position.
NOTE: This light shows only that the parking brake is
applied. It does not show the degree of brake application.
7. Airbag Light
This light turns on and remains on for 6 to 8
seconds as a bulb check when the ignition
switch is first turned ON. If the light is not on
during starting, stays on, or turns on while
driving, have the system inspected by an authorized
dealer as soon as possible.152 UNDERSTANDING YOUR INSTRUMENT PANEL
Page 155 of 397
WARNING!A hot engine cooling system is dangerous. You or
others could be badly burned by steam or boiling
coolant. You may want to call a service center if your
vehicle overheats. If you decide to look under the
hood yourself, see Section 7 of this manual. Follow
the warnings under the Cooling System Pressure
Cap paragraph.
15. Washer Fluid Light
This light turns on when the washer fluid level
falls below approximately 1/4 filled. The light will
remain on until fluid is added.
16. Transmission Range Indicator
This vacuum fluorescent display indicator shows the
automatic transaxle gear selection. 17. Oil Pressure Warning Light
This light shows low engine oil pressure. The light
should turn on momentarily when the engine is
started. If the light turns on while driving, stop the
vehicle and shut off the engine as soon as possible. A
chime will sound for 4 minutes when this light turns on.
Do not operate the vehicle until the cause is corrected.
This light does not show how much oil is in the engine.
The engine oil level must be checked under the hood.
18. Malfunction Indicator Light
This light is part of an onboard diagnostic system
called OBD that monitors engine and automatic
transmission control systems. The light will illu-
minate when the key is in the ON position before engine
start. If the bulb does not come when turning the key
from OFF to ON, have the condition checked promptly.
Certain conditions such as a loose or missing gas cap,
poor fuel quality, etc. may illuminate the light after UNDERSTANDING YOUR INSTRUMENT PANEL 155
4
Page 181 of 397
If you insert a disc with the ignition ON and the radio
OFF, the display will show the time of day.
If the power is ON, the unit will switch from radio to CD
mode and begin to play when you insert the disc. The
display will show the track number and index time in
minutes and seconds. Play will begin at the start of track
one.
Seek
Press the top of the SEEK button for the next selection on
the CD. Press the bottom of the button to return to the
beginning of the current selection, or return to the
beginning of the previous selection if the CD is within the
first second of the current selection.
EJT Ð Eject
Press the EJT button and the disc will unload and move
to the entrance for easy removal. The unit will switch to
the radio mode. If you do not remove the disc within 15 seconds, it will be
reloaded. The unit will continue in radio mode.
The disc can be ejected with the radio and ignition OFF.
FF/TUNE/RW
Press FF (Fast Forward) and the CD player will begin to
fast forward until FF is released. The RW ( Reverse)
button works in a similar manner.
Random Play Ð RND/Program Button 4
Press the RND (button 4) button while the CD is playing
to activate Random Play. This feature plays the tracks on
the selected disc in random order to provide an interest-
ing change of pace.
Press the SEEK button to move to the next randomly
selected track.
Press the RND (button 4) button a second time to stop
Random Play. UNDERSTANDING YOUR INSTRUMENT PANEL 181
4
Page 186 of 397
Mode Button
Press this button to toggle between radio and cd modes.
Program Button 1
Press this button to play the next available disc.
Program Button 4 (Random Play)
Press this button while the CD is playing to activate
Random Play. This feature plays the selections on the
current compact disc in random order to provide an
interesting change of pace. The CD changer stays in the
random play mode when changing to the next disc.
NOTE: The changer will not random play between
discs.
Press the top of the Seek button once to move to the next
randomly selected track. Press the bottom of the Seek
button to go back to the beginning of the track.
Press button 4 a second time to stop random play. Program Button 5
Press this button to play the previous disc.
Time Button
Press this button to switch between time of day and CD
track time.
Changing Modes
While in the radio mode, if a cassette is loaded, press the
Mode button to switch to the tape mode. If a CD is
loaded, press the Mode button to select the CD mode. If
neither a tape nor CD is loaded, the radio will ignore the
command.
² Inserting either a tape or CD automatically starts that
mode of play.
² Pressing the AM/FM button while in the tape or CD
mode will select the radio mode.
² If in the CD mode and the last CD is ejected, the radio
will tune to the last station selected.186 UNDERSTANDING YOUR INSTRUMENT PANEL
Page 231 of 397
WARNING!Remember to disconnect the cord before driving.
Damage to the 110-115 volt electrical cord could
cause electrocution. AUTOMATIC TRANSMISSION
CAUTION!Damage to the transmission may occur if the follow-
ing precautions are not observed:
² Shift into PARK only after the vehicle has come to
a complete stop.
² Shift into or out of REVERSE only after the
vehicle has come to a complete stop and the
engine is at idle speed.
² Do not shift from REVERSE, PARK, or NEUTRAL
into any forward gear when the engine is above
idle speed.
² Before shifting into any gear, make sure your foot
is firmly on the brake pedal. STARTING AND OPERATING 231
5
Page 232 of 397
WARNING!It is dangerous to shift the selector lever out of ªPº or
ªNº if the engine speed is higher than idle speed. If
your foot is not firmly on the brake pedal, the
vehicle could accelerate quickly forward or in re-
verse. You could lose control of the vehicle and hit
someone or something. Only shift into gear when
the engine is idling normally and when your right
foot is firmly on the brake pedal.
Brake/Transmission Interlock System
This system prevents you from moving the gear shift out
of Park and into any gear unless the brake pedal is
pressed. This system is active only while the ignition
switch is in the ON position. Always depress the brake
pedal first, before moving the gear selector out of PARK. Automatic Transmission Ignition Interlock System
This system prevents the key from being removed unless
the shift lever is in PARK. It also prevents shifting out of
PARK unless the key is in the OFF or ON positions.
NOTE: If a malfunction occurs, the system will trap the
key in the ignition cylinder to warn you that this safety
feature is inoperable. The engine can be started and
stopped but the key cannot be removed until you obtain
service.
Four Speed Automatic Transmission
The electronically controlled transmission provides a
precise shift schedule. The transmission electronics are
self-calibrating; therefore, the first few shifts on a new
vehicle, may be somewhat abrupt. This is a normal
condition, and precision shifts will develop within a few
hundred miles.232 STARTING AND OPERATING
Page 233 of 397
Reset Mode - Electronic Transmission
The transmission is monitored electronically for abnor-
mal conditions. If a condition is detected that could cause
damage, the transmission automatically shifts into sec-
ond gear. The transmission remains in second gear
despite the forward gear selected. Park (P), Reverse (R),
and Neutral (N) will continue to operate. This Reset
feature allows the vehicle to be driven to a dealer for
service without damaging the transmission.
In the event that the problem has been momentary, the
transmission can be reset to regain all forward gears.
² Stop the vehicle and shift into Park (P).
² Turn the key to OFF then restart the engine.
² Shift into the desired range and resume driving.
NOTE: Even if the transmission can be reset, it is
recommended that you visit a dealer at your earliest possible convenience. Your dealer has diagnostic equip-
ment to determine if the problem could recur.
If the transmission cannot be reset, dealer service is
required.
Gear Ranges
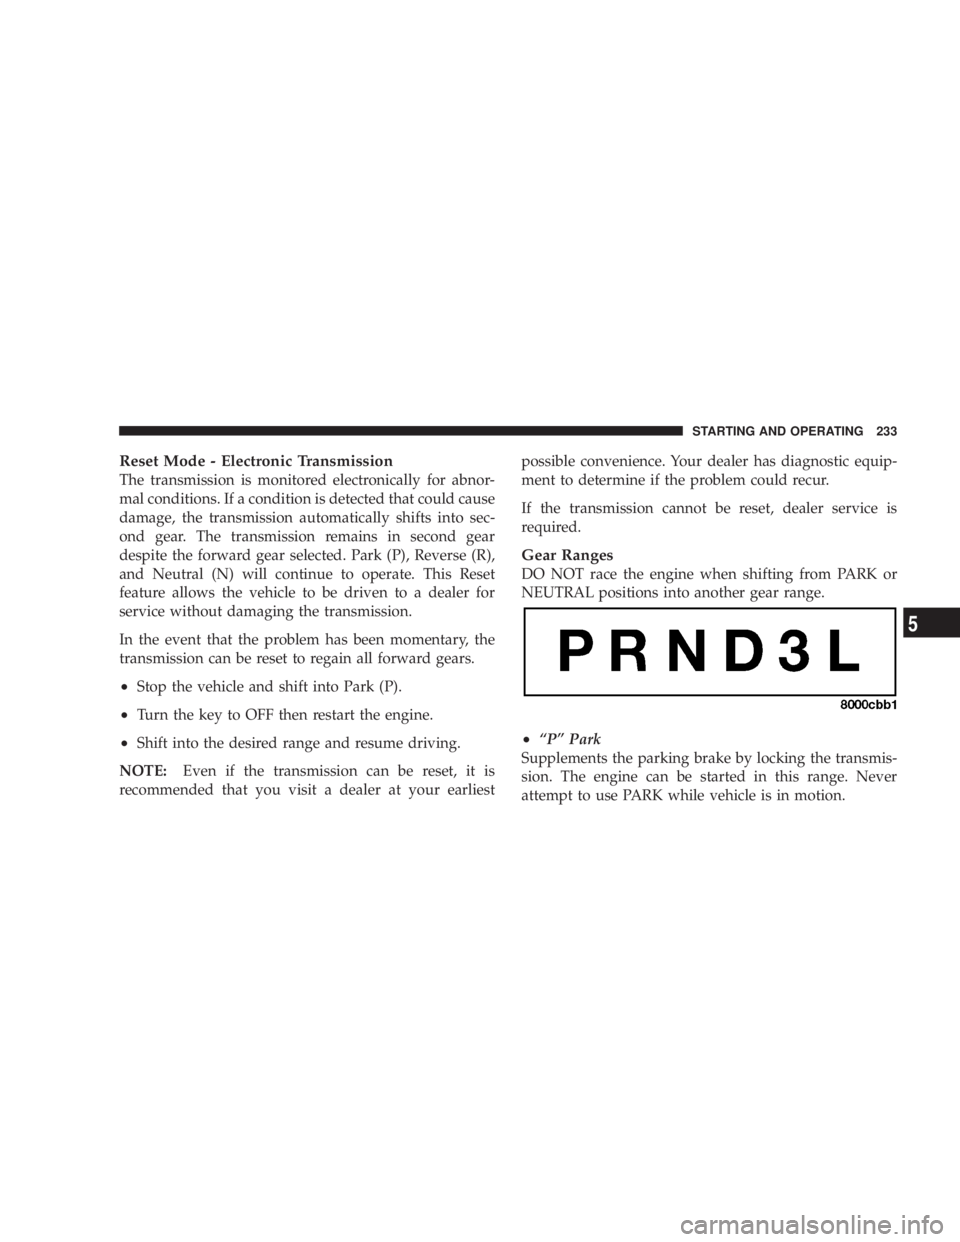
DO NOT race the engine when shifting from PARK or
NEUTRAL positions into another gear range.
² ªPº Park
Supplements the parking brake by locking the transmis-
sion. The engine can be started in this range. Never
attempt to use PARK while vehicle is in motion. STARTING AND OPERATING 233
5
Page 234 of 397
Apply parking brake when leaving vehicle in this range.
² ªRº Reverse
Shift into this range only after the vehicle has come to a
complete stop.
² ªNº Neutral
Engine may be started in this range.
² ªDº Overdrive
For most city and highway driving, it provides smoothest
upshifts and downshifts and best fuel economy. When
frequent transmission shifting occurs while using the
ªDº Overdrive position, such as when operating the
vehicle under heavy loading conditions, (i.e. in hilly
terrain, traveling into strong head winds or while towing
heavy trailers), using the ª3º position will improve
performance and extend transmission life by reducing
excessive shifting and heat build-up. ² ª3º Drive
This range eliminates shifts into Overdrive. The transmis-
sion will operate normally in First, Second and Third
while in this range. The ª3º position should also be used
when descending steep grades to prevent brake system
distress.
NOTE: Using the ª3º range while operating the vehicle
under heavy operating conditions will improve perfor-
mance and extend transmission life by reducing exces-
sive shifting and heat build up.
² ªLº Low
This range should be used for engine braking when
descending very steep grades. In this range, upshifts will
occur only to prevent engine overspeed while downshifts
occur earlier than other gear range selections.
NOTE: The vehicle computer will over ride Overdrive
and ª3º Drive ranges by changing shift points if the234 STARTING AND OPERATING
Page 237 of 397
WARNING!Be sure the parking brake is fully disengaged before
driving: failure to do so can lead to brake failure, and
an accident.
BRAKE SYSTEM
In the event power assist is lost for any reason (for
example, repeated brake applications with the engine
off), the brakes will still function. The effort required to
brake the vehicle will be much greater than that required
with the power system operating.
Your vehicle is equipped with dual hydraulic
brake systems. If either of the two hydraulic
systems lose normal capability, the remaining
system will still function. There will be some
loss of overall braking effectiveness. This may be evident by increased pedal travel during application, greater
pedal force required to slow or stop, and potential
activation of the Brake Warning Lamp.
Anti-Lock Brake System Ð If Equipped
The Anti-Lock Brake System provides increased vehicle
stability and brake performance under most braking
conditions. The system automatically ªpumpsº the
brakes during severe braking conditions to prevent
wheel lock-up.
WARNING!Pumping of the Anti-Lock Brakes will diminish
their effectiveness and may lead to an accident.
Pumping makes the stopping distance longer. Just
press firmly on your brake pedal when you need to
slow down or stop. STARTING AND OPERATING 237
5
Page 238 of 397
The ABS light monitors the Anti-Lock Brake Sys-
tem. The light will come on when the ignition
switch is turned to the ON position and may stay on for
as long as four seconds.
If the ABS light remains on or comes on while driving, it
indicates that the Anti-Lock portion of the brake system
is not functioning and that service is required. However,
the conventional brake system will continue to operate
normally if the BRAKE warning light is not on.
If the ABS light is on, the brake system should be serviced
as soon as possible to restore the benefits of Anti-Lock
brakes. If the ABS light does not come on when the
Ignition switch is turned to the ON position, have the
bulb repaired as soon as possible.
If both the Brake Warning Light and the ABS Light
remain on, the Anti-Lock brakes (ABS) and Electronic
Brake Force Distribution (EBD) systems are not function-
ing. Immediate repair to the ABS system is required. When the vehicle is driven over approximately 15 mph
(25 km/h), you may also hear a slight clicking sound as
well as some related motor noises. These noises are the
system performing its self check cycle to ensure that the
ABS system is working properly. This self check occurs
each time the vehicle is started and accelerated past
approximately 15 mph (25 km/h).
ABS is activated during braking under certain road or
stopping conditions. ABS-inducing conditions can in-
clude ice, snow, gravel, bumps, railroad tracks, loose
debris, or panic stops.
You also may experience the following when the brake
system goes into Anti-lock:
² The ABS motor running (it may continue to run for a
short time after the stop),
² the clicking sound of solenoid valves,
² brake pedal pulsations,238 STARTING AND OPERATING