roof rack DODGE GRAND CARAVAN 2008 5.G Owners Manual
[x] Cancel search | Manufacturer: DODGE, Model Year: 2008, Model line: GRAND CARAVAN, Model: DODGE GRAND CARAVAN 2008 5.GPages: 531, PDF Size: 7.72 MB
Page 101 of 531
NPower Inverter Ð If Equipped............196
NElectrical Outlet Use With Engine Off.......198
mSun ScreensÐ If Equipped................198
mCup Holders And Convenience Tray Drawer . . . 200
NInstrument Panel Cup Holders............200
NInterior Bottle Holders..................201
NSmokers Package Kit Ð If Equipped........201
mConsole Features.......................201
NBasic Console........................201
NPremium Console ± If Equipped...........203
mStorage..............................208
NGlove Compartments..................208NDoor Trim Panel Storage................209
NSecond Row Floor Storage Bins Ð
If Equipped.........................210
NRemoving The Floor Console With Stow 'n Go
Seating Ð If Equipped.................211
NRear Compartment Storage..............213
NCoat Hooks.........................214
NCargo Area Storage....................214
mRoof Luggage Rack Ð If Equipped..........215
mUmbrella Holder.......................217
mLoad-Leveling System Ð If Equipped........218
UNDERSTANDING THE FEATURES OF YOUR VEHICLE 99
3
Page 217 of 531
ROOF LUGGAGE RACK Ð IF EQUIPPED
The crossbars and siderails are designed to carry the
weight on vehicles equipped with a luggage rack. The
load must not exceed 150 lbs (68 kg), and should be
uniformly distributed over the luggage rack crossbars.
Distribute cargo weight evenly on the roof rack crossbars.
The roof rack does not increase the total load carrying
capacity of the vehicle. Be sure the total load of cargo
inside the vehicle plus that on the external rack does not
exceed the maximum vehicle load capacity.
To move the crossbars, loosen the thumb screws located
at the upper edge of each crossbar approximately six
turns, then move the crossbar to the desired position,
keeping the crossbars parallel to the rack frame. Once the
crossbar is in place, retighten the thumb screws to lock
the crossbar into position.Attempt to move the crossbar again to ensure that it has
properly locked into position.
NOTE:To help control wind noise when installing the
crossbars make sure the arrows marked on the underside
of the crossbars are facing the front of the vehicle. When
the crossbars are not in use, the front crossbar should be
fastened just forward of the middle support and the rear
crossbar should be fastened at the rearmost position of
the side rails. This will help reduce the amount of wind
noise when the crossbars are not in use.
The tie down holes on the crossbar ends should always
be used to tie down the load. Check the straps frequently
to be sure that the load remains securely attached.
UNDERSTANDING THE FEATURES OF YOUR VEHICLE 215
3
Page 218 of 531
CAUTION!
²Crossbars should remain equally spaced or paral-
lel at any luggage rack position for proper func-
tion. Noncompliance could result in damage to the
luggage rack, cargo and/or vehicle.
²To avoid damage to the roof rack and vehicle, do
not exceed the maximum roof rack load capacity of
150 lbs (68 kg). Always distribute heavy loads as
evenly as possible and secure the load
appropriately.
CAUTION!
²Long loads which extend over the windshield,
such as wood panels or surfboards, or loads with
large frontal area should be secured to both the
front and rear of the vehicle.
²Travel at reduced speeds and turn corners care-
fully when carrying large or heavy loads on the
roof rack. Wind forces, due to natural causes or
nearby truck traffic, can add sudden upward lift to
a load. This is especially true on large flat loads
and may result in damage to the cargo or your
vehicle.
216 UNDERSTANDING THE FEATURES OF YOUR VEHICLE
Page 219 of 531
WARNING!
Cargo must be securely tied before driving your
vehicle. Improperly secured loads can fly off the
vehicle, particularly at high speeds, resulting in per-
sonal injury or property damage. Follow the Roof
Rack Cautions when carrying cargo on your roof
rack.
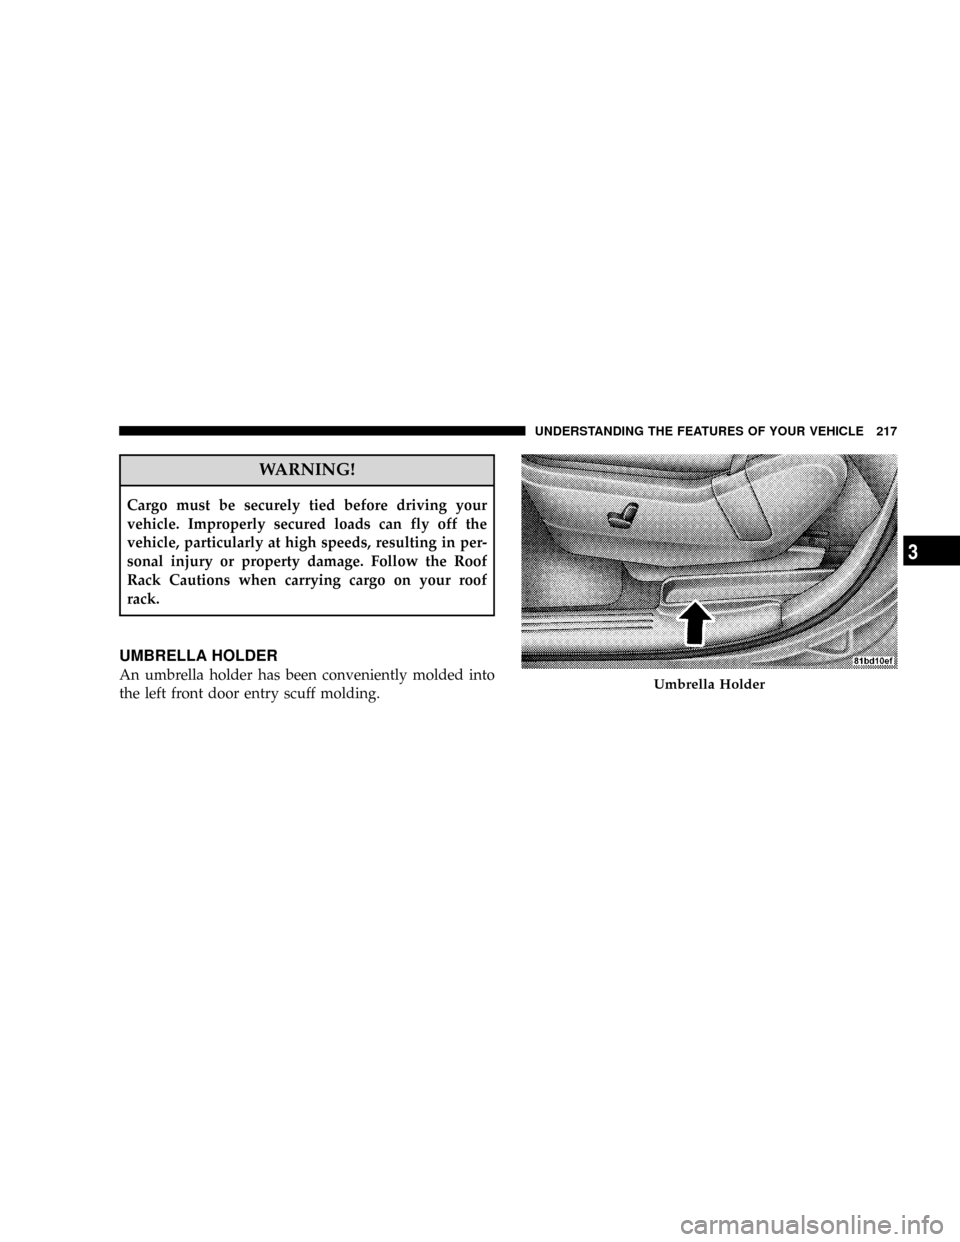
UMBRELLA HOLDER
An umbrella holder has been conveniently molded into
the left front door entry scuff molding.Umbrella Holder
UNDERSTANDING THE FEATURES OF YOUR VEHICLE 217
3
Page 290 of 531
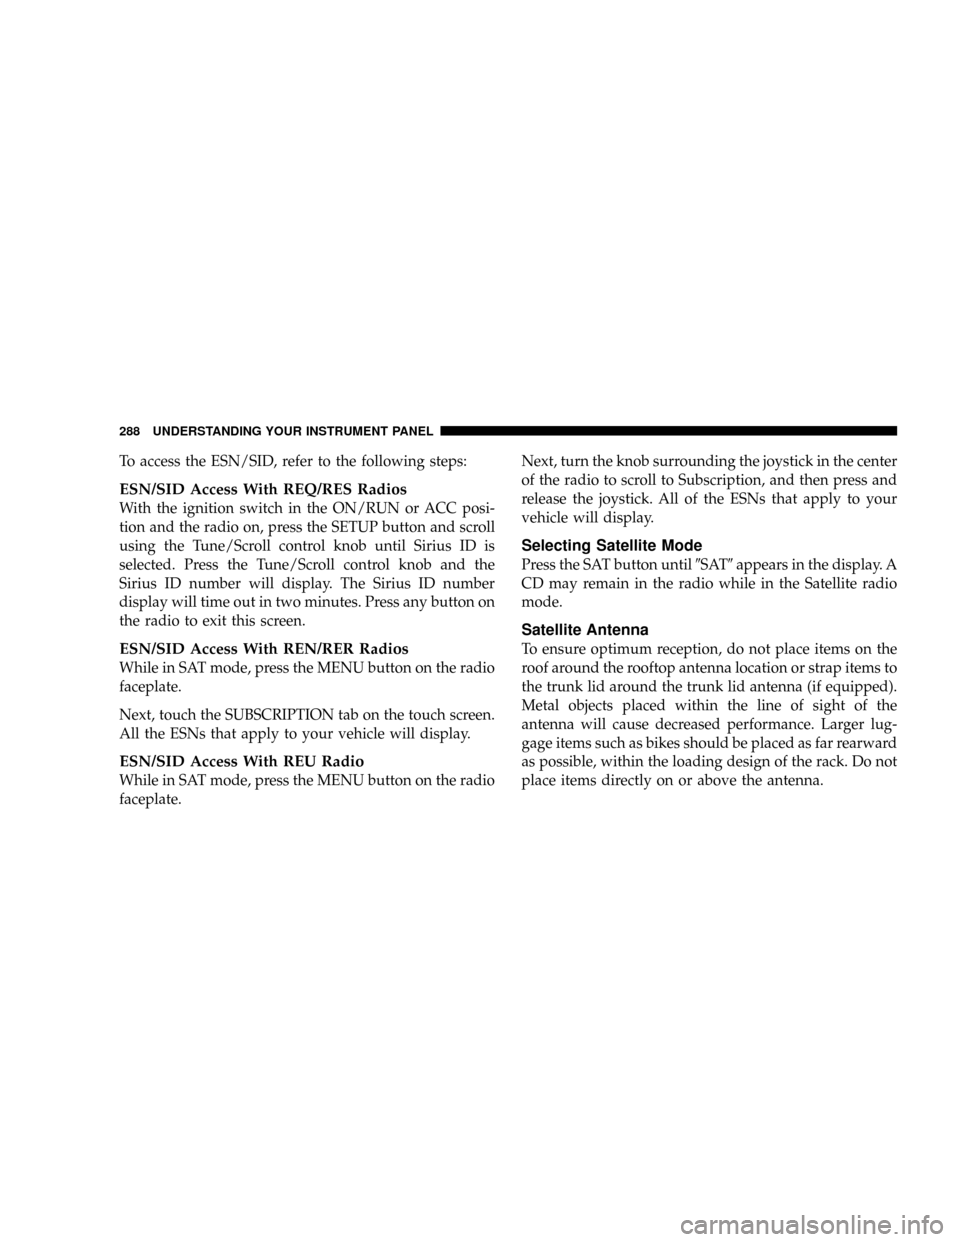
To access the ESN/SID, refer to the following steps:
ESN/SID Access With REQ/RES Radios
With the ignition switch in the ON/RUN or ACC posi-
tion and the radio on, press the SETUP button and scroll
using the Tune/Scroll control knob until Sirius ID is
selected. Press the Tune/Scroll control knob and the
Sirius ID number will display. The Sirius ID number
display will time out in two minutes. Press any button on
the radio to exit this screen.
ESN/SID Access With REN/RER Radios
While in SAT mode, press the MENU button on the radio
faceplate.
Next, touch the SUBSCRIPTION tab on the touch screen.
All the ESNs that apply to your vehicle will display.
ESN/SID Access With REU Radio
While in SAT mode, press the MENU button on the radio
faceplate.Next, turn the knob surrounding the joystick in the center
of the radio to scroll to Subscription, and then press and
release the joystick. All of the ESNs that apply to your
vehicle will display.
Selecting Satellite Mode
Press the SAT button until9SAT9appears in the display. A
CD may remain in the radio while in the Satellite radio
mode.
Satellite Antenna
To ensure optimum reception, do not place items on the
roof around the rooftop antenna location or strap items to
the trunk lid around the trunk lid antenna (if equipped).
Metal objects placed within the line of sight of the
antenna will cause decreased performance. Larger lug-
gage items such as bikes should be placed as far rearward
as possible, within the loading design of the rack. Do not
place items directly on or above the antenna.
288 UNDERSTANDING YOUR INSTRUMENT PANEL
Page 520 of 531
License............................. 485
Lights On Reminder.................... 165
Low Fuel............................ 234
Malfunction Indicator (Check Engine)........ 232
Oil Pressure.......................... 233
Park.............................162,483
Passing............................. 170
Reading............................. 183
Rear Servicing........................ 484
Rear Tail............................ 484
Seat Belt Reminder..................... 233
Security Alarm (Theft Alarm).............. 233
Service...........................481,482
Service Engine Soon (Malfunction Indicator) . . . 232
Side Marker.......................... 484
Theft Alarm (Security Alarm).............. 233
Turn Signal.....................166,483,484
Voltage............................. 234
Warning (Instrument Cluster Description)..... 226Load Leveling System.................... 218
Loading Vehicle...................214,388,391
Capacities........................... 391
Tires ............................... 353
Locks
Door................................ 31
Lower Anchors and Tether for CHildren (LATCH)... 86
Lubrication, Body....................... 454
Luggage Rack (Roof Rack)................. 215
Lumbar Support........................ 137
Maintenance Free Battery.................. 448
Maintenance Procedures................... 441
Maintenance Schedule.................... 490
Maintenance, Sunroof..................... 195
Malfunction Indicator Light (Check Engine) . . 232,438
Manual, Service......................... 504
Map/Reading Lights..................... 183
Memory Feature (Memory Seat)............. 155
518 INDEX
Page 523 of 531
Pretensioners
Seat Belts............................. 64
Programmable Electronic Features............ 248
Radial Ply Tires......................... 361
Radiator Cap (Coolant Pressure Cap).......457,458
Radio Broadcast Signals................... 251
Radio, Navigation....................... 283
Radio Operation...................281,284,299
Radio Remote Controls.................... 299
Radio, Satellite............280,281,283,284,287,297
Radio (Sound Systems).................280,283
Rear Air Conditioning.................307,314
Rear Heater............................ 307
Rear Park Sense System................... 171
Rear Window Defroster................... 320
Rearview Mirrors........................ 100
Reclining Front Seats..................... 136
Recorder, Event Data...................... 78Recreational Towing...................407,429
Reminder, Seat Belt....................... 64
Remote Keyless Entry (RKE)................. 21
Remote Sound System (Radio) Controls........ 299
Remote Starting System.................... 28
Removable Floor Console...............207,211
Replacement Keys........................ 16
Replacement Parts....................... 440
Replacement Tires....................... 365
Reporting Safety Defects................... 503
Resetting Oil Change Indicator.........230,237,243
Restraint, Head......................... 134
Restraints, Child.......................81,88
Restraints, Infant......................... 81
Rocking Vehicle When Stuck................ 427
Roof Rack (Luggage Rack)................. 215
Rotation, Tires.......................... 368
Safety Checks Inside Vehicle................. 93
INDEX 521
10