On switch DODGE GRAND CARAVAN 2013 5.G Owner's Manual
[x] Cancel search | Manufacturer: DODGE, Model Year: 2013, Model line: GRAND CARAVAN, Model: DODGE GRAND CARAVAN 2013 5.GPages: 132, PDF Size: 4.51 MB
Page 26 of 132
HEADLIGHT SWITCH AND HALO LIGHT SWITCH
Automatic Headlights/Parking
Lights/Headlights
• Rotate the headlight switch, located onthe instrument panel to the left of the
steering wheel, to the first detent for park-
ing lights
and to the second detent
for headlights
.
• With the parking lights or low beam head- lights on, push the headlight switch once
for fog lights.
• Rotate the headlight switch to “AUTO” for AUTO headlights.
• When set to AUTO, the system automati- cally turns the headlights on or off based
on ambient light levels.
SmartBeams™
• The SmartBeam™ system provides increased forward lighting at night by automating high beam control through the use of a digital camera mounted on the inside rearview
mirror. This camera detects vehicle specific light and automatically switches from high
beams to low beams until the approaching vehicle is out of view.
Instrument Panel Dimmer
• Rotate the dimmer control to the extreme bottom position to fully dim the instrument panel lights and prevent the interior lights from illuminating when a door is opened.
• Rotate the dimmer control up to increase the brightness of the instrument panel when the parking lights or headlights are on.
• Rotate the dimmer control up to the next detent position to fully brighten the odometer and radio when the parking lights or headlights are on. Refer to your Uconnect®/Radio
User Manual on the DVD for display dimming.
• Rotate the dimmer control up to the last detent position to turn on the interior lighting.
Overhead (Halo) Light
• To activate the Halo lights, rotate the Halo switch control upward or downward to increase or decrease the lighting.
OPERATING YOUR VEHICLE
24
Page 27 of 132
SPEED CONTROL
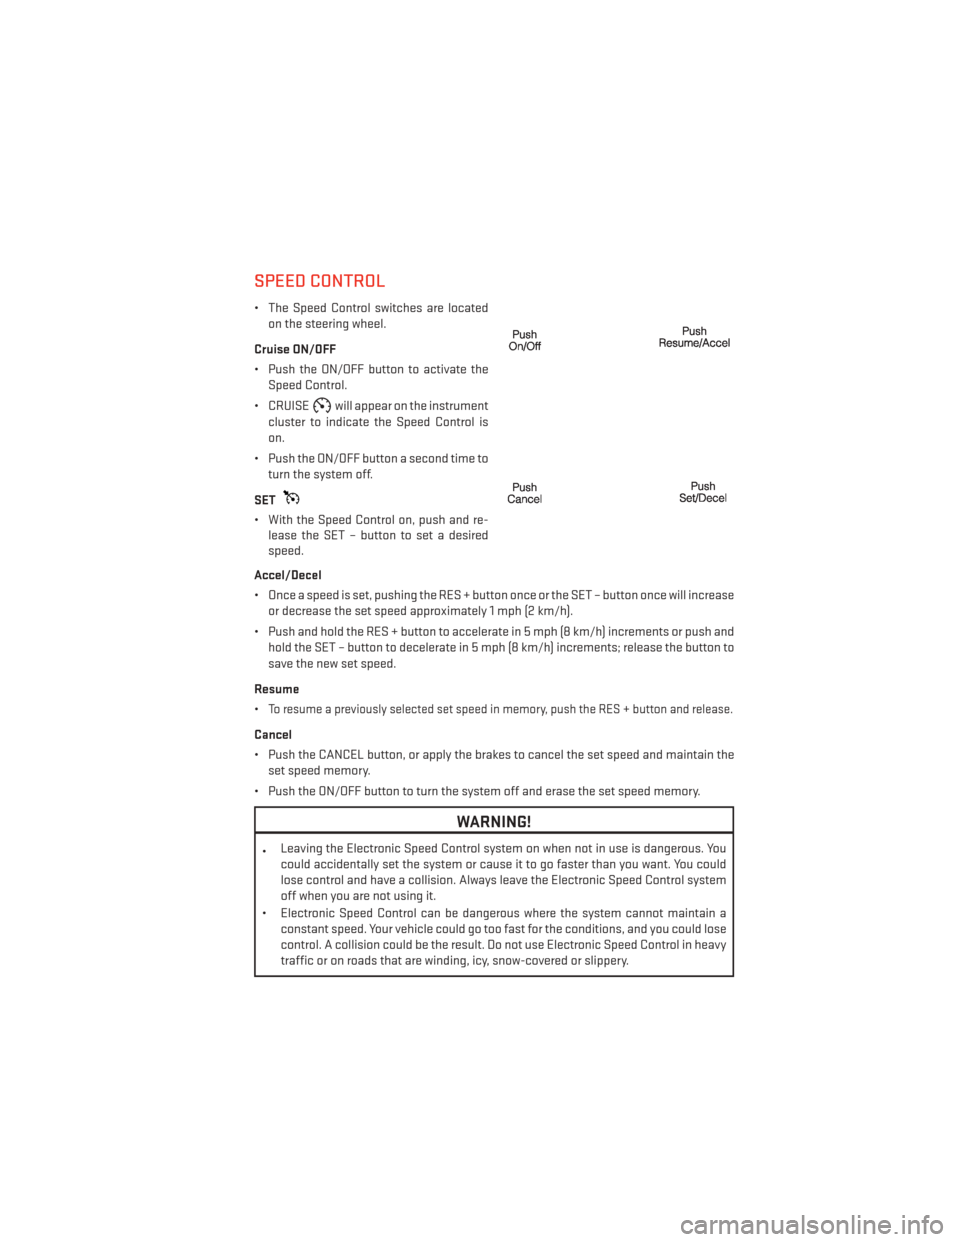
• The Speed Control switches are locatedon the steering wheel.
Cruise ON/OFF
• Push the ON/OFF button to activate the Speed Control.
• CRUISE
will appear on the instrument
cluster to indicate the Speed Control is
on.
• Push the ON/OFF button a second time to turn the system off.
SET
• With the Speed Control on, push and re- lease the SET – button to set a desired
speed.
Accel/Decel
• Once a speed is set, pushing the RES + button once or the SET – button once will increase or decrease the set speed approximately 1 mph (2 km/h).
• Push and hold the RES + button to accelerate in 5 mph (8 km/h) increments or push and hold the SET – button to decelerate in 5 mph (8 km/h) increments; release the button to
save the new set speed.
Resume
•
To resume a previously selected set speed in memory, push the RES + button and release.
Cancel
• Push the CANCEL button, or apply the brakes to cancel the set speed and maintain the set speed memory.
• Push the ON/OFF button to turn the system off and erase the set speed memory.
WARNING!
• Leaving the Electronic Speed Control system on when not in use is dangerous. You
could accidentally set the system or cause it to go faster than you want. You could
lose control and have a collision. Always leave the Electronic Speed Control system
off when you are not using it.
• Electronic Speed Control can be dangerous where the system cannot maintain a constant speed. Your vehicle could go too fast for the conditions, and you could lose
control. A collision could be the result. Do not use Electronic Speed Control in heavy
traffic or on roads that are winding, icy, snow-covered or slippery.
OPERATING YOUR VEHICLE
25
Page 28 of 132
ELECTRONIC RANGE SELECTION (ERS)
• Electronic Range Select (ERS) allows youto limit the highest available transmis-
sion gear, and can be activated during any
driving condition. When towing a trailer or
operating the vehicle in off-road condi-
tions, using ERS shift control will help you
maximize both performance and engine
braking.
• To shift from DRIVE mode to ERS mode, move the shift lever to the left (-) once.
The current gear will be maintained as the
top gear. To disable ERS, simply press and
hold the shift lever to the right (+) until “D”
is displayed in the instrument cluster
odometer.
• Switching between ERS and DRIVE mode can be done at any vehicle speed.
• Refer to your Owner's Manual on the DVD for further details.
FUEL ECONOMY (ECON) MODE
• The Fuel Economy (ECON) mode can improve the vehicle’s overall fuel economy duringnormal driving conditions.
• Press the “econ” switch in the center stack of the instrument panel and a green light will indicate the ECON mode is engaged.
OPERATING YOUR VEHICLE
26
Page 33 of 132
BLIND SPOT MONITORING WITH REAR CROSS PATH
• The Blind Spot Monitoring (BSM) system uses two radar-based sensors, located insidethe rear bumper fascia, to detect Highway licensable vehicles (automobiles, trucks,
motorcycles etc.) that enter the blind spot zones from the rear/front/side of the vehicle.
• The Blind Spot Monitoring (BSM) system warning light, located in the outside mirrors, will illuminate if a vehicle moves into a blind spot zone.
• The BSM system can also be configured to sound an audible (chime) alert and mute the radio to notify you of objects that have entered the detection zones.
• Refer to your Owner's Manual on the DVD for further details.
POWER SLIDING SIDE DOORS
Automatic/Manual Operation
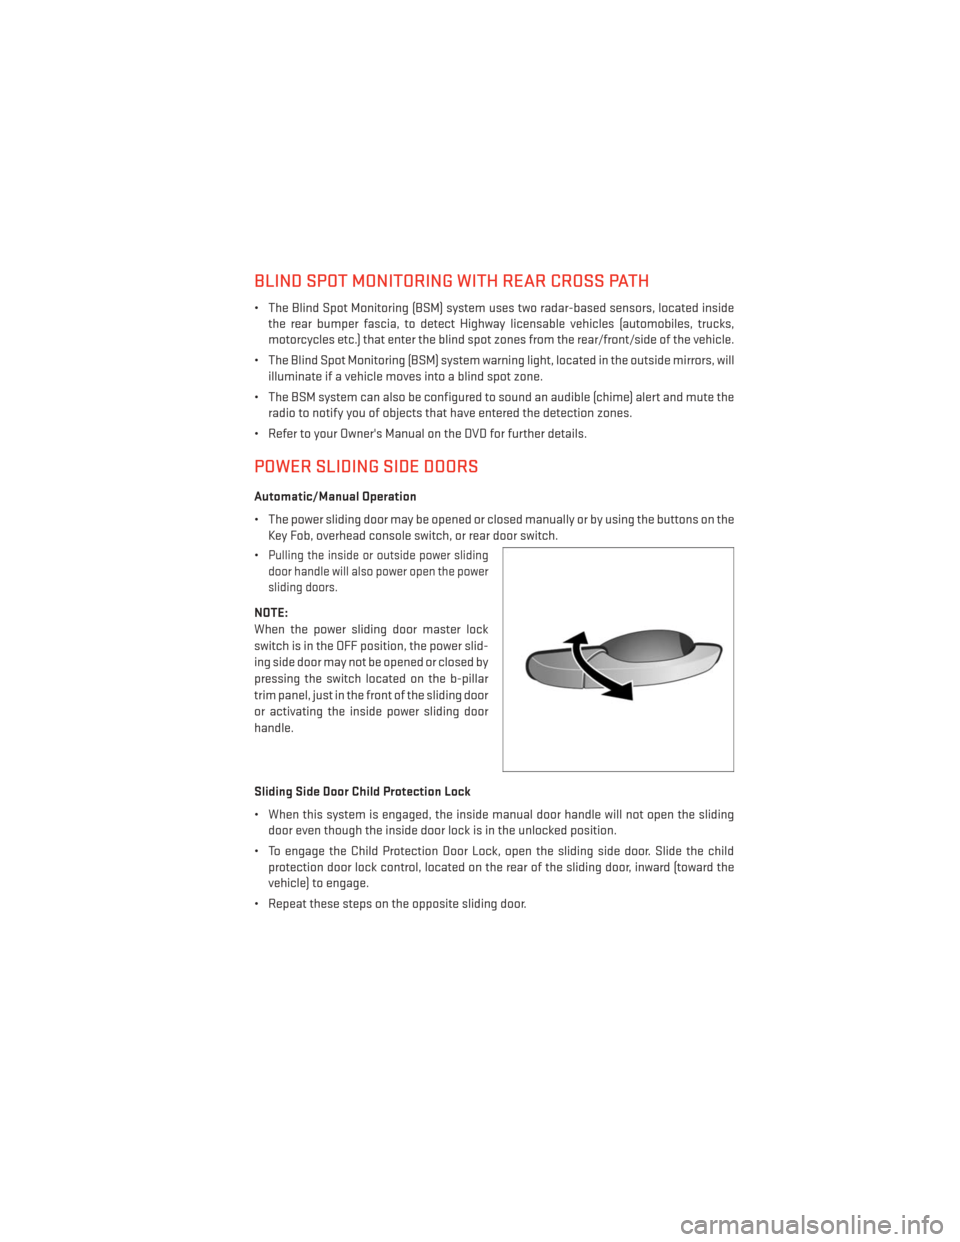
• The power sliding door may be opened or closed manually or by using the buttons on the Key Fob, overhead console switch, or rear door switch.
•
Pulling the inside or outside power sliding
door handle will also power open the power
sliding doors.
NOTE:
When the power sliding door master lock
switch is in the OFF position, the power slid-
ing side door may not be opened or closed by
pressing the switch located on the b-pillar
trim panel, just in the front of the sliding door
or activating the inside power sliding door
handle.
Sliding Side Door Child Protection Lock
• When this system is engaged, the inside manual door handle will not open the sliding door even though the inside door lock is in the unlocked position.
• To engage the Child Protection Door Lock, open the sliding side door. Slide the child protection door lock control, located on the rear of the sliding door, inward (toward the
vehicle) to engage.
• Repeat these steps on the opposite sliding door.
OPERATING YOUR VEHICLE
31
Page 34 of 132
POWER LIFTGATE
• The power liftgate may be opened and closed by pressing the button located on theoverhead console. Press the button once to open, and a second time to close the power
liftgate.
• The power liftgate may also be opened and closed by pressing the button on the Key Fob. Press the button twice to open, and twice to close the power liftgate.
• The power liftgate may be closed by the button, located in the upper left trim in the liftgate opening. Pressing once will only close the liftgate. This button cannot be used to
open the liftgate.
POWER SUNROOF
Manual Open/Close
• Press and hold the switch rearward to open or forward to close the sunroof. Any releaseof the switch will stop the movement, and the sunroof will remain in a partially open or
closed position until the switch is pressed again.
OPERATING YOUR VEHICLE
32
Page 35 of 132
Pinch Protection Feature
• This feature will detect an obstruction in the opening of the sunroof during Express Closeoperation. If an obstruction in the path of the sunroof is detected, the sunroof will
automatically retract. Remove the obstruction if this occurs. Next, press the switch
forward and release to Express Close.
NOTE:
If three consecutive sunroof close attempts result in Pinch Protect reversals, the fourth
close attempt will be a Manual Close movement with Pinch Protect disabled.
WARNING!
• Never leave children unattended in a vehicle, and do not leave the key in the ignition switch (or leave the ignition of a vehicle equipped with Keyless Enter-N-Go™ in the
ACC or ON/Run position). Occupants, particularly unattended children, can become
entrapped by the power sunroof while operating the power sunroof switch. Such
entrapment may result in serious injury or death.
• In a collision, there is a greater risk of being thrown from a vehicle with an open
sunroof. You could also be severely injured or killed. Always fasten your seat belt
properly and make sure all passengers are properly secured.
• Do not allow small children to operate the sunroof. Never allow your fingers, other
body parts, or any object to project through the sunroof opening. Injury may result.
WIND BUFFETING
• Wind buffeting can be described as a helicopter-type percussion sound. If buffetingoccurs with the rear windows open, adjust the front and rear windows together.
• If buffeting occurs with the sunroof open, adjust the sunroof opening, or adjust any window. This will minimize buffeting.
OPERATING YOUR VEHICLE
33
Page 44 of 132
Menu
• Press the “MENU” hard-key to access the System Setup menu and the My Files menu.
• Press the “MENU” hard-key in an active mode (SAT, CD, AUX, etc.) to change modespecific settings.
Equalizer, Balance And Fade
Audio Control Menu
• Press the “AUDIO” hard-key on the right side of the radio.
• Use either the arrow soft-keys or the cross-hair on the screen to change Bal-
ance and Fade. The “CENTER” soft-key
resets the settings.
• Touch the “Equalizer” soft-key and use either the arrow soft-keys or the sliders on
the screen to adjust BASS, MID, and/or
TREBLE.
Display Settings
• Press the “MENU” hard-key and touch the “Display Settings” soft-key to access the
Display Settings menu.
• Select the “Daytime Colors” soft-key to switch to manual daytime mode and to
adjust the brightness of the display using
daytime colors.
• Select the “Nighttime Colors” soft-key to switch to manual nighttime mode and to
adjust the brightness of the display using nighttime colors.
• Select the “Auto Color Mode” soft-key to switch to automatic daytime/nighttime mode and to control the brightness of the display using the dimmer switch of the vehicle.
• Touch the “EXIT” soft-key to save your settings.
ELECTRONICS
42
Page 46 of 132
CD/DVD Disc Operation
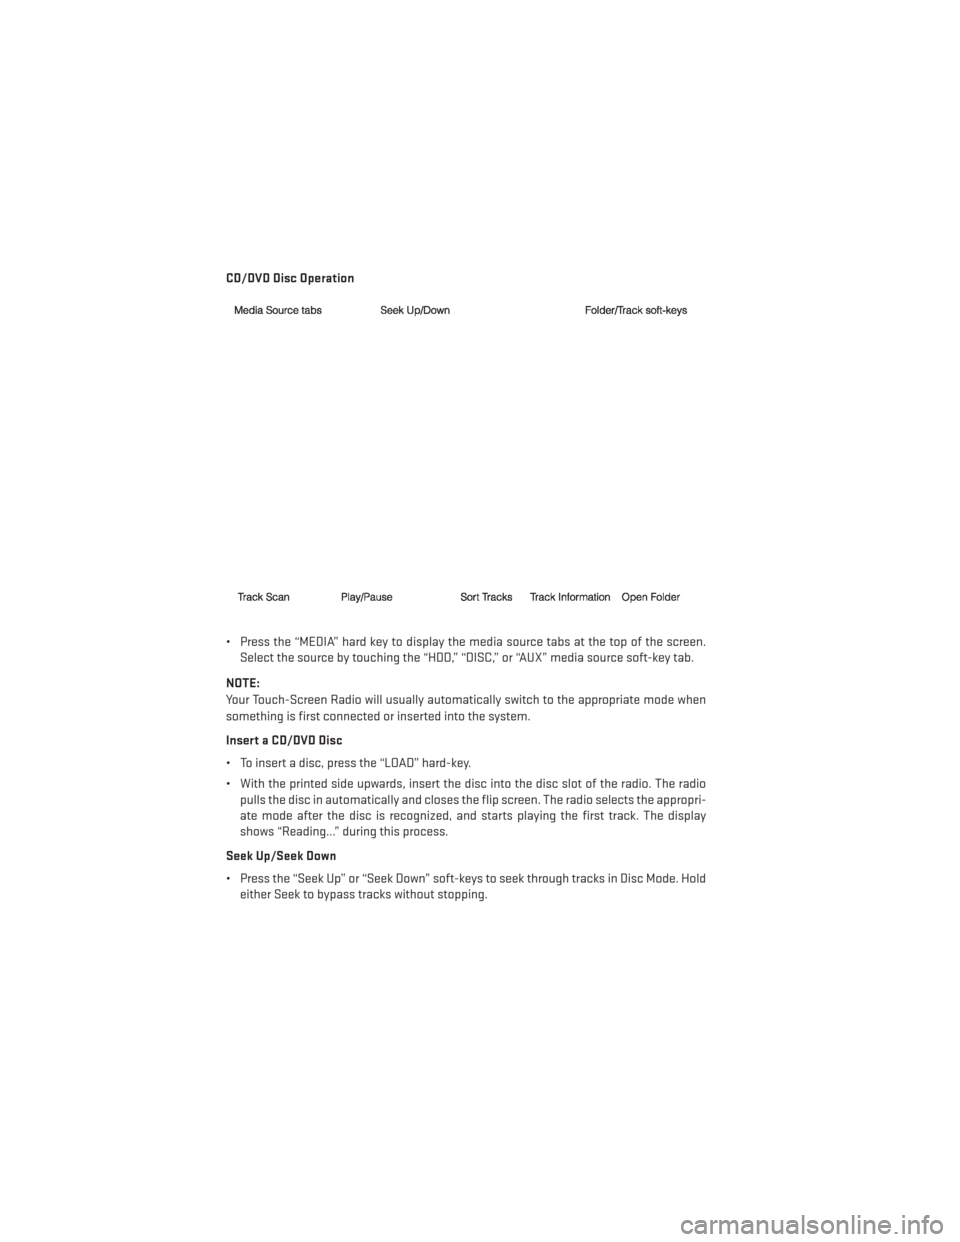
• Press the “MEDIA” hard key to display the media source tabs at the top of the screen.Select the source by touching the “HDD,” “DISC,” or “AUX” media source soft-key tab.
NOTE:
Your Touch-Screen Radio will usually automatically switch to the appropriate mode when
something is first connected or inserted into the system.
Insert a CD/DVD Disc
• To insert a disc, press the “LOAD” hard-key.
• With the printed side upwards, insert the disc into the disc slot of the radio. The radio pulls the disc in automatically and closes the flip screen. The radio selects the appropri-
ate mode after the disc is recognized, and starts playing the first track. The display
shows “Reading...” during this process.
Seek Up/Seek Down
• Press the “Seek Up” or “Seek Down” soft-keys to seek through tracks in Disc Mode. Hold either Seek to bypass tracks without stopping.
ELECTRONICS
44
Page 53 of 132
Equalizer, Balance And Fade
Audio Control Menu
• Press the “MENU” hard-key on the rightside of the radio. Then press the “Audio
Control” soft-key to get to the audio con-
trol menu.
• Use either the arrow soft-keys or the cross-hair on the screen to change Bal-
ance and Fade. The “CENTER” soft-key
resets the settings.
• Touch the “Equalizer” soft-key and use either the arrow soft-keys or the sliders on the screen to adjust BASS, MID, and/or
TREBLE.
Display Settings
• Press the “MENU” hard-key and touch the “Display Settings” soft-key to access the
Display Settings menu.
• Select the “Daytime Colors” soft-key to switch to manual daytime mode and to
adjust the brightness of the display using
daytime colors.
• Select the “Nighttime Colors” soft-key to switch to manual nighttime mode and to
adjust the brightness of the display using nighttime colors.
• Select the “Auto Color Mode” soft-key to switch to automatic daytime/ nighttime mode and to control the brightness of the display using the dimmer switch of the vehicle.
• Touch the “EXIT” soft-key to save your settings.
ELECTRONICS
51
Page 55 of 132
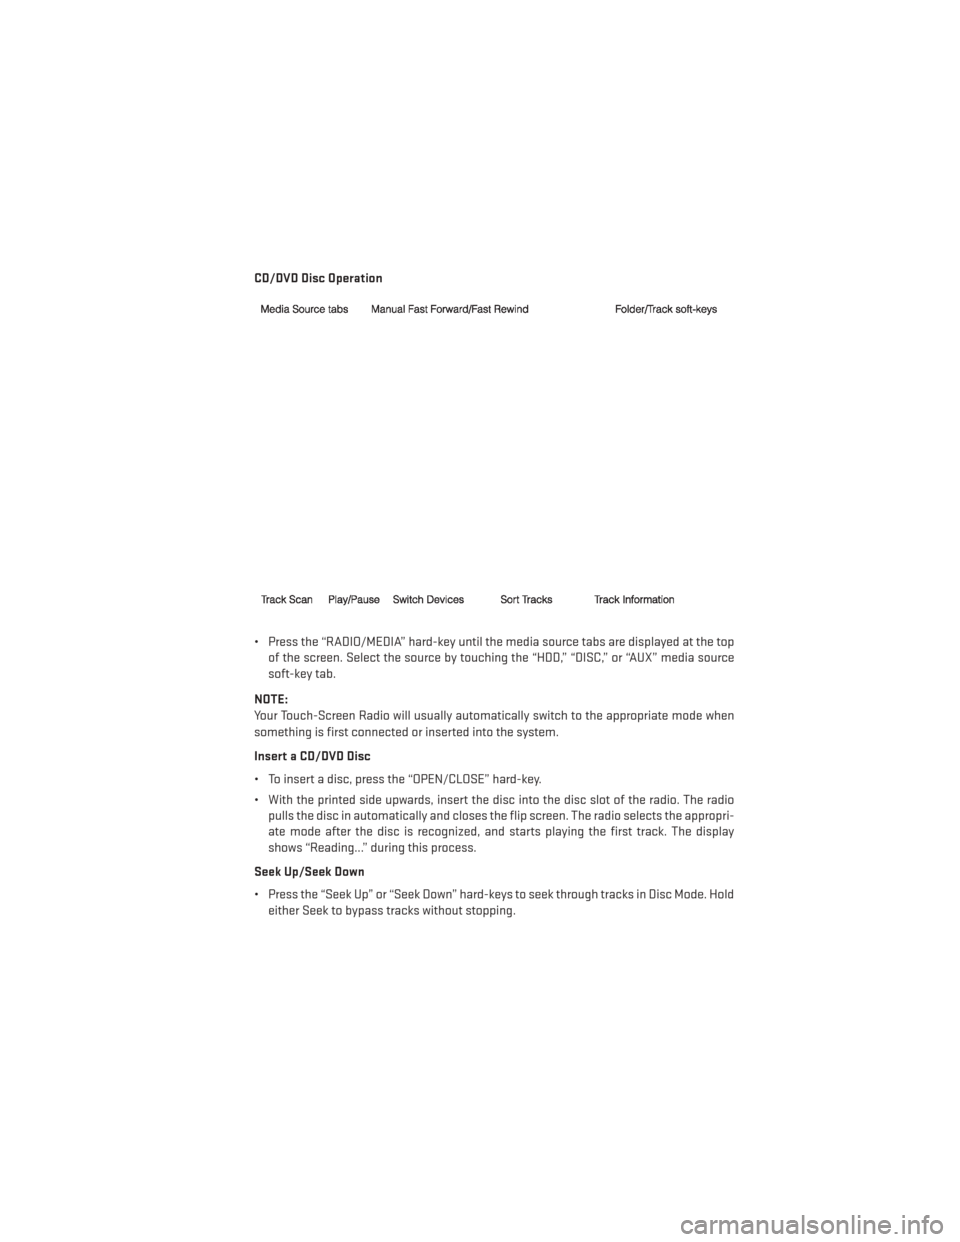
CD/DVD Disc Operation
• Press the “RADIO/MEDIA” hard-key until the media source tabs are displayed at the topof the screen. Select the source by touching the “HDD,” “DISC,” or “AUX” media source
soft-key tab.
NOTE:
Your Touch-Screen Radio will usually automatically switch to the appropriate mode when
something is first connected or inserted into the system.
Insert a CD/DVD Disc
• To insert a disc, press the “OPEN/CLOSE” hard-key.
• With the printed side upwards, insert the disc into the disc slot of the radio. The radio pulls the disc in automatically and closes the flip screen. The radio selects the appropri-
ate mode after the disc is recognized, and starts playing the first track. The display
shows “Reading...” during this process.
Seek Up/Seek Down
• Press the “Seek Up” or “Seek Down” hard-keys to seek through tracks in Disc Mode. Hold either Seek to bypass tracks without stopping.
ELECTRONICS
53