air conditioning DODGE GRAND CARAVAN 2020 Owners Manual
[x] Cancel search | Manufacturer: DODGE, Model Year: 2020, Model line: GRAND CARAVAN, Model: DODGE GRAND CARAVAN 2020Pages: 380, PDF Size: 14.92 MB
Page 44 of 380
42GETTING TO KNOW YOUR VEHICLE
Intermittent Wiper System
Use the intermittent wiper when weather
conditions make a single wiping cycle with a
variable pause between cycles desirable.
Rotate the end of the multifunction lever to the
first detent position, and then turn the end of
the lever to select the desired delay interval.
There are five delay settings, which allow you to
regulate the wipe interval from a minimum of
one cycle every second to a maximum of
approximately 36 seconds between cycles. The
delay intervals will double in duration when the
vehicle speed is 10 mph (16 km/h) or less.
Windshield Washers
To use the windshield washer, push on the end
of the lever to the second detent and hold while
spray is desired. If the lever is pushed while on
the intermittent setting, the wipers will turn on
and operate for several wipe cycles after the
lever is released, and then resume the
intermittent interval previously selected. If the
lever is pushed while the wipers are in the off
position, the wipers will operate several wipe
cycles, then turn off.
Mist Feature
Push the end of the multifunction lever inward
(toward the steering column) to the first detent
and release for a single wiping cycle.
NOTE:
The mist feature does not activate the washer
pump; therefore, no washer fluid will be sprayed
on the windshield. The wash function must be
used in order to spray the windshield with
washer fluid.
Rear Wiper And Washer
Rotating the center ring of the wiper lever to the
first detent activates the rear intermittent
wipers. To activate the washers, rotate the
center ring fully forward and the washers will
spray until the ring is released, and then
resume the intermittent interval.
NOTE:
Rear window wipers function in the intermittent
wiper speed only.
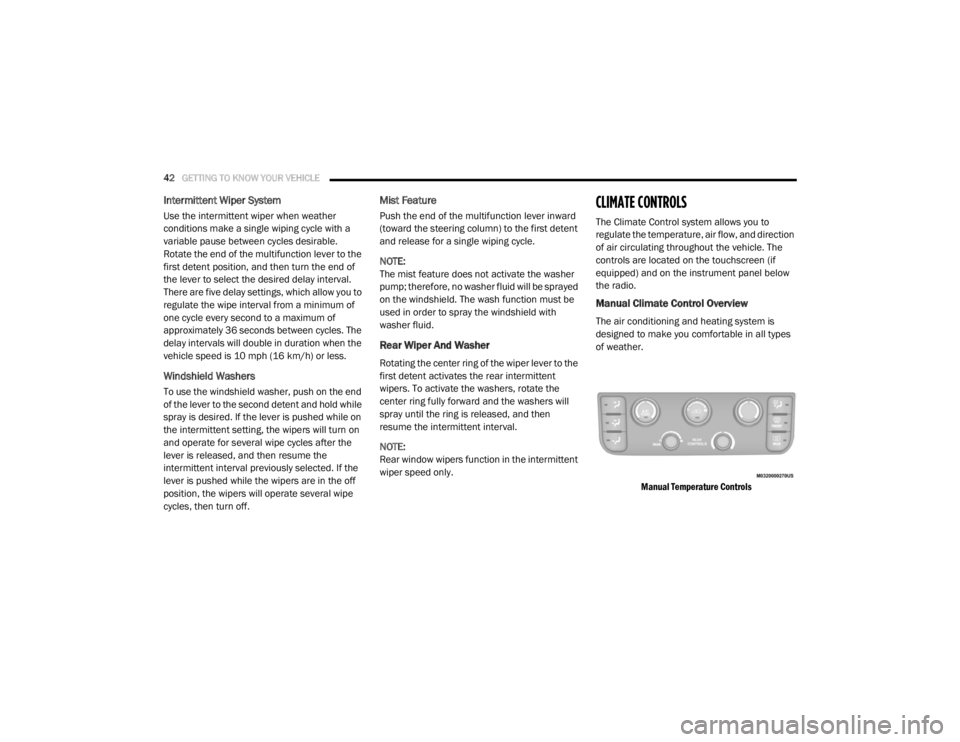
CLIMATE CONTROLS
The Climate Control system allows you to
regulate the temperature, air flow, and direction
of air circulating throughout the vehicle. The
controls are located on the touchscreen (if
equipped) and on the instrument panel below
the radio.
Manual Climate Control Overview
The air conditioning and heating system is
designed to make you comfortable in all types
of weather.
Manual Temperature Controls
20_RT_OM_EN_USC_t.book Page 42
Page 45 of 380
GETTING TO KNOW YOUR VEHICLE43
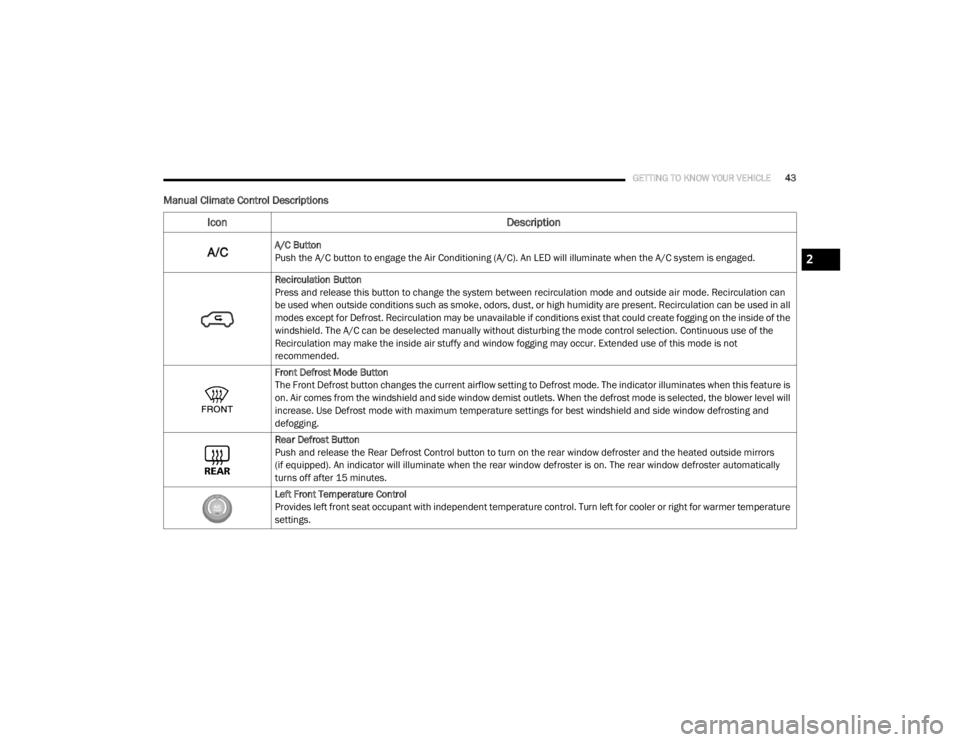
Manual Climate Control Descriptions
Icon Description
A/C Button
Push the A/C button to engage the Air Conditioning (A/C). An LED will illuminate when the A/C system is engaged.
Recirculation Button
Press and release this button to change the system between recirculation mode and outside air mode. Recirculation can
be used when outside conditions such as smoke, odors, dust, or high humidity are present. Recirculation can be used in all
modes except for Defrost. Recirculation may be unavailable if conditions exist that could create fogging on the inside of the
windshield. The A/C can be deselected manually without disturbing the mode control selection. Continuous use of the
Recirculation may make the inside air stuffy and window fogging may occur. Extended use of this mode is not
recommended.
Front Defrost Mode Button
The Front Defrost button changes the current airflow setting to Defrost mode. The indicator illuminates when this feature is
on. Air comes from the windshield and side window demist outlets. When the defrost mode is selected, the blower level will
increase. Use Defrost mode with maximum temperature settings for best windshield and side window defrosting and
defogging.
Rear Defrost Button
Push and release the Rear Defrost Control button to turn on the rear window defroster and the heated outside mirrors
(if equipped). An indicator will illuminate when the rear window defroster is on. The rear window defroster automatically
turns off after 15 minutes.
Left Front Temperature Control
Provides left front seat occupant with independent temperature control. Turn left for cooler or right for warmer temperature
settings.
2
20_RT_OM_EN_USC_t.book Page 43
Page 50 of 380
48GETTING TO KNOW YOUR VEHICLE
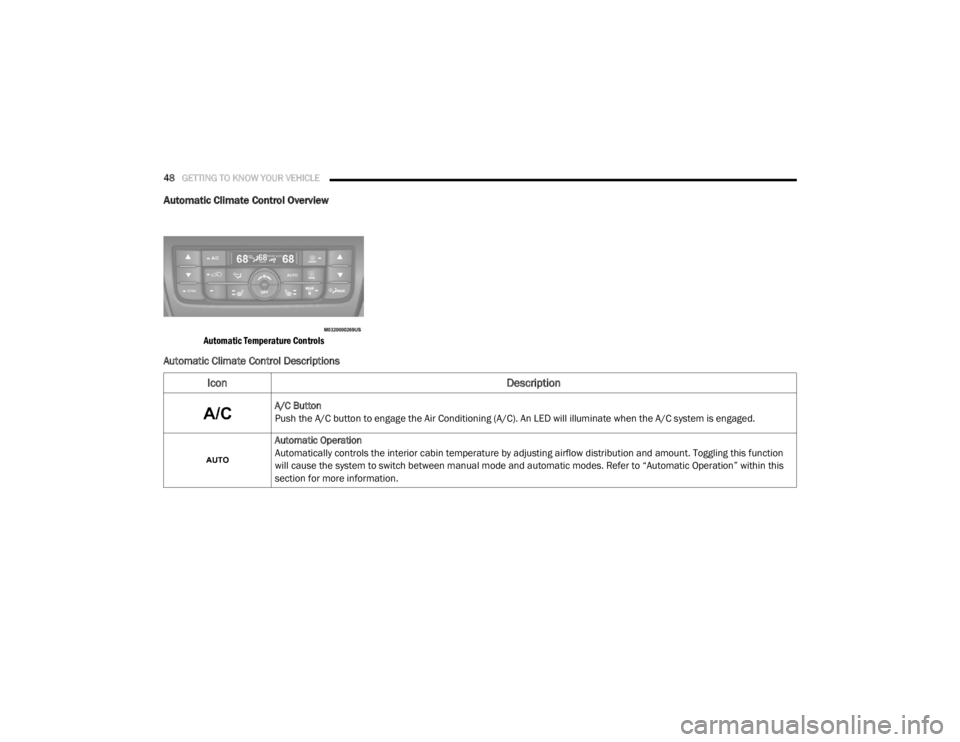
Automatic Climate Control Overview
Automatic Temperature Controls
Automatic Climate Control Descriptions
Icon Description
A/C Button
Push the A/C button to engage the Air Conditioning (A/C). An LED will illuminate when the A/C system is engaged.
Automatic Operation
Automatically controls the interior cabin temperature by adjusting airflow distribution and amount. Toggling this function
will cause the system to switch between manual mode and automatic modes. Refer to “Automatic Operation” within this
section for more information.
20_RT_OM_EN_USC_t.book Page 48
Page 58 of 380
56GETTING TO KNOW YOUR VEHICLE
Climate Control Functions
A/C (Air Conditioning)
The Air Conditioning (A/C) button allows the
operator to manually activate or deactivate the
air conditioning system. When the air
conditioning system is turned on, cool
dehumidified air will flow through the outlets
into the cabin. For improved fuel economy,
press the A/C button to turn off the air
conditioning and manually adjust the blower
and airflow mode settings. Also, make sure to
select only Panel, Bi-Level, or Floor modes.
NOTE:
For Manual Climate Controls, if the system is
in Mix, Floor or Defrost Mode, the A/C can be
turned off, but the A/C system shall remain
active to prevent fogging of the windows.
If fog or mist appears on the windshield or
side glass, select Defrost mode, and increase
blower speed if needed.
If your air conditioning performance seems
lower than expected, check the front of the
A/C condenser (located in front of the radi -
ator), for an accumulation of dirt or insects.
Clean with a gentle water spray from the front
of the radiator and through the condenser.
MAX A/C
MAX A/C sets the control for maximum cooling
performance.
Press and release to toggle between MAX A/C
and the prior settings. The button illuminates
when MAX A/C is on.
In MAX A/C, the blower level and mode position
can be adjusted to desired user settings.
Pressing other settings will cause the MAX A/C
operation to switch to the selected setting and
MAX A/C to exit.
Recirculation
In cold weather, use of Recirculation mode may
lead to excessive window fogging. The Recircu -
lation feature may be unavailable (button on
the touchscreen greyed out) if conditions exist
that could create fogging on the inside of the
windshield. On systems with Manual Climate Controls, if
equipped, the Recirculation mode is not
allowed in Defrost mode to improve window
clearing operation. Recirculation is disabled
automatically if this mode is selected.
Attempting to use Recirculation while in this
mode causes the LED in the control button to
blink and then turns off.
Automatic Temperature Control (ATC) — If
Equipped
Automatic Operation
1. Push the AUTO button on the faceplate, or
the AUTO button on the touchscreen on the
Automatic Temperature Control (ATC)
Panel.
2. Next, adjust the temperature you would like the system to maintain by adjusting the
driver and passenger temperature control
buttons. Once the desired temperature is
displayed, the system will achieve and
automatically maintain that comfort level.
20_RT_OM_EN_USC_t.book Page 56
Page 59 of 380

GETTING TO KNOW YOUR VEHICLE57
3. When the system is set up for your comfort
level, it is not necessary to change the
settings. You will experience the greatest
efficiency by simply allowing the system to
function automatically.
NOTE:
It is not necessary to move the temperature
settings for cold or hot vehicles. The system
automatically adjusts the temperature,
mode, and blower speed to provide comfort
as quickly as possible.
The temperature can be displayed in U.S. or
Metric units by selecting the U.S./Metric
customer programmable feature. To provide
you with maximum comfort in the Automatic
mode during cold start-ups, the blower fan
will remain on low until the engine warms up.
The blower will increase in speed and transi -
tion into AUTO mode.
Manual Operation Override
This system offers a full complement of manual
override features. The AUTO symbol in the front
ATC display will be turned off when the system
is being used in the manual mode.
Operating Tips
NOTE:
Refer to the chart at the end of this section for
suggested control settings for various weather
conditions.
Summer Operation
The engine cooling system must be protected
with a high-quality antifreeze coolant to provide
proper corrosion protection and to protect
against engine overheating. OAT coolant
(conforming to MS.90032) is recommended.
Refer to “Fluids And Lubricants” in “Technical
Specifications” for proper coolant selection.
Winter Operation
To ensure the best possible heater and
defroster performance, make sure the engine
cooling system is functioning properly and the
proper amount, type, and concentration of
coolant is used. Refer to “Fluids And
Lubricants” in “Technical Specifications” for
proper coolant selection. Use of the air Recircu -
lation mode during Winter months is not
recommended, because it may cause window
fogging.
Vacation/Storage
Before you store your vehicle, or keep it out of
service (i.e., vacation) for two weeks or more,
run the air conditioning system at idle for about
five minutes, in fresh air with the blower setting
on high. This will ensure adequate system
lubrication to minimize the possibility of
compressor damage when the system is started
again.
2
20_RT_OM_EN_USC_t.book Page 57
Page 98 of 380
96GETTING TO KNOW YOUR INSTRUMENT PANEL
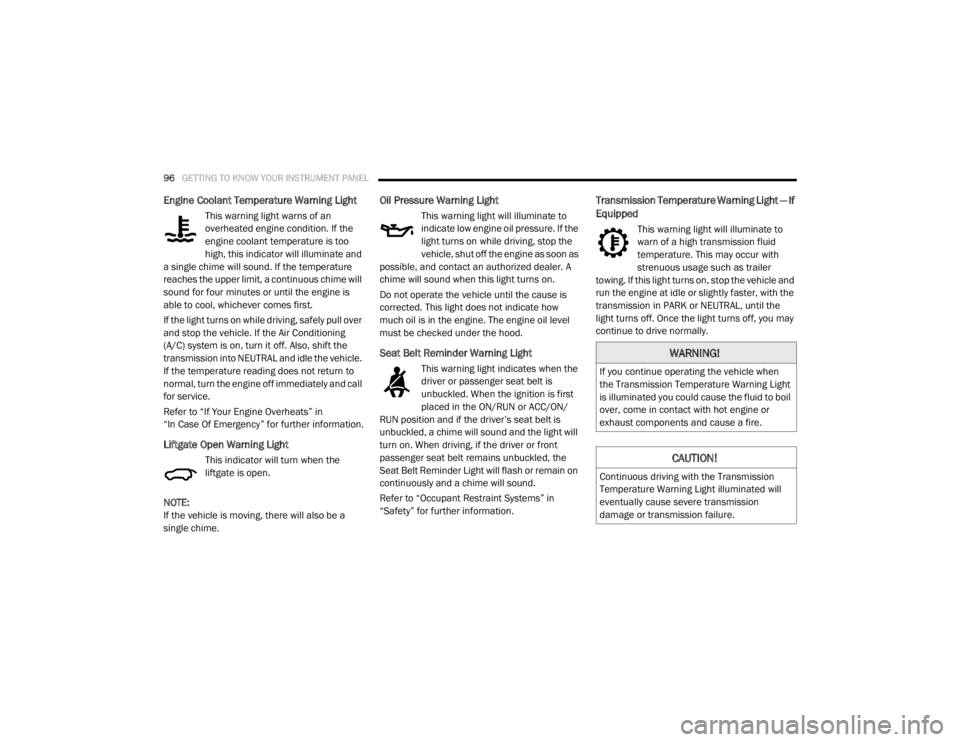
Engine Coolant Temperature Warning Light
This warning light warns of an
overheated engine condition. If the
engine coolant temperature is too
high, this indicator will illuminate and
a single chime will sound. If the temperature
reaches the upper limit, a continuous chime will
sound for four minutes or until the engine is
able to cool, whichever comes first.
If the light turns on while driving, safely pull over
and stop the vehicle. If the Air Conditioning
(A/C) system is on, turn it off. Also, shift the
transmission into NEUTRAL and idle the vehicle.
If the temperature reading does not return to
normal, turn the engine off immediately and call
for service.
Refer to “If Your Engine Overheats” in
“In Case Of Emergency” for further information.
Liftgate Open Warning Light
This indicator will turn when the
liftgate is open.
NOTE:
If the vehicle is moving, there will also be a
single chime.
Oil Pressure Warning Light
This warning light will illuminate to
indicate low engine oil pressure. If the
light turns on while driving, stop the
vehicle, shut off the engine as soon as
possible, and contact an authorized dealer. A
chime will sound when this light turns on.
Do not operate the vehicle until the cause is
corrected. This light does not indicate how
much oil is in the engine. The engine oil level
must be checked under the hood.
Seat Belt Reminder Warning Light
This warning light indicates when the
driver or passenger seat belt is
unbuckled. When the ignition is first
placed in the ON/RUN or ACC/ON/
RUN position and if the driver’s seat belt is
unbuckled, a chime will sound and the light will
turn on. When driving, if the driver or front
passenger seat belt remains unbuckled, the
Seat Belt Reminder Light will flash or remain on
continuously and a chime will sound.
Refer to “Occupant Restraint Systems” in
“Safety” for further information.
Transmission Temperature Warning Light — If
Equipped
This warning light will illuminate to
warn of a high transmission fluid
temperature. This may occur with
strenuous usage such as trailer
towing. If this light turns on, stop the vehicle and
run the engine at idle or slightly faster, with the
transmission in PARK or NEUTRAL, until the
light turns off. Once the light turns off, you may
continue to drive normally.
WARNING!
If you continue operating the vehicle when
the Transmission Temperature Warning Light
is illuminated you could cause the fluid to boil
over, come in contact with hot engine or
exhaust components and cause a fire.
CAUTION!
Continuous driving with the Transmission
Temperature Warning Light illuminated will
eventually cause severe transmission
damage or transmission failure.
20_RT_OM_EN_USC_t.book Page 96
Page 192 of 380
190STARTING AND OPERATING
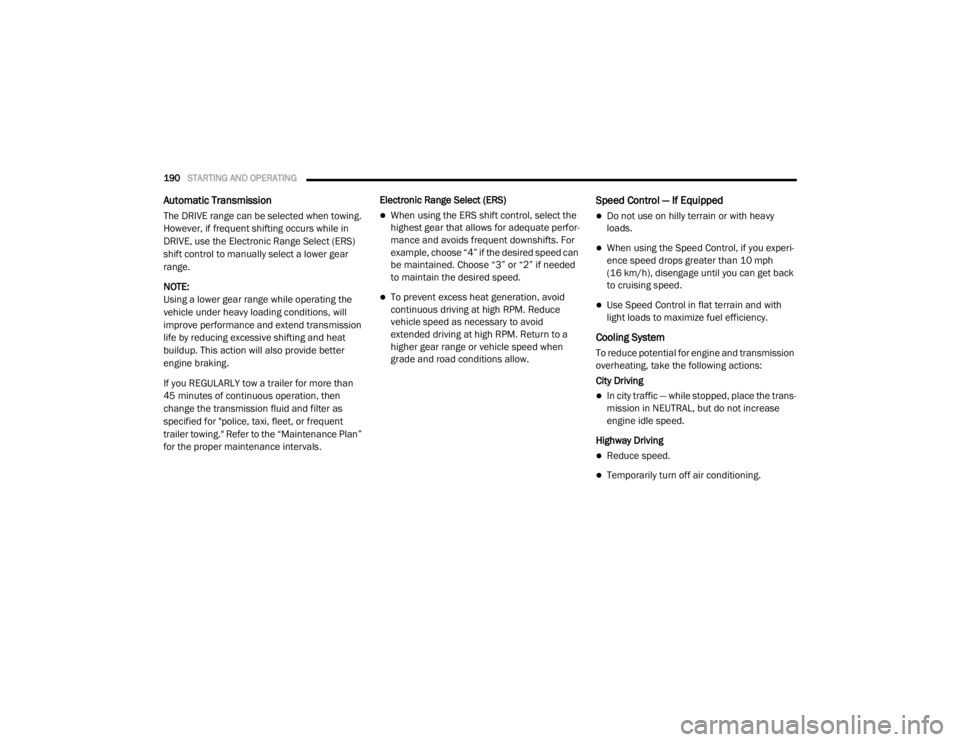
Automatic Transmission
The DRIVE range can be selected when towing.
However, if frequent shifting occurs while in
DRIVE, use the Electronic Range Select (ERS)
shift control to manually select a lower gear
range.
NOTE:
Using a lower gear range while operating the
vehicle under heavy loading conditions, will
improve performance and extend transmission
life by reducing excessive shifting and heat
buildup. This action will also provide better
engine braking.
If you REGULARLY tow a trailer for more than
45 minutes of continuous operation, then
change the transmission fluid and filter as
specified for "police, taxi, fleet, or frequent
trailer towing." Refer to the “Maintenance Plan”
for the proper maintenance intervals. Electronic Range Select (ERS)When using the ERS shift control, select the
highest gear that allows for adequate perfor
-
mance and avoids frequent downshifts. For
example, choose “4” if the desired speed can
be maintained. Choose “3” or “2” if needed
to maintain the desired speed.
To prevent excess heat generation, avoid
continuous driving at high RPM. Reduce
vehicle speed as necessary to avoid
extended driving at high RPM. Return to a
higher gear range or vehicle speed when
grade and road conditions allow.
Speed Control — If Equipped
Do not use on hilly terrain or with heavy
loads.
When using the Speed Control, if you experi -
ence speed drops greater than 10 mph
(16 km/h), disengage until you can get back
to cruising speed.
Use Speed Control in flat terrain and with
light loads to maximize fuel efficiency.
Cooling System
To reduce potential for engine and transmission
overheating, take the following actions:
City Driving
In city traffic — while stopped, place the trans -
mission in NEUTRAL, but do not increase
engine idle speed.
Highway Driving
Reduce speed.
Temporarily turn off air conditioning.
20_RT_OM_EN_USC_t.book Page 190
Page 230 of 380
228SERVICING AND MAINTENANCE
Mileage or time passed (whichever
comes first)
20,000
30,000
40,000
50,000
60,000
70,000
80,000
90,000
100,000
110,000
120,000
130,000
140,000
150,000
Or Years: 2 3 4 5 6 7 8 9 10 11 12 13 14 15
Or Kilometers:
32,000
48,000
64,000
80,000
96,000
112,000
128,000
144,000
160,000
176,000
192,000
208,000
224,000
240,000
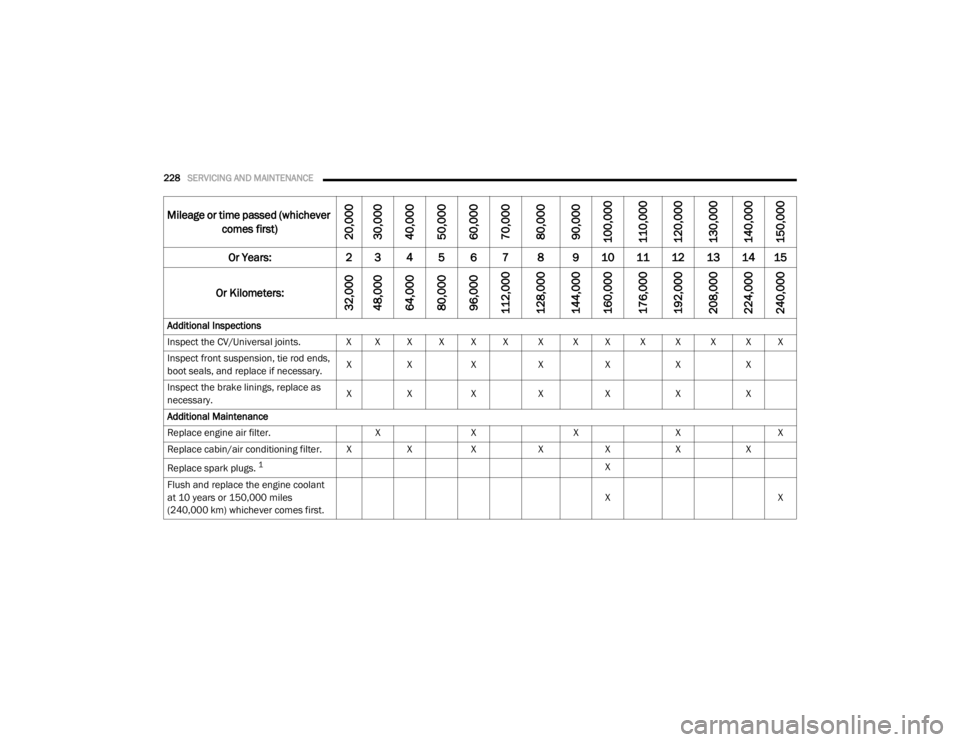
Additional Inspections
Inspect the CV/Universal joints. X X X X X X X X X X X X X X Inspect front suspension, tie rod ends,
boot seals, and replace if necessary. X
X X XX XX
Inspect the brake linings, replace as
necessary. X
X X XX XX
Additional Maintenance
Replace engine air filter. XX XXX
Replace cabin/air conditioning filter. X XX XX XX
Replace spark plugs.
1X
Flush and replace the engine coolant
at 10 years or 150,000 miles
(240,000 km) whichever comes first. X
X
20_RT_OM_EN_USC_t.book Page 228
Page 237 of 380
SERVICING AND MAINTENANCE235
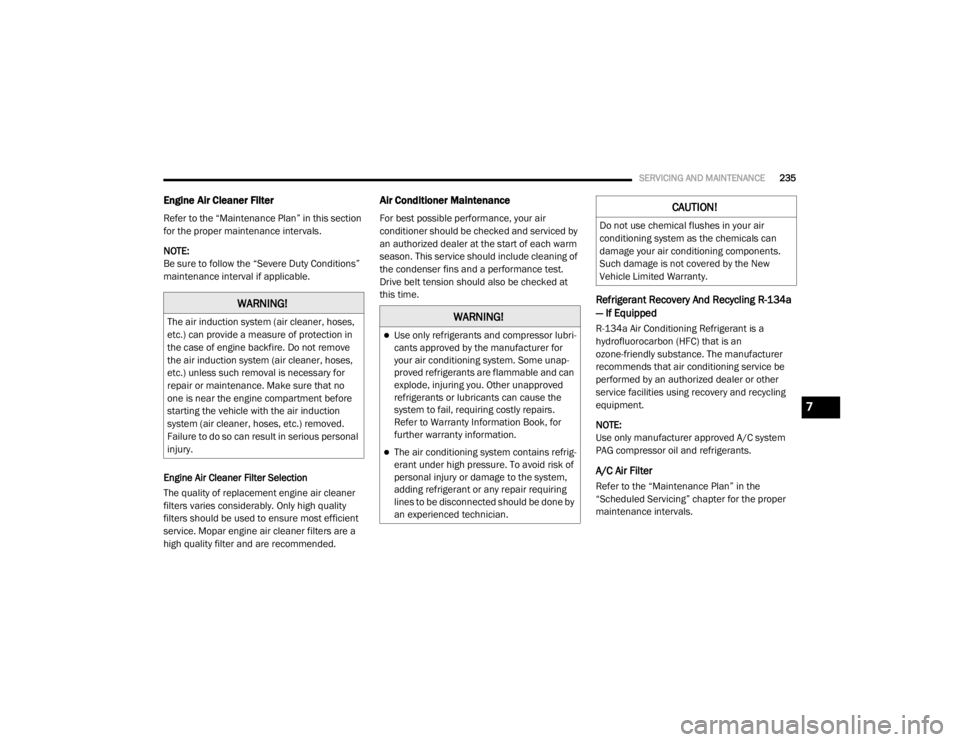
Engine Air Cleaner Filter
Refer to the “Maintenance Plan” in this section
for the proper maintenance intervals.
NOTE:
Be sure to follow the “Severe Duty Conditions”
maintenance interval if applicable.
Engine Air Cleaner Filter Selection
The quality of replacement engine air cleaner
filters varies considerably. Only high quality
filters should be used to ensure most efficient
service. Mopar engine air cleaner filters are a
high quality filter and are recommended.
Air Conditioner Maintenance
For best possible performance, your air
conditioner should be checked and serviced by
an authorized dealer at the start of each warm
season. This service should include cleaning of
the condenser fins and a performance test.
Drive belt tension should also be checked at
this time.
Refrigerant Recovery And Recycling R-134a
— If Equipped
R-134a Air Conditioning Refrigerant is a
hydrofluorocarbon (HFC) that is an
ozone-friendly substance. The manufacturer
recommends that air conditioning service be
performed by an authorized dealer or other
service facilities using recovery and recycling
equipment.
NOTE:
Use only manufacturer approved A/C system
PAG compressor oil and refrigerants.
A/C Air Filter
Refer to the “Maintenance Plan” in the
“Scheduled Servicing” chapter for the proper
maintenance intervals.
WARNING!
The air induction system (air cleaner, hoses,
etc.) can provide a measure of protection in
the case of engine backfire. Do not remove
the air induction system (air cleaner, hoses,
etc.) unless such removal is necessary for
repair or maintenance. Make sure that no
one is near the engine compartment before
starting the vehicle with the air induction
system (air cleaner, hoses, etc.) removed.
Failure to do so can result in serious personal
injury.WARNING!
Use only refrigerants and compressor lubri -
cants approved by the manufacturer for
your air conditioning system. Some unap -
proved refrigerants are flammable and can
explode, injuring you. Other unapproved
refrigerants or lubricants can cause the
system to fail, requiring costly repairs.
Refer to Warranty Information Book, for
further warranty information.
The air conditioning system contains refrig -
erant under high pressure. To avoid risk of
personal injury or damage to the system,
adding refrigerant or any repair requiring
lines to be disconnected should be done by
an experienced technician.
CAUTION!
Do not use chemical flushes in your air
conditioning system as the chemicals can
damage your air conditioning components.
Such damage is not covered by the New
Vehicle Limited Warranty.
7
20_RT_OM_EN_USC_t.book Page 235
Page 244 of 380
242SERVICING AND MAINTENANCE
Disposal Of Used Coolant
Used ethylene glycol-based coolant (antifreeze)
is a regulated substance requiring proper
disposal. Check with your local authorities to
determine the disposal rules for your
community. To prevent ingestion by animals or
children, do not store ethylene glycol-based
coolant in open containers or allow it to remain
in puddles on the ground. If ingested by a child
or pet, seek emergency assistance
immediately. Clean up any ground spills
immediately.
Points To Remember
NOTE:
When the vehicle is stopped after a few miles/
kilometers of operation, you may observe vapor
coming from the front of the engine
compartment. This is normally a result of
moisture from rain, snow, or high humidity
accumulating on the radiator and being
vaporized when the thermostat opens, allowing
hot engine coolant (antifreeze) to enter the
radiator. If an examination of your engine compartment
shows no evidence of radiator or hose leaks,
the vehicle may be safely driven. The vapor will
soon dissipate.
Do not overfill the coolant expansion bottle.
Check the coolant freeze point in the radiator
and in the coolant expansion bottle. If engine
coolant (antifreeze) needs to be added, the
contents of the coolant expansion bottle
must also be protected against freezing.
If frequent engine coolant (antifreeze) addi-
tions are required, the cooling system should
be pressure tested for leaks.
Maintain engine coolant (antifreeze) concen
-
tration at a minimum of 50% OAT coolant
(conforming to MS.90032) and distilled
water for proper corrosion protection of your
engine which contains aluminum
components.
Make sure that the coolant expansion bottle
overflow hoses are not kinked or obstructed.
Keep the front of the radiator clean. If your
vehicle is equipped with air conditioning,
keep the front of the condenser clean.
Do not change the thermostat for Summer or
Winter operation. If replacement is ever
necessary, install ONLY the correct type ther -
mostat. Other designs may result in unsatis -
factory engine coolant (antifreeze)
performance, poor gas mileage, and
increased emissions.
Brake System
In order to ensure brake system performance,
all brake system components should be
inspected periodically. Refer to the
“Maintenance Plan” in this section for the
proper maintenance intervals.
WARNING!
Riding the brakes can lead to brake failure
and possibly a collision. Driving with your foot
resting or riding on the brake pedal can result
in abnormally high brake temperatures,
excessive lining wear, and possible brake
damage. You would not have your full braking
capacity in an emergency.
20_RT_OM_EN_USC_t.book Page 242