child lock DODGE JOURNEY 2015 1.G User Guide
[x] Cancel search | Manufacturer: DODGE, Model Year: 2015, Model line: JOURNEY, Model: DODGE JOURNEY 2015 1.GPages: 140, PDF Size: 23.09 MB
Page 5 of 140
WARNING!
•Pedalsthatcannotmovefreelycancauselossofvehiclecontrolandincreasethe
risk of serious personal injury.
•Alwaysmakesurethatobjectscannotfallintothedriverfootwellwhilethevehicle
is moving. Objects can become trapped under the brake pedal and accelerator
pedal causing a loss of vehicle control.
•Failuretoproperlyfollowfloormatinstallationormountingcancauseinterference
with the brake pedal and accelerator pedal operation causing loss of control of the
vehicle.
•Neverleavechildrenaloneinavehicle,orwithaccesstoanunlockedvehicle.
Allowing children to be in a vehicle unattended is dangerous for a number of
reasons. A child or others could be seriously or fatally injured. Children should be
warned not to touch the parking brake, brake pedal or the shift lever/transmission
gear selector.
•Donotleavethekeyfobinornearthevehicle,orinalocationaccessibleto
children, and do not leave the ignition of a vehicle equipped with Keyless
Enter-N-Go in the ACC or ON/RUN mode. A child could operate power windows,
other controls, or move the vehicle.
•Neverusethe“PARK”positionasasubstitutefortheparkingbrake.Alwaysapply
the parking brake fully when parked to guard against vehicle movement and
possible injury or damage.
•RefertoyourOwner'sManualontheDVDforfurtherdetails.
USE OF AFTERMARKET PRODUCTS (ELECTRONICS)
The use of aftermarket devices including cell phones, MP3 players, GPS systems, or
chargers may affect the performance of on-board wireless features including Keyless
Enter-N-Go™ and Remote Start range. If you are experiencing difficulties with any of your
wireless features, try disconnecting your aftermarket devices to see if the situation
improves. If your symptoms persist, please see an authorized dealer.
CHRYSLER, DODGE, JEEP, RAM, SRT, MOPAR and Uconnect are registered trademarks
of Chrysler Group LLC.
COPYRIGHT ©2014 CHRYSLER GROUP LLC
INTRODUCTION/WELCOME
3
Page 11 of 140
WARNING!
•Whenleavingthevehicle,alwaysremovetheKeyFobfromtheignitionandlock
your vehicle.
•Neverleavechildrenaloneinavehicle,orwithaccesstoanunlockedvehicle.
Allowing children to be in a vehicle unattended is dangerous for a number of
reasons. A child or others could be seriously or fatally injured. Children should be
warned not to touch the parking brake, brake pedal or the transmission gear
selector.
•DonotleavetheKeyFobinornearthevehicle(orinalocationaccessibleto
children), and do not leave the ignition of a vehicle equipped with Keyless
Enter-N-Go™ in the ACC or ON/RUN mode. A child could operate power windows,
other controls, or move the vehicle.
REMOTE START
•PushtheREMOTESTARTbuttonx2on the Key Fob twice within five seconds.
Pushing the REMOTE START button a third time shuts the engine off.
•Todrivethevehicle,pushtheUNLOCKbuttonandcycletheignitiontotheON/RUN
position.
•Withremotestart,theenginewillonlyrunfor15minutes(timeout)unlesstheignition
is cycled to the ON/RUN position.
•ThevehiclemustbecycledtotheON/RUNpositionaftertwoconsecutivetimeouts.
WARNING!
•Donotstartorrunanengineinaclosedgarageorconfinedarea.Exhaustgas
contains Carbon Monoxide (CO) which is odorless and colorless. Carbon Monoxide
is poisonous and can cause you or others to be severely injured or killed when
inhaled.
•KeepKeyFobtransmittersawayfromchildren.OperationoftheRemoteStart
System, windows, door locks or other controls could cause you and others to be
severely injured or killed.
GETTING STARTED
9
Page 23 of 140
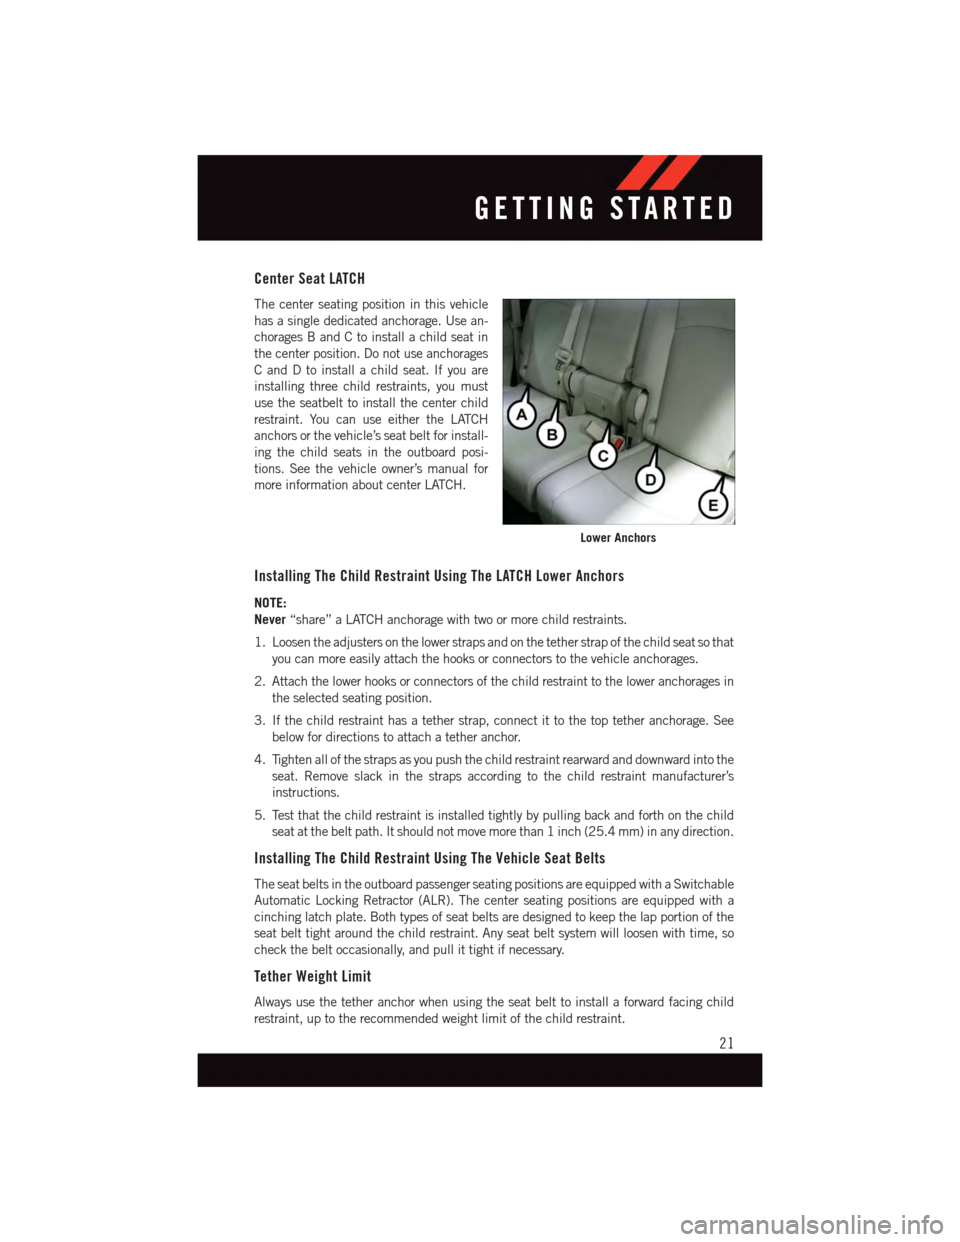
Center Seat LATCH
The center seating position in this vehicle
has a single dedicated anchorage. Use an-
chorages B and C to install a child seat in
the center position. Do not use anchorages
CandDtoinstallachildseat.Ifyouare
installing three child restraints, you must
use the seatbelt to install the center child
restraint. You can use either the LATCH
anchors or the vehicle’s seat belt for install-
ing the child seats in the outboard posi-
tions. See the vehicle owner’s manual for
more information about center LATCH.
Installing The Child Restraint Using The LATCH Lower Anchors
NOTE:
Never“share” a LATCH anchorage with two or more child restraints.
1. Loosen the adjusters on the lower straps and on the tether strap of the child seat so that
you can more easily attach the hooks or connectors to the vehicle anchorages.
2. Attach the lower hooks or connectors of the child restraint to the lower anchorages in
the selected seating position.
3. If the child restraint has a tether strap, connect it to the top tether anchorage. See
below for directions to attach a tether anchor.
4. Tighten all of the straps as you push the child restraint rearward and downward into the
seat. Remove slack in the straps according to the child restraint manufacturer’s
instructions.
5. Test that the child restraint is installed tightly by pulling back and forth on the child
seat at the belt path. It should not move more than 1 inch (25.4 mm) in any direction.
Installing The Child Restraint Using The Vehicle Seat Belts
The seat belts in the outboard passenger seating positions are equipped with a Switchable
Automatic Locking Retractor (ALR). The center seating positions are equipped with a
cinching latch plate. Both types of seat belts are designed to keep the lap portion of the
seat belt tight around the child restraint. Any seat belt system will loosen with time, so
check the belt occasionally, and pull it tight if necessary.
Tether Weight Limit
Always use the tether anchor when using the seat belt to install a forward facing child
restraint, up to the recommended weight limit of the child restraint.
Lower Anchors
GETTING STARTED
21
Page 24 of 140
To Install A Child Seat Using An ALR:
1. Pull enough of the seat belt webbing from the retractor to pass it through the belt path
of the child restraint. Do not twist the belt webbing in the belt path.
2. Slide the latch plate into the buckle until you hear a “click.”
3. Pull on the webbing to make the lap portion tight against the child seat.
4. To lock the seat belt, pull down on the shoulder part of the belt until you have pulled
all the seat belt webbing out of the retractor. Then, allow the webbing to retract back
into the retractor. As the webbing retracts, you will hear a clicking sound. This means
the seat belt is now in the Automatic Locking mode.
5. Try to pull the webbing out of the retractor. If it is locked, you should not be able to pull
out any webbing. If the retractor is not locked, repeat the last step.
6. Finally, pull up on any extra webbing to tighten the lap portion around the child
restraint while you push the child restraint rearward and downward into the vehicle
seat.
7. If the child restraint has a top tether strap and the seating position has a top tether
anchorage, connect the tether strap to the anchorage and tighten the tether strap. See
below for directions to attach a tether anchor.
8. Test that the child restraint is installed tightly by pulling back and forth on the child
seat at the belt path. It should not move more than 1 inch (25.4 mm) in any direction.
To Install A Child Seat Using A Cinching Latch Plate:
1. Place the child seat in the center of the seating position.
2. Next, pull enough of the seat belt webbing from the retractor to pass it through the belt
path of the child restraint. Do not twist the belt webbing in the belt path.
3. Slide the latch plate into the buckle until you hear a “click.”
4. Finally, pull up on any excess webbing to tighten the lap portion around the child
restraint while you push the child restraint rearward and downward into the vehicle
seat.
5. If the child restraint has a top tether strap and the seating position has a top tether
anchorage, connect the tether strap to the anchorage and tighten the tether strap. See
below for directions to attach a tether anchor.
6. Test that the child restraint is installed tightly by pulling back and forth on the child
seat at the belt path. It should not move more than 1 inch (25.4 mm) in any direction.
Installing The Top Tether Strap (With Either Lower Anchors Or Vehicle Seat Belt):
When installing a forward-facing child restraint, always secure the top tether strap, up to
the tether anchor weight limit, whether the child restraint is installed with the lower
anchors or the vehicle seat belt.
GETTING STARTED
22
Page 26 of 140
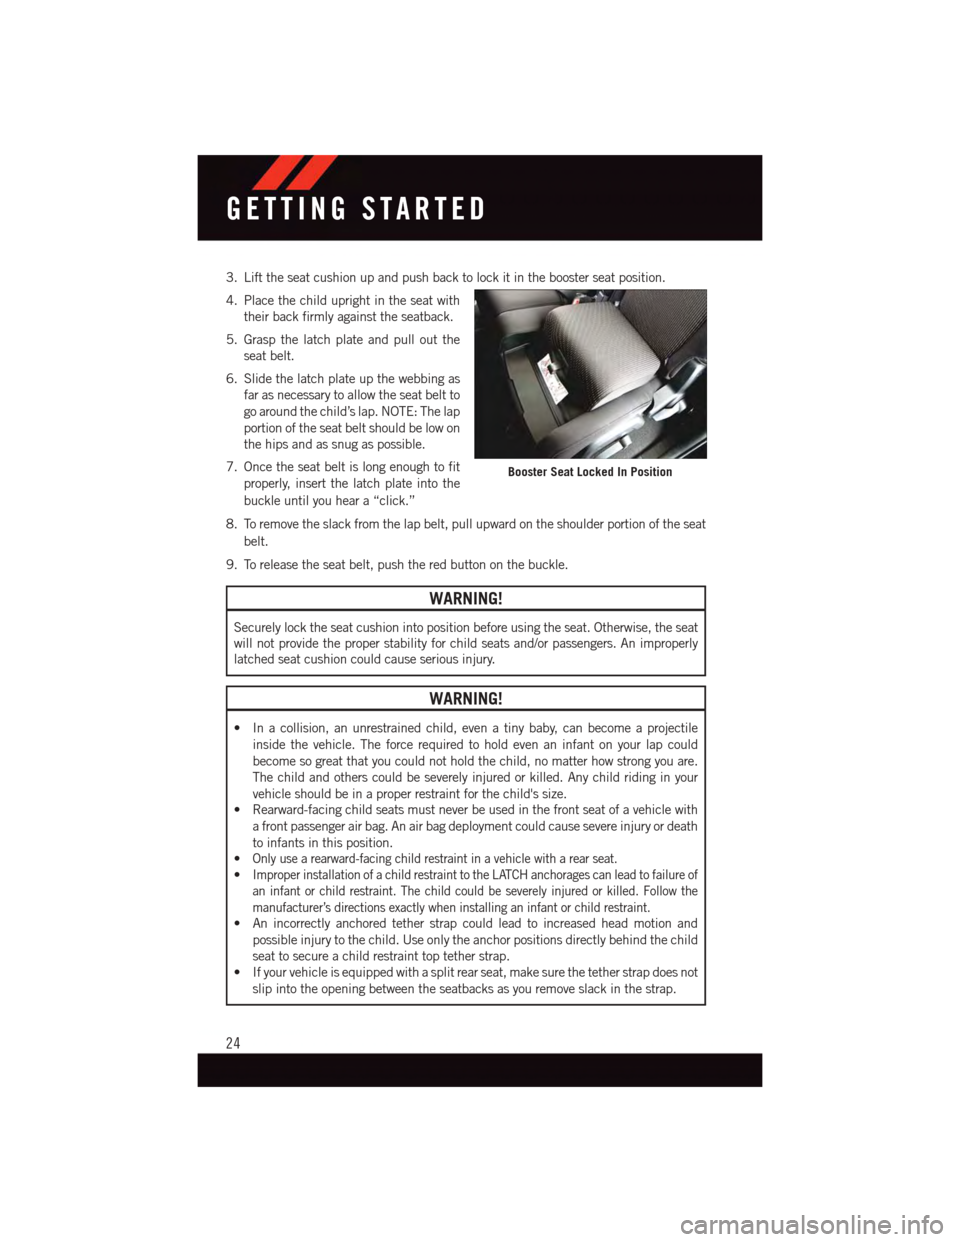
3. Lift the seat cushion up and push back to lock it in the booster seat position.
4. Place the child upright in the seat with
their back firmly against the seatback.
5. Grasp the latch plate and pull out the
seat belt.
6. Slide the latch plate up the webbing as
far as necessary to allow the seat belt to
go around the child’s lap. NOTE: The lap
portion of the seat belt should be low on
the hips and as snug as possible.
7. Once the seat belt is long enough to fit
properly, insert the latch plate into the
buckle until you hear a “click.”
8. To remove the slack from the lap belt, pull upward on the shoulder portion of the seat
belt.
9. To release the seat belt, push the red button on the buckle.
WARNING!
Securely lock the seat cushion into position before using the seat. Otherwise, the seat
will not provide the proper stability for child seats and/or passengers. An improperly
latched seat cushion could cause serious injury.
WARNING!
•Inacollision,anunrestrainedchild,evenatinybaby,canbecomeaprojectile
inside the vehicle. The force required to hold even an infant on your lap could
become so great that you could not hold the child, no matter how strong you are.
The child and others could be severely injured or killed. Any child riding in your
vehicle should be in a proper restraint for the child's size.
•Rearward-facingchildseatsmustneverbeusedinthefrontseatofavehiclewith
afrontpassengerairbag.Anairbagdeploymentcouldcausesevereinjuryordeath
to infants in this position.
•Only use a rearward-facing child restraint in a vehicle with a rear seat.
•Improper installation of a child restraint to the LATCH anchorages can lead to failure of
an infant or child restraint. The child could be severely injured or killed. Follow the
manufacturer’s directions exactly when installing an infant or child restraint.
•Anincorrectlyanchoredtetherstrapcouldleadtoincreasedheadmotionand
possible injury to the child. Use only the anchor positions directly behind the child
seat to secure a child restraint top tether strap.
•Ifyourvehicleisequippedwithasplitrearseat,makesurethetetherstrapdoesnot
slip into the opening between the seatbacks as you remove slack in the strap.
Booster Seat Locked In Position
GETTING STARTED
24
Page 28 of 140
WARNING!
•DonotplaceitemsoverthetopoftheActiveHeadRestraint,suchascoats,seat
covers or portable DVD players. These items may interfere with the operation of the
Active Head Restraint in the event of a collision and could result in serious injury or
death.
•ActiveHeadRestraintsmaybedeployediftheyarestruckbyanobjectsuchasa
hand, foot or loose cargo. To avoid accidental deployment of the Active Head
Restraint ensure that all cargo is secured, as loose cargo could contact the Active
Head Restraint during sudden stops. Failure to follow this warning could cause
personal injury if the Active Head Restraint is deployed.
Head Restraints — Second Row Seats
The rear seats are equipped with adjustable head restraints. To raise the head restraint,
pull upward on the head restraint. To lower the head restraint, press the adjustment
button, located on the base of the head restraint, and push downward on the head
restraint.
NOTE:
•Theheadrestraintsshouldonlyberemovedbyqualifiedtechnicians,forservice
purposes only. If any of the head restraints require removal, see your authorized dealer.
•ForproperroutingofaChildSeatTether,referto“OccupantRestraints”in“ThingsTo
Know Before Starting” in the Owner's Manual on the DVD for further information.
WARNING!
Driving a vehicle with the head restraints removed or improperly adjusted could cause
serious injury or death in the event of a collision. The head restraints should be checked
prior to operating the vehicle and never adjusted while the vehicle is in motion.
Third Row Passenger Seats — Seven Passenger Models
These head restraints are non-adjustable and non-removable. However, you can fold them
forward when they are not in use by passengers. Refer to “50/50 Split Third-Row
Passenger Seats With Fold-Flat Feature — Seven Passenger Models” in the Owner's
Manual on the DVD for further information.
WARNING!
Do not allow a passenger to sit in a third row seat without having the head restraint
unfolded and locked in place. Failure to follow this warning may result in personal
injury to the passenger in the event of a collision.
GETTING STARTED
26
Page 34 of 140
WARNING!
•Becertainthattheseatbackislockedsecurelyintoposition.Otherwise,theseatwill
not provide the proper stability for child seats and/or passengers. An improperly
latched seat could cause you and others to be severely injured or killed.
•Donotallowapassengertositinathirdrowseatwithouthavingtheheadrestraint
unfolded and locked in place or seatback(s) folded flat. Failure to follow this
warning may result in the passengers being severely injured or killed in the event of
acollision.
•DonotdrivethevehiclewiththeseatintheTip'nSlide™position,asitisonly
intended for entering and exiting the third row seats. Failure to follow this warning
may result in you and others being severely injured or killed.
•Becertainthattheseatbackandseatarelockedsecurelyintoposition.Otherwise,
the seat will not provide the proper stability for child seats and/or passengers. An
improperly latched seat could cause you or others to be severely injured or killed.
HEATED SEATS
Front Heated Seats
The front heated seats control buttons are located within the climate or controls screen of
the touchscreen.
•Presstheheatedseatbuttononce to turn the High setting On.
•PresstheheatedseatbuttonasecondtimetoturntheLowsettingOn.
•PresstheheatedseatbuttonathirdtimetoturntheheatingelementsOff.
If the High-level setting is selected, the system will automatically switch to Low-level after
approximately 60 minutes. The Low-level setting will turn Off automatically after approxi-
mately 45 minutes.
NOTE:
Vehicle Equipped With Remote Start
On models that are equipped with remote start, this feature can be programmed to come
on during a remote start through the Uconnect®system. Refer to “Uconnect®Settings”
in “Understanding Your Instrument Panel” in the Owner's Manual on the DVD.
GETTING STARTED
32
Page 47 of 140
WARNING!
•Donotletchildrenplaywiththesunroof.Neverleavechildrenunattendedina
vehicle, or with access to an unlocked vehicle. Do not leave the Key Fob in or near
the vehicle, and do not leave the ignition of a vehicle equipped with Keyless
Enter-N-Go™ in the ACC or ON/RUN mode. Occupants, particularly unattended
children, can become entrapped by the power sunroof while operating the power
sunroof switch. Such entrapment may result in serious injury or death.
•Inacollision,thereisagreaterriskofbeingthrownfromavehiclewithanopen
sunroof. You could also be severely injured or killed. Always fasten your seat belt
properly and make sure all passengers are properly secured.
•Do not allow small children to operate the sunroof. Never allow your fingers, other body
parts, or any object to project through the sunroof opening. Injury may result.
WIND BUFFETING
Wind buffeting can be described as a helicopter-type percussion sound. If buffeting
occurs with the rear windows open, adjust the front and rear windows together.
If buffeting occurs with the sunroof open, adjust the sunroof opening, or adjust any
window. This will minimize buffeting.
OPERATING YOUR VEHICLE
45
Page 131 of 140
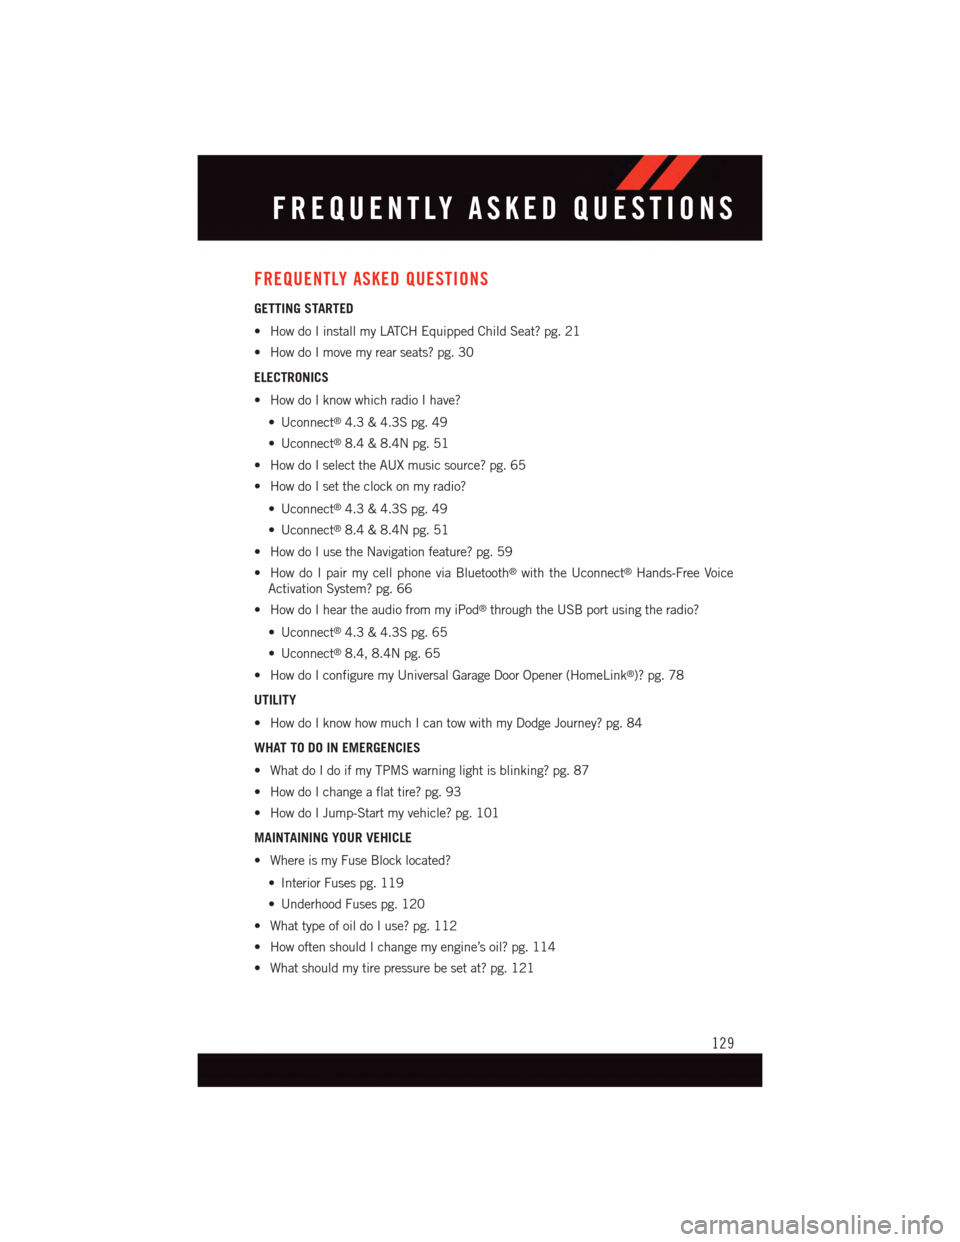
FREQUENTLY ASKED QUESTIONS
GETTING STARTED
•HowdoIinstallmyLATCHEquippedChildSeat?pg.21
•HowdoImovemyrearseats?pg.30
ELECTRONICS
•HowdoIknowwhichradioIhave?
•Uconnect®4.3 & 4.3S pg. 49
•Uconnect®8.4 & 8.4N pg. 51
•HowdoIselecttheAUXmusicsource?pg.65
•HowdoIsettheclockonmyradio?
•Uconnect®4.3 & 4.3S pg. 49
•Uconnect®8.4 & 8.4N pg. 51
•HowdoIusetheNavigationfeature?pg.59
•HowdoIpairmycellphoneviaBluetooth®with the Uconnect®Hands-Free Voice
Activation System? pg. 66
•HowdoIheartheaudiofrommyiPod®through the USB port using the radio?
•Uconnect®4.3 & 4.3S pg. 65
•Uconnect®8.4, 8.4N pg. 65
•HowdoIconfiguremyUniversalGarageDoorOpener(HomeLink®)? pg. 78
UTILITY
•HowdoIknowhowmuchIcantowwithmyDodgeJourney?pg.84
WHAT TO DO IN EMERGENCIES
•WhatdoIdoifmyTPMSwarninglightisblinking?pg.87
•HowdoIchangeaflattire?pg.93
•HowdoIJump-Startmyvehicle?pg.101
MAINTAINING YOUR VEHICLE
•WhereismyFuseBlocklocated?
•InteriorFusespg.119
•UnderhoodFusespg.120
•WhattypeofoildoIuse?pg.112
•HowoftenshouldIchangemyengine’soil?pg.114
•Whatshouldmytirepressurebesetat?pg.121
FREQUENTLY ASKED QUESTIONS
129
Page 132 of 140
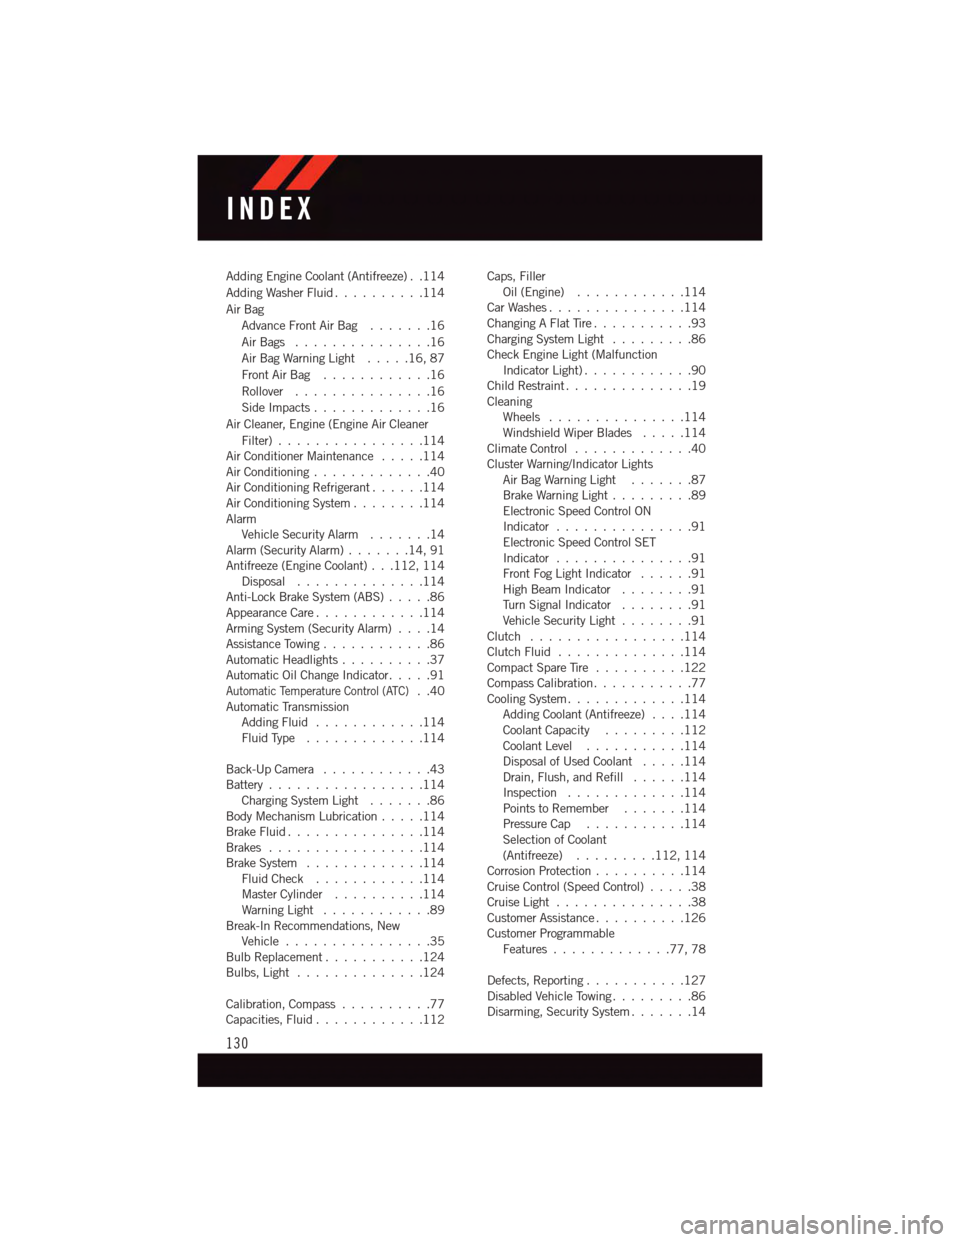
Adding Engine Coolant (Antifreeze) . .114
Adding Washer Fluid..........114
Air Bag
Advance Front Air Bag.......16
Air Bags . . . . . . . . . . . . . . .16
Air Bag Warning Light . . . . .16, 87
Front Air Bag . . . . . . . . . . . .16
Rollover . . . . . . . . . . . . . . .16
Side Impacts.............16
Air Cleaner, Engine (Engine Air Cleaner
Filter)................114Air Conditioner Maintenance.....114Air Conditioning.............40Air Conditioning Refrigerant......114Air Conditioning System........114AlarmVehicle Security Alarm.......14Alarm (Security Alarm).......14,91Antifreeze (Engine Coolant) . . .112, 114Disposal . . . . . . . . . . . . . .114Anti-Lock Brake System (ABS).....86Appearance Care............114Arming System (Security Alarm)....14Assistance Towing............86Automatic Headlights..........37Automatic Oil Change Indicator.....91
Automatic Temperature Control (ATC)..40Automatic TransmissionAdding Fluid............114Fluid Type . . . . . . . . . . . . .114
Back-Up Camera............43Battery.................114Charging System Light.......86Body Mechanism Lubrication.....114Brake Fluid . . . . . . . . . . . . . . .114Brakes . . . . . . . . . . . . . . . . .114Brake System.............114Fluid Check............114Master Cylinder..........114Warning Light . . . . . . . . . . . .89Break-In Recommendations, NewVehicle . . . . . . . . . . . . . . . .35Bulb Replacement...........124Bulbs, Light . . . . . . . . . . . . . .124
Calibration, Compass..........77Capacities, Fluid............112
Caps, FillerOil (Engine)............114Car Washes . . . . . . . . . . . . . . .114Changing A Flat Tire...........93Charging System Light.........86Check Engine Light (MalfunctionIndicator Light) . . . . . . . . . . . .90Child Restraint..............19CleaningWheels...............114Windshield Wiper Blades.....114Climate Control . . . . . . . . . . . . .40Cluster Warning/Indicator LightsAir Bag Warning Light . . . . . . .87Brake Warning Light . . . . . . . . .89Electronic Speed Control ONIndicator . . . . . . . . . . . . . . .91Electronic Speed Control SETIndicator . . . . . . . . . . . . . . .91Front Fog Light Indicator . . . . . .91High Beam Indicator........91Tu r n S i g n a l I n d i c a t o r........91Vehicle Security Light........91Clutch . . . . . . . . . . . . . . . . .114Clutch Fluid . . . . . . . . . . . . . .114Compact Spare Tire..........122Compass Calibration...........77Cooling System . . . . . . . . . . . . .114Adding Coolant (Antifreeze)....114Coolant Capacity.........112Coolant Level...........114Disposal of Used Coolant.....114Drain, Flush, and Refill......114Inspection . . . . . . . . . . . . .114Points to Remember.......114Pressure Cap . . . . . . . . . . .114Selection of Coolant(Antifreeze).........112, 114Corrosion Protection . . . . . . . . . .114Cruise Control (Speed Control).....38Cruise Light . . . . . . . . . . . . . . .38Customer Assistance..........126Customer ProgrammableFeatures.............77,78
Defects, Reporting...........127Disabled Vehicle Towing . . . . . . . . .86Disarming, Security System.......14
INDEX
130