torque DODGE JOURNEY 2017 1.G User Guide
[x] Cancel search | Manufacturer: DODGE, Model Year: 2017, Model line: JOURNEY, Model: DODGE JOURNEY 2017 1.GPages: 510
Page 418 of 510

WARNING!
To avoid the risk of forcing the vehicle off the jack, do
not tighten the lug nuts fully until the vehicle has been
lowered. Failure to follow this warning may result in
serious injury.3. Align the valve notch in the wheel cover with the valve
stem on the wheel. Install the cover by hand, snapping
the cover over the two lug nuts. Do not use a hammer or
excessive force to install the cover.
4. Install the remaining lug nuts with the cone shaped end of the nut toward the wheel. Lightly tighten the lug
nuts.
WARNING!
To avoid the risk of forcing the vehicle off the jack, do
not tighten the lug nuts fully until the vehicle has been
lowered. Failure to follow this warning may result in
serious injury.
5. Lower the vehicle to the ground by turning the jack handle counterclockwise.
6. Finish tightening the lug nuts. Push down on the wrench while at the end of the handle for increased
leverage. Tighten the lug nuts in a star pattern until each
nut has been tightened twice. For the correct lug nut
torque refer to Torque Specifications in this section. If in
doubt about the correct tightness, have them checked
with a torque wrench by your authorized dealer or
service station.
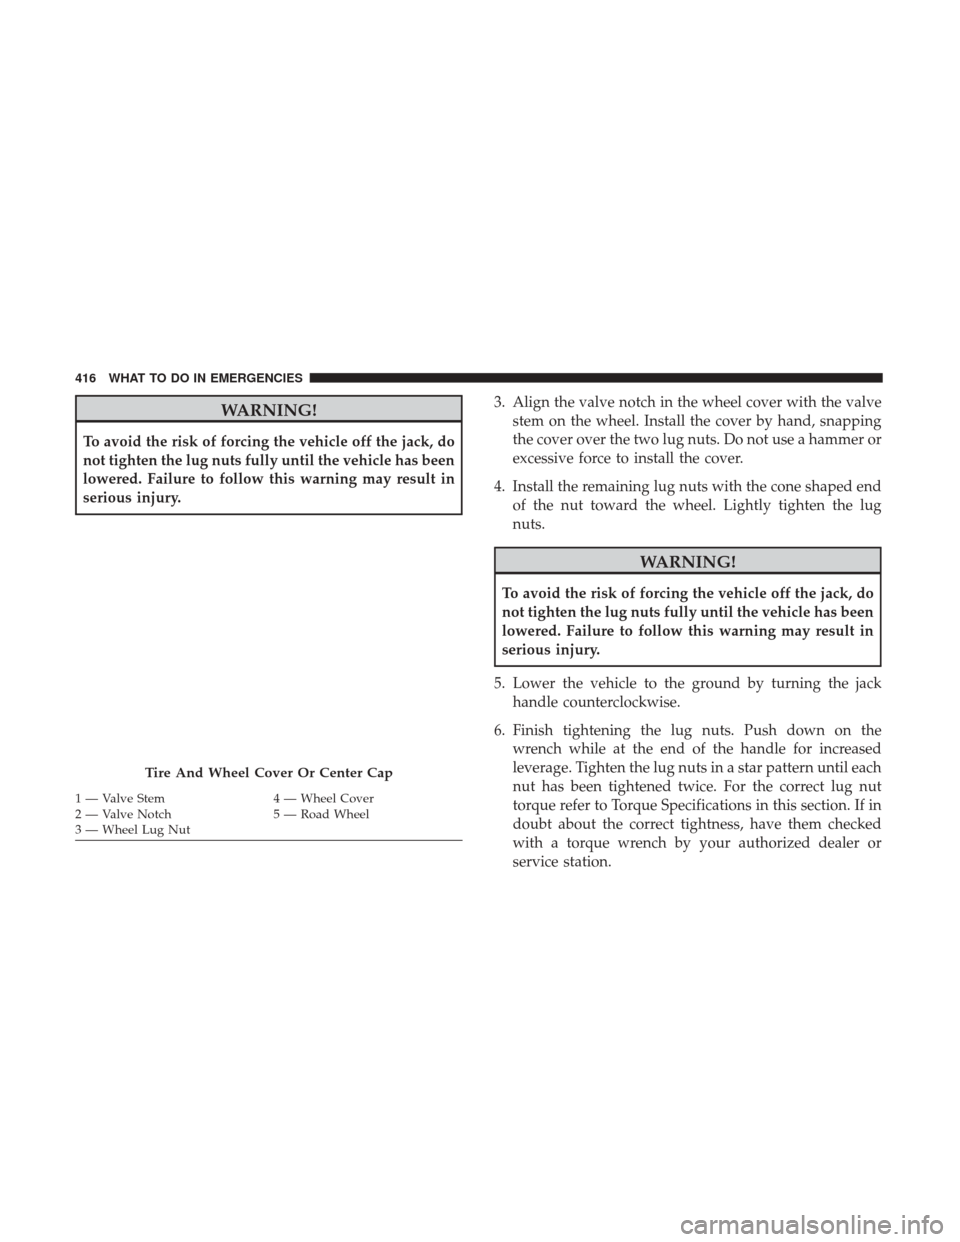
Tire And Wheel Cover Or Center Cap
1 — Valve Stem 4 — Wheel Cover
2 — Valve Notch 5 — Road Wheel
3 — Wheel Lug Nut 416 WHAT TO DO IN EMERGENCIES
Page 419 of 510

7. After 25 miles (40 km) check the lug nut torque with atorque wrench to ensure that all lug nuts are properly
seated against the wheel.
Vehicles Without Wheel Covers
1. Mount the road tire on the axle.
2. Install the remaining lug nuts with the cone shaped endof the nut toward the wheel. Lightly tighten the lug
nuts.
WARNING!
To avoid the risk of forcing the vehicle off the jack, do
not tighten the lug nuts fully until the vehicle has been
lowered. Failure to follow this warning may result in
serious injury.
3. Lower the vehicle to the ground by turning the jack handle counterclockwise.
4.
Finish tightening the lug nuts. Push down on the wrench
while at the end of the handle for increased leverage.
Tighten the lug nuts in a star pattern until each nut has
been tightened twice. For proper lug nut torque refer to
Torque Specifications in this secton. If in doubt about the correct tightness, have them checked with a torque
wrench by your authorized dealer or service station.
5. After 25 miles (40 km) check the lug nut torque with a
torque wrench to ensure that all lug nuts are properly
seated against the wheel.
JUMP-STARTING
If your vehicle has a discharged battery it can be jump-
started using a set of jumper cables and a battery in another
vehicle or by using a portable battery booster pack. Jump-
starting can be dangerous if done improperly so please
follow the procedures in this section carefully.
WARNING!
Do not attempt jump-starting if the battery is frozen. It
could rupture or explode and cause personal injury.
CAUTION!
Do not use a portable battery booster pack or any other
booster source with a system voltage greater than 12
Volts or damage to the battery, starter motor, alternator
or electrical system may occur.
6
WHAT TO DO IN EMERGENCIES 417
Page 453 of 510

WARNING!(Continued)
•Overfilling the brake fluid reservoir can result in
spilling brake fluid on hot engine parts, causing the
brake fluid to catch fire. Brake fluid can also damage
painted and vinyl surfaces, care should be taken to
avoid its contact with these surfaces.
• Do not allow petroleum based fluid to contaminate
the brake fluid. Brake seal components could be
damaged, causing partial or complete brake failure.
This could result in a collision.
Automatic Transmission
Selection Of Lubricant
It is important to use the proper transmission fluid to
ensure optimum transmission performance and life. Use
only the manufacturer ’s specified transmission fluid. Refer
to “Fluids, Lubricants, And Genuine Parts” in this section
for fluid specifications. It is important to maintain the
transmission fluid at the correct level using the recom-
mended fluid. No chemical flushes should be used in any
transmission; only the approved lubricant should be used.
CAUTION!
Using a transmission fluid other than the manufactur-
er ’s recommended fluid may cause deterioration in
transmission shift quality and/or torque converter
shudder, and will require more frequent fluid and
filter changes. Refer to “Fluids, Lubricants, And Genu-
ine Parts” in this section for fluid specifications.
Special Additives
The manufacturer strongly recommends against using any
special additives in the transmission.
Automatic Transmission Fluid (ATF) is an engineered
product and its performance may be impaired by supple-
mental additives. Therefore, do not add any fluid additives
to the transmission. The only exception to this policy is the
use of special dyes for diagnosing fluid leaks. Avoid using
transmission sealers as they may adversely affect seals.7
MAINTAINING YOUR VEHICLE 451
Page 455 of 510

two minutes for the oil to fully drain into the transmission
before rechecking the fluid level.
NOTE:If it is necessary to check the transmission below
the operating temperature, the fluid level should be be-
tween the two COLD (lower) holes on the dipstick with the
fluid at approximately 80°F (27°C). If the fluid level is
correctly established at 80°F (27°C), it should be between
the HOT (upper) reference holes when the transmission
reaches 180°F (82°C). Remember it is best to check the level
at the normal operating temperature.
8. Check for leaks. Release the parking brake.
CAUTION!
•Using a transmission fluid other than the manufactur-
er’s recommended fluid may cause deterioration in
transmission shift quality and/or torque converter shud-
der, and will require more frequent fluid and filter
changes. Refer to “Fluids, Lubricants, And Genuine
Parts” in this section for fluid specifications.
• Dirt and water in the transmission can cause serious
damage. To prevent dirt and water from entering the
transmission after checking or replenishing fluid,
make sure that the dipstick cap is re-seated properly.
Fluid Level Check — Six-Speed Automatic
Transmission
The fluid level is preset at the factory and does not require
adjustment under normal operating conditions. Routine
fluid level checks are not required, therefore the transmis-
sion filler tube is capped and no dipstick is provided. Your
authorized dealer can check your transmission fluid level
using a special service dipstick. If you notice fluid leakage
or transmission malfunction, visit your authorized dealer
immediately to have the transmission fluid level checked.
Operating the vehicle with an improper fluid level can
cause severe transmission damage.
CAUTION!
If a transmission fluid leak occurs, visit your autho-
rized dealer immediately. Severe transmission damage
may occur. Your authorized dealer has the proper tools
to adjust the fluid level accurately.
Fluid And Filter Changes
Refer to the “Maintenance Schedule” for the proper main-
tenance intervals.
7
MAINTAINING YOUR VEHICLE 453