coolant DODGE JOURNEY 2017 1.G Owners Manual
[x] Cancel search | Manufacturer: DODGE, Model Year: 2017, Model line: JOURNEY, Model: DODGE JOURNEY 2017 1.GPages: 510
Page 86 of 510
WARNING!(Continued)
•ONLY use the passenger ’s side floor mat on the
passenger ’s side floor area.
• ALWAYS make sure objects cannot fall or slide into
the driver ’s side floor area when the vehicle is
moving. Objects can become trapped under accelera-
tor, brake, or clutch pedals and could cause a loss of
vehicle control.
• NEVER place any objects under the floor mat (e.g.,
towels, keys, etc.). These objects could change the
position of the floor mat and may cause interference
with the accelerator, brake, or clutch pedals.
• If the vehicle carpet has been removed and re-
installed, always properly attach carpet to the floor
and check the floor mat fasteners are secure to the
vehicle carpet. Fully depress each pedal to check for
interference with the accelerator, brake, or clutch
pedals then re-install the floor mats.
• It is recommended to only use mild soap and water
to clean your floor mats. After cleaning, always check
your floor mat has been properly installed and is
secured to your vehicle using the floor mat fasteners
by lightly pulling mat.
Periodic Safety Checks You Should Make Outside
The Vehicle
Tires
Examine tires for excessive tread wear and uneven wear
patterns. Check for stones, nails, glass, or other objects
lodged in the tread or sidewall. Inspect the tread for cuts
and cracks. Inspect sidewalls for cuts, cracks, and bulges.
Check the wheel nuts for tightness. Check the tires (includ-
ing spare) for proper cold inflation pressure.
Lights
Have someone observe the operation of brake lights and
exterior lights while you work the controls. Check turn
signal and high beam indicator lights on the instrument
panel.
Door Latches
Check for proper closing, latching, and locking.
Fluid Leaks
Check area under vehicle after overnight parking for fuel,
engine coolant, oil, or other fluid leaks. Also, if gasoline
fumes are detected or if fuel, power steering fluid (if
equipped), or brake fluid leaks are suspected. The cause
should be located and corrected immediately.
84 THINGS TO KNOW BEFORE STARTING YOUR VEHICLE
Page 226 of 510
1. Tachometer•Indicates the engine speed in revolutions per minute
(RPM x 1000).
2. Instrument Cluster Display •When the appropriate conditions exist, this display
shows the Instrument Cluster Display messages. Refer
to “Instrument Cluster Display” in “Understanding
Your Instrument Panel” for further information.
3. Speedometer •Indicates vehicle speed.
4. Fuel Gauge •The pointer shows the level of fuel in the fuel tank
when the Keyless Push Button Ignition is in the
ON/RUN position.
•
The fuel pump arrow symbol points to the side
of the vehicle where the fuel door is located.
5. Temperature Gauge
•The temperature gauge shows engine coolant tem-
perature. Any reading within the normal range indi-
cates that the engine cooling system is operating
satisfactorily. •
The gauge pointer will likely indicate a higher tem-
perature when driving in hot weather, up mountain
grades, or when towing a trailer. It should not be
allowed to exceed the upper limits of the normal
operating range.
CAUTION!
Driving with a hot engine cooling system could dam-
age your vehicle. If the temperature gauge reads “H”
pull over and stop the vehicle. Idle the vehicle with the
air conditioner turned off until the pointer drops back
into the normal range. If the pointer remains on the
“H”, turn the engine off immediately and call an
authorized dealer for service.
WARNING!
A hot engine cooling system is dangerous. You or
others could be badly burned by steam or boiling
coolant. You may want to call an authorized dealer for
service if your vehicle overheats. If you decide to look
under the hood yourself, see “Maintaining Your Ve-
hicle”. Follow the warnings under the Cooling System
Pressure Cap paragraph.
224 UNDERSTANDING YOUR INSTRUMENT PANEL
Page 230 of 510
Vehicle Security Warning Light — If Equipped
Red TelltaleLight What It Means
Vehicle Security Warning Light — If Equipped
This light will flash at a fast rate for approximately 15 seconds when the vehicle security alarm is
arming, and then will flash slowly until the vehicle is disarmed.
Engine Temperature Warning Light
Red Warning
Light What It Means
Engine Temperature Warning Light
This light warns of an overheated engine condition. As engine coolant temperatures rise and the
gauge approaches
H, this indicator will illuminate and a single chime will sound after reaching a
set threshold. Further overheating will cause a continuous chime sound for 4 minutes, or until
the engine is allowed to cool, whichever comes first.
If the light turns on while driving, safely pull over and stop the vehicle. If the A/C system is on,
turn it off. Also, shift the transmission into NEUTRAL and idle the vehicle. If the temperature
reading does not return to normal, turn the engine off immediately and call for service. Refer to
“If Your Engine Overheats” in “What To Do In Emergencies” for further information.
228 UNDERSTANDING YOUR INSTRUMENT PANEL
Page 250 of 510
Tire Pressure
Push and release theUPorDOWNarrow button
until “Tire PSI:” displays highlighted in the Instrument
Cluster Display. Push and release the RIGHT
arrow
button to view a graphic of the vehicle with a tire
pressure value at each corner of the graphic.
Vehicle Info (Customer Information Features)
Push and release the UPorDOWNarrow button
until “Vehicle Info” displays in the Instrument Cluster
Display and push the RIGHT
arrow button. Push
the UP
orDOWNarrow button to scroll through
the available information displays.
• Coolant Temperature
Displays the actual coolant temperature.
• Oil Temperature
Displays the actual oil temperature.
• Oil Pressure — If Equipped
Displays the actual oil pressure.
• Transmission Temperature
Displays the actual transmission temperature. •
Engine Hours
Displays the number of hours of engine operation.
Messages
Push and release the UPorDOWNarrow button
until “Messages: XX” displays highlighted in the Instru-
ment Cluster Display. If there is more than one message,
pushing the RIGHT
arrow button will display a
stored warning message. Push and release the UP
or
DOWN
arrow button if there is more than one
message to step through the remaining stored messages.
If there are no messages, pushing the RIGHT
arrow
button will not change the display.
Turn Menu OFF
Select from Main Menu using the UPorDOWN
arrow button. Pushing the RIGHTarrow button
clears the menu display. Pushing any one of the four
Display control buttons will bring the menu back.
Battery Saver On/Battery Saver Mode Message —
Electrical Load Reduction Actions
This vehicle is equipped with an Intelligent Battery Sensor
(IBS) to perform additional monitoring of the electrical
system and status of the vehicle battery.
248 UNDERSTANDING YOUR INSTRUMENT PANEL
Page 320 of 510
Rear Mode Control
Auto Mode
•The rear system automatically maintains the correct
mode and comfort level desired by the rear seat occu-
pants.
Headliner Mode
Air comes from the outlets in the headliner. Each of
these outlets can be individually adjusted to direct
the flow of air. Moving the air vanes of the outlets to one
side will shut off the airflow.
Bi-Level Mode
Air comes from both the headliner outlets and the
floor outlets.
NOTE: In many temperature positions, the BI-LEVEL
mode is designed to provide cooler air out of the headliner
outlets and warmer air from the floor outlets.
Floor Mode
Air comes from the floor outlets.
Operating Tips
NOTE: Refer to the chart at the end of this section for
suggested control settings for various weather conditions.
Summer Operation
The engine cooling system must be protected with a
high-quality antifreeze coolant to provide proper corrosion
protection and to protect against engine overheating. A
solution of 50% OAT (Organic Additive Technology) cool-
ant that meets the requirements of FCA Material Standard
MS.90032 and 50% water is recommended. Refer to “Main-
tenance Procedures” in “Maintaining Your Vehicle” for
proper coolant selection.
Winter Operation
Use of the air Recirculation mode during winter months is
not recommended because it may cause window fogging.
Vacation Storage
Any time you store your vehicle or keep it out of service
(i.e., vacation) for two weeks or more, run the air condi-
tioning system at idle for about five minutes in the fresh air
and high blower setting. This will ensure adequate system
lubrication to minimize the possibility of compressor dam-
age when the system is started again.
318 UNDERSTANDING YOUR INSTRUMENT PANEL
Page 337 of 510
In the event of a momentary problem, the transmission can
be reset to regain all forward gears by performing the
following steps:
1. Stop the vehicle.
2. Shift the transmission into PARK.
3. Turn the ignition to the OFF position.
4. Wait approximately 10 seconds.
5. Restart the engine.
6. Shift into the desired gear range. If the problem is nolonger detected, the transmission will return to normal
operation.
NOTE: Even if the transmission can be reset, we recom-
mend that you visit your authorized dealer at your earliest
possible convenience. Your authorized dealer has diagnos-
tic equipment to determine if the problem could recur.
If the transmission cannot be reset, authorized dealer
service is required.Overdrive Operation
The automatic transmission includes an electronically con-
trolled Overdrive (top gear). The transmission will auto-
matically shift into Overdrive if the following conditions
are present:
• The gear selector is in the DRIVE position.
• The transmission fluid has reached an adequate tem-
perature.
• The engine coolant has reached an adequate tempera-
ture.
• The vehicle speed is sufficiently high.
• The driver is not heavily pressing the accelerator.
Torque Converter Clutch
A feature designed to improve fuel economy has been
included in the automatic transmission on your vehicle. A
clutch within the torque converter engages automatically
at calibrated speeds. This may result in a slightly different
feeling or response during normal operation in the upper
gears. When the vehicle speed drops or during some
accelerations, the clutch automatically disengages.
5
STARTING AND OPERATING 335
Page 338 of 510
![DODGE JOURNEY 2017 1.G Owners Manual NOTE:The torque converter clutch will not engage until
the transmission fluid and engine coolant are warm (usu-
ally after 1 to 3 miles [2 to 5 km] of driving). Because the
engine speed is higher when DODGE JOURNEY 2017 1.G Owners Manual NOTE:The torque converter clutch will not engage until
the transmission fluid and engine coolant are warm (usu-
ally after 1 to 3 miles [2 to 5 km] of driving). Because the
engine speed is higher when](/img/12/5653/w960_5653-337.png)
NOTE:The torque converter clutch will not engage until
the transmission fluid and engine coolant are warm (usu-
ally after 1 to 3 miles [2 to 5 km] of driving). Because the
engine speed is higher when the torque converter clutch is
not engaged, it may seem as if the transmission is not
shifting into Overdrive when cold. This is normal. Using
the AutoStick shift control, when the transmission is suffi-
ciently warm, will demonstrate that the transmission is
able to shift into and out of Overdrive.
AUTOSTICK
AutoStick is a driver-interactive transmission feature pro-
viding manual shift control, giving you more control of the
vehicle. AutoStick allows you to maximize engine braking,
eliminate undesirable upshifts and downshifts, and im-
prove overall vehicle performance. This system can also
provide you with more control during passing, city driv-
ing, cold slippery conditions, mountain driving, trailer
towing, and many other situations.
Operation
When the gear selector is in the AutoStick position (below
the DRIVE position), it can be moved from side to side.
This allows the driver to manually select the transmission
gear being used. Moving the gear selector to the left (-) triggers a downshift and to the right (+) an upshift. The
current gear will be displayed in the instrument cluster.
In AutoStick mode, the transmission will shift up or down
when the driver moves the gear selector to the right (+) or
left (-), unless an engine lugging or overspeed condition
would result. It will remain in the selected gear until
another upshift or downshift is chosen, except as described
below.
•
The transmission will automatically upshift when nec-
essary to prevent engine over-speed.
• The transmission will automatically downshift as the
vehicle slows (to prevent engine lugging) and will
display the current gear.
• The transmission will automatically downshift to first
gear when coming to a stop. After a stop, the driver
should manually upshift (+) the transmission as the
vehicle is accelerated.
• You can start out, from a stop, in any gear except top
gear. Tapping (+) (at a stop) will allow starting in second
gear. Starting out in second gear can be helpful in snowy
or icy conditions.
• If a requested downshift would cause the engine to
over-speed, that shift will not occur.
336 STARTING AND OPERATING
Page 406 of 510
HAZARD WARNING FLASHERS
The Hazard Warning flasher switch is located in the
instrument panel switch bank, above the climate controls.Push the switch to turn on the Hazard Warning
flasher. When the switch is activated, all directional
turn signals will flash on and off to warn oncoming traffic
of an emergency. Push the switch a second time to turn off
the Hazard Warning flashers.
This is an emergency warning system and it should not be
used when the vehicle is in motion. Use it when your
vehicle is disabled and it is creating a safety hazard for
other motorists.
When you must leave the vehicle to seek assistance, the
Hazard Warning flashers will continue to operate even
though the ignition is placed in the OFF position.
NOTE: With extended use the Hazard Warning flashers
may wear down your battery.
IF YOUR ENGINE OVERHEATS
In any of the following situations, you can reduce the
potential for overheating by taking the appropriate action.
• On the highways — slow down. •
In city traffic — while stopped, place the transmission in
NEUTRAL, but do not increase engine idle speed.
NOTE: There are steps that you can take to slow down an
impending overheat condition:
• If your air conditioner (A/C) is on, turn it off. The A/C
system adds heat to the engine cooling system and
turning the A/C off can help remove this heat.
• You can also turn the temperature control to maximum
heat, the mode control to floor and the blower control to
High. This allows the heater core to act as a supplement
to the radiator and aids in removing heat from the
engine cooling system.
WARNING!
You or others can be badly burned by hot engine
coolant (antifreeze) or steam from your radiator. If you
see or hear steam coming from under the hood, do not
open the hood until the radiator has had time to cool.
Never try to open a cooling system pressure cap when
the radiator or coolant bottle is hot.
404 WHAT TO DO IN EMERGENCIES
Page 431 of 510
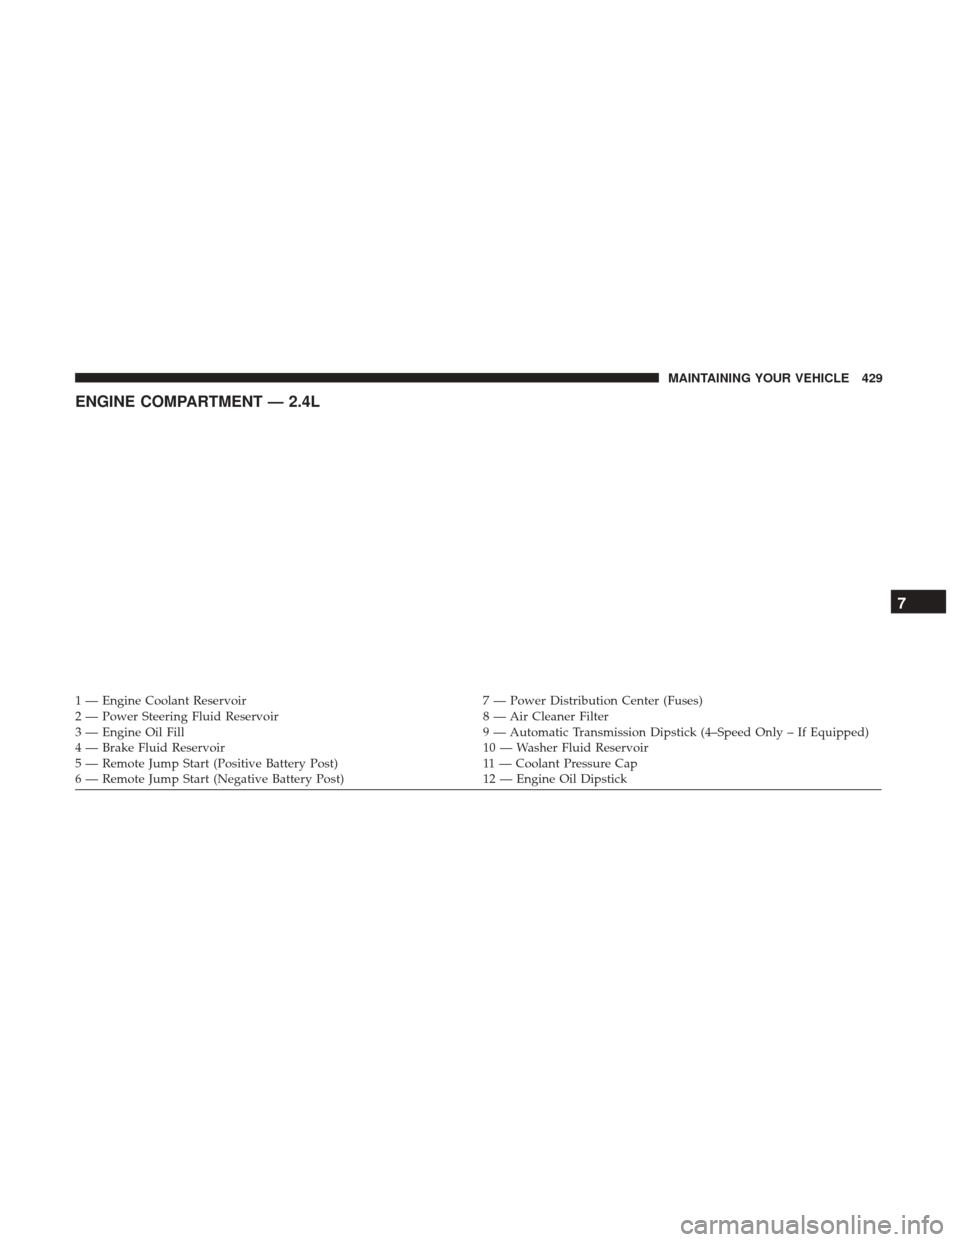
ENGINE COMPARTMENT — 2.4L
1 — Engine Coolant Reservoir7 — Power Distribution Center (Fuses)
2 — Power Steering Fluid Reservoir 8 — Air Cleaner Filter
3 — Engine Oil Fill 9 — Automatic Transmission Dipstick (4–Speed Only – If Equipped)
4 — Brake Fluid Reservoir 10 — Washer Fluid Reservoir
5 — Remote Jump Start (Positive Battery Post) 11 — Coolant Pressure Cap
6 — Remote Jump Start (Negative Battery Post) 12 — Engine Oil Dipstick
7
MAINTAINING YOUR VEHICLE 429
Page 432 of 510
ENGINE COMPARTMENT — 3.6L
ONBOARD DIAGNOSTIC SYSTEM — OBD II
Your vehicle is equipped with a sophisticated onboard
diagnostic system called OBD II. This system monitors the
performance of the emissions, engine, and automatic trans-
mission control systems. When these systems are operatingproperly, your vehicle will provide excellent performance
and fuel economy, as well as engine emissions well within
current government regulations.
If any of these systems require service, the OBD II system
will turn on the “Malfunction Indicator Light” (MIL). It
1 — Engine Coolant Reservoir
5 — Air Cleaner Filter
2 — Power Steering Fluid Reservoir 6 — Washer Fluid Reservoir
3 — Brake Fluid Reservoir 7 — Engine Oil Dipstick
4 — Power Distribution Center (Fuses) 8 — Engine Oil Fill
430 MAINTAINING YOUR VEHICLE