reset DODGE JOURNEY 2017 1.G Owners Manual
[x] Cancel search | Manufacturer: DODGE, Model Year: 2017, Model line: JOURNEY, Model: DODGE JOURNEY 2017 1.GPages: 510
Page 23 of 510
•Remote Start Aborted — L/Gate Open
• Remote Start Disabled — Start Vehicle To Reset
The message stays active until the ignition is cycled to the
ON/RUN position.
To Enter Remote Start Mode
Push and release the REMOTE START button on
the key fob twice within five seconds. The ve-
hicle doors will lock, the parking lights will flash
and the horn will chirp twice (if programmed).
Then, the engine will start and the vehicle will remain in
the Remote Start mode for a 15-minute cycle.
NOTE:
• If an engine fault is present or fuel level is low, the
vehicle will start and then shut down in 10 seconds.
• The park lamps will turn on and remain on during
Remote Start mode.
• For security, power window and power sunroof opera-
tion (if equipped) are disabled when the vehicle is in the
Remote Start mode. •
The engine can be started two consecutive times (two
15-minute cycles) with the key fob. However, the igni-
tion must be cycled to the RUN position before you can
repeat the start sequence for a third cycle.
To Exit Remote Start Mode Without Driving The
Vehicle
Push and release the REMOTE START button one time or
allow the engine to run for the entire 15-minute cycle.
NOTE: To avoid unintentional shutdowns, the system will
disable the one time push of the REMOTE START button
for two seconds after receiving a valid Remote Start
request.
To Exit Remote Start Mode And Drive The Vehicle
Before the end of 15-minute cycle, push and release the
UNLOCK button on the key fob to unlock the doors and
disarm the Vehicle Security Alarm (if equipped). Then,
prior to the end of the 15-minute cycle, push and release
the ignition START/STOP button.
NOTE: The message “Push Start Button” will appear in the
Instrument Cluster Display until you push the ignition
START/STOP button.
2
THINGS TO KNOW BEFORE STARTING YOUR VEHICLE 21
Page 34 of 510
WARNING!
There is no anti-pinch protection when the window is
almost closed. To avoid personal injury, be sure to clear
your arms, hands, fingers, and objects from the win-
dow path before closing the window. Such entrapment
may result in serious injury.
Reset AUTO-Up
Should the AUTO-Up feature stop working, the window
probably needs to be reset. To reset AUTO-Up:
1. Pull the window switch up to close the window com-pletely and continue to hold the switch up for an
additional two seconds after the window is closed.
2. Push the window switch down firmly to the second detent to open the window completely and continue to
hold the switch down for an additional two seconds
after the window is fully open.
Window Lockout Switch
The window lockout switch on the driver’s door trim panel
allows you to disable the window control on the rear
passenger doors. To disable the window controls, push and
release the window lockout button (setting it in the down position). To enable the window controls, push and release
the window lockout button again (setting it in the up
position).
Wind Buffeting
Wind buffeting can be described as the perception of
pressure on the ears or a helicopter-type sound in the ears.
Your vehicle may exhibit wind buffeting with the windows
down, or the sunroof (if equipped) in certain open or
partially open positions. This is a normal occurrence and
can be minimized. If the buffeting occurs with the rear
windows open, then open the front and rear windows
Window Lockout Switch
32 THINGS TO KNOW BEFORE STARTING YOUR VEHICLE
Page 35 of 510
together to minimize the buffeting. If the buffeting occurs
with the sunroof open, adjust the sunroof opening to
minimize the buffeting.
LIFTGATE
The liftgate can be unlocked or locked pushing the UN-
LOCK or LOCK button on the Remote Keyless Entry key
fob, the Keyless Enter-N-Go (Passive Entry) LOCK/
UNLOCK button underneath the left side of the accent bar,
which is located on the liftgate below the glass or by
activating the power door lock switch located on either
front door trim panel.
Refer to “Keyless Enter-N-Go” in “Things To Know Before
Starting Your Vehicle” for further information on Keyless
Enter-N-Go (Passive Entry).
NOTE:The liftgate cannot be unlocked or locked with the
manual door lock plungers on the door trim panels or the
door lock cylinder on the driver’s door.
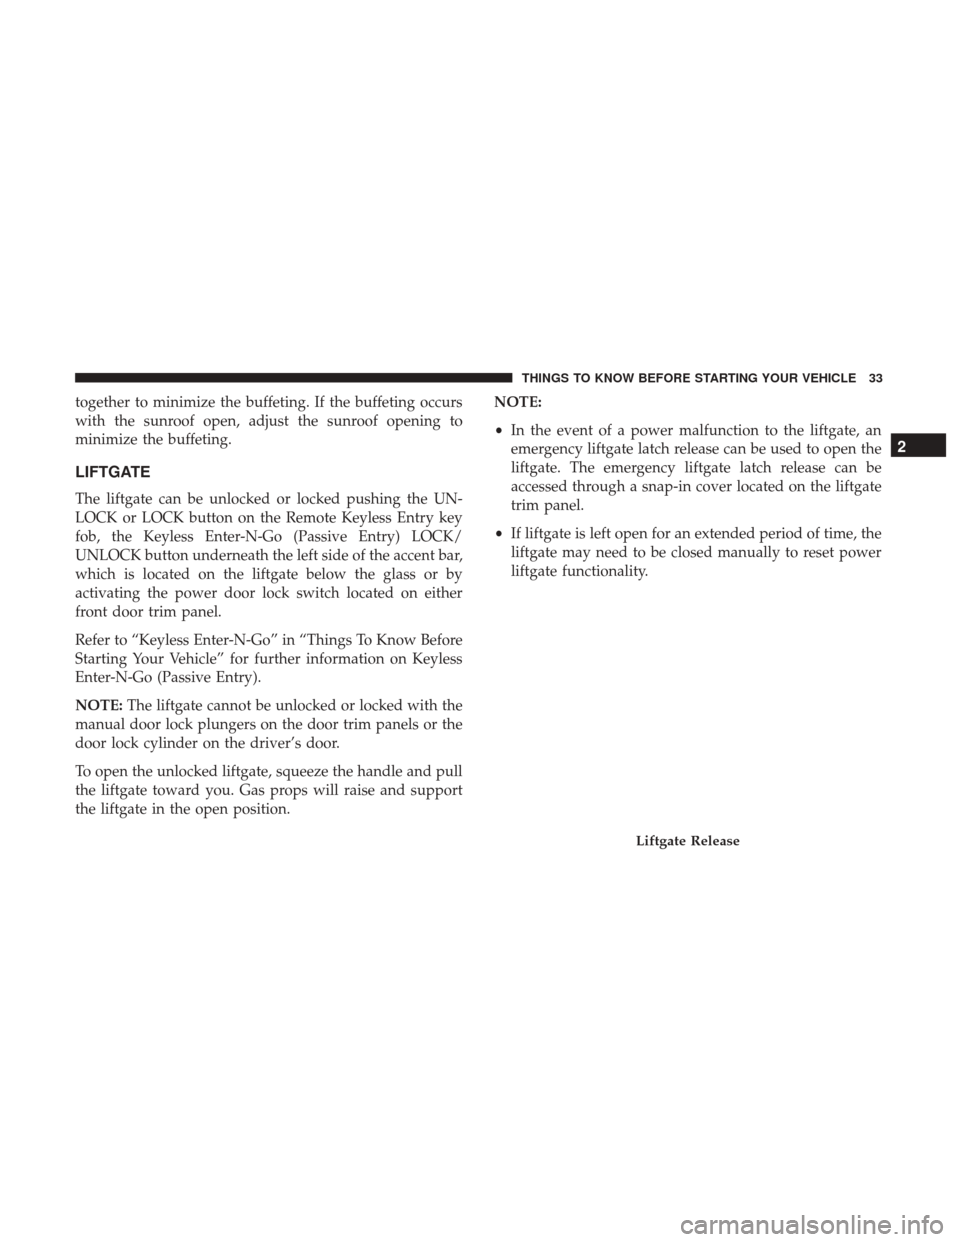
To open the unlocked liftgate, squeeze the handle and pull
the liftgate toward you. Gas props will raise and support
the liftgate in the open position. NOTE:
•
In the event of a power malfunction to the liftgate, an
emergency liftgate latch release can be used to open the
liftgate. The emergency liftgate latch release can be
accessed through a snap-in cover located on the liftgate
trim panel.
• If liftgate is left open for an extended period of time, the
liftgate may need to be closed manually to reset power
liftgate functionality.
Liftgate Release
2
THINGS TO KNOW BEFORE STARTING YOUR VEHICLE 33
Page 58 of 510
irritation, move to fresh air. If the irritation continues,
see your doctor. If these particles settle on your clothing,
follow the garment manufacturer ’s instructions for
cleaning.
Do not drive your vehicle after the air bags have deployed.
If you are involved in another collision, the air bags will
not be in place to protect you.
WARNING!
Deployed air bags and seat belt pretensioners cannot
protect you in another collision. Have the air bags, seat
belt pretensioners, and the seat belt retractor assem-
blies replaced by an authorized dealer immediately.
Also, have the Occupant Restraint Controller System
serviced as well.
NOTE:
• Air bag covers may not be obvious in the interior trim,
but they will open during air bag deployment.
• After any collision, the vehicle should be taken to an
authorized dealer immediately.
Enhanced Accident Response System
In the event of an impact, if the communication network
remains intact, and the power remains intact, depending
on the nature of the event, the ORC will determine whether
to have the Enhanced Accident Response System perform
the following functions:
• Cut off fuel to the engine.
• Flash hazard lights as long as the battery has power or
until the hazard light button is pressed. The hazard
lights can be deactivated by pressing the hazard light
button.
• Turn on the interior lights, which remain on as long as
the battery has power.
• Unlock the power door locks.
Enhanced Accident Response System Reset
Procedure
In order to reset the Enhanced Accident Response System
functions after an event, the ignition switch must be
changed from ignition START or ON/RUN to ignition OFF.
Carefully check the vehicle for fuel leaks in the engine
56 THINGS TO KNOW BEFORE STARTING YOUR VEHICLE
Page 59 of 510
compartment and on the ground near the engine compart-
ment and fuel tank before resetting the system and starting
the engine.
Air Bag Warning Light
The air bags must be ready to inflate for your protection ina collision. The Occupant Restraint Controller
(ORC) monitors the internal circuits and inter-
connecting wiring associated with air bag system
electrical components.
The ORC monitors the readiness of the electronic parts of
the air bag system whenever the ignition switch is in the
START or ON/RUN position. If the ignition switch is in the
OFF position or in the ACC position, the air bag system is
not on and the air bags will not inflate.
The ORC contains a backup power supply system that may
deploy the air bags even if the battery loses power or it
becomes disconnected prior to deployment.
The ORC turns on the Air Bag Warning Light in the
instrument panel for approximately four to eight seconds
for a self-check when the ignition switch is first in the
ON/RUN position. After the self-check, the Air Bag Warn-
ing Light will turn off. If the ORC detects a malfunction in
any part of the system, it turns on the Air Bag Warning Light, either momentarily or continuously. A single chime
will sound to alert you if the light comes on again after
initial startup.
The ORC also includes diagnostics that will illuminate the
instrument panel Air Bag Warning Light if a malfunction is
detected that could affect the air bag system. The diagnos-
tics also record the nature of the malfunction. While the air
bag system is designed to be maintenance free, if any of the
following occurs, have an authorized dealer service the air
bag system immediately.
•
The Air Bag Warning Light does not come on during the
four to eight seconds when the ignition switch is first in
the ON/RUN position.
• The Air Bag Warning Light remains on after the four to
eight-second interval.
• The Air Bag Warning Light comes on intermittently or
remains on while driving.
NOTE: If the speedometer, tachometer, or any engine
related gauges are not working, the Occupant Restraint
Controller (ORC) may also be disabled. In this condition
the air bags may not be ready to inflate for your protection.
Have an authorized dealer service the air bag system
immediately.
2
THINGS TO KNOW BEFORE STARTING YOUR VEHICLE 57
Page 94 of 510
If the mirrors are in the folded position, and vehicle speed
is equal or greater than 10 mph (16 km/h), they will
automatically unfold.
Resetting The Power Folding Outside Mirrors
You may need to reset the power folding mirrors if the
following occurs:
•The mirrors are accidentally blocked while folding.
• The mirrors are accidentally manually folded/unfolded.
• The mirrors come out of the unfolded position.
• The mirrors shake and vibrate at normal driving speeds.
To reset the power folding mirrors: Fold and unfold them
by pushing the button. (this may require multiple button
pushes). This resets them to their normal position.Manual Folding Mirrors — If Equipped
Some models have exterior mirrors that are hinged. The
hinge allows the mirror to pivot forward and rearward to
resist damage. The hinge has three detent positions: for-
ward, rearward and normal.
Heated Mirrors — If Equipped
These mirrors are heated to melt frost or ice. This
feature will be activated whenever you turn on the
rear window defroster (if equipped). Refer to “Rear Win-
dow Features” in “Understanding The Features Of Your
Vehicle” for further information.
92 UNDERSTANDING THE FEATURES OF YOUR VEHICLE
Page 102 of 510
Emergency And Towing Assistance
The 911/Help numbers can only be altered. These can not
be deleted or the names can not be changed.
To change the 911/Help number follow these steps.
1. Press the “Phonebook” button on the touchscreen fromthe Phone main screen.
2. Press the “911/Help” button on the touchscreen. Press the appropriate listing to alter, Emergency for example.
3. Once Emergency is pressed, the “Edit” button on the touchscreen appears. Press the “Edit” button on the
touchscreen and you will be given the choice to Edit
Number or Reset to Default.
4. Follow the on-screen prompts to complete the task.
Phone Call Features
The following features can be accessed through the
Uconnect Phone if the feature(s) are available on your
mobile service plan. For example, if your mobile service
plan provides three-way calling, this feature can be ac-
cessed through the Uconnect Phone. Check with your
mobile service provider for the features that you have.
Ways To Initiate A Phone Call
Listed below are all the ways you can initiate a phone call
with Uconnect Phone.
• Redial
• Dial by pressing in the number
• Voice Commands (Dial by Saying a Number, Call by
Saying a Phonebook Name, Redial, or Call Back)
• Mobile Phonebook
• Recent Call Log
NOTE: All of the above operations except Redial can be
done with one call or less active.
Dial By Saying A Number
1. Push the Phonebutton to begin.
2. After the “Listening” prompt and the following beep, say “Dial 248-555-1212.”
3. The Uconnect Phone will dial 248-555-1212.
100 UNDERSTANDING THE FEATURES OF YOUR VEHICLE
Page 124 of 510
5. The Options pop-up will appear and you can choosebetween Editing the number or resetting the number to
default.
Phone Call Features
The following features can be accessed through the
Uconnect Phone if the feature(s) are available and sup-
ported by Bluetooth on your mobile service plan. For
example, if your mobile service plan provides three-way
calling, this feature can be accessed through the Uconnect
Phone. Check with your mobile service provider for the
features that you have.
Ways To Initiate A Phone Call
Listed below are all the ways you can initiate a phone call
with Uconnect Phone.
•Redial
• Dial by pressing in the number
• Voice Commands (Dial by Saying a Name, Call by
Saying a Phonebook Name, Redial or Call Back)
• Favorites
• Mobile Phonebook
• Recent Call Log
• SMS Message Viewer
Dial By Saying A Number
1. Push the Phonebutton to begin,
2. After the “Listening” prompt and the following beep,
say “Dial 248-555-1212,”
3. The Uconnect Phone will dial the number 248-555-1212.
Emergency And Breakdown Assistance
122 UNDERSTANDING THE FEATURES OF YOUR VEHICLE
Page 135 of 510
Send Messages Using Buttons On The Touchscreen:
You can send messages using Uconnect Phone. To send a
new message:
1. Press the “Phone” button on the touchscreen.
2. Press the “messaging” button on the touchscreen then“New Message.”
3. Press one of the 18 preset messages and the person you wish to send the message to. 4. If multiple numbers are available for the contact select
which number you would like to have the message sent.
5. Press “Send” or “Cancel.”
Send Messages Using Voice Commands:
1. Push the Phone
button.
2. After the “Listening” prompt and the following beep, say “Send message to John Smith mobile.”
3. After the system prompts you for what message you want to send, say the message you wish to send or say
“List.” There are 18 preset messages.
While the list of defined messages are being read, you can
interrupt the system by pushing the Voice Command
button and saying the message you want to send.
After the system confirms that you want to send your
message to John Smith, your message will be sent.
Preset Message List
3
UNDERSTANDING THE FEATURES OF YOUR VEHICLE 133
Page 136 of 510
List of Preset Messages:
1. Yes.
2. No.
3. Okay.
4. I can’t talk right now.
5. Call me.
6. I’ll call you later.
7. I’m on my way.
8. Thanks.
9. I’ll be late.
Preset Message List
134 UNDERSTANDING THE FEATURES OF YOUR VEHICLE