display DODGE MAGNUM SRT 2007 1.G Owners Manual
[x] Cancel search | Manufacturer: DODGE, Model Year: 2007, Model line: MAGNUM SRT, Model: DODGE MAGNUM SRT 2007 1.GPages: 380, PDF Size: 6.63 MB
Page 69 of 380
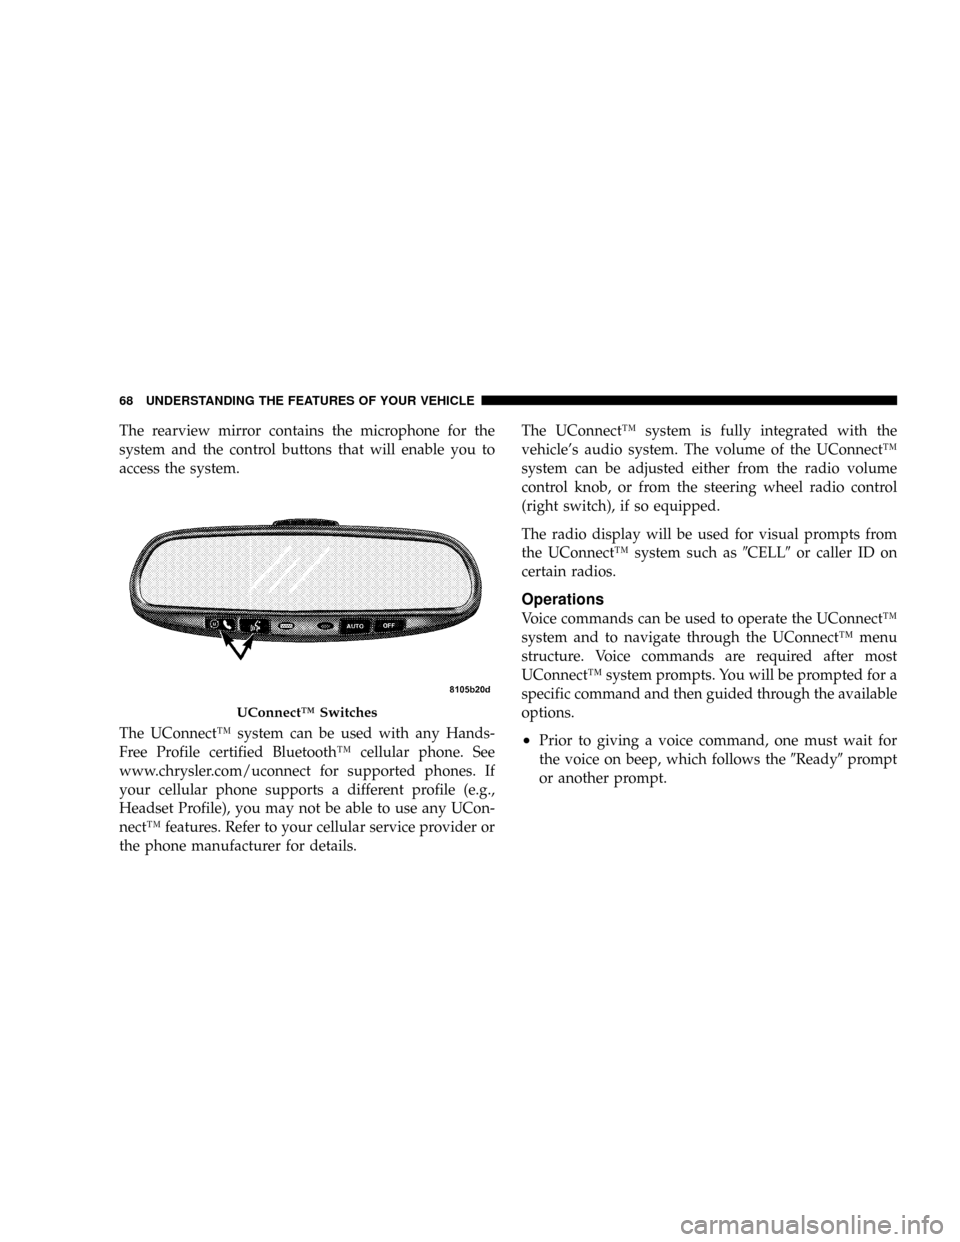
The rearview mirror contains the microphone for the
system and the control buttons that will enable you to
access the system.
The UConnectŸ system can be used with any Hands-
Free Profile certified BluetoothŸ cellular phone. See
www.chrysler.com/uconnect for supported phones. If
your cellular phone supports a different profile (e.g.,
Headset Profile), you may not be able to use any UCon-
nectŸ features. Refer to your cellular service provider or
the phone manufacturer for details.The UConnectŸ system is fully integrated with the
vehicle's audio system. The volume of the UConnectŸ
system can be adjusted either from the radio volume
control knob, or from the steering wheel radio control
(right switch), if so equipped.
The radio display will be used for visual prompts from
the UConnectŸ system such as9CELL9or caller ID on
certain radios.
Operations
Voice commands can be used to operate the UConnectŸ
system and to navigate through the UConnectŸ menu
structure. Voice commands are required after most
UConnectŸ system prompts. You will be prompted for a
specific command and then guided through the available
options.
²Prior to giving a voice command, one must wait for
the voice on beep, which follows the9Ready9prompt
or another prompt.
UConnectŸ Switches
68 UNDERSTANDING THE FEATURES OF YOUR VEHICLE
Page 72 of 380
Call/Dial by Saying a Number
²
Press the 'Phone' button to begin.
²After the9Ready9prompt and the following beep, say
9Dial.9
²System will prompt you to say the number you want
call.
²For example, you can say9234-567-8901.9
²The UConnectŸ system will confirm the phone num-
ber and then dial. The number will appear in the
display of certain radios.
Call/Dial by Saying a Name
²
Press the ªPhoneº button to begin.
²After the9Ready9prompt and the following beep, say
ªDialº or Call.9
²System will prompt you to say the name of the person
you want call.
²After the9Ready9prompt and the following beep, say
the name of the person you want to call. For example,you can say9John Doe,9where John Doe is a previ-
ously stored name entry in the UConnectŸ phone-
book. Refer to9Add Names to Your UConnectŸ
Phonebook,9to learn how to store a name in the
phonebook.
²The UConnectŸ system will confirm the name and
then dial the corresponding phone number, which
may appear in the display of certain radios.
Add Names to Your UConnectŸ Phonebook
NOTE:
Adding names to phonebook is recommended
when vehicle is not in motion.
²Press the ªPhoneº button to begin.
²After the9Ready9prompt and the following beep, say
9Phonebook New Entry.9
²When prompted, say the name of the new entry. Use of
long names helps the voice recognition and is recom-
mended. For example, say9Robert Smith9or9Robert9
instead of9Bob.9
UNDERSTANDING THE FEATURES OF YOUR VEHICLE 71
3
Page 79 of 380
Working with Automated Systems
This method is designed to be used in instances where
one generally has to press numbers on the cellular phone
keypad while navigating through an automated tele-
phone system.
You can use your UConnectŸ system to access a voice-
mail system or an automated service, such as, paging
service or automated customer service. Some services
require immediate response selection, in some instances,
that may be too quick for use of UConnectŸ system.
When calling a number with your UConnectŸ system
that normally requires you to enter in a touch-tone
sequence on your cellular phone keypad, you can push
the 'Voice Recognition' button and say the sequence you
wish to enter followed by the word9Send.9For example,
if required to enter your pin number followed with a
pound3746#,youcanpressthe'Voice Recognition'
button and say93746#Send.9Saying a number, or
sequence of numbers, followed by9Send9is also to be
used to navigate through an automated customer service
center menu structure and to leave a number on a pager.
Barge In - Overriding Prompts
The 'Voice Recognition' button can be used when you
wish to skip part of a prompt and issue your voice
recognition command immediately. For example, if a
prompt is playing9Would you like to pair a phone, clear
a{,9you could press the 'Voice Recognition' button and
say9Pair a Phone9to select that option without having to
listen to the rest of the voice prompt.
Turning Confirmation Prompts On/Off
Turning confirmation prompts off will stop the system
from confirming your choices (e.g., the UConnectŸ
system will not repeat a phone number before you dial
it).
²Press the 'Phone' button to begin.
²After the9Ready9prompt and the following beep, say
9Setup Confirmations.9The UConnectŸ system will
play the current confirmation prompt status and you
will be given the choice to change it.
Phone and Network Status Indicators
If available on the radio and/or on a premium display
such as the instrument panel cluster, and supported by
78 UNDERSTANDING THE FEATURES OF YOUR VEHICLE
Page 99 of 380
Interior light Defeat (OFF)
Rotate the dimmer control to the extreme bottom ªOFFº
position. The interior lights will remain off when the
doors are open.
Parade Mode (Daytime Brightness Feature)
Rotate the dimmer control upward to the first detent.
This feature brightens all text displays such as the
odometer, Electronic Vehicle Information Center (EVIC),
and radio when the parking lights or headlights are on.
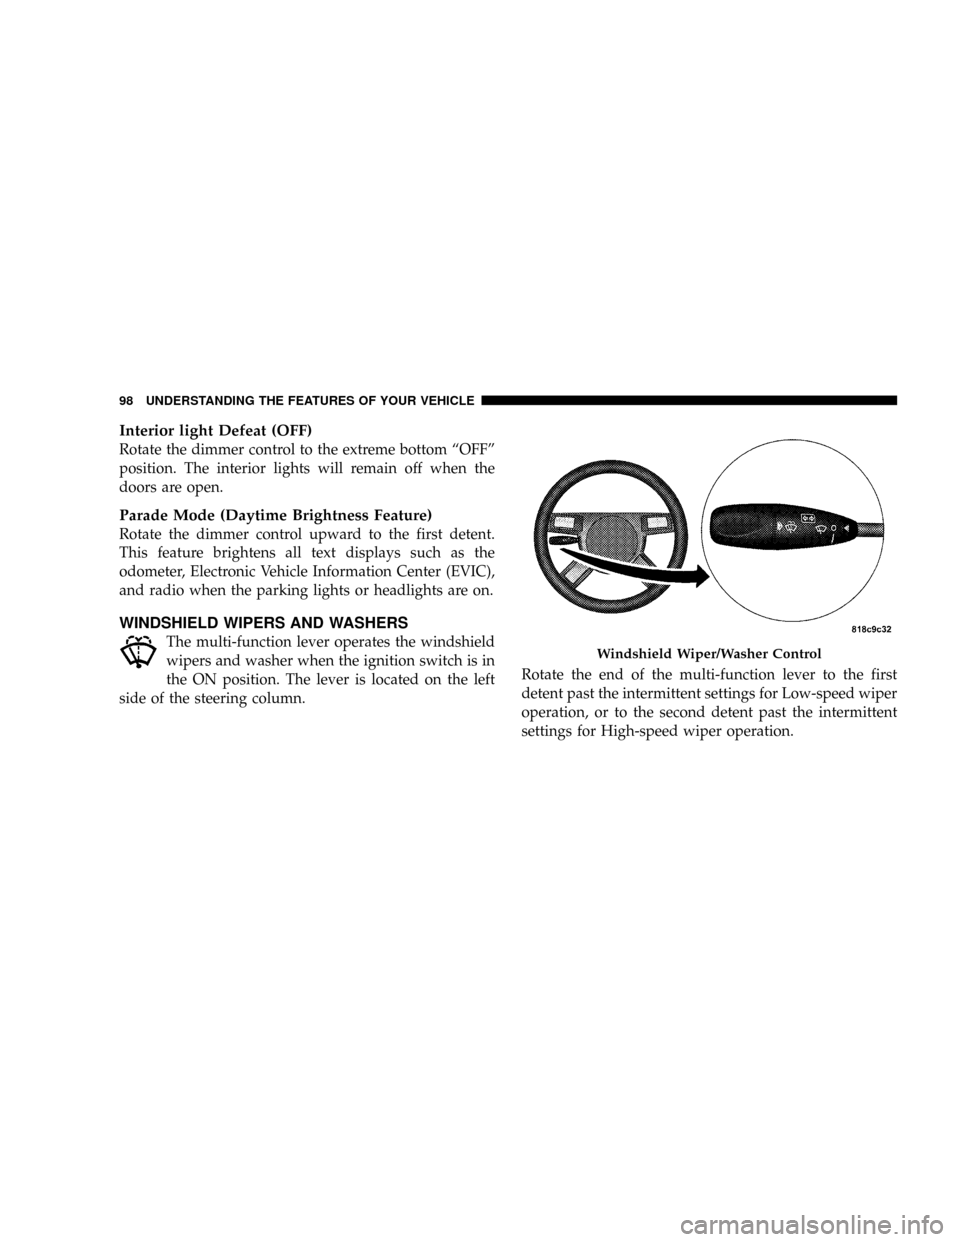
WINDSHIELD WIPERS AND WASHERS
The multi-function lever operates the windshield
wipers and washer when the ignition switch is in
the ON position. The lever is located on the left
side of the steering column.Rotate the end of the multi-function lever to the first
detent past the intermittent settings for Low-speed wiper
operation, or to the second detent past the intermittent
settings for High-speed wiper operation.Windshield Wiper/Washer Control
98 UNDERSTANDING THE FEATURES OF YOUR VEHICLE
Page 109 of 380
Programming HomeLink
NOTE:
When programming a garage door opener, it is
advised to park outside the garage. It is also recom-
mended that you install a new battery in the hand-held
transmitter of the device being programmed. This will
allow for quicker training and accurate transmission of
the radio-frequency signal.
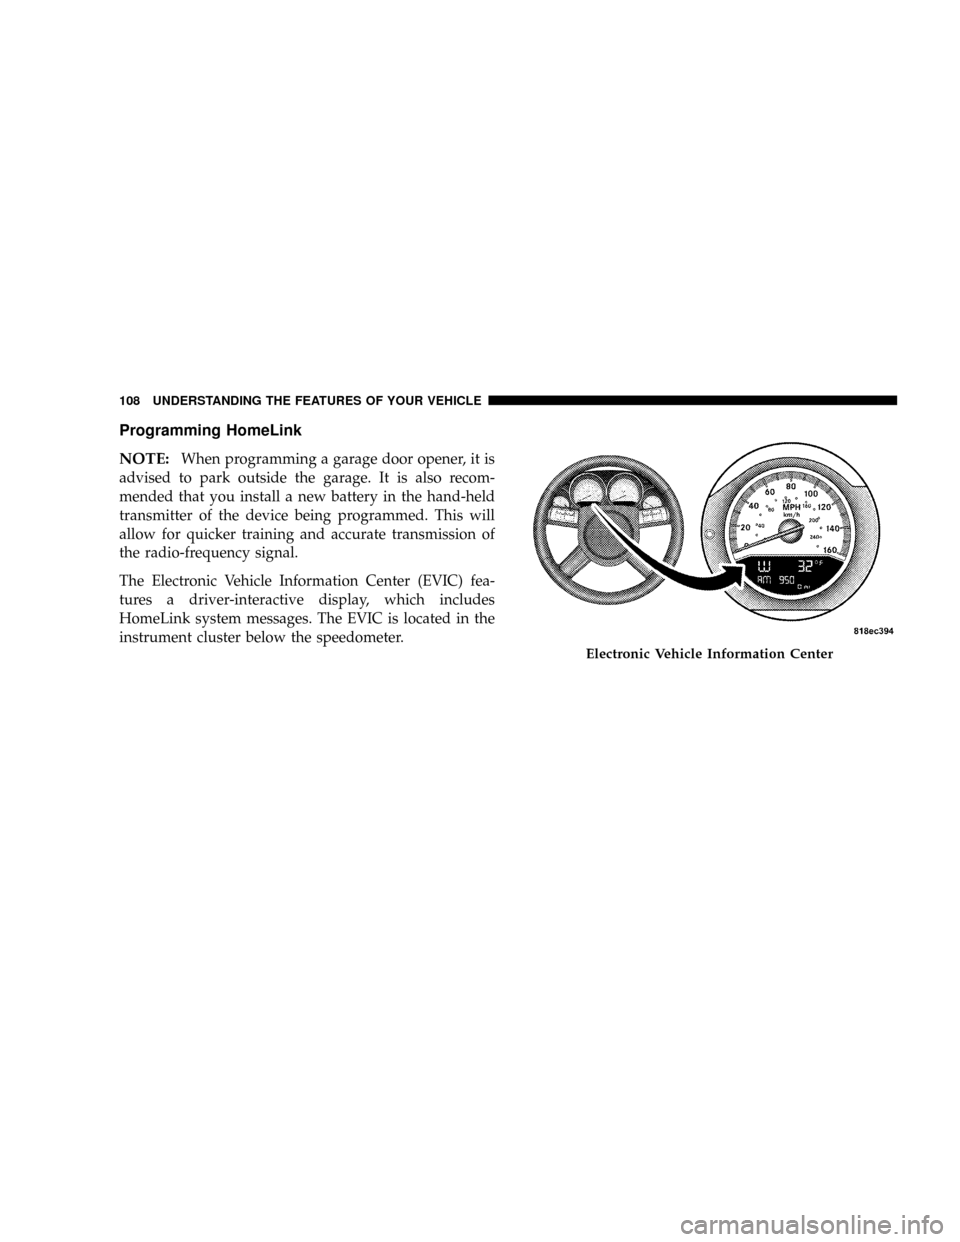
The Electronic Vehicle Information Center (EVIC) fea-
tures a driver-interactive display, which includes
HomeLink system messages. The EVIC is located in the
instrument cluster below the speedometer.
Electronic Vehicle Information Center
108 UNDERSTANDING THE FEATURES OF YOUR VEHICLE
Page 110 of 380
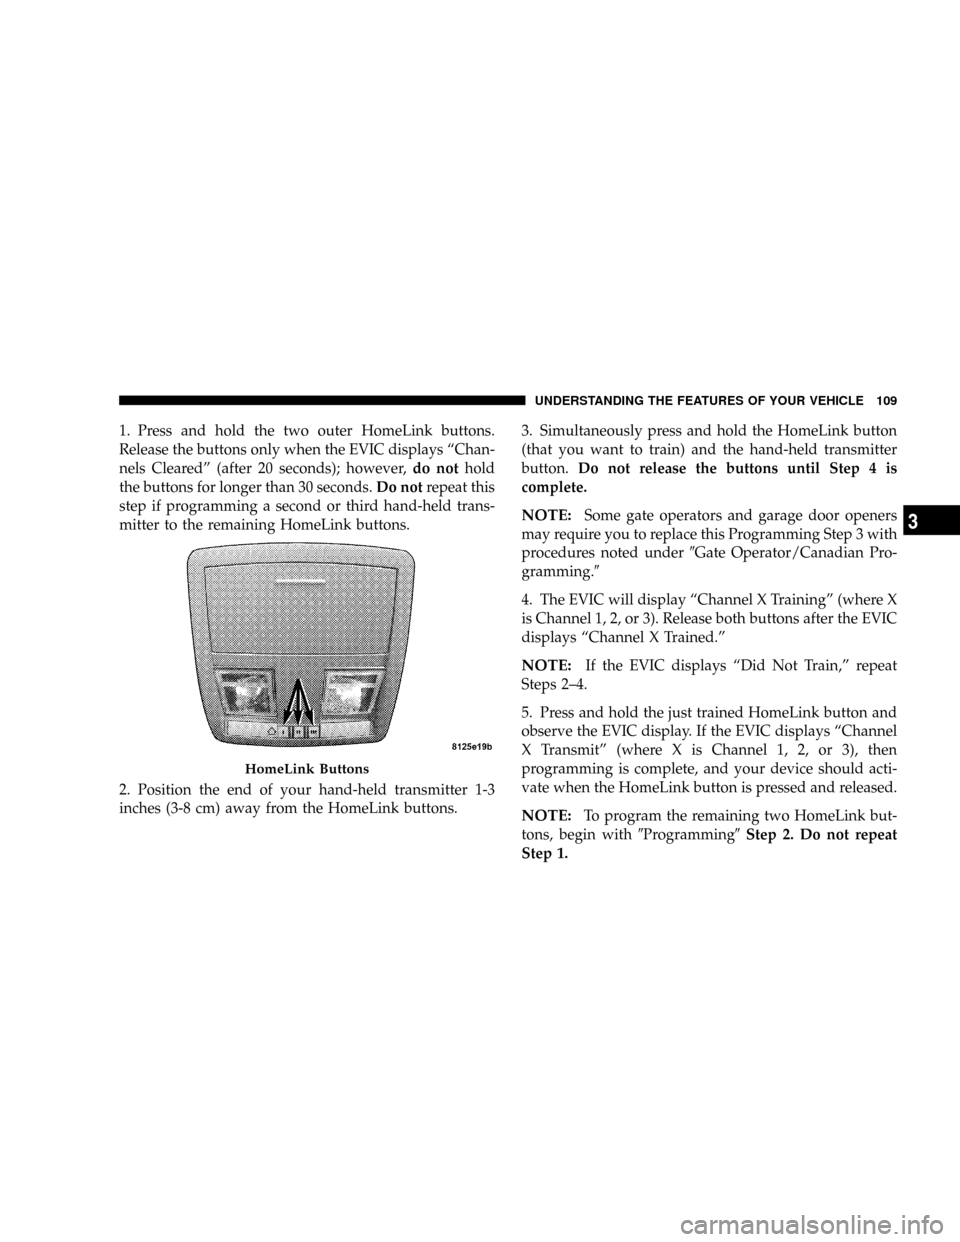
1. Press and hold the two outer HomeLink buttons.
Release the buttons only when the EVIC displays ªChan-
nels Clearedº (after 20 seconds); however,do nothold
the buttons for longer than 30 seconds.Do notrepeat this
step if programming a second or third hand-held trans-
mitter to the remaining HomeLink buttons.
2. Position the end of your hand-held transmitter 1-3
inches (3-8 cm) away from the HomeLink buttons.3. Simultaneously press and hold the HomeLink button
(that you want to train) and the hand-held transmitter
button.Do not release the buttons until Step 4 is
complete.
NOTE:Some gate operators and garage door openers
may require you to replace this Programming Step 3 with
procedures noted under9Gate Operator/Canadian Pro-
gramming.9
4. The EVIC will display ªChannel X Trainingº (where X
is Channel 1, 2, or 3). Release both buttons after the EVIC
displays ªChannel X Trained.º
NOTE:If the EVIC displays ªDid Not Train,º repeat
Steps 2±4.
5. Press and hold the just trained HomeLink button and
observe the EVIC display. If the EVIC displays ªChannel
X Transmitº (where X is Channel 1, 2, or 3), then
programming is complete, and your device should acti-
vate when the HomeLink button is pressed and released.
NOTE:To program the remaining two HomeLink but-
tons, begin with9Programming9Step 2. Do not repeat
Step 1.
HomeLink Buttons
UNDERSTANDING THE FEATURES OF YOUR VEHICLE 109
3
Page 112 of 380
NOTE:If programming a garage door opener or gate
operator, it is advised to unplug the device during the
9cycling9process to prevent possible overheating.
3. Continue to press and hold the HomeLink button
while youpress and releaseyour hand-held transmitter
every two secondsuntil the frequency signal is accepted
successfully by HomeLink. The EVIC will display ªChan-
nel X Trainedº (where X is Channel 1, 2, or 3). Proceed
with9Programming9Step 4 to complete the procedure.
Using HomeLink
To operate, simply press and release the programmed
HomeLink button. Activation will now occur for the
trained device (i.e. garage door opener, gate operator,
security system, entry door lock, home/office lighting,
etc.). For convenience, the hand-held transmitter of the
device may also be used at any time. In the event that
there are still programming difficulties or questions,
contact HomeLink atwww.homelink.com or 1-800-355-
3515.
Erasing HomeLink Buttons
To erase programming from the three buttons (individual
buttons cannot be erased but can be9reprogrammed9-
note below), follow the step noted:
²Press and hold the two outer HomeLink buttons.
Release the buttons only when the EVIC displays
ªChannels Clearedº (after 20 seconds); however,do
nothold the buttons for longer than 30 seconds.
HomeLink is now in the train (or learning) mode and
can be programmed at any time beginning with9Pro-
gramming9Step 2.
Reprogramming a Single HomeLink Button
To program a device a previously trained HomeLink
button, follow these steps:
1. Press and hold the desired HomeLink button.Do
NOTrelease the button.
2. The EVIC will display ªChannel X Transmitº (where X
is Channel 1, 2, or 3) for 20 seconds and then change to
ªChannel X Training.º Without releasing the HomeLink
button, proceed with9Programming9Step 2.
UNDERSTANDING THE FEATURES OF YOUR VEHICLE 111
3
Page 130 of 380
UNDERSTANDING YOUR INSTRUMENT PANEL
CONTENTS
mInstrument Panel And Controls............133
mPremium Instrument Cluster..............134
mInstrument Cluster Descriptions...........135
mElectronic Vehicle Information Center
(EVIC)
..............................143
NElectronic Vehicle Information Center (EVIC)
Displays............................144
NTrip Functions.......................145
NCompass Display.....................147
NTelephone Ð If Equipped...............149
NNavigation Ð If Equipped...............151NSystem Warnings (Customer Information
Features)...........................151
NPersonal Settings (Customer Programmable
Features)...........................151mRadio General Information...............154
NRadio Broadcast Signals.................154
NTwo Types Of Signals..................154
NElectrical Disturbances..................154
NAM Reception.......................155
NFM Reception........................155
mSales Code REF Ð AM/FM/CD (Single Disc)
Radio With Optional Satellite Radio And
Hands Free Phone Capability
.............155
4
Page 132 of 380
NAudio Clock Display...................176
mVideo Entertainment System (Sales Code XRV) Ð
If Equipped
..........................177
NKicker Mobile Surround (Kms1)...........179
mSatellite Radio Ð If Equipped.............179
NSystem Activation.....................179
NElectronic Serial Number/Sirius Identification
Number (ESN/SID)....................180
NSelecting Satellite Mode In REF, RAQ, And
RAK Radios.........................180
NSelecting a Channel....................181
NStoring And Selecting Pre-Set Channels......181
NUsing The PTY (Program Type) Button (If
Equipped)..........................181
NPTY Button9Scan9.....................181
NPTY Button9Seek9.....................182
NSatellite Antenna......................182NReception Quality.....................182
mRemote Sound System Controls...........183
NRadio Operation......................184
NTape Player Operation..................184
NCD Player Operation...................184
NSatellite Radio Operation................185
mCassette Tape And Player Maintenance......185
mCD/DVD Disc Maintenance..............186
mRadio Operation And Cellular Phones.......186
mClimate Controls......................186
NManual Air Conditioning And Heating
System.............................187
NAutomatic Temperature Control Ð If
Equipped...........................189
NOperating Tips.......................194
mRear Window Features..................197
UNDERSTANDING YOUR INSTRUMENT PANEL 131
4
Page 136 of 380
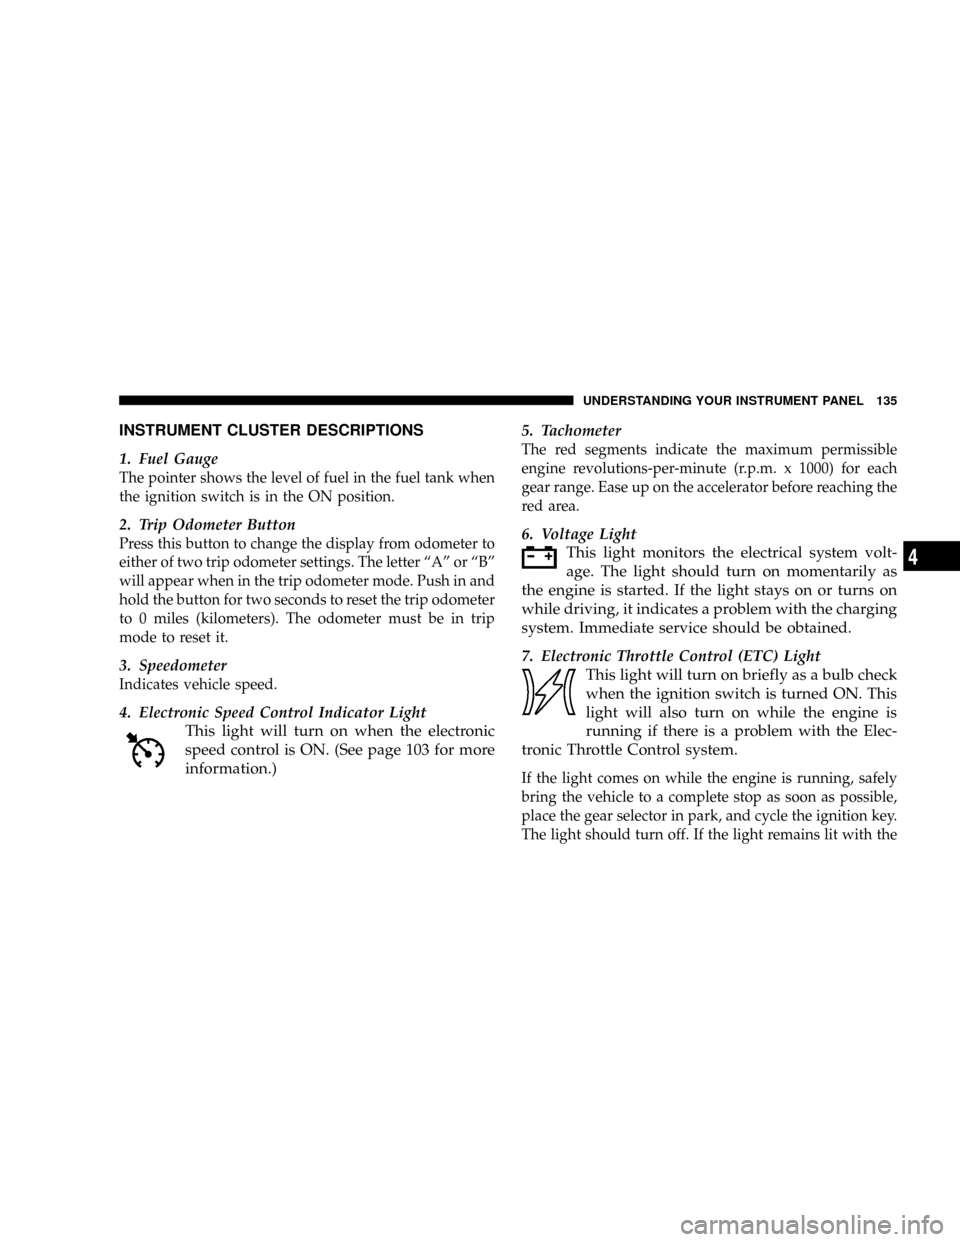
INSTRUMENT CLUSTER DESCRIPTIONS
1. Fuel Gauge
The pointer shows the level of fuel in the fuel tank when
the ignition switch is in the ON position.
2. Trip Odometer Button
Press this button to change the display from odometer to
either of two trip odometer settings. The letter ªAº or ªBº
will appear when in the trip odometer mode. Push in and
hold the button for two seconds to reset the trip odometer
to 0 miles (kilometers). The odometer must be in trip
mode to reset it.
3. Speedometer
Indicates vehicle speed.
4. Electronic Speed Control Indicator Light
This light will turn on when the electronic
speed control is ON. (See page 103 for more
information.)5. Tachometer
The red segments indicate the maximum permissible
engine revolutions-per-minute (r.p.m. x 1000) for each
gear range. Ease up on the accelerator before reaching the
red area.
6. Voltage Light
This light monitors the electrical system volt-
age. The light should turn on momentarily as
the engine is started. If the light stays on or turns on
while driving, it indicates a problem with the charging
system. Immediate service should be obtained.
7. Electronic Throttle Control (ETC) Light
This light will turn on briefly as a bulb check
when the ignition switch is turned ON. This
light will also turn on while the engine is
running if there is a problem with the Elec-
tronic Throttle Control system.
If the light comes on while the engine is running, safely
bring the vehicle to a complete stop as soon as possible,
place the gear selector in park, and cycle the ignition key.
The light should turn off. If the light remains lit with the
UNDERSTANDING YOUR INSTRUMENT PANEL 135
4