light DODGE VIPER 2004 ZB / 2.G Owner's Guide
[x] Cancel search | Manufacturer: DODGE, Model Year: 2004, Model line: VIPER, Model: DODGE VIPER 2004 ZB / 2.GPages: 236, PDF Size: 4.18 MB
Page 78 of 236
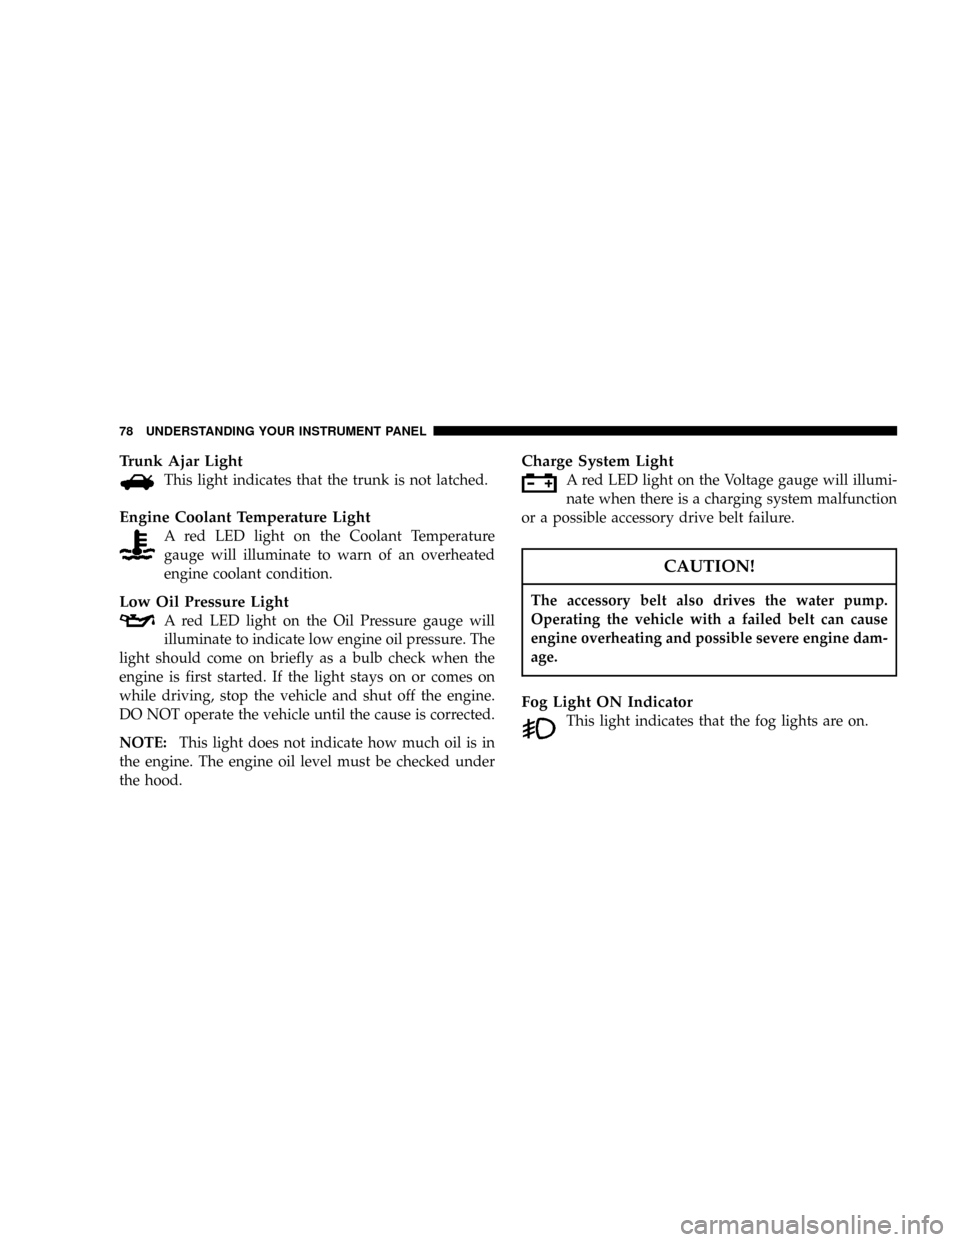
Trunk Ajar Light
This light indicates that the trunk is not latched.
Engine Coolant Temperature Light
A red LED light on the Coolant Temperature
gauge will illuminate to warn of an overheated
engine coolant condition.
Low Oil Pressure Light
A red LED light on the Oil Pressure gauge will
illuminate to indicate low engine oil pressure. The
light should come on briefly as a bulb check when the
engine is first started. If the light stays on or comes on
while driving, stop the vehicle and shut off the engine.
DO NOT operate the vehicle until the cause is corrected.
NOTE:This light does not indicate how much oil is in
the engine. The engine oil level must be checked under
the hood.
Charge System Light
A red LED light on the Voltage gauge will illumi-
nate when there is a charging system malfunction
or a possible accessory drive belt failure.
CAUTION!
The accessory belt also drives the water pump.
Operating the vehicle with a failed belt can cause
engine overheating and possible severe engine dam-
age.
Fog Light ON Indicator
This light indicates that the fog lights are on.
78 UNDERSTANDING YOUR INSTRUMENT PANEL
Page 79 of 236
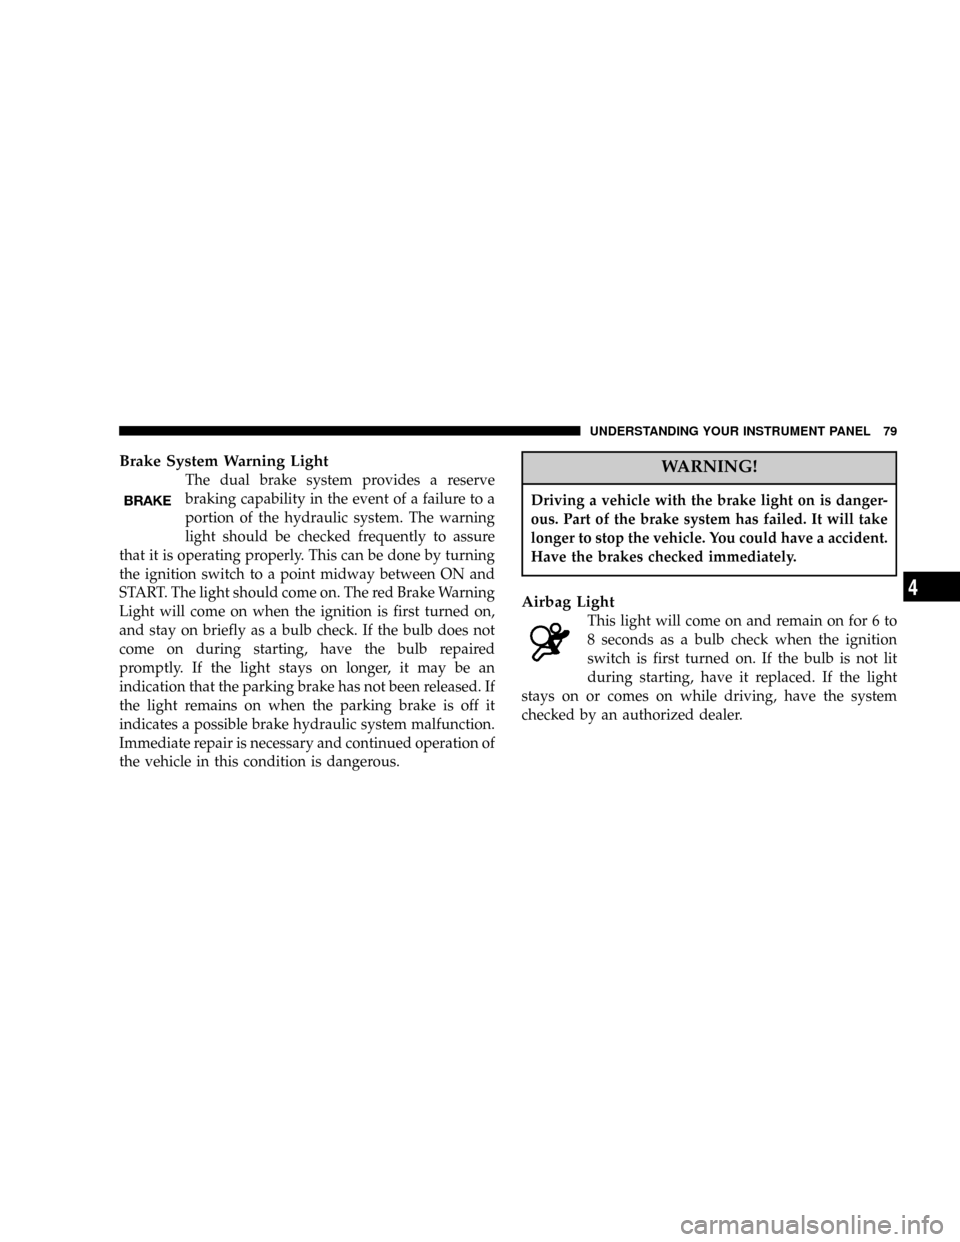
Brake System Warning Light
The dual brake system provides a reserve
braking capability in the event of a failure to a
portion of the hydraulic system. The warning
light should be checked frequently to assure
that it is operating properly. This can be done by turning
the ignition switch to a point midway between ON and
START. The light should come on. The red Brake Warning
Light will come on when the ignition is first turned on,
and stay on briefly as a bulb check. If the bulb does not
come on during starting, have the bulb repaired
promptly. If the light stays on longer, it may be an
indication that the parking brake has not been released. If
the light remains on when the parking brake is off it
indicates a possible brake hydraulic system malfunction.
Immediate repair is necessary and continued operation of
the vehicle in this condition is dangerous.WARNING!
Driving a vehicle with the brake light on is danger-
ous. Part of the brake system has failed. It will take
longer to stop the vehicle. You could have a accident.
Have the brakes checked immediately.
Airbag Light
This light will come on and remain on for 6 to
8 seconds as a bulb check when the ignition
switch is first turned on. If the bulb is not lit
during starting, have it replaced. If the light
stays on or comes on while driving, have the system
checked by an authorized dealer.
UNDERSTANDING YOUR INSTRUMENT PANEL 79
4
Page 80 of 236
Gauges
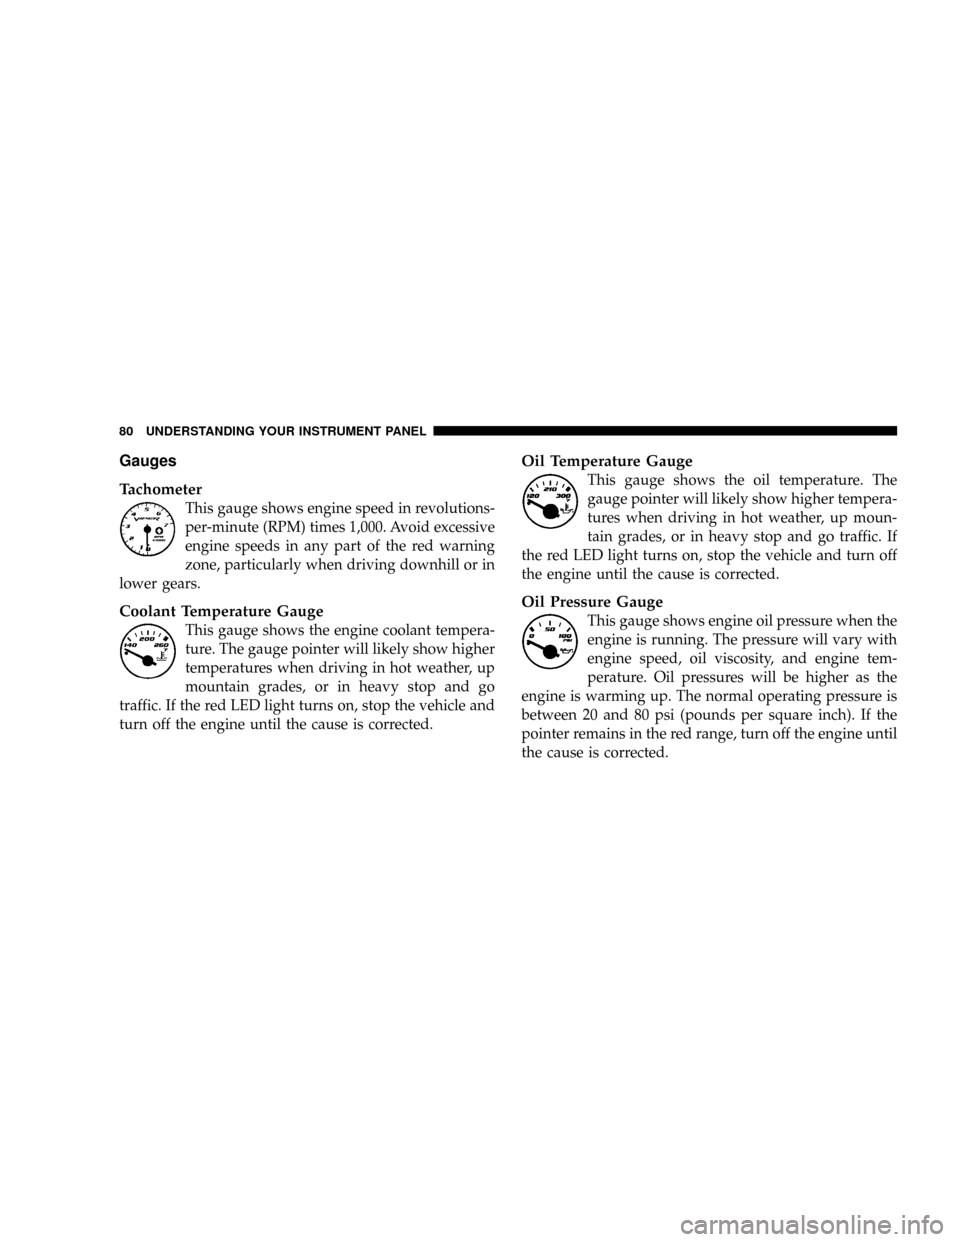
Tachometer
This gauge shows engine speed in revolutions-
per-minute (RPM) times 1,000. Avoid excessive
engine speeds in any part of the red warning
zone, particularly when driving downhill or in
lower gears.
Coolant Temperature Gauge
This gauge shows the engine coolant tempera-
ture. The gauge pointer will likely show higher
temperatures when driving in hot weather, up
mountain grades, or in heavy stop and go
traffic. If the red LED light turns on, stop the vehicle and
turn off the engine until the cause is corrected.
Oil Temperature Gauge
This gauge shows the oil temperature. The
gauge pointer will likely show higher tempera-
tures when driving in hot weather, up moun-
tain grades, or in heavy stop and go traffic. If
the red LED light turns on, stop the vehicle and turn off
the engine until the cause is corrected.
Oil Pressure Gauge
This gauge shows engine oil pressure when the
engine is running. The pressure will vary with
engine speed, oil viscosity, and engine tem-
perature. Oil pressures will be higher as the
engine is warming up. The normal operating pressure is
between 20 and 80 psi (pounds per square inch). If the
pointer remains in the red range, turn off the engine until
the cause is corrected.
80 UNDERSTANDING YOUR INSTRUMENT PANEL
Page 89 of 236
The radio display will flash ªSEEKº and the selected PTY
program type when searching for the next PTY station. If
no station is found with the selected PTY program type,
the radio will return to the last station.
If a preset button is activated while in the PTY (Program
Type) mode, the PTY mode will be exited and the radio
will tune to the preset station.
By pressing the SCAN button when the PTY icon is
displayed, the radio will stop at every PTY station on the
band and list each corresponding program type in the
radio display.
Time
Press the TIME button to change the display from
elapsed CD playing time to time of day.
CD/DVD DISC MAINTENANCE
To keep the CD/DVD discs in good condition, take the
following precautions:
1. Handle the disc by its edge; avoid touching the
surface.
2. If the disc is stained, clean the surface with a soft cloth,
wiping from center to edge.
3. Do not apply paper, paper CD labels, or tape to the
disc; avoid scratching the disc.
4. Do not use solvents such as benzine, thinner, cleaners,
or antistatic sprays.
5. Store the disc in its case after playing.
6. Do not expose the disc to direct sunlight.
7. Do not store the disc where temperatures may become
too high.
UNDERSTANDING YOUR INSTRUMENT PANEL 89
4
Page 92 of 236

Panel
Air is directed through the outlets in the instrument
panel. These outlets can be adjusted to direct air
flow.
Bi-Level
Air is directed through the instrument panel and
floor outlets. A small amount of air is also directed
through the defrost outlets.
NOTE:There is a varying temperature differential be-
tween the upper and lower outlets for added comfort.
The warmer air goes to the floor outlets. This feature
provides improved comfort during sunny but cool con-
ditions.
Floor
Air is directed through the floor outlets with a
lesser amount through the defrost outlets.Floor/Defrost
Air is directed through the windshield defrost and
the floor outlets. This setting works best in cold or
snowy conditions that require extra heat at the
windshield. This setting is good for maintaining comfort
while reducing moisture on the windshield.
Windshield Defrost
Air is directed through the windshield defrost
outlet. Use this mode with maximum fan and
temperature settings for best windshield defrosting.
NOTE:The air conditioning compressor operates in this
mode. This dehumidifies the air to help dry the wind-
shield. To improve fuel economy, leave in the Defrost
mode only when necessary.
A/C Pushbutton
With the fan control in the ON position, pushing
the A/C button turns on the air conditioning
compressor. An indicator light above the button
92 UNDERSTANDING YOUR INSTRUMENT PANEL
Page 93 of 236
shows that the Air Conditioning compressor is on. Con-
ditioned air is now directed through the outlets selected.
Pushing the button a second time turns the compressor
OFF.
Slight changes in engine speed or power may be noticed
when the compressor is on. This is a normal occurrence
since the compressor will cycle on and off to maintain
comfort and increase fuel economy.
NOTE:If your air conditioning performance seems
lower than expected, check the front of the A/C con-
denser for an accumulation of dirt or insects.
Rear Window Defroster
Press the button once to turn on the Rear Window
Defroster and a second time to turn it off. A light
above the button shows that the Rear Defroster is On.NOTE:The defroster turns off automatically after 15
minutes of operation. Each later activation will allow 71¤2
minutes of operation.
CAUTION!
To avoid damaging the electrical conductors, do not
use scrapers, sharp instruments, or abrasive window
cleaners on the interior surface of the rear window.
Labels can be peeled off by soaking with warm
water.
UNDERSTANDING YOUR INSTRUMENT PANEL 93
4
Page 95 of 236
STARTING AND OPERATING
CONTENTS
mStarting Procedures......................97
NIf Engine Fails To Start..................98
NAfter Starting........................100
mTransmission Shifting....................100
NRecommended Shift Speeds..............101
NSkip Shift Light.......................101
mParking Brake.........................102
mBrake System..........................104
NBrake Pad Break-In....................107mPower Steering........................107
mTire Safety Information...................108
NTire Markings........................108
NTire Identification Number (TIN)..........111
NTire Loading And Tire Pressure...........112
mTiresÐGeneral Information................116
NTire Pressure.........................116
NTire Inflation Pressures.................117
NRadial-Ply Tires......................120
5
Page 98 of 236
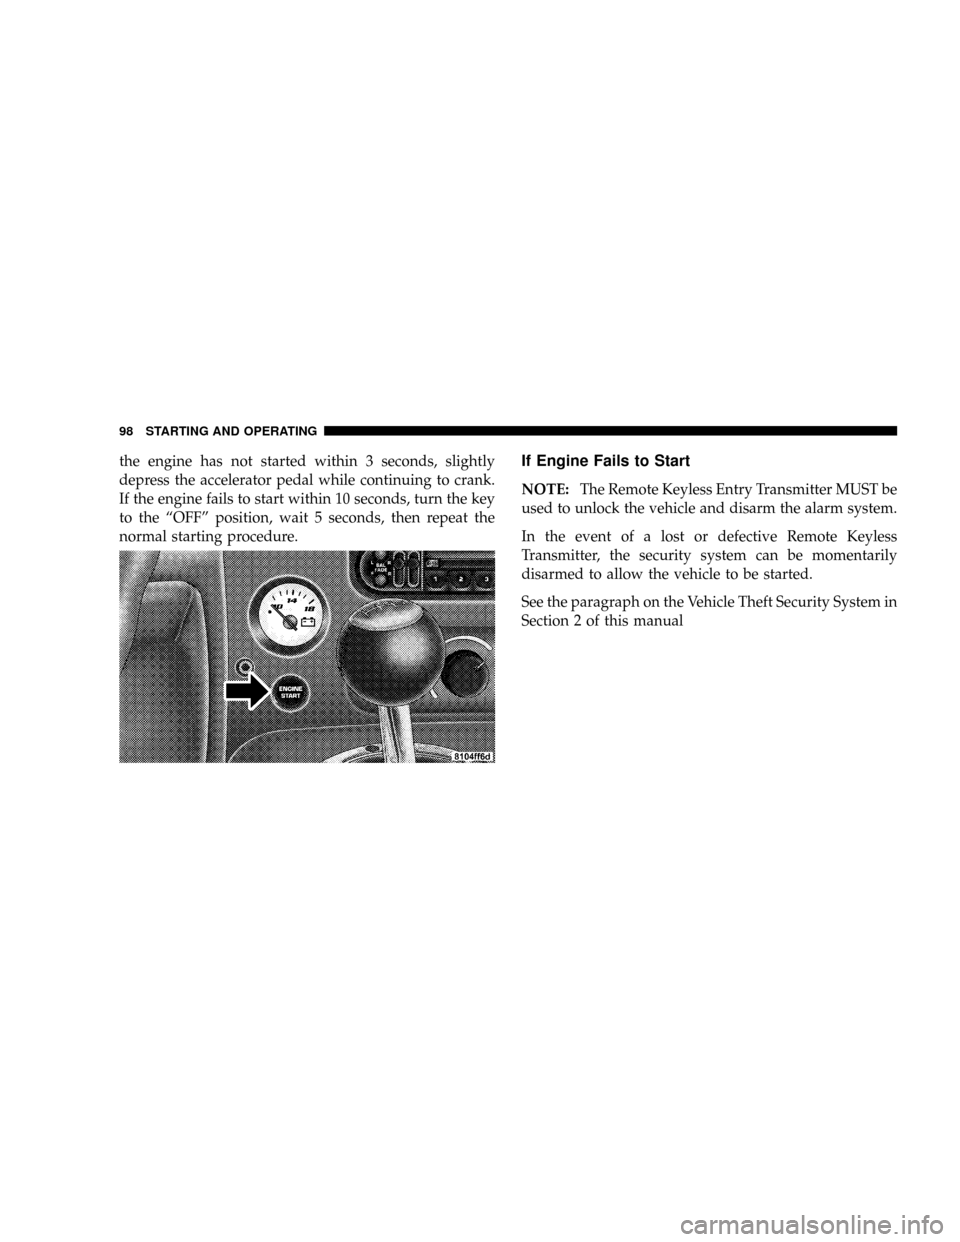
the engine has not started within 3 seconds, slightly
depress the accelerator pedal while continuing to crank.
If the engine fails to start within 10 seconds, turn the key
to the ªOFFº position, wait 5 seconds, then repeat the
normal starting procedure.If Engine Fails to Start
NOTE:The Remote Keyless Entry Transmitter MUST be
used to unlock the vehicle and disarm the alarm system.
In the event of a lost or defective Remote Keyless
Transmitter, the security system can be momentarily
disarmed to allow the vehicle to be started.
See the paragraph on the Vehicle Theft Security System in
Section 2 of this manual
98 STARTING AND OPERATING
Page 100 of 236
After Starting
The idle speed will automatically decrease as the engine
warms up.
WARNING!
Never pour fuel or other flammable liquid into the
throttle body air inlet opening in an attempt to start
the vehicle. This could result in flash fire causing
serious personal injury.
TRANSMISSION SHIFTING
NOTE:The parking brake should be engaged and the
gear selector placed in REVERSE before leaving the
vehicle, especially on an incline.
Fully depress the clutch pedal before you shift gears. As
you release the clutch pedal, lightly depress the accelera-
tor pedal.Be sure the transmission is in FIRST gear, (not THIRD),
when starting from a standing position. Damage to the
clutch can result from starting in THIRD.
For most city driving you will find it easier to use only
the lower gears. For steady highway driving with light
accelerations, 6th gear is recommended.
Never drive with your foot resting on the clutch pedal, or
try to hold the vehicle on a hill with the clutch pedal
partially engaged. This will cause abnormal wear on the
clutch.
Never shift into REVERSE until the vehicle has come to a
complete stop.
NOTE:During cold weather, until the transmission
lubricant has warmed, you may have difficulty shifting.
This is normal and not harmful to the transmission.
100 STARTING AND OPERATING
Page 101 of 236
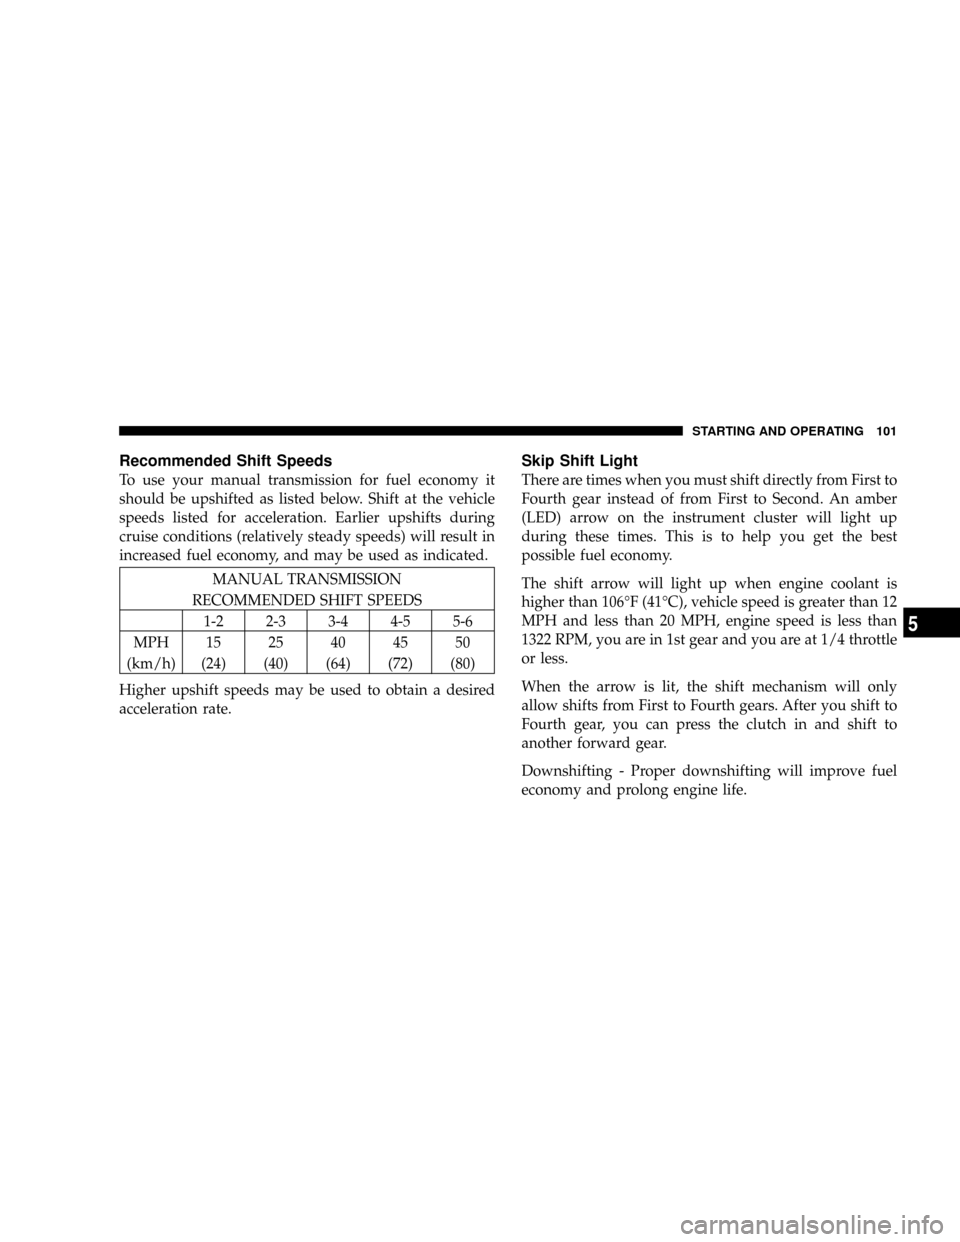
Recommended Shift Speeds
To use your manual transmission for fuel economy it
should be upshifted as listed below. Shift at the vehicle
speeds listed for acceleration. Earlier upshifts during
cruise conditions (relatively steady speeds) will result in
increased fuel economy, and may be used as indicated.
MANUAL TRANSMISSION
RECOMMENDED SHIFT SPEEDS
1-2 2-3 3-4 4-5 5-6
MPH 15 25 40 45 50
(km/h) (24) (40) (64) (72) (80)
Higher upshift speeds may be used to obtain a desired
acceleration rate.
Skip Shift Light
There are times when you must shift directly from First to
Fourth gear instead of from First to Second. An amber
(LED) arrow on the instrument cluster will light up
during these times. This is to help you get the best
possible fuel economy.
The shift arrow will light up when engine coolant is
higher than 106ÉF (41ÉC), vehicle speed is greater than 12
MPH and less than 20 MPH, engine speed is less than
1322 RPM, you are in 1st gear and you are at 1/4 throttle
or less.
When the arrow is lit, the shift mechanism will only
allow shifts from First to Fourth gears. After you shift to
Fourth gear, you can press the clutch in and shift to
another forward gear.
Downshifting - Proper downshifting will improve fuel
economy and prolong engine life.
STARTING AND OPERATING 101
5