bulb DODGE VIPER 2008 ZB II / 2.G Owners Manual
[x] Cancel search | Manufacturer: DODGE, Model Year: 2008, Model line: VIPER, Model: DODGE VIPER 2008 ZB II / 2.GPages: 303, PDF Size: 2.65 MB
Page 59 of 303
WARNING!
Exhaust gases can injure or kill. They contain carbon
monoxide (CO) which is colorless and odorless.
Breathing it can make you unconscious and can
eventually poison you. To avoid breathing (CO)
follow the safety tips below.
Safety Checks You Should Make Inside the
Vehicle
Seat Belts
Inspect the belt system periodically, checking for cuts,
frays and loose parts. Damaged parts must be replaced
immediately. Do not disassemble or modify the system.Seat belt assemblies must be replaced after an accident if
they have been damaged (bent retractor, torn webbing,
etc.). If there is any question regarding belt or retractor
condition, replace the belt.
Airbag Warning Light
The light should come on and remain on for 6 to 8
seconds as a bulb check when the ignition switch is first
turned ON. If the light does not come on or flickers
during or after the 6 to 8 seconds, or flickers or comes on
while driving have the system checked by an authorized
dealer.
Defrosters
Check operation by selecting the defrost mode and place
the blower control on high speed. You should be able to
feel the air directed against the windshield.
58 THINGS TO KNOW BEFORE STARTING YOUR VEHICLE
Page 84 of 303
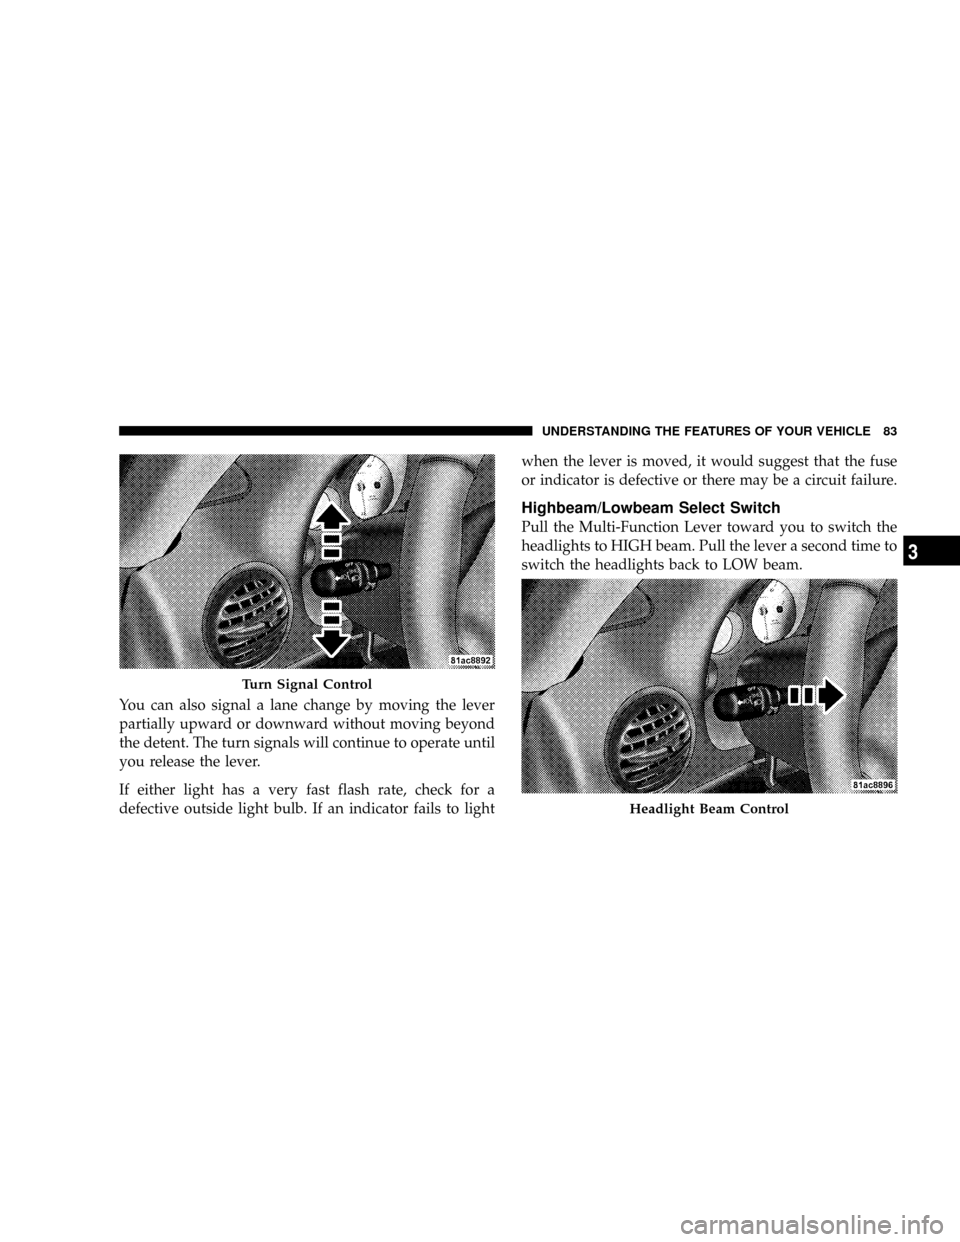
You can also signal a lane change by moving the lever
partially upward or downward without moving beyond
the detent. The turn signals will continue to operate until
you release the lever.
If either light has a very fast flash rate, check for a
defective outside light bulb. If an indicator fails to lightwhen the lever is moved, it would suggest that the fuse
or indicator is defective or there may be a circuit failure.
Highbeam/Lowbeam Select Switch
Pull the Multi-Function Lever toward you to switch the
headlights to HIGH beam. Pull the lever a second time to
switch the headlights back to LOW beam.
Turn Signal Control
Headlight Beam Control
UNDERSTANDING THE FEATURES OF YOUR VEHICLE 83
3
Page 98 of 303
²The word ªDECKº will flash in the display if the
trunk/liftgate is open.
²The words ªLOW TIREº will flash slowly in the display
and a chime will sound if the tire pressure is low.
²The words ªFLAT TIREº will flash rapidly in the
display and a chime will sound if critically low tire
pressure is detected.
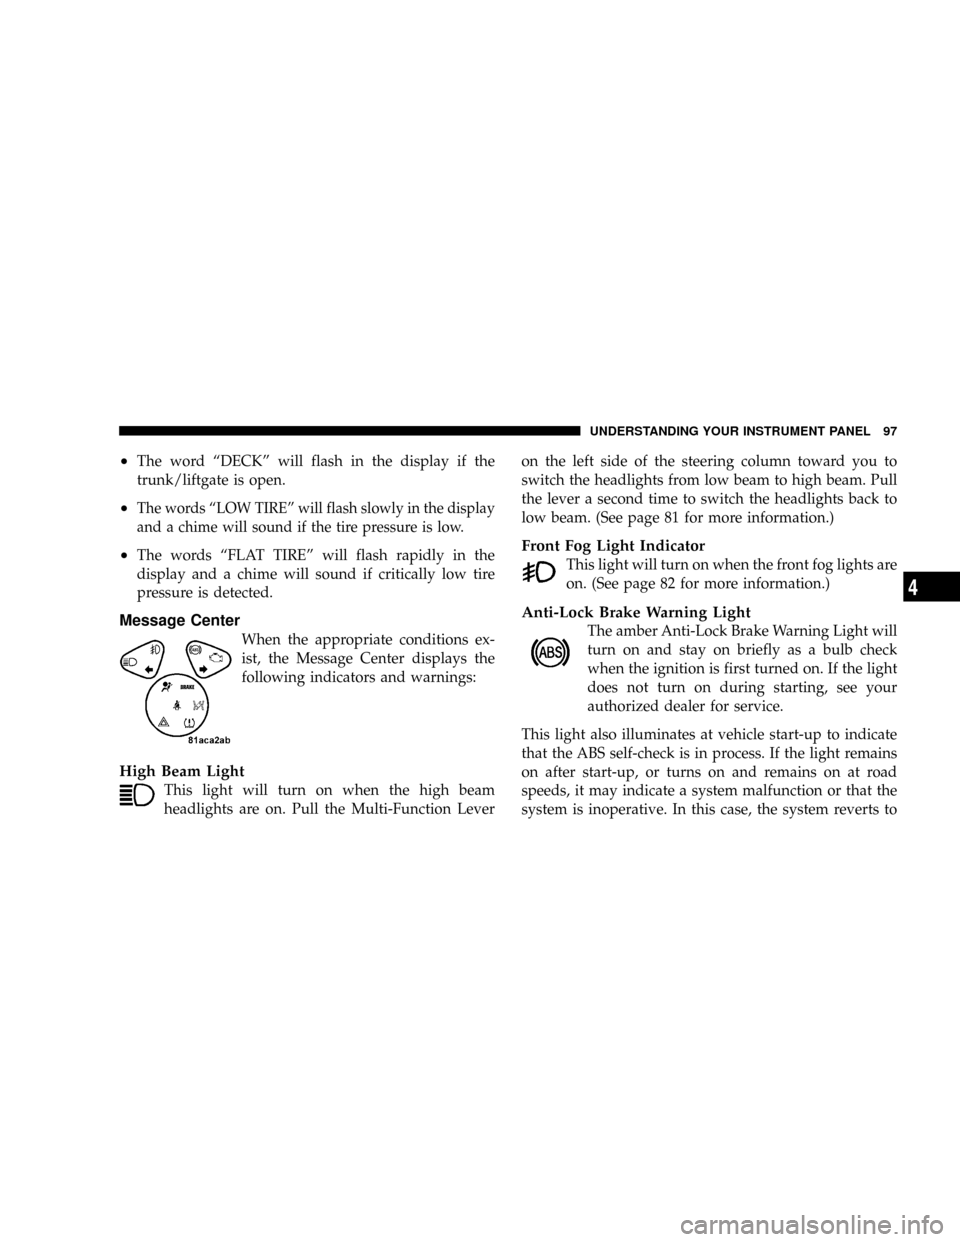
Message Center
When the appropriate conditions ex-
ist, the Message Center displays the
following indicators and warnings:
High Beam Light
This light will turn on when the high beam
headlights are on. Pull the Multi-Function Leveron the left side of the steering column toward you to
switch the headlights from low beam to high beam. Pull
the lever a second time to switch the headlights back to
low beam. (See page 81 for more information.)
Front Fog Light Indicator
This light will turn on when the front fog lights are
on. (See page 82 for more information.)
Anti-Lock Brake Warning Light
The amber Anti-Lock Brake Warning Light will
turn on and stay on briefly as a bulb check
when the ignition is first turned on. If the light
does not turn on during starting, see your
authorized dealer for service.
This light also illuminates at vehicle start-up to indicate
that the ABS self-check is in process. If the light remains
on after start-up, or turns on and remains on at road
speeds, it may indicate a system malfunction or that the
system is inoperative. In this case, the system reverts to
UNDERSTANDING YOUR INSTRUMENT PANEL 97
4
Page 100 of 303
CAUTION!
Prolonged driving with the light on could cause
further damage to the emission control system. It
could also affect fuel economy and driveability. The
vehicle must be serviced before any state emissions
tests can be performed.
Turn Signal Indicators
The left or right arrow will flash in unison with the
corresponding front and rear turn signals when the
turn signal switch is operated. (See page 82 for more
information.)
Hazard Indicators
Both turn signal arrows will flash in unison with the
front and rear turn signals when the hazard warning
switch is operated. (See page 176 for more information.)
NOTE:Leaving the hazard flashers on for extended
periods will wear down the battery.
Airbag Warning Light
This light will turn on for 6 to 8 seconds as a
bulb check when the ignition switch is first
turned on. If the light does not turn on during
starting, remains on after starting, or turns on
while driving, have the system checked immediately by
an authorized dealer. (See page 40 for more information.)
Brake System Warning Light
The red Brake System Warning Light turns on
when the ignition is first turned on. It should
stay on briefly as a bulb check. If the light does not turn
on during starting, have it repaired promptly. If the light
remains on following the bulb check, it may be an
indication that the parking brake is not released. If the
light remains on when the parking brake is released, it
indicates a possible hydraulic brake system malfunction.
In this case, immediate repair is necessary and continued
operation of the vehicle in this condition is dangerous.
UNDERSTANDING YOUR INSTRUMENT PANEL 99
4
Page 101 of 303
NOTE:The light will turn on when the ignition switch
is in the ON/RUN position and the parking brake is
applied. This light shows only that the parking brake is
applied. It does not show the degree of brake application.
WARNING!
Driving a vehicle with the brake light on is danger-
ous. Part of the brake system has failed. It will take
longer to stop the vehicle. You could have an acci-
dent. Have the brakes checked immediately. (See
page 144 for more information.)
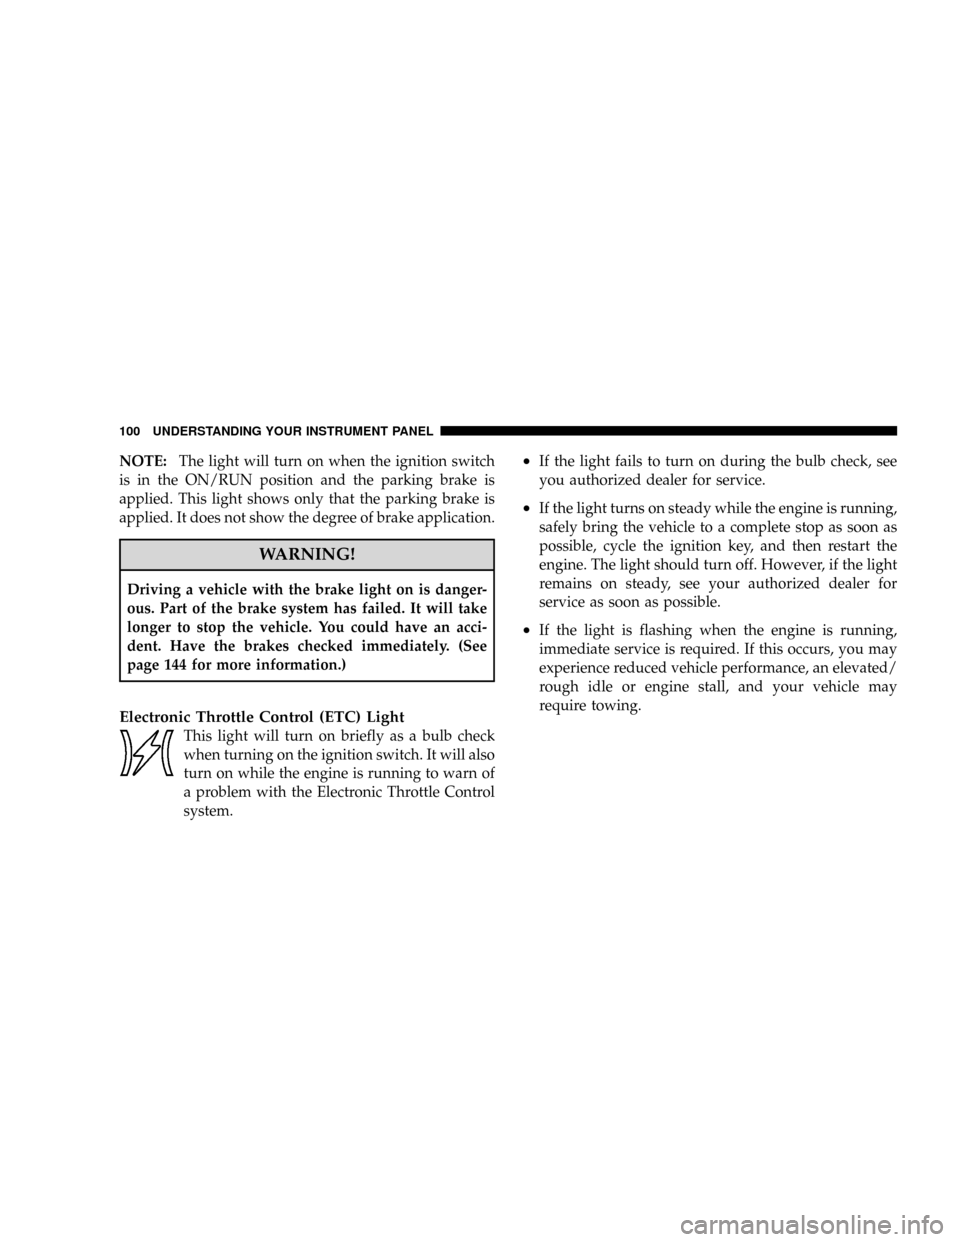
Electronic Throttle Control (ETC) Light
This light will turn on briefly as a bulb check
when turning on the ignition switch. It will also
turn on while the engine is running to warn of
a problem with the Electronic Throttle Control
system.
²If the light fails to turn on during the bulb check, see
you authorized dealer for service.
²If the light turns on steady while the engine is running,
safely bring the vehicle to a complete stop as soon as
possible, cycle the ignition key, and then restart the
engine. The light should turn off. However, if the light
remains on steady, see your authorized dealer for
service as soon as possible.
²If the light is flashing when the engine is running,
immediate service is required. If this occurs, you may
experience reduced vehicle performance, an elevated/
rough idle or engine stall, and your vehicle may
require towing.
100 UNDERSTANDING YOUR INSTRUMENT PANEL
Page 105 of 303
6000 RPM. This serves as a visual aid to shift before
reaching the red line. This warning will turn off when the
tachometer pointer falls below 5900 RPM. (See page 136
for more information.)
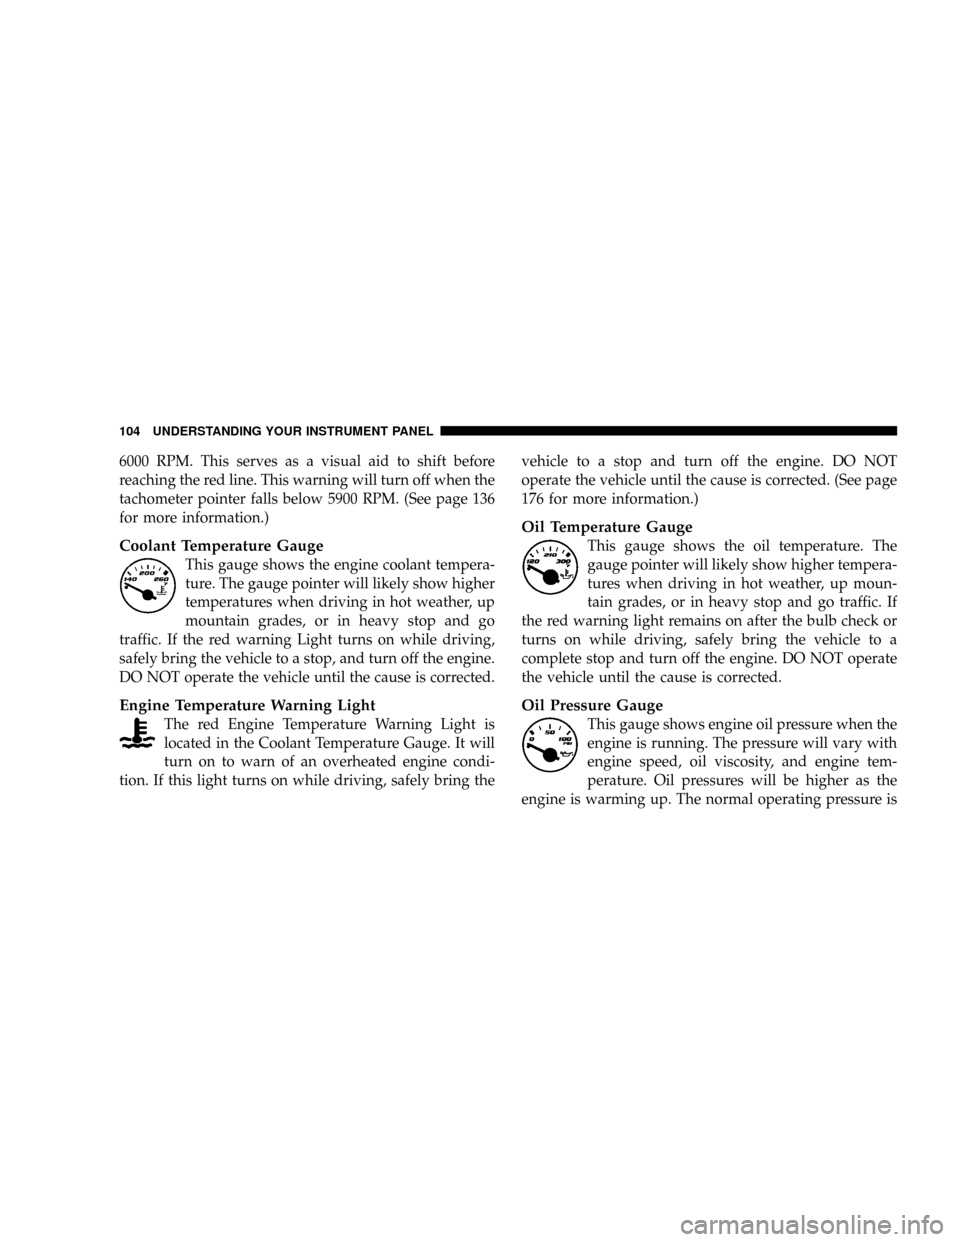
Coolant Temperature Gauge
This gauge shows the engine coolant tempera-
ture. The gauge pointer will likely show higher
temperatures when driving in hot weather, up
mountain grades, or in heavy stop and go
traffic. If the red warning Light turns on while driving,
safely bring the vehicle to a stop, and turn off the engine.
DO NOT operate the vehicle until the cause is corrected.
Engine Temperature Warning Light
The red Engine Temperature Warning Light is
located in the Coolant Temperature Gauge. It will
turn on to warn of an overheated engine condi-
tion. If this light turns on while driving, safely bring thevehicle to a stop and turn off the engine. DO NOT
operate the vehicle until the cause is corrected. (See page
176 for more information.)
Oil Temperature Gauge
This gauge shows the oil temperature. The
gauge pointer will likely show higher tempera-
tures when driving in hot weather, up moun-
tain grades, or in heavy stop and go traffic. If
the red warning light remains on after the bulb check or
turns on while driving, safely bring the vehicle to a
complete stop and turn off the engine. DO NOT operate
the vehicle until the cause is corrected.
Oil Pressure Gauge
This gauge shows engine oil pressure when the
engine is running. The pressure will vary with
engine speed, oil viscosity, and engine tem-
perature. Oil pressures will be higher as the
engine is warming up. The normal operating pressure is
104 UNDERSTANDING YOUR INSTRUMENT PANEL
Page 106 of 303
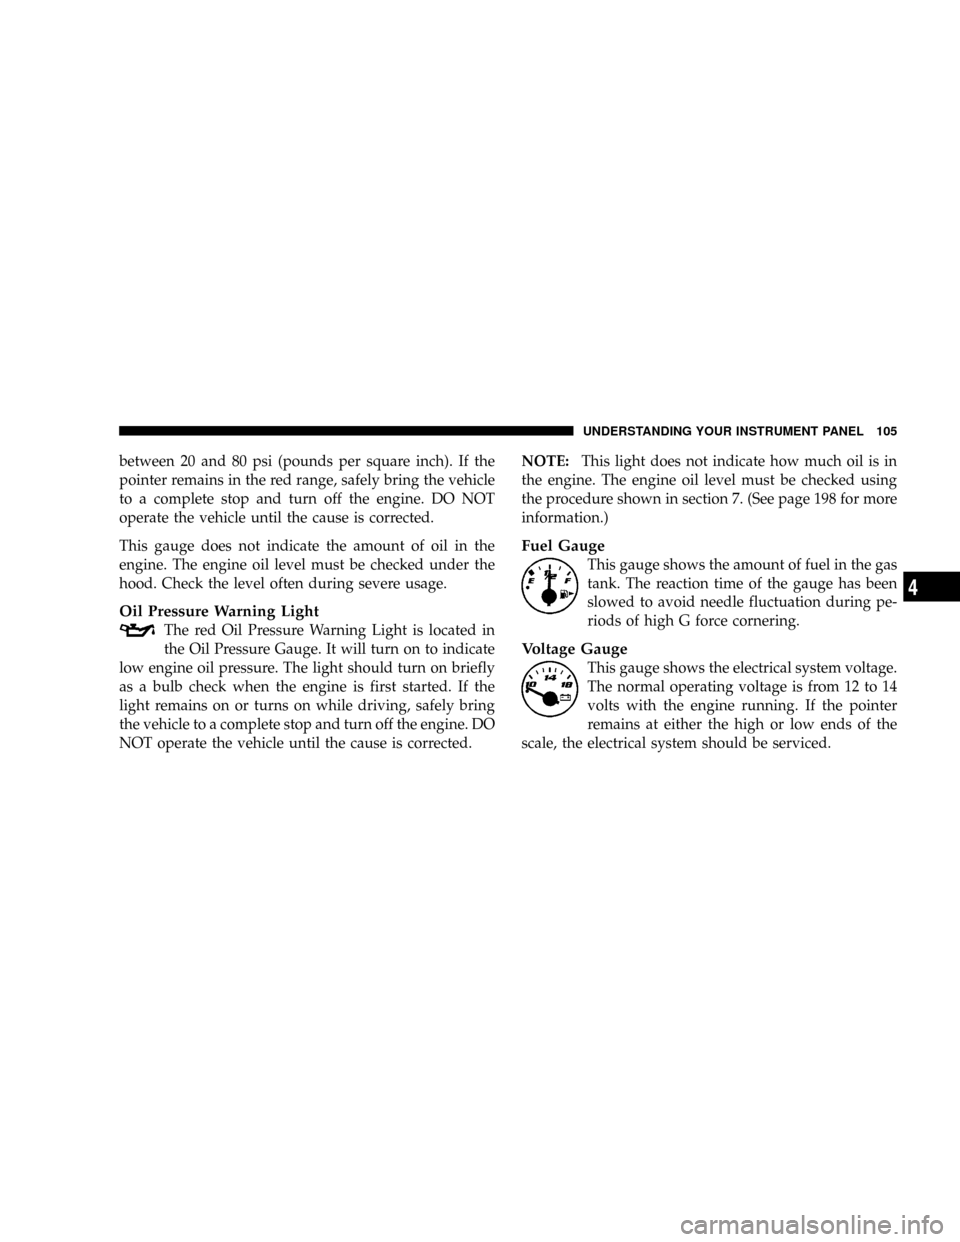
between 20 and 80 psi (pounds per square inch). If the
pointer remains in the red range, safely bring the vehicle
to a complete stop and turn off the engine. DO NOT
operate the vehicle until the cause is corrected.
This gauge does not indicate the amount of oil in the
engine. The engine oil level must be checked under the
hood. Check the level often during severe usage.
Oil Pressure Warning Light
The red Oil Pressure Warning Light is located in
the Oil Pressure Gauge. It will turn on to indicate
low engine oil pressure. The light should turn on briefly
as a bulb check when the engine is first started. If the
light remains on or turns on while driving, safely bring
the vehicle to a complete stop and turn off the engine. DO
NOT operate the vehicle until the cause is corrected.NOTE:This light does not indicate how much oil is in
the engine. The engine oil level must be checked using
the procedure shown in section 7. (See page 198 for more
information.)
Fuel Gauge
This gauge shows the amount of fuel in the gas
tank. The reaction time of the gauge has been
slowed to avoid needle fluctuation during pe-
riods of high G force cornering.
Voltage Gauge
This gauge shows the electrical system voltage.
The normal operating voltage is from 12 to 14
volts with the engine running. If the pointer
remains at either the high or low ends of the
scale, the electrical system should be serviced.
UNDERSTANDING YOUR INSTRUMENT PANEL 105
4
Page 148 of 303
All vehicle wheels and tires must be the same size and
type as the original equipment and the tires must be
properly inflated to produce accurate signals for the
computer.
WARNING!
Significant over or under inflation of tires, or mixing
sizes of front or rear tires or wheels on the vehicle can
lead to loss of braking effectiveness.
Anti-Lock Brake Warning Light
The amber Anti-Lock Brake Warning Light will
turn on and stay on briefly as a bulb check
when the ignition is first turned on. If the light
does not turn on during starting, have it re-
paired promptly.This light also illuminates at vehicle start-up to indicate
that the ABS self-check is in process. If the light remains
on after start-up, or turns on and remains on at road
speeds, it may indicate a system malfunction or that the
system is inoperative. In this case, the system reverts to
standard non-anti-lock brakes. If this occurs, safely bring
the vehicle to a complete stop as soon as possible and
cycle the ignition key to attempt to reset the ABS. If the
light remains on, see your authorized dealer immediately
to have the system serviced. Furthermore, if the red
BRAKE warning light and the amber ABS warning light
are on, and the parking brake is fully released, see your
authorized dealer immediately.
STARTING AND OPERATING 147
5
Page 194 of 303
mReplacement Bulbs......................240
mBulb Replacement......................242
NAuxiliary High Beam Headlight, Front
Park/Turn Signal Light, Front Side
Marker Light........................242
NHigh Intensity Discharge Headlights (HID) . . . 243
NFront Fog Light......................244
NTaillight, Tail/Stop Light, Rear Marker Light . . 245
NBackup Light, Rear Turn Signal Light.......246NLicense Light........................250
mHeadlight Aiming......................251
mFluids And Capacities...................251
mFluids, Lubricants, And Genuine Parts........252
NEngine.............................252
NChassis............................253
NBody..............................254
MAINTAINING YOUR VEHICLE 193
7
Page 197 of 303
EMISSIONS INSPECTION AND MAINTENANCE
PROGRAMS
In some localities, it may be a legal requirement to pass
an inspection of your vehicle's emissions control system.
Failure to pass could prevent vehicle registration.
For states, which have an I/M (Inspection and
Maintenance) requirement, this check verifies the
following: the MIL (Malfunction Indicator Light)
is functioning and is not on when the engine is running,
and that the OBD (On Board Diagnostic) system is ready
for testing.
Normally, the OBD system will be ready. The OBD
system maynotbe ready if your vehicle was recently
serviced, if you recently had a dead battery, or a battery
replacement. If the OBD system should be determined
not ready for the I/M test, your vehicle may fail the test.Your vehicle has a simple ignition key-actuated test,
which you can use prior to going to the test station. To
check if your vehicle's OBD system is ready, you must do
the following:
1. Insert your ignition key into the ignition switch.
2. Turn the ignition to the ON position, but do not crank
or start the engine.
3. If you crank or start the engine, you will have to start
this test over.
4. As soon as you turn your key to the ON position, you
will see your MIL symbol come on as part of a normal
bulb check.
196 MAINTAINING YOUR VEHICLE